


Burn Run is one of the Season 5 Endgame Assignments in Call of Duty: Black Ops 7 that looks simple on paper but punishes overconfidence fast. You climb into a bomb-rigged vehicle, follow a route of flaming arches across Avalon, and keep the clock alive long enough to clear every ring. The catch: the moment you start treating it like a combat mission instead of a driving challenge, the timer eats you alive.
What does Burn Run actually ask you to do?
Burn Run is a blue Assignment contract that spawns on Avalon as part of the Season 5 Endgame. The objective is to drive a bomb-rigged vehicle through a course of flaming arches before the timer hits zero, while also keeping the vehicle's health from bottoming out.
The course length varies by location. The Zone 3 route in High Town near the waterfront runs through at least 27 fiery rings. The Zone 4 route in Lowtown is longer, with 42 rings to clear. Neither route uses the same turns or finish path, so do not expect muscle memory from one to carry over to the other.
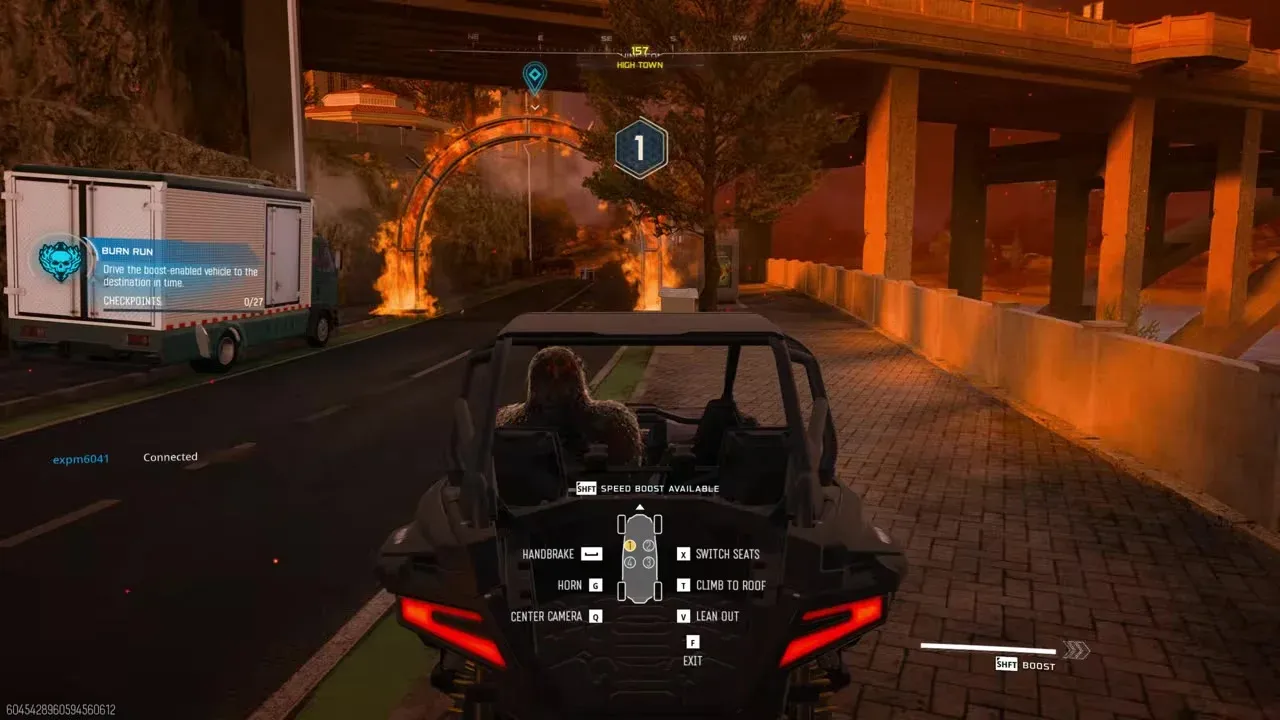
Zone 3 Burn Run start point
Where are the Burn Run start points on Avalon?
There are exactly two known Burn Run spawn locations on Avalon:
Head to whichever blue Assignment icon is active, approach the vehicle, and get in. Once a player enters, a short prep countdown begins before the real timer kicks off. Do not waste that window figuring out your controls.
How to finish the Burn Run
Here is the full sequence from start to finish:
- Locate the blue Burn Run Assignment icon on the Avalon map and move to that position.
- Enter the bomb-rigged vehicle to trigger the prep countdown.
- Accelerate when the active timer starts and commit to the route immediately.
- Follow the on-screen route arrows at every junction. Do not cut away from the marked path.
- Drive through each flaming arch cleanly. Center your line through the ring rather than clipping the edges.
- Run over Fear enemies that appear along the route. Each one adds seconds to the timer without requiring you to leave your driving line.
- Clip roadside objects that sit naturally in your path for additional time. Do not swerve hard to chase them.
- Collect floating wrenches whenever they appear. Each wrench fully repairs the vehicle.
- Pick up flaming floating tires to store a speed boost for later use.
- Activate your speed boost (on PC, this is Shift) only on straights or wide bend exits where you have room to recover.
- Have squadmates shoot flaming barrels beside the track if you are running with a team. This adds time while the driver stays focused on steering.
- Maintain clean lines through the final rings and finish the course with the timer intact.
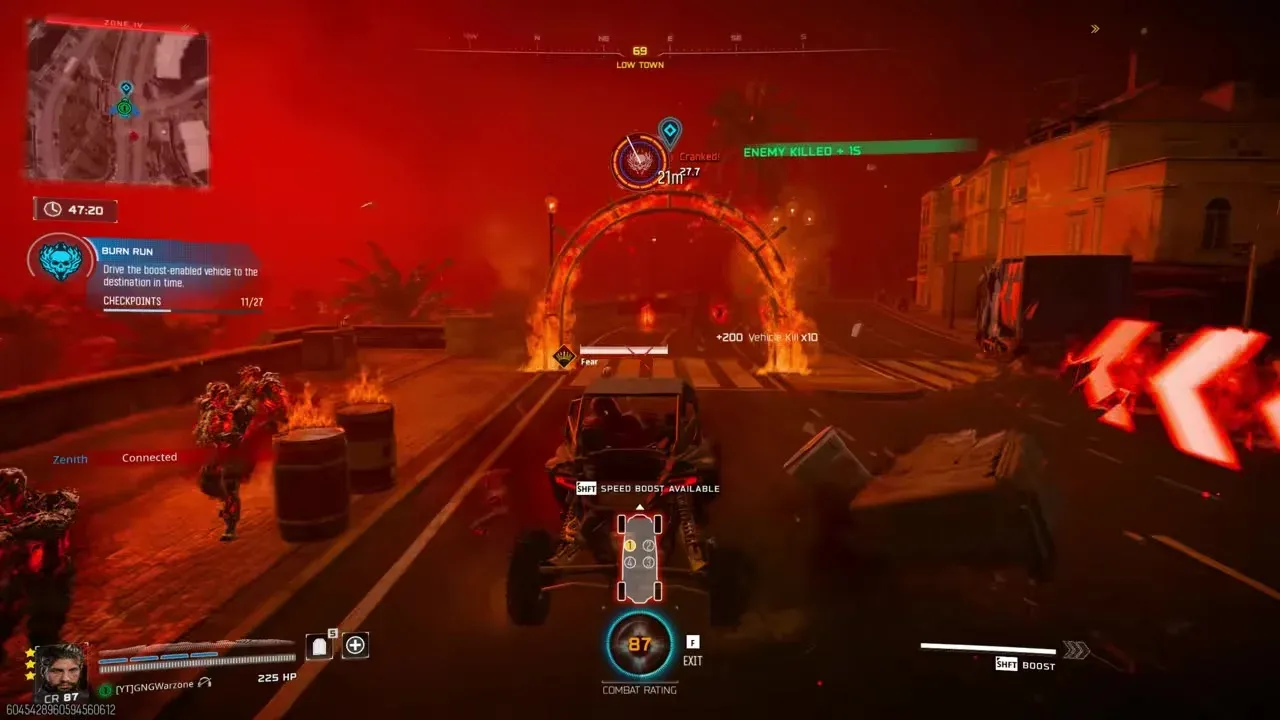
Flaming arch route overview
How do you manage the timer, vehicle health, and pickups?
Burn Run runs three pressure systems simultaneously: the countdown clock, vehicle durability, and your speed. All three interact, and ignoring any one of them ends the run.
The fastest run is not automatically the cleanest. Reckless impacts drain vehicle health, and triggering a boost at the wrong moment locks you into extra speed through a corner you cannot hold. After testing the route in both zones, the biggest time losses come from boost misuse on blind corners, not from slow driving.
What driving choices make Burn Run easier?
Solo play comes down to racing discipline. Stay on the route, run over Fear enemies and objects that are already in your path, and grab wrenches before the vehicle gets critically low. There is no reason to hunt for impacts off the marked line.
Squad play changes the workload split. The driver handles the route, rings, and pickups. Everyone else handles the flaming barrels beside the track and calls out incoming wrenches and tires. Burn Run scales with squad size, so extra players are most useful when they reduce driver distraction rather than add to it.
Boost timing is the single biggest skill gap between players who finish and players who do not. Save it for:
- A clear straightaway
- A wide, open bend
- The exit of a corner where you can already see the next ring
For more Endgame Assignment help, the Black Ops 7 Deep Cover Activities guide covers Operation Broken Mirror Step 4 in the same Endgame structure.
What rewards do you get for completing Burn Run?
Burn Run rewards are not fully locked down yet. Power values for both the Zone 3 and Zone 4 completions remain unconfirmed at this point. What is confirmed:
If a weapon case offers both a major and minor exotic ability upgrade, you can take both from that single reward screen. Do not exit the screen before checking both slots.
For players working through more of the Zombies side of Black Ops 7, the Totenreich Relics guide covers all 6 unlock conditions with trial tips and loadout advice. For everything else in the game, the full Black Ops 7 guide collection has you covered.