
Get Abyss Gear in Crimson Desert from equipment, quests, treasure, shops, and crafting, then visit a witch to embed it in compatible sockets.
You do not need to keep wearing a new drop just to keep its special effect. Extractable effects let you customize equipment you prefer, but placement needs care. Attack bonuses, attack speed, shield defenses, and elemental effects do not all work under the same conditions. Before spending silver on sockets or combining spare pieces, check what each effect improves and when it activates.
How to get Abyss Gear

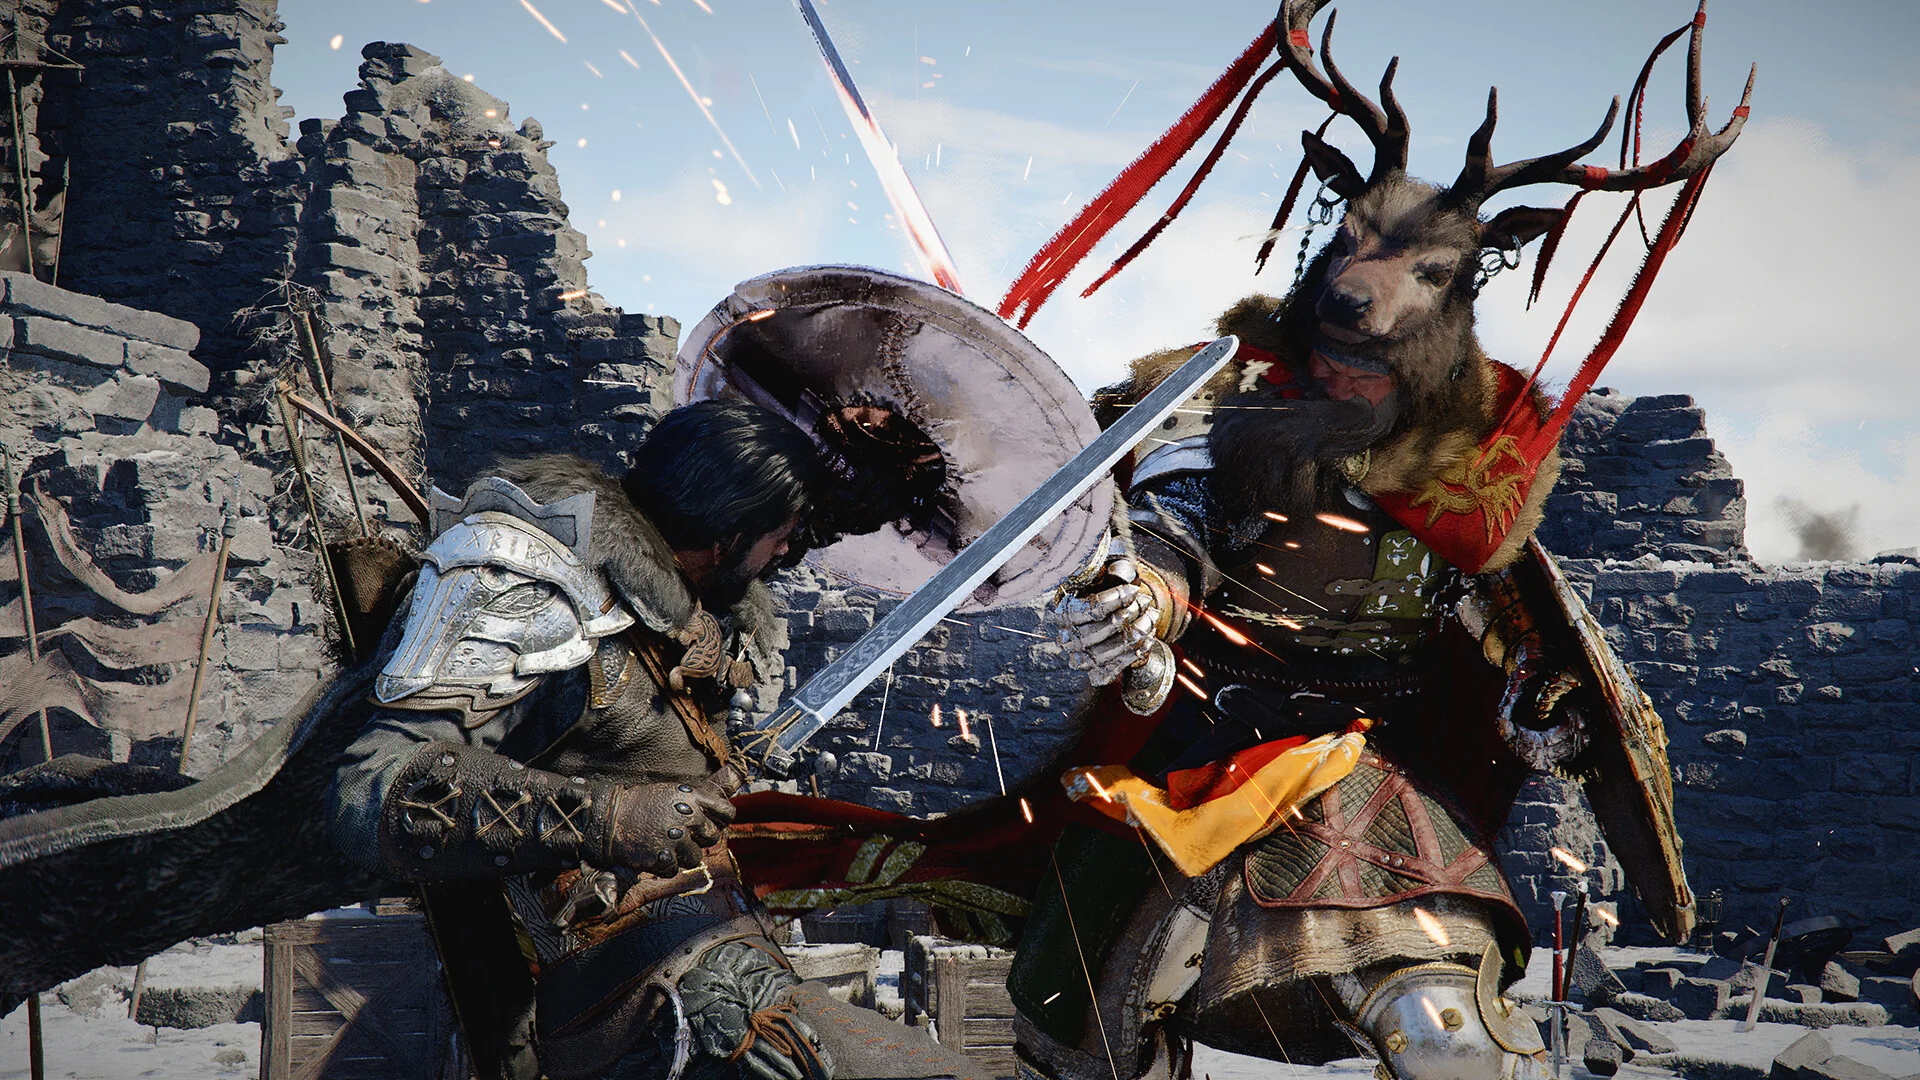
Find equipment with embedded effects
Unique weapons and armor are the main sources of Abyss Gear, including equipment found while exploring and earned through quests or boss fights. Inspect their embedded effects before selling them. Equipment that already contains Abyss Gear also comes with those occupied sockets unlocked.
The Crimson Desert Scorchflame armor set includes gloves with Volcanic Eruption Abyss Gear. An armor hunt can therefore reward both a wearable piece and an effect you can move elsewhere, subject to its equipment restrictions.
Treasure chests in the Abyss and buried finds provide standalone Abyss Gear, including enemy-type damage bonuses that witches do not teach you to craft. These are worth keeping even when they do not suit your current enemies, because spare pieces can become synthesis materials.
Back Alley Shops also sell unique Abyss Gear, although their prices can be high. Read the effect and its allowed equipment types before buying, especially if your intended weapon already has several effects competing for space.
For a boss-reward weapon route, get the Vessel of Dark Pursuit in Crimson Desert by defeating Antumbra's Sword. Check its embedded Abyss Gear separately from the weapon's base stats when deciding what to keep.
How to equip and remove Abyss Gear
Use a witch's embedding services
The early novice witch can embed and extract Abyss Gear but cannot craft it. The Chapter Five witch quest line opens access to crafting witches and their shops, so you can start moving effects before you gain the full crafting options.
At a witch, select the equipment you want to modify and inspect its sockets. The embedding interface also shows which Abyss Gear fits that equipment, so use it to check compatibility before paying to open more slots.
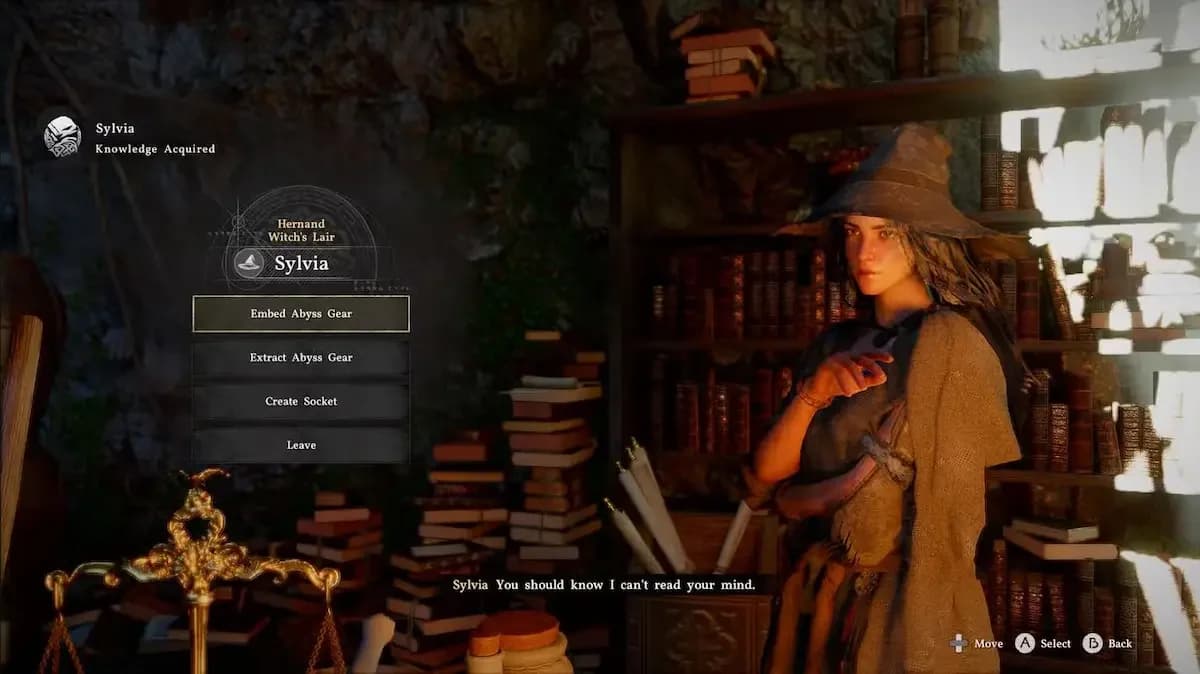
The Abyss Gear embedding menu
- Choose the weapon, shield, or armor piece you want to modify.
- Check whether it has an unlocked, empty socket.
- Pay silver to unlock another socket if needed.
- Select a compatible Abyss Gear and embed it.
- Use extraction when you want to remove an effect or transfer it to another item.
Embedding and extraction are free. Socket unlocks cost silver, and each additional socket unlocked on the same item costs more than the previous one. Crafting also has no service fee, although you still need its recipe and materials.
Check your equipment's socket limit
Equipment types have standard socket capacities. A locked socket is usable after payment; equipment with a capacity of zero cannot accept Abyss Gear.
| Equipment type | Abyss Gear sockets |
|---|---|
| Headgear | 1 |
| Chest armor | 3 |
| Cloak | 0 |
| Gloves | 2 |
| Footwear | 2 |
| Accessories | 0 |
| One-handed weapons | 3 |
| Shields | 2 |
| Two-handed weapons | 5 |
| Ranged weapons | 5 |
| Daggers | 0 |
A one-handed weapon paired with a shield such as Crimson Desert's Shield of Conviction provides five sockets in total, matching a two-handed weapon. Those sockets are not interchangeable, however: a weapon-only effect cannot occupy a shield slot.
Which Abyss Gear should you use?
Pick effects for moves you already use.
Start with the effects that restrict your choices
Place unique attack effects and equipment-specific bonuses first, then fill the remaining sockets with general stats. Otherwise, a flexible bonus can occupy the only space available for an effect that fits your preferred attack.
The categories below describe how the effects work, not separate menu categories used by the game.
| Effect | Typical compatible equipment | What to check |
|---|---|---|
| Melee attack effect | Melee weapons, sometimes gloves or footwear | The required attack and supported equipment |
| Ranged attack effect | Bows and/or guns | Whether your ranged weapon supports its trigger |
| Shield-specific effect | Shields | The required guard or shield action |
| Offensive stat bonus | Weapons, gloves, and footwear | Which attacks actually receive the bonus |
| Defensive stat bonus | Armor and shields | Whether the effect requires an active shield |
| Armor passive | Armor | Its attack, element, or regeneration condition |
For example, Crow's Pursuit works through Heavy Attacks, while Dark Crescent is tied to Spinning Slash. Filling a weapon with impressive effects attached to an attack you rarely perform leaves most of those sockets idle.
Multiple ability effects can share a trigger and activate together. Stacking them can also increase the stamina or spirit spent on that move, so compare the resource cost with how much damage you actually need. A focused boss setup and an everyday exploration setup do not need identical socket choices.
Put Attack and attack speed in the right places
Attack and critical bonuses on a weapon affect that weapon, not every weapon you carry. Putting Attack on your bow does not strengthen your sword. On gloves and footwear, these bonuses improve the associated unarmed attacks instead of adding damage to your melee weapon.
Swift on gloves or footwear is a useful exception to that local behavior: its attack speed bonus carries across your weapon choices. Swift embedded in a weapon applies only while that weapon is in use. Gloves and boots are therefore efficient places for Swift when you regularly switch weapons.
Defensive effects also have an important shield exception:
| Placement | When the defensive bonus applies |
|---|---|
| Fortification or Aegis on armor | While you wear that armor |
| Fortification on a shield | While the shield remains slotted on the weapon wheel |
| Aegis on a shield | While the shield is drawn and in use |
Switching to dual wield removes the shield from that setup, so you lose its Fortification benefit. If you want dependable damage reduction across weapon changes, armor is the more consistent place for Aegis.
Open Inventory > Status with your intended weapon active to check the resulting stats and visible caps. Do this before filling several sockets with the same stat, particularly when other equipment already supplies it.
Match elemental effects to your skills
Elemental Abyss Gear on armor activates through the corresponding elemental attack. An effect tied to Imbue Fire needs a fire elemental attack; equipping it does not replace that trigger.
Concentrate elemental effects on an element you use regularly. Broadly compatible armor bonuses can go into headgear or chest armor, leaving gloves and footwear available for effects with narrower placement requirements.
Utility bonuses serve a different task. Aptitude increases Skill XP Gain by 10%, 20%, or 30% across tiers I, II, and III. Gathering bonuses can improve material returns, but each one occupies space that could support combat. Keep utility effects for activities where their benefit is your immediate goal.
How to craft and upgrade Abyss Gear
Buy recipes from regional witches
Crafting requires a learned recipe and its listed materials. Having the ingredients alone is not enough, and normal synthesis also requires the relevant recipe. Elowen in Hernand sells recipes for Vigor I, Vitality I, and Composure I.
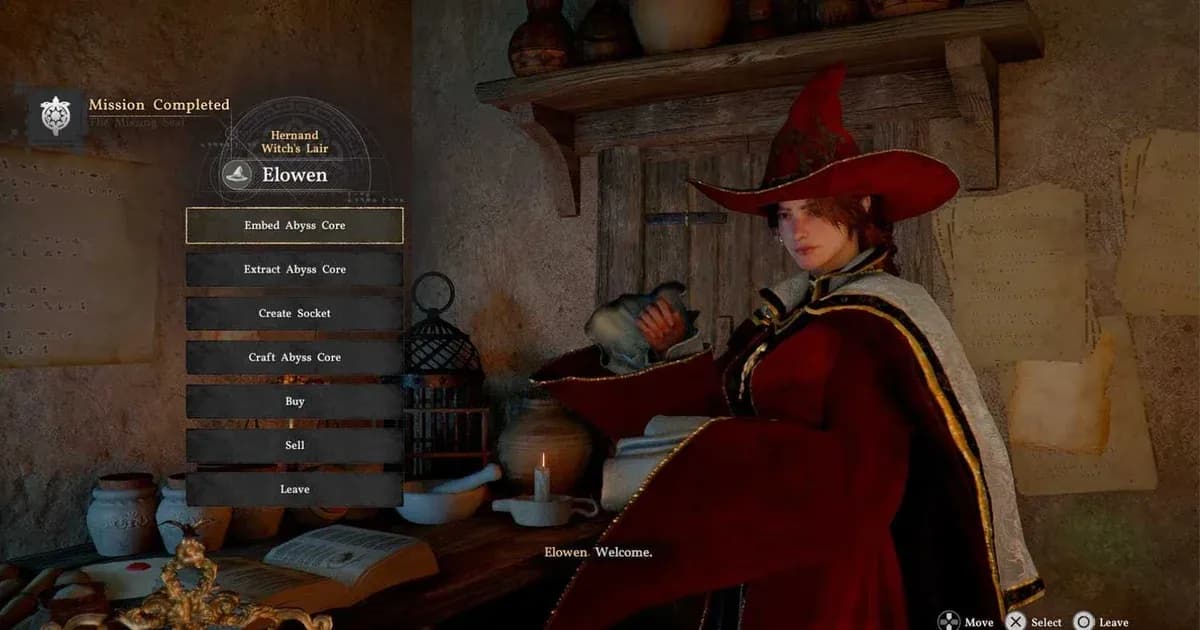
Elowen, Red Witch of Wisdom
Visit the other regional witches for different recipe selections:
| Witch | Region | Abyss Gear recipes sold |
|---|---|---|
| Elowen, the Red Witch of Wisdom | Hernand | Vigor I, Vitality I, Composure I |
| Lyselia, the Green Witch of Humility | Demeniss | Fortification I, Aegis I, Fortitude I |
| Bari, the Blue Witch of Kindness | Pailune | Haste I, Swift I, Ascent I |
| Areciel, the Brown Witch of Strength | Crimson Desert | Destruction I, Insight I |
Recipes also come from exploration, quests, and dispatch missions. Getting an Abyss Gear as loot does not automatically teach you its recipe, so distinguish between finding one usable effect and unlocking the ability to produce more.
Choose synthesis for a predictable upgrade
Synthesis combines two Abyss Gears with the same name and tier into one of the next tier, provided you know the recipe. Two Swift I pieces become one Swift II, for example. Ordinary upgrades reach tier III.
Higher tiers strengthen the same effect. Destruction provides Attack 1, 2, and 3 across tiers I, II, and III, while Fortification provides Defense 3, 6, and 9. Use matching synthesis when you want to improve a bonus you already rely on.
Use Special Synthesis to reroll unwanted pieces
Special Synthesis, or fusion, trades two compatible pieces for a random result. Its two input positions draw from different pools, so you cannot combine any arbitrary pair. Check the substitution options to see what each position accepts.
| Fusion tier | Same-tier result | Next normal tier | Greater result |
|---|---|---|---|
| Tier I | 50% | 46% tier II | 4% |
| Tier II | 50% | 46% tier III | 4% |
| Tier III | 96% | None | 4% |
Fuse effects you do not plan to use, especially situational bonuses that cannot currently help your setup. Keep useful matching pairs for normal synthesis instead of gambling them away.
Higher fusion tiers do not improve the chance of a Greater result. Tier III fusion is a reroll for unwanted tier III pieces, not an efficient reason to consume valuable upgrades you still need.
Where to get DLC Abyss Gear blueprints
Use excavation dispatches and the relic vendor
DLC ability blueprints come from two main routes. Pioneer Iliya Island to open its Iliya Island Ruins Excavation dispatch mission, then repeat the mission for blueprint rewards. Its pool includes Ascended Incarnate, Focus Fire, Guardian's Gaze, and other ability effects.
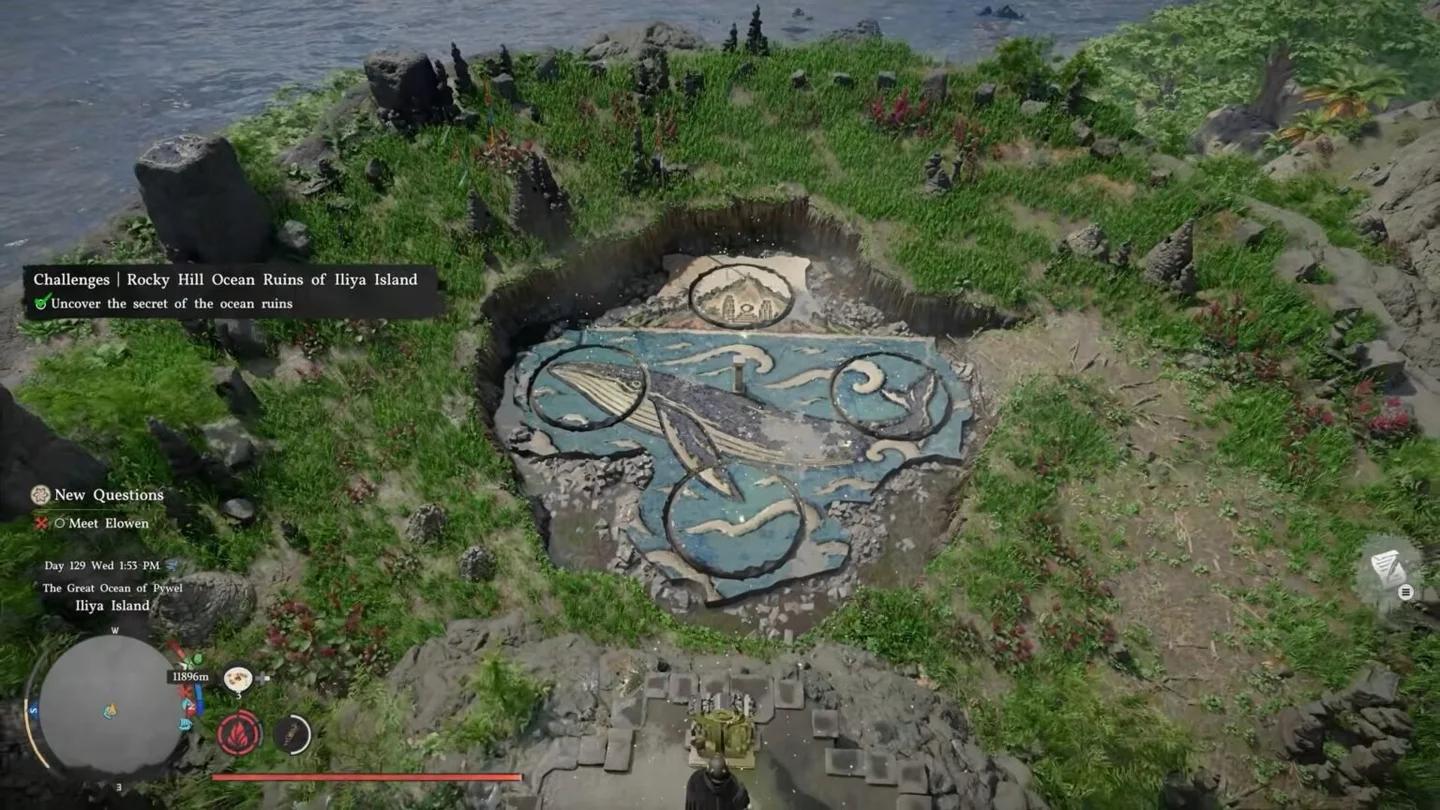
Iliya Island excavation mission
The Satyros relic vendor sells another selection of blueprints for relics, including Power Overload, Rushing Wind, and Storm's Echo. Complete the area's pioneer dispatch mission to make the vendor available.
Some DLC quests also award the effects directly. Ascended Incarnate comes from Kliff's DLC story, Guardian's Gaze is available through Mistbound Sea, and Mirage Cascade comes from Cave of Sorrow.
Check the trigger before choosing which blueprint to pursue. Focus Fire activates through Charged Shot or Focused Charged Shot. Magnetic Burst requires the Evasive Roll skill and an evasive roll after taking damage, so an ordinary dodge will not activate it.