
Most players in DragonSword: Awakening pick heroes based on who looks coolest or who they unlocked first. That works fine for the opening hours. Once the bosses start hitting back hard, you need a team built around synergy, not just individual strength. The right combination of heroes turns difficult fights into controlled takedowns. The wrong one turns them into frustrating slogs.
Why does team synergy matter more than raw power?
Hero strength matters, but it only gets you so far. The real advantage comes from pairing characters whose abilities chain into each other. When one hero inflicts a status effect and another hero's kit is designed to punish that exact status, you deal significantly more damage than either could alone. You also get smoother transitions between characters during fights, which keeps your momentum going instead of stalling while you wait for a cooldown.
At the start, most heroes are locked, so your options are limited. Plan your unlocks with these compositions in mind so you are not spending resources on characters who do not fit any strong team structure.
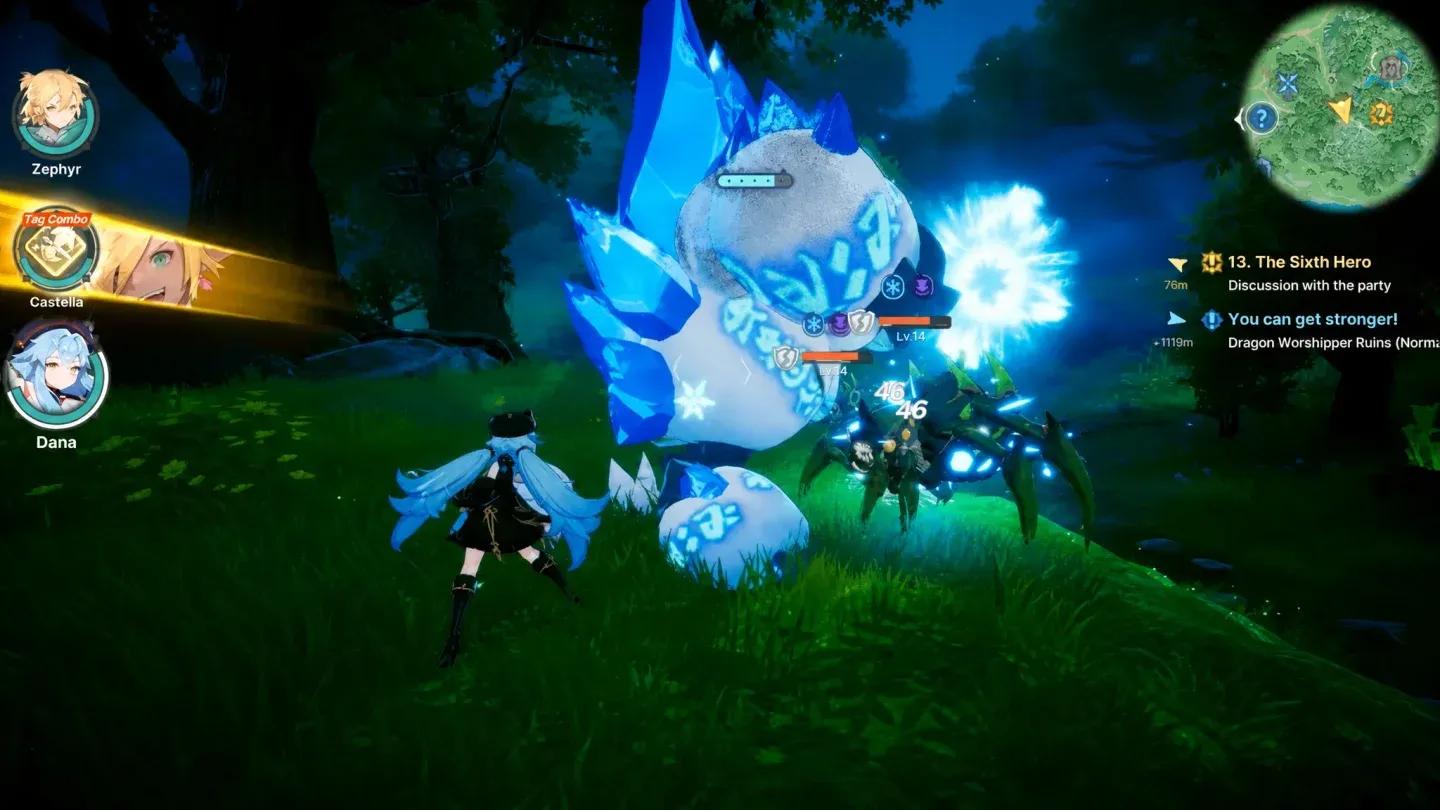
Hero select and team setup

What are the best teams to use?
Bleed and Stun
This is the strongest team available right now, and it is not particularly close. The core of it is Theresia, who can apply both Bleed and Stun on her own. That dual-status capability is what makes this composition so dangerous. Once Theresia has inflicted Bleed on an enemy, her second ability follows up with Stuns, which opens the window for Roxy to enter the fight and deal heavy damage.
The rotation looks like this:
- Open with Theresia and apply Bleed using her primary abilities.
- Trigger her second ability to land Stuns on the target.
- Swap to Roxy and activate her ability while the enemy is stunned.
- Sustain Roxy's damage output until the stun window closes.
- Bring in your third slot hero, either Lute or Castella.
Lute is the better third pick for most players because he provides healing that becomes genuinely valuable during boss encounters. Castella works if you want to stack more Stuns and push the control angle harder, but you sacrifice that sustainability. After testing both options against harder bosses, Lute's healing keeps the team alive long enough to complete the damage rotation multiple times.
Airborne
The Airborne team requires more practice than the others because you need to understand each character's movement patterns before the combo clicks. The payoff is consistent access to enemy weaknesses once you have the timing down. The best lineup here is Reina, Castella, and Lute, with Aria as a viable substitute for Lute.
The combo sequence works like this:
- Start with Reina and use either Rising Cutter or Wind Slayer to launch the target into the air.
- Follow immediately with Reina's Tempest Signal skill once the enemy begins to ascend.
- Swap to Lute and activate his signal skill to extend the juggle duration.
- Bring Castella in last to slam the airborne target into the ground for heavy damage.
- Repeat the full sequence from the beginning.
The key to this team is timing the swaps correctly. If you bring Castella in before Lute extends the juggle, the window closes too early and you lose a significant portion of the damage. Lute is preferred over Aria in this slot because he is available from the very beginning of the game, so you do not need to delay building this team.
Stagger and Control
This team is built specifically to dismantle heavily armored enemies. Ornette, Castella, and Alex work together to strip enemy power armor rapidly through sustained heavy damage, then capitalize on the exposed target once the shields are down.
The approach is straightforward:
- Open with either Ornette or Alex, both of whom deal the heavy hits needed to break armor.
- Focus on draining the enemy's protection until you trigger a knockdown.
- Swap to Castella and use her abilities to press the advantage while the enemy is vulnerable.
- Return to Ornette or Alex and restart the cycle.
This composition performs better against bosses than standard enemies because the armor-stripping mechanic is most valuable when the target has significant protection to begin with. Against regular enemies, the setup time can feel slow. Against armored bosses, it makes fights that would otherwise drag on feel manageable.
| Team | Core Heroes | Best Against | Key Mechanic |
|---|---|---|---|
| Bleed and Stun | Theresia, Roxy, Lute | All content | Bleed into Stun combo |
| Airborne | Reina, Castella, Lute | Weakness-heavy enemies | Juggle extension |
| Stagger and Control | Ornette, Castella, Alex | Armored bosses | Armor strip and knockdown |
| Beginner | Lute, Theresia, Ornette | Early game | Balanced sustainability |
Beginner-friendly team
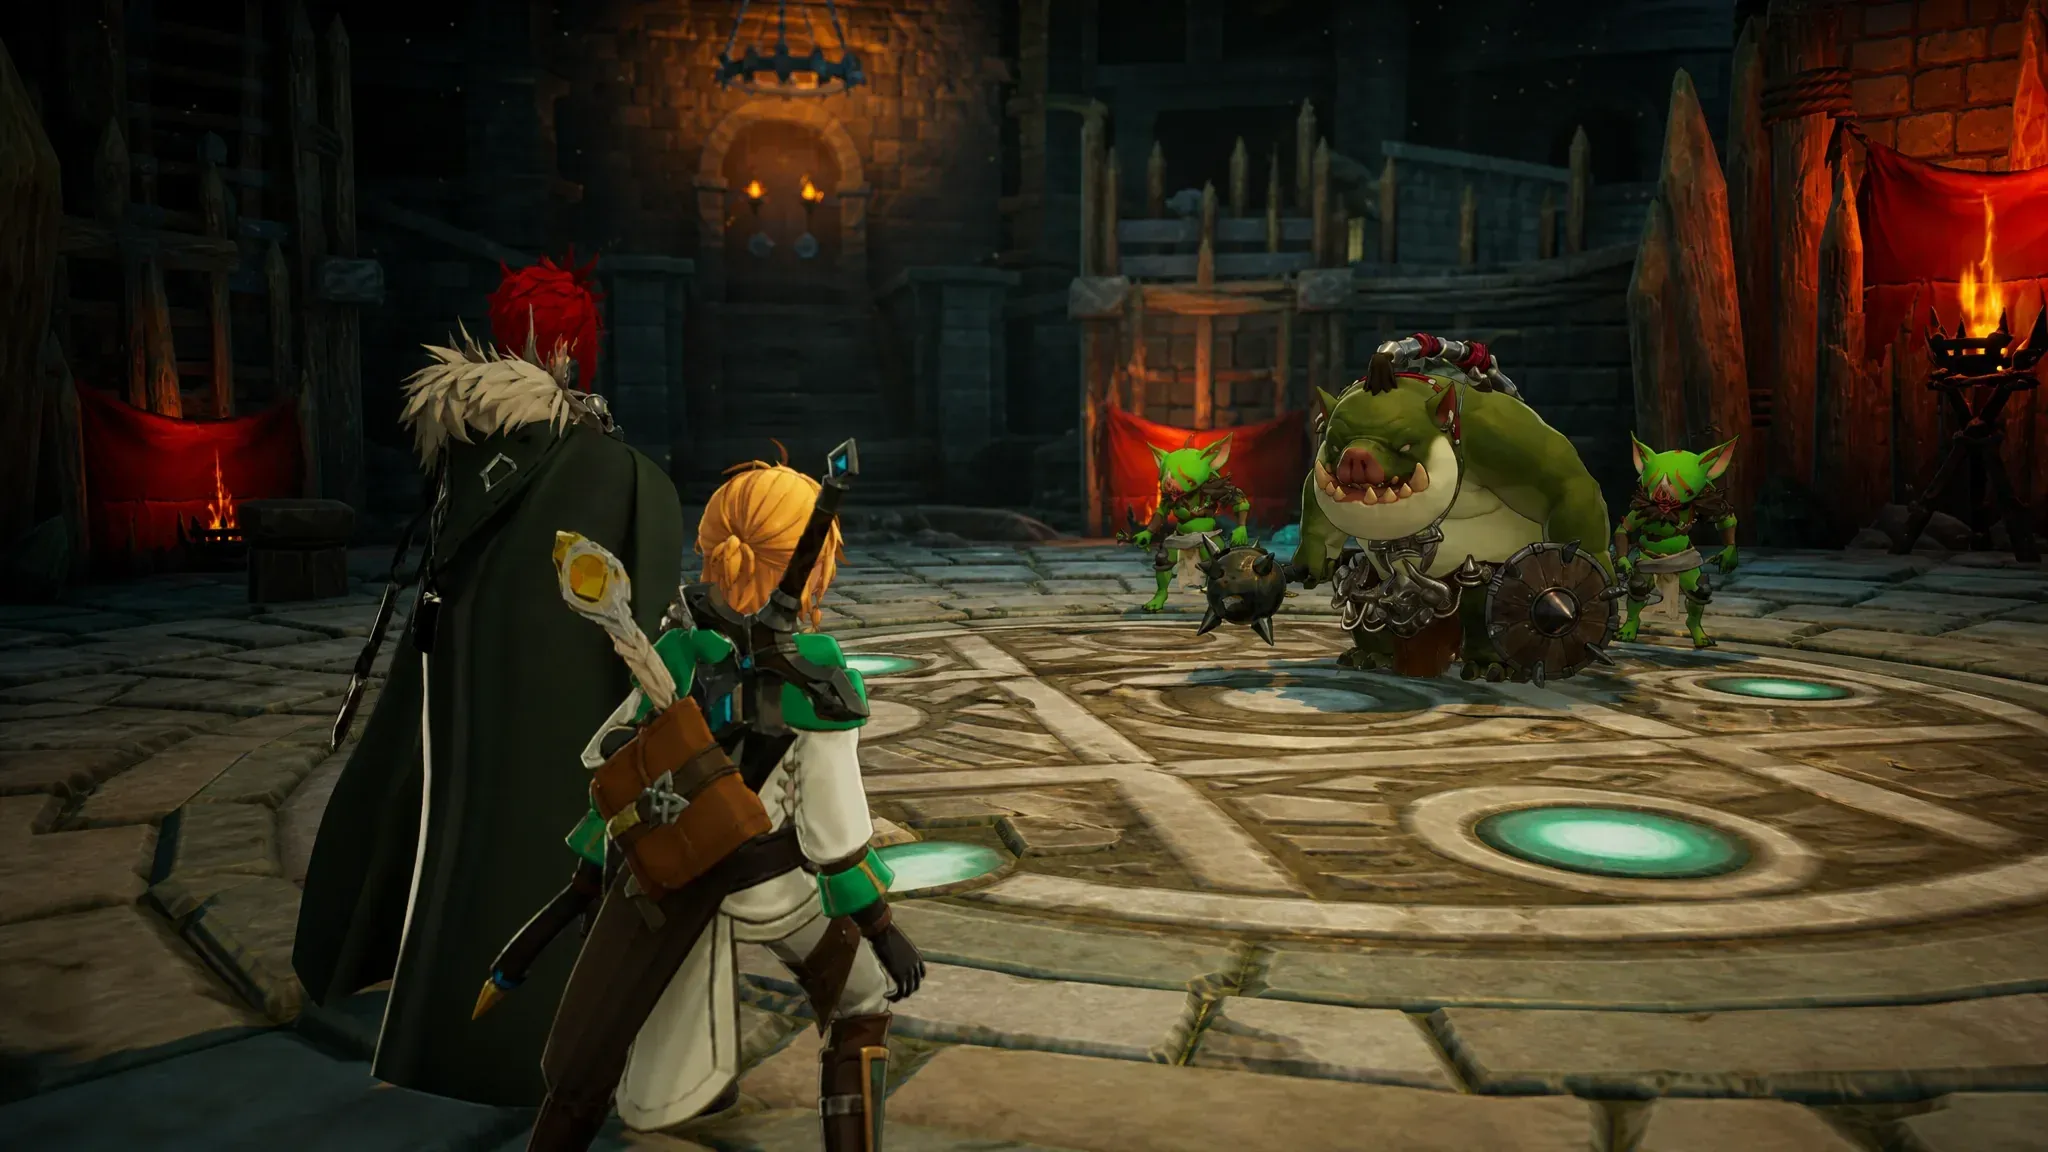
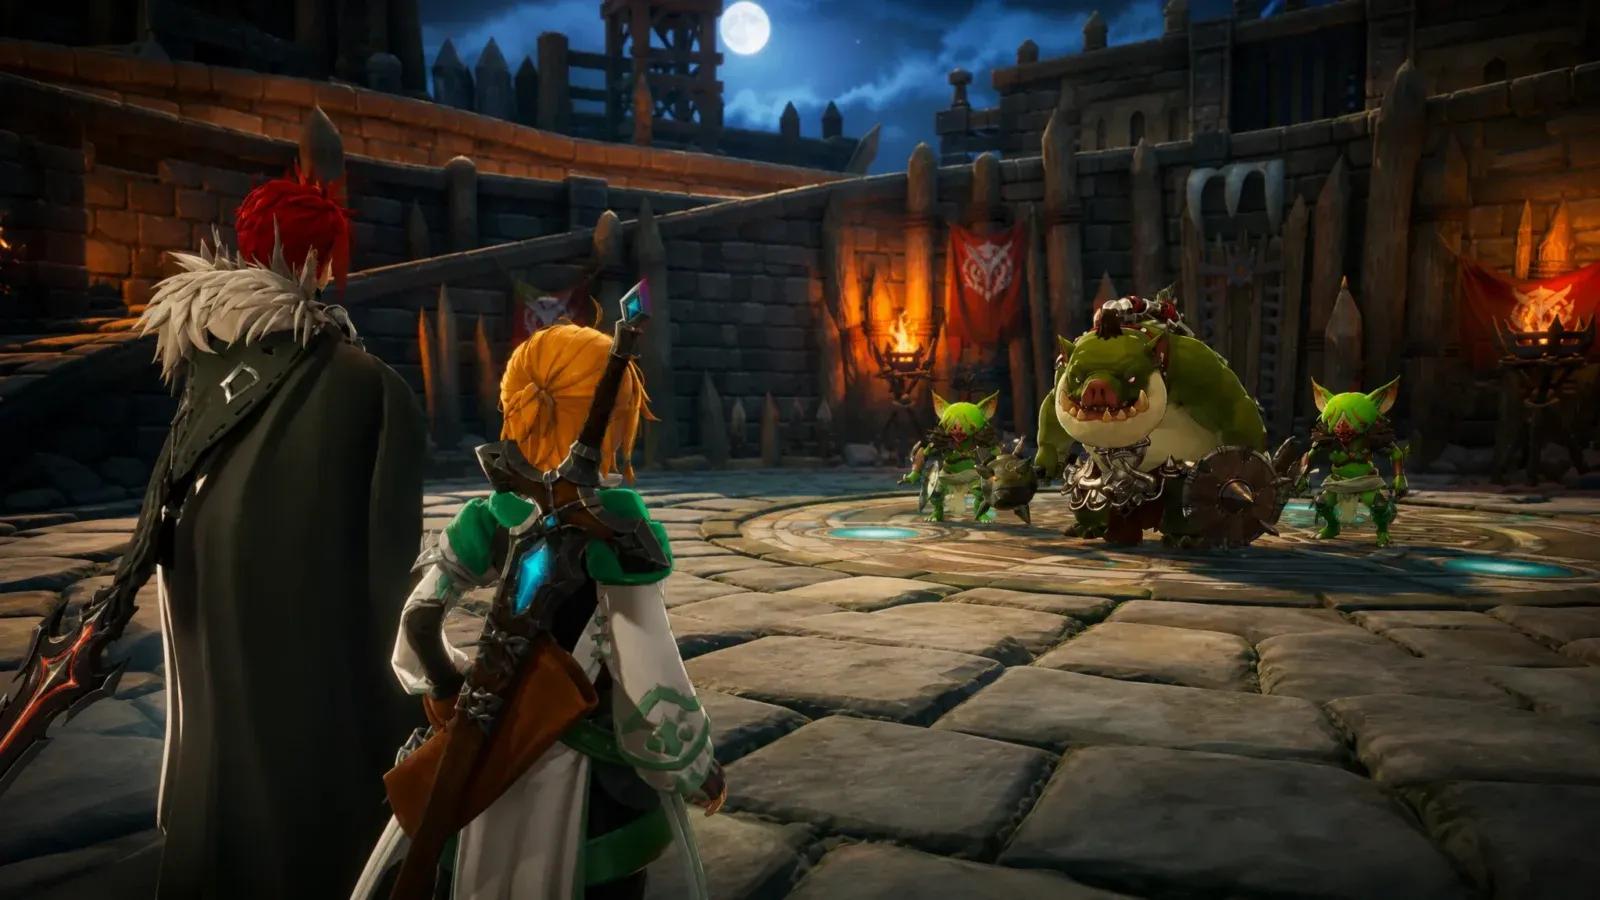
If your roster is still thin, run Lute, Theresia, and Ornette. This is not the most optimized composition in the game, but it covers the basics well. You get decent damage from Theresia and Ornette, and Lute provides enough healing to keep you alive through the early game's tougher encounters.
There are no complex chains required here. You can swap Ornette out for Roxy if you want to lean into Bleed damage, or replace Theresia with Castella to shift toward the Stagger and Control style. Think of this team as a flexible starting point that branches into the stronger compositions as you unlock more heroes.
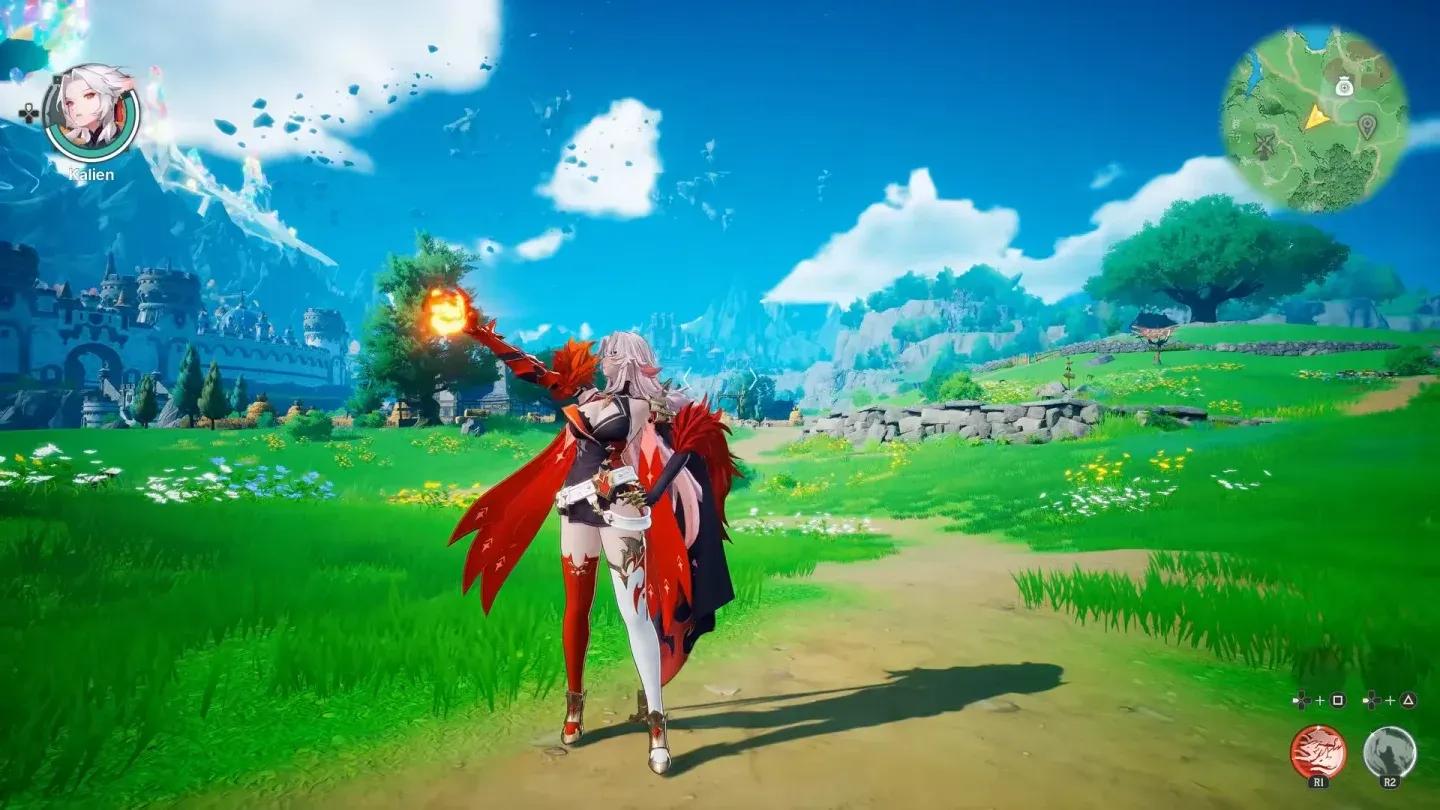
Beginner team party overview
How do you transition from beginner to advanced teams?
The beginner team is a bridge, not a destination. Once you have Theresia and Roxy available, shift toward the Bleed and Stun composition. It is the most forgiving of the advanced teams while still being the most powerful. The Airborne team should come after you are comfortable with character swapping in general, since the juggle timing punishes sloppy inputs.
For players who struggle with the Airborne timing, the Stagger and Control team is a strong alternative that does not require precise swap windows. It is slower but consistent, and it handles the armored boss encounters that tend to wall players in the mid-game.
DragonSword: Awakening sits firmly in the adventure games space, and the team-building depth here is one of the main reasons it stands out in the genre. Getting your composition right early means fewer restarts and more progress. For more builds and strategy breakdowns, the full DragonSword: Awakening strategy guides collection has everything you need to keep pushing forward.