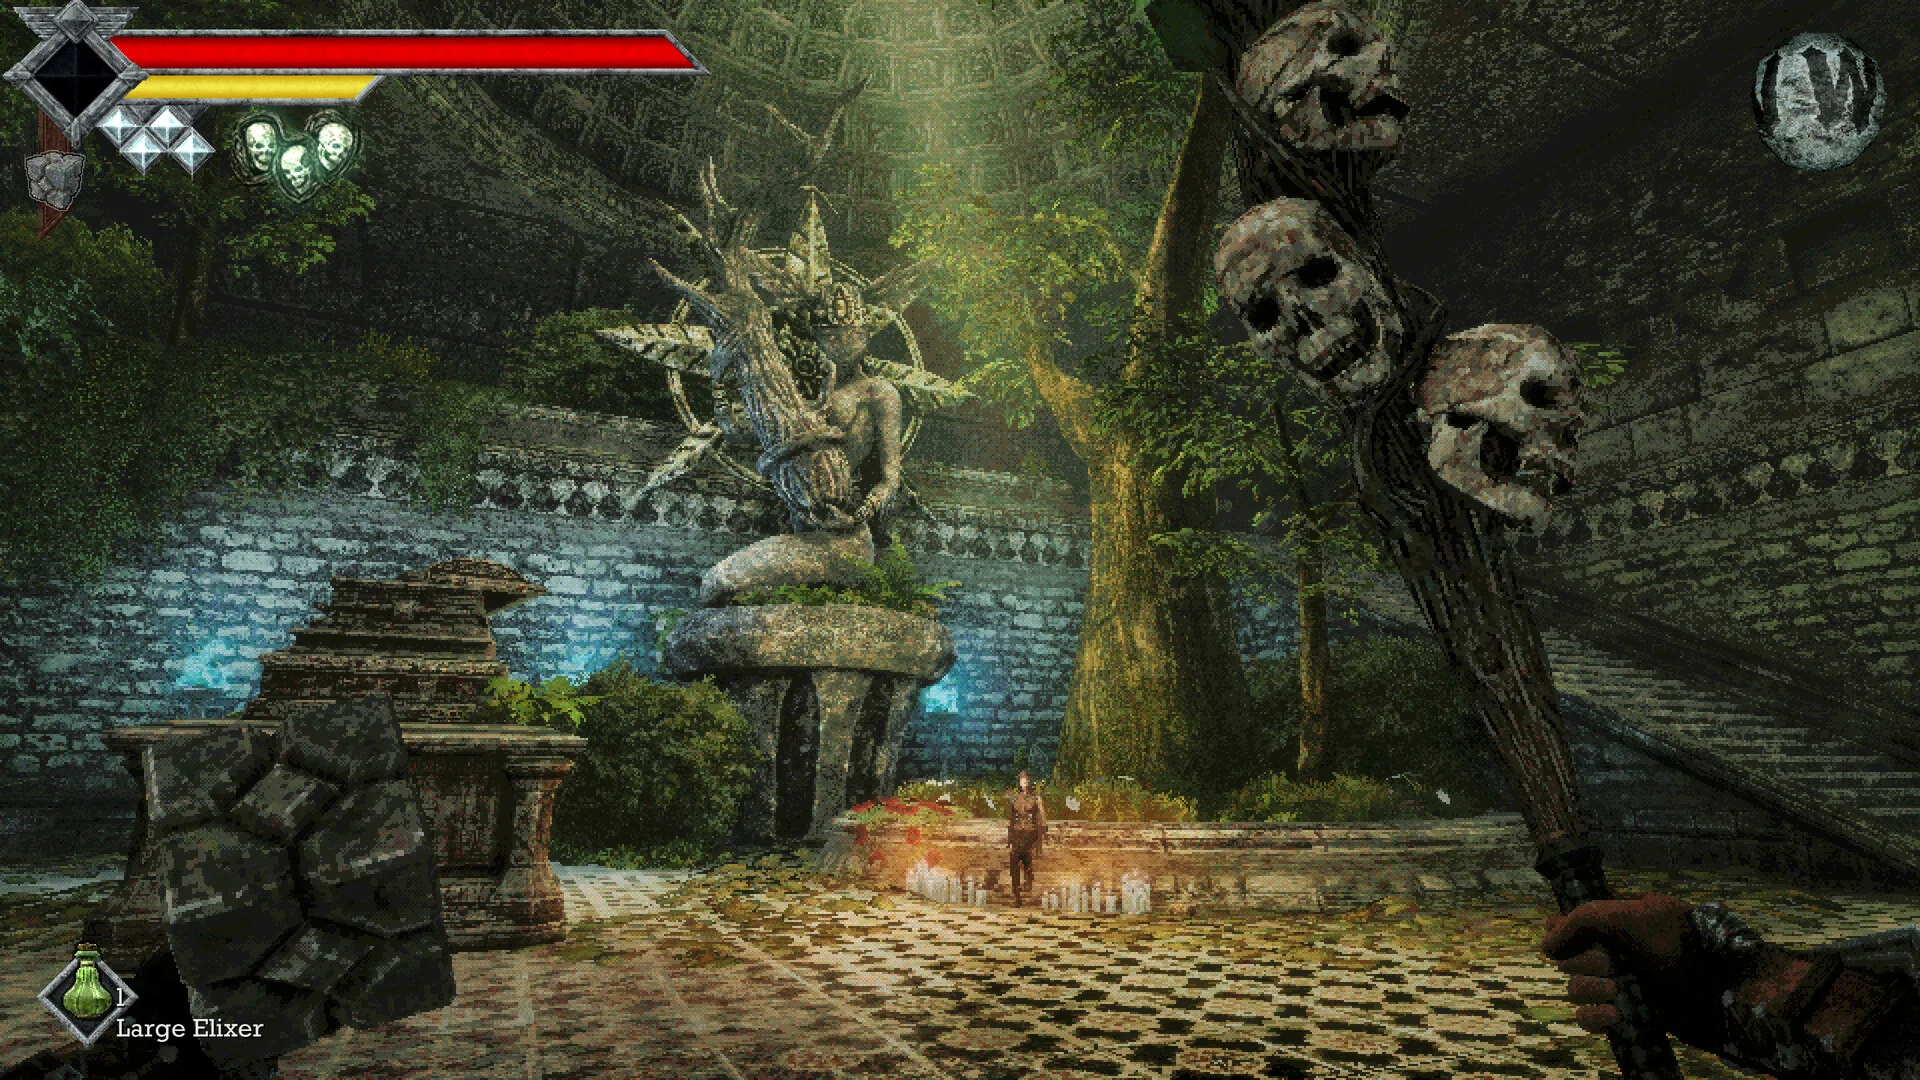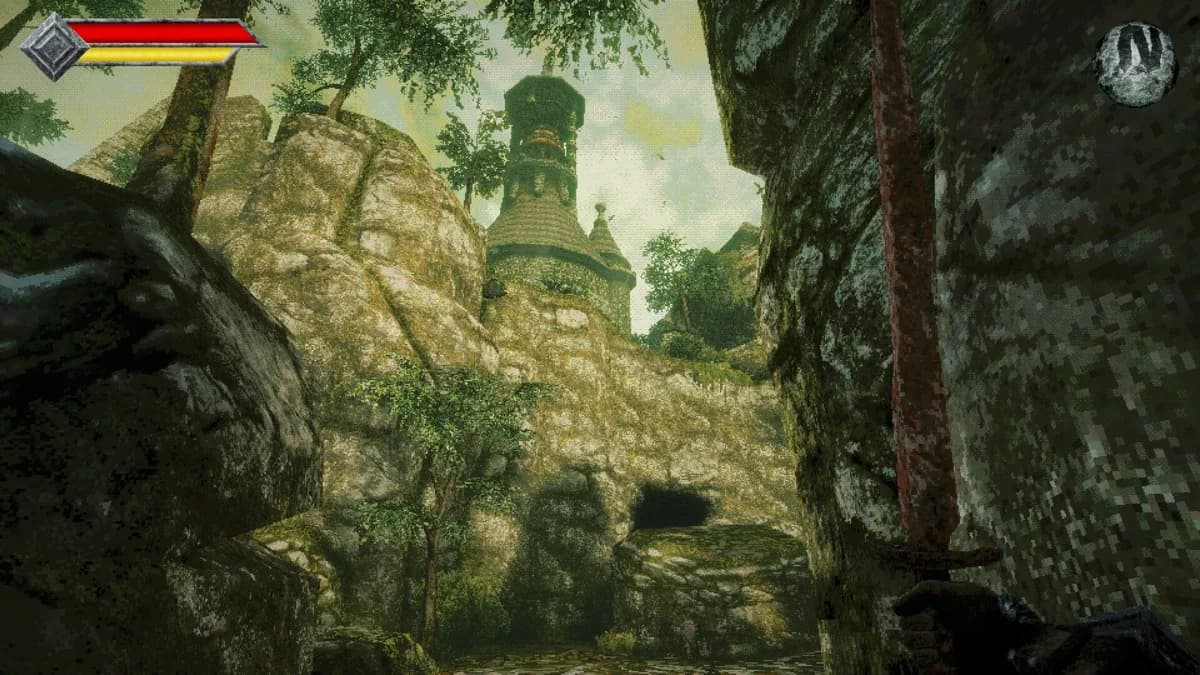

Queen's Domain has five Treasure Rooms: two Blood vaults, two Velvet vaults, and one Jade vault.
Opening them requires a chain of keystones, with later keys hidden inside earlier vaults. Three rooms contain rusted weapons that evolve into named weapons, while the other two move you toward the next treasure tier. Start with the checklist, unlock the first keystone in Obmuer Temple, and follow the routes below to reach every entrance.
All Treasure Rooms and their rewards
Use this checklist to track the five vaults separately. The two rooms within each of the first two tiers have different rewards.
| Treasure Room | Main reward |
|---|---|
| Blood vault, Tower of Knowledge | Rusted Greatsword |
| Blood vault, Verdant Hollow | Velvet Keystone |
| Velvet vault, Neasied | Rusted Great Morning Star |
| Velvet vault, Rotting Cavern | Jade Keystone |
| Jade vault, Deimpo Mausoleum | Rusted Leaf Blade |
The Forgotten Rooms trophy requires you to explore every treasure vault. Collecting and developing the weapons also contributes toward the game's weapon collection and upgrade objectives.
How to unlock the Blood Keystone
Find the note in Obmuer Temple
Your first stop is near the beginning of Obmuer Temple. You are looking for an already-open vault, so you do not need a keystone to reach the note that starts this process.
- Travel through the water until you reach the foot of the slope leading toward skeletons and barnacles.
- From the platform's edge, air dash to the small patch of land holding the corpse of one of Aganmi's raiders.
- Look to your right for an opening into the temple, then drop inside.
- Turn left into the dark cave.
- Follow the cave straight ahead until you reach a ledge overlooking a large room with pillars.
- Drop into that room, cross to the far side, and enter the open vault.
At the back of the vault, a seated skeleton has a note beside it.
Blood Treasure Room locations
Tower of Knowledge basement
Defeat the Tower of Knowledge boss before searching for this entrance. The boss clear lets you remove the flesh growths blocking access to a basement room filled with candle crawlers.
Clear those enemies, then inspect the room's corners. A glowing mushroom marks the corner containing the Blood vault door.
Choose this vault if you want another Queen's Domain melee weapon to develop. Its reward eventually becomes a slow, powerful option, with the evolution details listed below.
Verdant Hollow cliffside cave
Head toward the gates near the connection between Verdant Hollow and Rotting Cavern. You can approach from Petrified Garden, come up from the Rotting Cavern wing altar, or use the elevator from the Verdant Hollow wing altar.
Once you reach the gate area, follow this route:
- Find the slope beside the gates and walk up it.
- Continue to the ledge with the cave entrance.
- Walk into the cave to reach a dark room.
- Take the doorway on your left to find the Blood vault door.
The cave is the direct entrance. You do not need to air dash through the windows in the cliff face. Prioritize this room when you want to progress beyond the Blood tier.
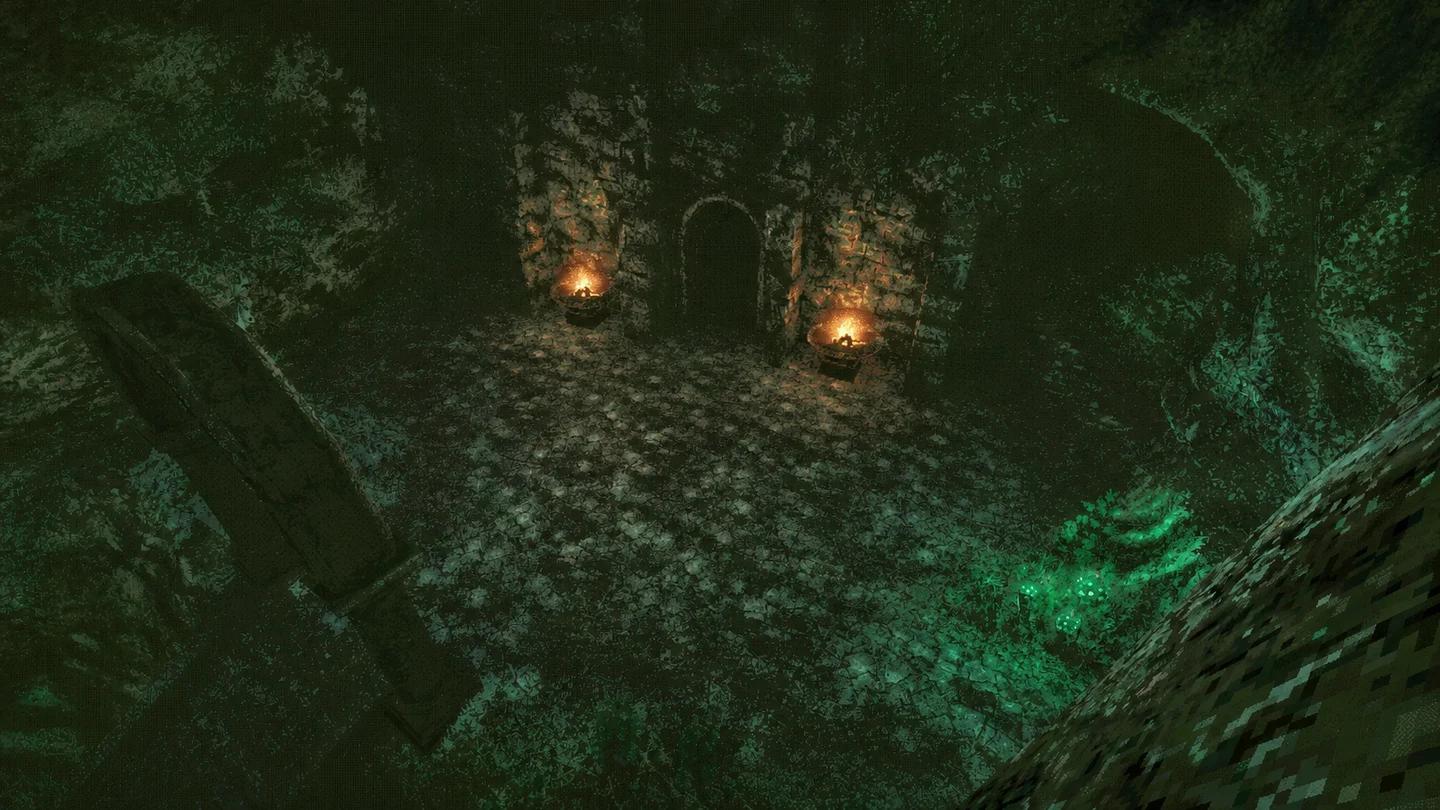
Verdant Hollow's cliffside cave
Velvet Treasure Room locations
Neasied underground vault
Return to the Neasied wing altar in the starting area. Look off the side of the altar area for a cave in the cliff face. This route continues through a hidden door, so dropping into the first underground room is only the beginning.
- Enter the cliffside cave and go to the back.
- Drop through the hole into the room below.
- Find the hidden door at the back of that room.
- Follow the passage deeper underground until you reach an elevator.
- Ride the elevator down.
- Look just beyond the two pillars near the entrance of the room where you arrive.
The Velvet vault door is beyond those pillars.
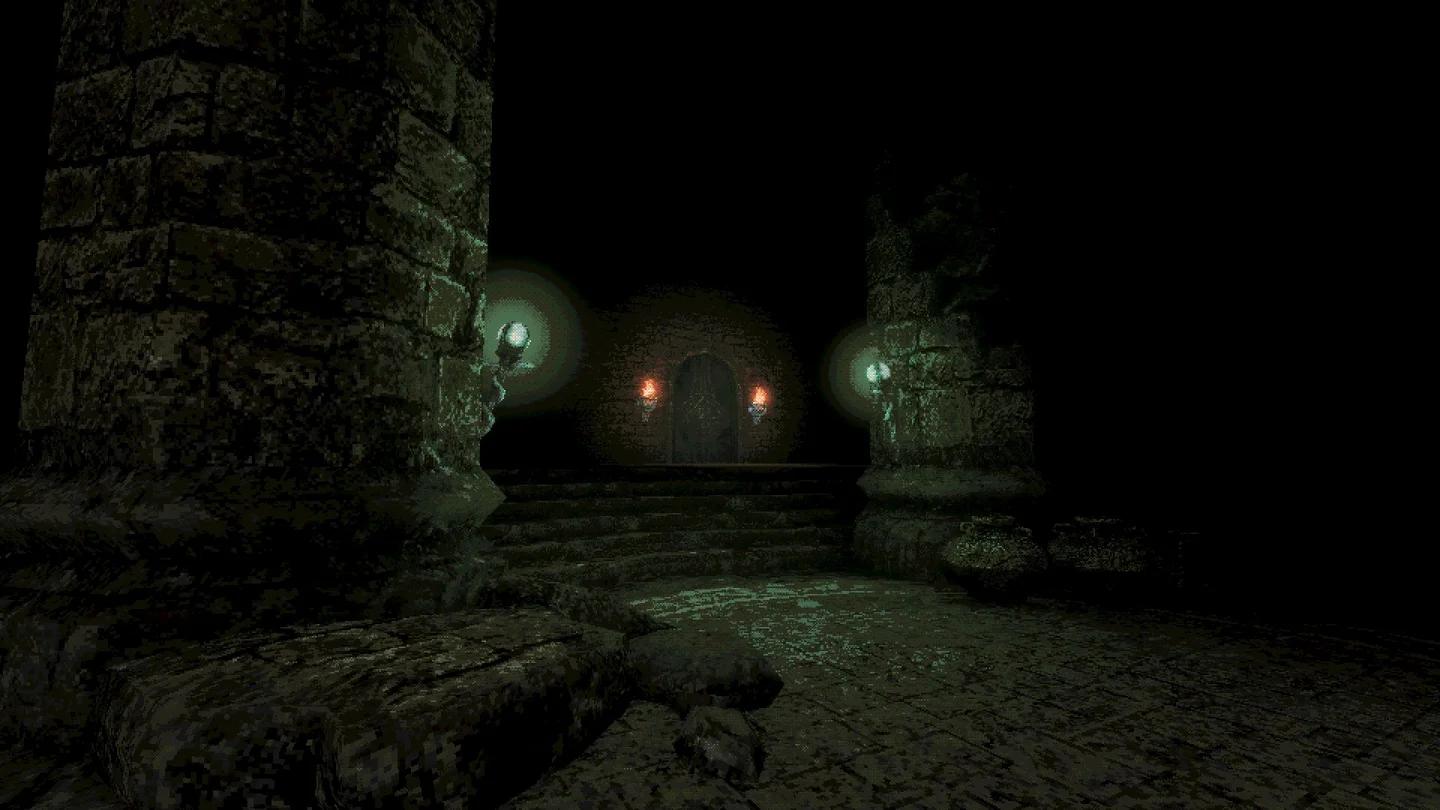
The Velvet vault below Neasied
Rotting Cavern sealed-door route
From the Rotting Cavern wing altar, look toward the shrine-like structure. Follow the path in that direction until you reach a sealed door with spaces for four dark triangular slate pieces.
Collect the pieces around the area and use them to open the door. The route beyond leads to the Velvet vault.
Rotting Cavern broken-bridge shortcut
You can also reach the vault area without collecting the slate pieces if you can access the raised area above the wing altar. Look for the crystal monument there.
One approach is to take the elevator from the connecting area. Another is to use cestus hopping onto a wing altar prong, then dash across to the raised area.
From the crystal monument area:
- Locate the broken bridge.
- Dash across the gap.
- Find the hole in the wall on the other side.
- Follow that opening into the area leading to the vault.
Both approaches reach the same treasure destination. Use the slate door if you are exploring the surrounding area for pieces, or take the bridge route if you can already reach the upper level.
Jade Treasure Room location
Deimpo Mausoleum stairwell
Start at the Deimpo Mausoleum wing altar. Take the doorway on your right, which leads into a large stairwell.
Descend the stairs and inspect the wall along the way. The Jade vault door is set into that wall; you do not need to reach the bottom of the stairwell before looking for it.
Treasure weapon evolutions and shop unlocks
What happens at level 10
Each of the three rusted weapons evolves at level 10 and adds items to the shop. Their evolved Queen's Domain weapon specials differ in reach and shape, so choose which weapon to develop based on the attack you want.
| Rusted weapon | Level 10 evolution | Evolved secondary attack | Shop items unlocked |
|---|---|---|---|
| Rusted Greatsword | Wodaso's Holy Lightning | A powerful lightning sweep in front of you | Scaled Greatsword, 10 Ancient Coins |
| Rusted Great Morning Star | Jigeki's Rot | A close-range explosion in front of you | Bronze Great Morning Star, 10 Ancient Coins |
| Rusted Leaf Blade | Puwema's Leaf Blade | Slashing wind discs | Gilded Leaf Blade, 10 Ancient Coins; Ring of Wind, 30 Ancient Coins |
How the wind attacks work
The Ring of Wind is a throwing weapon that sends discs of slashing wind forward, with a maximum charge of 4 discs. Puwema's Leaf Blade uses the same type of wind-disc attack for its secondary, also with a maximum charge of 4. Evolving the leaf blade therefore opens both a melee weapon with a wind projectile and a separate throwing-weapon purchase.