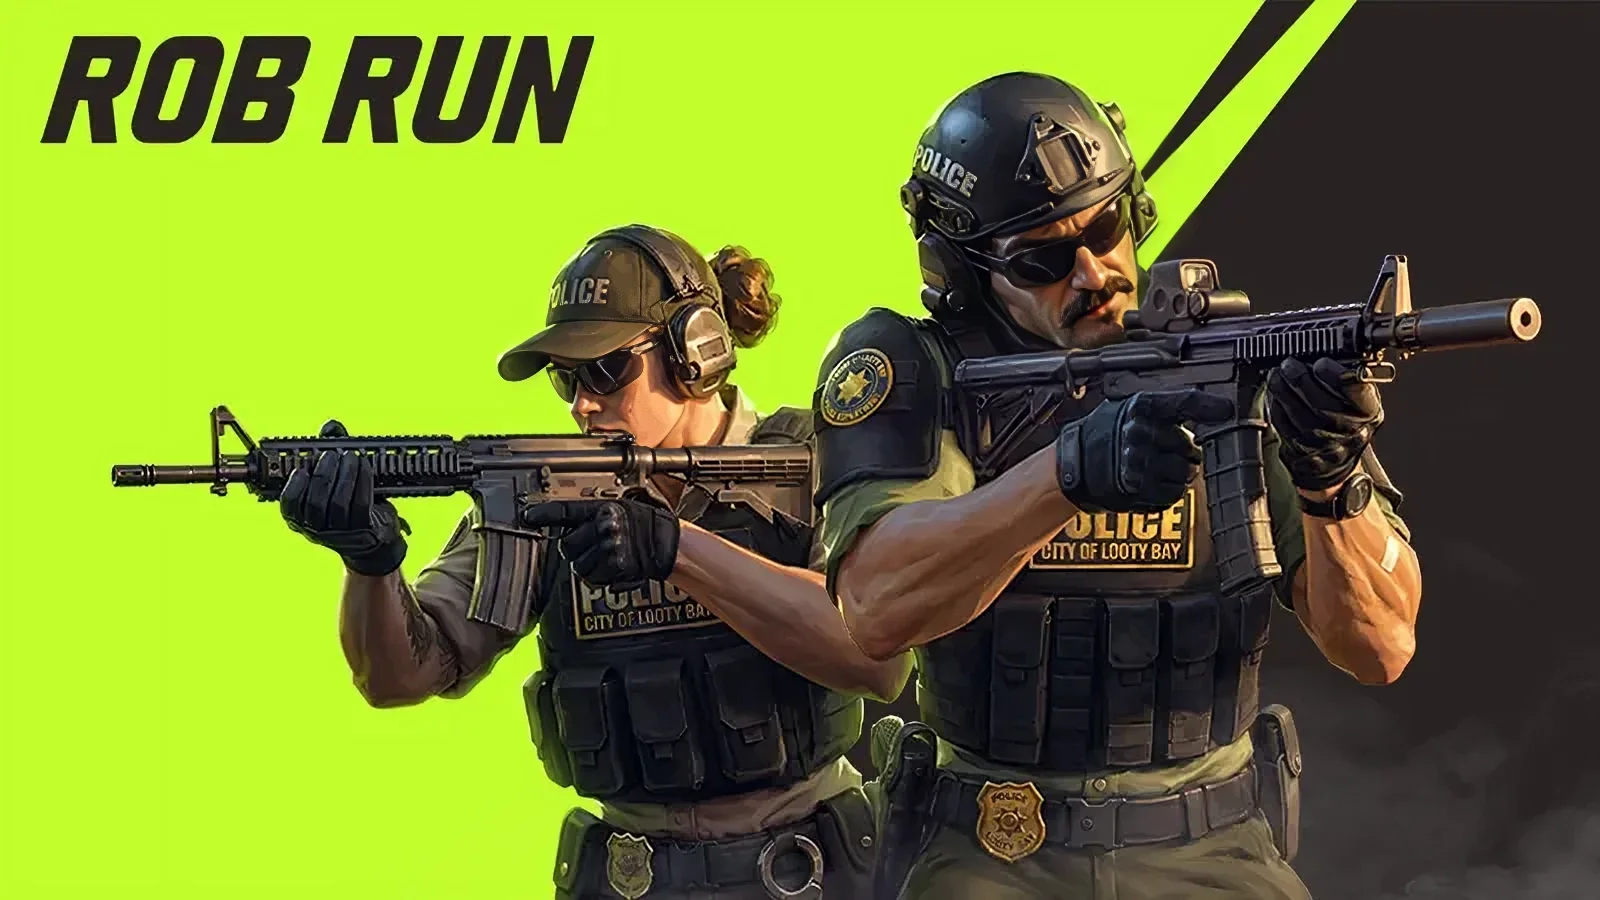

Get better equipment in Rob Run through city loot, Black Market purchases, or police progression, then fit wearable gear into its designated equipment slots.
Choose your next activity before spending. Bags increase carrying capacity, armor and plates support combat, medical supplies provide recovery, and specialist tools help you access particular targets. If a full inventory keeps ending your scavenging trips, a larger bag deserves attention before an expensive vest. Budget for a usable kit, including its supplies, and leave enough money to recover from a failed outing.
Equipment types available in Rob Run
Non-weapon equipment covers protection, carrying capacity, recovery, and access. Wearable items belong in equipment slots, while consumables and tools need space until you use them.
| Equipment type | Available examples | Main purpose |
|---|---|---|
| Body armor | Light, Medium, Assault, Heavy, and Bastion | Protection during combat |
| Armor plates | Replacement plates | Replenish depleted armor protection |
| Carrying equipment | Sports bags, pouches, and backpacks | Increase inventory capacity |
| Medical supplies | Bandages, painkillers, and medical kits | Provide recovery options |
| Criminal equipment | Masks | Activate the criminal role for robberies |
| Entry tools | Lockpicks, mechanical drills, and Decoders | Access specific containers or targets |
| Other utility | Smoke grenades, flash grenades, and vehicle repair tools | Support encounters and transportation |

Separate general supplies from specialist tools
A bag can help throughout a scavenging route. A mechanical drill has a narrower purpose: preparing for a bank vault. Start with equipment that supports your regular activity, then add tools for a specific destination.
Read unfamiliar keys before selling them. Their descriptions can identify a safe or restricted location, giving you a reason to keep an otherwise easy-to-overlook find.
How to obtain equipment
Buy through Lenny or a base laptop
Visit Lenny at Lenny’s Motel to access the Black Market. An installed Black Market laptop at your base provides another purchase point.
Some items have separate unlock and purchase steps. Paying an unlock fee makes an item available; it does not necessarily buy the item itself. Check both costs before committing money.
Use this shopping sequence:
- Choose the activity you are preparing for.
- Read the item’s description and access requirements.
- Add any unlock fee to the purchase price.
- Include supporting supplies, such as plates or medical items.
- Leave a reserve for replacing a lost kit.
Collect equipment while exploring
City loot offers a way to obtain gear without buying every item. Inspect useful finds before selling them, and keep equipment that supports a planned outing.
Avoid treating every unfamiliar object as something you must carry indefinitely. Compare its purpose with your available space and your next destination.
Check delivery requirements in Shipments
Press H to open the Shipments tab. Delivery requirements can include a base in a settlement of a particular tier or accumulated jail time.
Read the condition attached to the goods you want before investing in property. Buying unrelated upgrades will not satisfy a shipment’s specific requirement.
Get issued gear through police work
Apply for duty at Looty Bay Police Station when a police position is open. Enlistment provides standard equipment and a patrol vehicle, so your first patrol vehicle does not require a later badge upgrade.
Increasing your badge level unlocks better police equipment. Responding to a call for backup can also provide upgraded gear and a temporary pay increase when the force needs support. Treat a backup assignment as a separate equipment opportunity, not a badge promotion.
How to equip and replace gear
Confirm your backpack and armor slots
Use the equipment screen to check your backpack and armor slots. Carrying an item inside your inventory is different from fitting it into its designated equipment slot.
Before leaving:
- Fit your chosen bag into the backpack slot.
- Fit your chosen armor into the armor slot.
- Confirm that both items appear as equipped.
- Check your remaining inventory capacity.
- Pack the medical supplies and tools needed for your destination.
Use the interface’s equip interaction, and verify the result before closing the screen. A purchase alone is not a reliable check that your intended loadout is ready.
Prepare replacement armor plates
Incoming hits strip plates before health. Spare plates let you replace depleted protection during an outing, so include them when preparing for combat.
Replace plates by dragging them onto your character or using quick slots. Set up quick-slot access before entering a dangerous location to avoid reorganizing supplies during an encounter.
Equip your mask after preparation
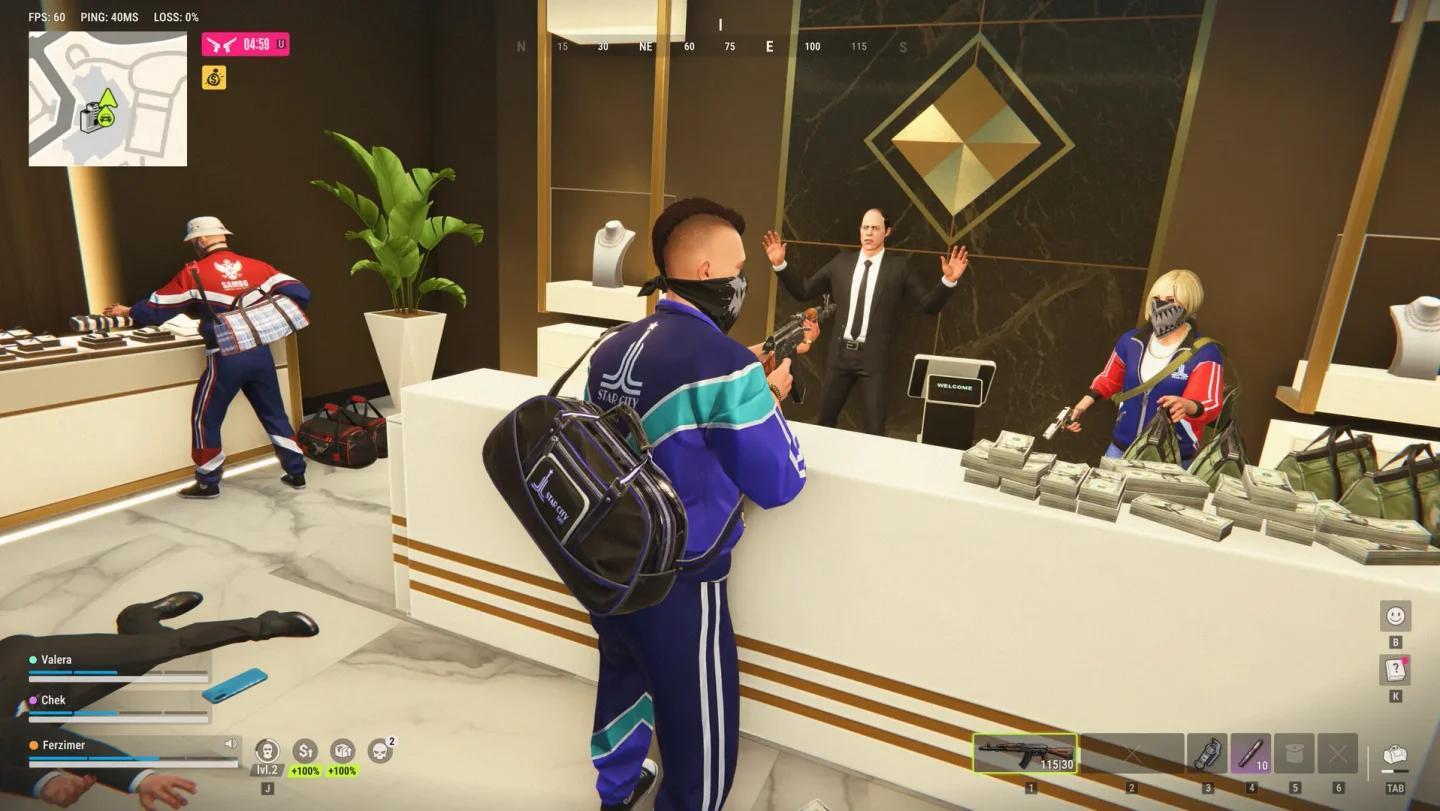
Equipping a mask activates your criminal role and allows robberies in Looty Bay. Scout the target, prepare your equipment, and choose an exit before taking that step.
Which equipment to prioritize first
Your next purchase should address the problem that repeatedly limits your trips. Price alone does not identify the most useful upgrade.
| What is limiting your outings? | Prioritize | Check before spending |
|---|---|---|
| Your inventory fills before you finish collecting | A larger bag | Added capacity and total cost |
| You are preparing for armed encounters | Armor, plates, and medical supplies | Whether your budget covers the complete kit |
| Your intended target requires an entry item | The relevant tool | Its purpose and acquisition requirements |
| One failed trip would empty your reserve | An affordable replacement kit | Money remaining after the purchase |
If you're struggling with inventory space while scavenging, consider carrying capacity first. If your next destination involves combat, approach preparation as you would in other action games: budget for protection and recovery together.
Keep the purchase tied to one outing
Buy specialist equipment for a planned use. Supplies for several unrelated activities compete with the space needed for your current objective and its loot.
Keep unnecessary valuables at home. An expensive tool does not improve a trip that has no use for it.
Compare equipment before committing resources
Read armor descriptions alongside prices
Armor costs rise sharply across the available options. Read each item’s protection description instead of treating its price as a damage-reduction percentage.
| Armor | Price |
|---|---|
| Light | $4,000 |
| Medium | $15,000 |
| Assault | $70,000 |
| Heavy | $140,000 |
| Bastion | $350,000 |
Check the current purchase screen before paying. The money left afterward still needs to fund recovery supplies, replacement protection, and any target-specific equipment.
Read protection before committing
Compare bags by capacity
Sports bag options include $5,000, $15,000, and $40,000 purchases. Compare their listed capacities; do not assume that each price increase adds the same number of slots.
A larger bag earns its cost when your route produces enough useful finds to fill it and you can bring those contents home. Avoid spending your entire reserve on capacity you rarely use.
Include the cost of another usable kit
Replacement cost includes more than the main wearable item. For a combat outing, count the armor, reserve plates, medical supplies, and relevant tools together.
Compare that total with the money you would retain after buying. If losing the kit would stop you from preparing another trip, choose a cheaper setup or build your reserve first.
Match your gear to your playstyle
Pack access tools for the actual target
Lockpicks open other players’ vehicle trunks, including police trunks. They do not let you steal the entire vehicle. Mechanical drills support bank-vault attempts, while a Decoder is used against a base’s Security System.
Decoders are rare and are not sold in ordinary shops. Save one for a planned raid instead of carrying it through unrelated outings.
Use these equipment priorities as starting points:
| Activity | Equipment emphasis | Target-specific preparation |
|---|---|---|
| Scavenging | Carrying capacity | Space for useful finds |
| Houses and stores | Light or Medium armor, plates, medical supplies, and a smaller bag | Entry items relevant to your route |
| Jewelry stores and pharmacies | Medium or Assault armor, a larger bag, medical supplies, and smoke grenades | Room for valuables and replacement supplies |
| Banks | Heavy or Bastion armor, reserve plates, a large bag, medical supplies, and smoke grenades | Mechanical drills and transportation |
| Base raids | Armor, plates, medical supplies, a large bag, and flash grenades | A Decoder for the Security System |
| Police duty | Department-issued equipment and recovery supplies | Badge progression or backup opportunities |
Account for role and location before risking gear
Equipment-loss rules change with your role and location. Police officers who die on duty in Looty Bay lose department-issued equipment, while personal possessions remain protected. Civilians have city inventory protection, but criminals risk their carried inventory.
Surrendering to police preserves equipped gear while officers confiscate bag contents. An accepted bribe preserves both, but payment requires bank funds and the arresting officer’s agreement.
Death in the desert causes loot loss regardless of role. Before traveling there, store items unrelated to the trip and keep an affordable spare kit for recovery.