
Start Fisch Shark Challenges by completing Hammy’s first quest task, then speak to Megamouth in the Shark Sanctuary. These recurring missions in Roblox reward shark catches with Shark Tokens and another item, including possible totems, relics, or Companion Candy.
The challenge menu offers three missions at a time, drawn from four difficulty levels. Choose by the exact catch requirement and displayed reward, not the difficulty color alone. A mission without a mutation requirement may be more practical than a lower-tier task that needs a mutation you cannot readily produce. Rerolling is an option, but its rising cost makes checking every offer worthwhile.
How to unlock Fisch Shark Challenges


Find the Shark Sanctuary
The Shark Sanctuary entrance is underwater near the Arch. Swim down and look for a cave beside the underwater rubble. Inside, the Megamouth NPC’s coordinates are X: -4038, Y: -1881, Z: -849.
Megamouth gives you the recurring Shark Challenges. Hammy handles the Hammyshork Rod questline, while Oris runs the Shark Token shop. These NPCs have separate jobs, so speaking to Hammy again will not open the challenge selection menu.
Complete Hammy’s opening task
Megamouth appears after you complete the first task in the Hammyshork Rod questline. To begin that questline, visit a shark hunt, follow the purple trail underwater, and interact with the stranded shark plush to rescue it. The objective then directs you to the sanctuary and Hammy.
Hammy’s opening recruitment objective involves catching 13 sharks. The Fisch Hammyshork Rod guide covers those individual catches if you still need to finish that stage. Once the opening task is complete, check the sanctuary for Megamouth.
You do not need to finish the later mountain trail and underwater chase to access Shark Challenges. Those quests unlock the rod’s additional modes.

Hammy in the Shark Sanctuary
Which Shark Challenge should you choose?
Interact with Megamouth, inspect the three offered missions, select one, and confirm it to begin. Each offer shows its objective and rewards. The card’s background identifies its difficulty: light gray, blue, purple, or red.
There are six mission templates across the four difficulty levels. The shark species and any required mutation vary between offers.
| Difficulty | Card color | Mission requirement | Main condition to check |
|---|---|---|---|
| Easy | Light gray | Catch and return one Unusual shark with a specified mutation | Whether you can produce the named mutation |
| Easy | Light gray | Catch and return one Mythical shark | Where to find the requested species |
| Medium | Blue | Catch one Mythical shark with a specified mutation | Both the species and mutation |
| Hard | Purple | Perfect Catch one Mythical shark | Whether you can reliably land a Perfect Catch |
| Hard | Purple | Catch one Apex shark | Access to the requested Apex shark |
| Extreme | Red | Catch and return one Apex shark with a specified mutation | Access, rarity, mutation, and the return requirement |
Read the objective’s verb before accepting
Catch and return tasks require you to bring back the requested shark. Keep that catch until you have handed it in. A plain catch objective and a return objective should not be treated as the same instruction.
A Perfect Catch task adds a condition to the fishing result. Landing the correct Mythical shark without a Perfect Catch does not satisfy the wording of that mission. Likewise, a mutation task asks for the named mutation, not simply any mutated version of the species.
Choose the reward you want, then compare the work needed to earn it. For example, a Hard mission asking for a Perfect Catch on a familiar Mythical shark may suit you better than a Medium mission requiring a mutation you are not set up to obtain. Difficulty is a useful label, but the actual objective determines your next steps.
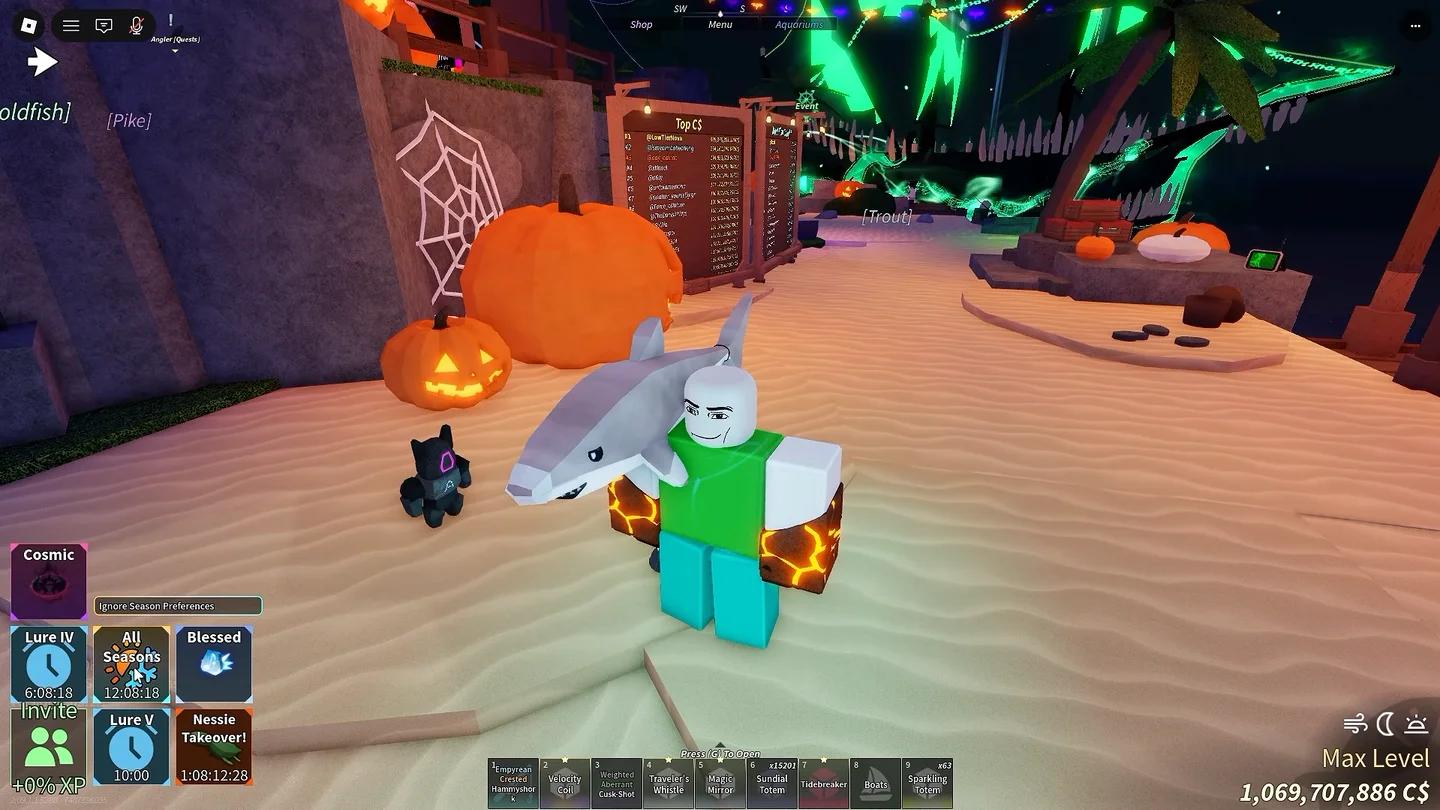
Shark Challenge mission choices
Where to look for requested sharks
Read the species name before leaving the sanctuary. Some sharks come from hunts, while others belong to specific fishing areas. Traveling to a general ocean location will not replace a requirement tied to the Depths or Keeper’s Altar.
Use these locations when one of the corresponding species appears in your mission:
| Requested shark | Where to look | Planning note |
|---|---|---|
| Great Hammerhead Shark, Great White Shark, or Whale Shark | The matching shark hunt | Shark Whistles can help create hunt opportunities |
| Cookiecutter Shark | Shark hunts | Check active hunts before choosing a longer trip |
| Megamouth Shark | Its roaming ocean migration | This catchable shark is separate from the sanctuary’s mission NPC |
| Maelstrom Shark | Atlantean Storm near Grand Reef | Fish inside the storm’s whirlpool area |
| Mutated Shark | The Depths | Plan around access to the Depths |
| Nurse Shark | The Ocean | This is an ocean catch, not a sanctuary catch |
| Umbral Shark | Keeper’s Altar | Head to the altar’s fishing area |
Shark Whistles are most useful when the selected objective needs a hunt species. They do not replace a named location requirement for sharks such as the Mutated Shark or Umbral Shark.
Before spending a whistle or making a long trip, check the mutation requirement again. Reaching the correct species is only part of a mission that also specifies a mutation or Perfect Catch.
What rewards can Shark Challenges give?
Each mission displays two rewards: Shark Tokens and another item. Inspect that second reward before accepting, especially if your goal is a particular totem, relic, or companion item. An Aurora Totem is a possible reward, not a guaranteed payout from every challenge.
The additional reward pool contains these 15 items:
| Reward group | Possible items |
|---|---|
| Whistles | Ancient Shark Whistle, Shark Whistle, Bloop Whistle |
| Relics | Enchant Relic, Exalted Relic, Cosmic Relic |
| Totems | Aurora Totem, Rainbow Totem, Stormbringer Totem |
| Bait and containers | Bait Bucket, Fish Barrel, Quality Bait Crate, Carbon Crate |
| Other items | Companion Candy, Empowered Disturbance Catalyst |
Shark Tokens also give you a reason to visit Oris’s shop inside the sanctuary. The shop accepts tokens for its stock, so a mission can contribute toward a later purchase even when its other reward is not your main target.
Keep the mission reward preview and shop stock separate when deciding what to farm. The former tells you what completing that particular challenge earns; the latter determines what you can buy with your accumulated tokens.
When is rerolling worth the cost?
Reroll when the offered missions have requirements you cannot reasonably complete, or when none offers an item you want enough to pursue. Compare all three offers before paying. A usable mission with a modest reward can be a better choice than repeatedly spending currency while searching for a specific item.
A fourth consecutive reroll costs 80,000 C$. Buying the first four rerolls costs 150,000 C$ in total. Set a spending limit before beginning a reroll streak, especially when you are searching for a particular reward.
Make the final choice by checking three things together:
- Access: Can you reach the shark’s area or get the required hunt?
- Catch conditions: Can you meet the mutation or Perfect Catch requirement?
- Reward: Is the displayed item worth that trip and effort?
Accept the mission with the clearest route to a reward you need. Save rerolls for offers whose catch conditions block your progress, and keep any required return catch until the mission is complete.