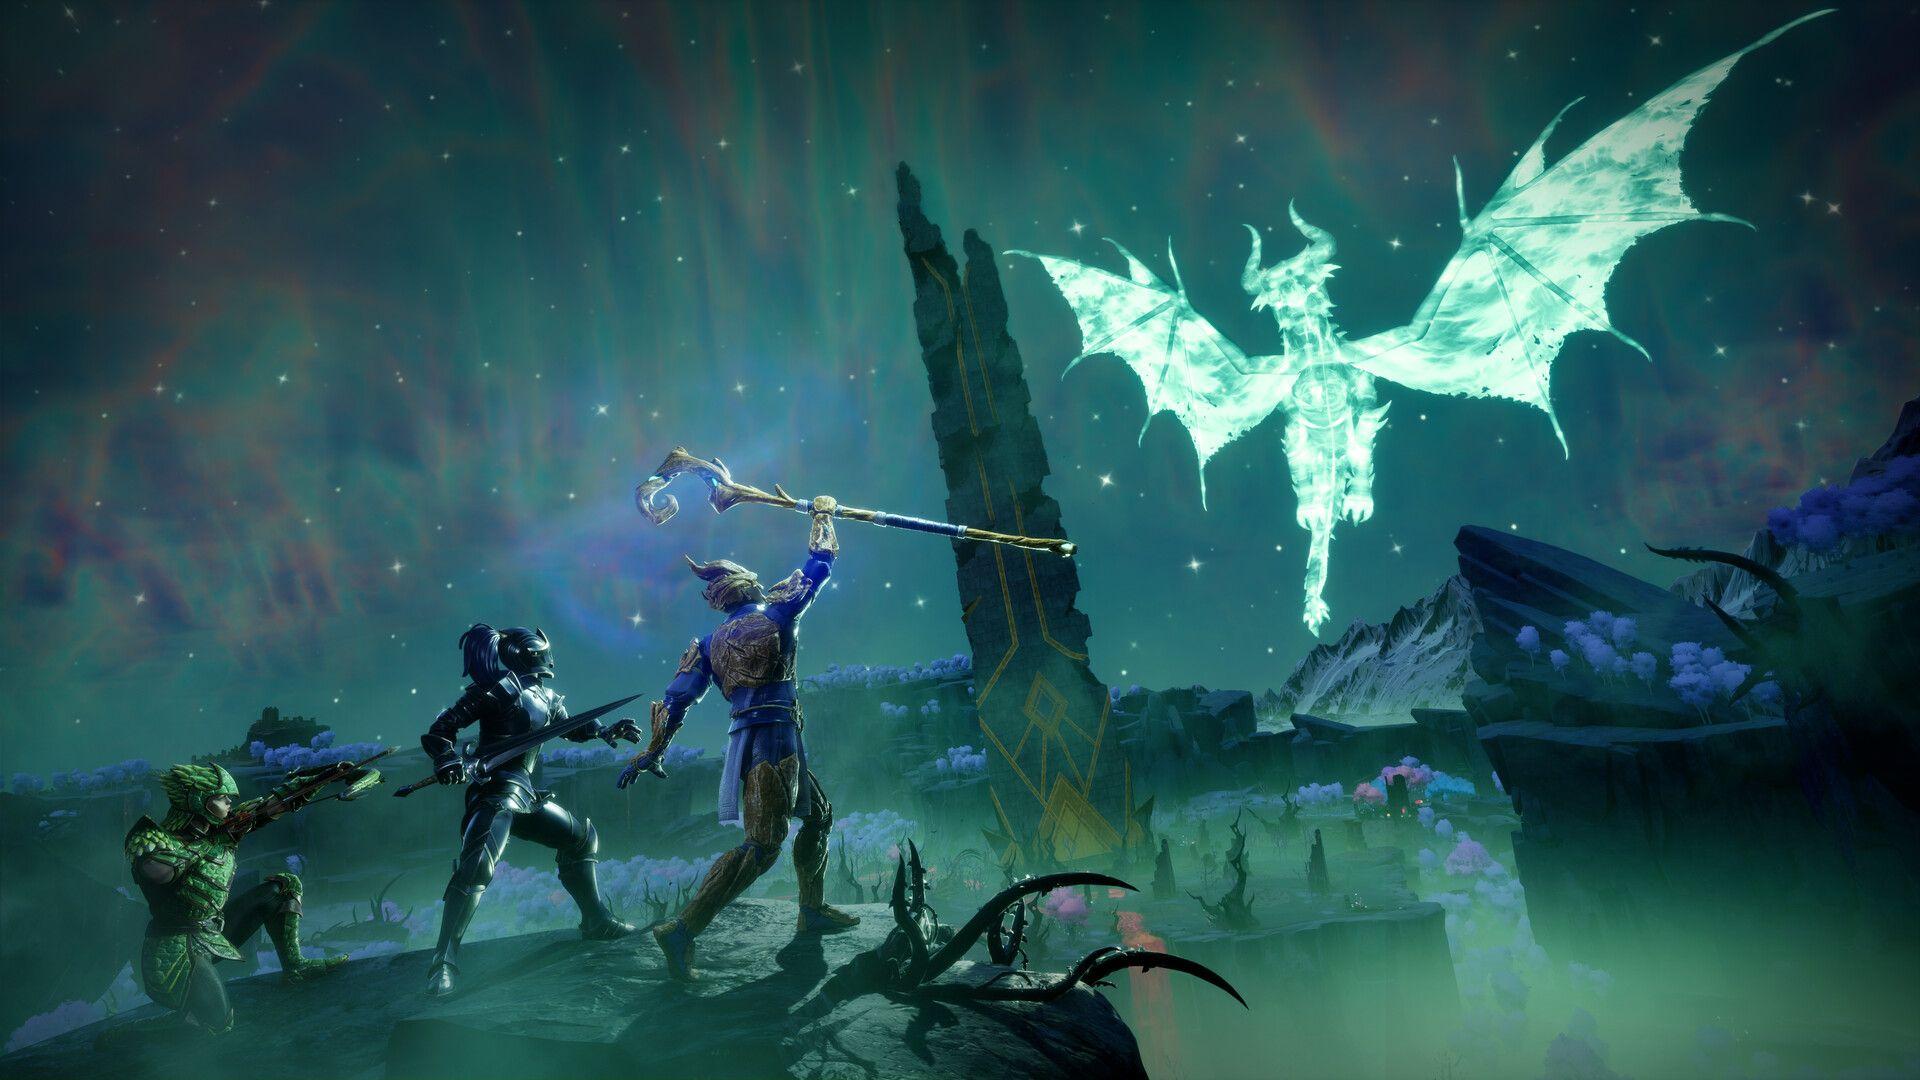


Regicide is the ninth primary quest in RuneScape: Dragonwilds and the final chapter of Kuldra's Saga. The whole thing takes you through the Scorned Wilderness raid, past four extraction points, and into a three-phase boss fight against Kuldra, the God-Eater. The stakes are clear: Kuldra is trying to rebuild the Harmonic Resonator to reshape Gielinor, and stopping her means fighting through everything she throws at you. This guide covers every step, from gear prep to cracking the four-pylon code puzzle, to the moment you put a cannon shot through her final phase.
What do you need before starting Regicide?
You must have completed Icthlarin's Little Helper before the Dragon Gate north of the Fractured Plains will let you through. Beyond that quest requirement, your gear and consumables are what determine whether this run goes smoothly or turns into a long slog.
Recommended gear and items:
- Power level 7 armor as a working minimum, though upgrading with Scorned Wilderness materials before the Kuldra fight makes a real difference in the later phases
- Adamant or better pickaxe and logging axe (you'll need both throughout the raid, not just at the start)
- A Rune-tier logging axe if you plan to harvest Magic Trees inside
- Food, drinks, and Strong Tea for long grinds
- Fire and poison potions, since Kuldra and her dragons apply status damage across every phase
- A Lodestone to build at Zilyana's camp so you can teleport back to base without retracing the whole route
How to reach Commander Zilyana and set up base
The Scorned Wilderness entrance sits at the top left of the Fractured Plains. Cross the bridge, climb the stairs, and go through the door. Skip the mobs guarding it since fighting them here wastes time and resources. Continue through the courtyard, head straight for the far door, pass through the gate, and speak to Commander Zilyana.
Zilyana explains that Saradomin sent her to deal with Kuldra, but proximity to the God-Eater's lair weakens her, so she needs your help. Her camp at Rasthin's Rest is a safe building zone with no new resources of its own. Build your Lodestone here immediately before you push further in. Every extraction point you unlock later lets you teleport back to Rasthin's Rest, repair gear, and restock without walking the route from scratch.

RuneScape: Dragonwilds Guide: How to Complete Regicide Quest
Zilyana's camp to the first extraction point
Once you speak to Zilyana and start the raid, you're transported to Dragontail Vines. Top up your food and drinks before leaving camp, then follow the path into the first area, where new resource nodes appear with no mobs to interrupt your farming.
The Anima Pylon system governs every gate in this raid. The pattern repeats throughout: siphon crystallized Anima of the correct element, power the pylon, and the path forward opens. Here's what to expect in this first stretch:
- Farm the resource nodes freely in the first area, then siphon the correct elemental Anima and run it to the nearby pylon to power it and cross the bridge.
- When Kuldra appears overhead, run to Zilyana immediately. Standing in the open leaves you exposed to her attack.
- Loot the chests and read the lore note if you want the context, then siphon the element the gate requires and pass through.
- Clear archers and smaller mobs first, then take on the black dragon alone. It runs a short repeating moveset and is much easier when nothing else is hitting you simultaneously.
- Siphon Earth Anima, head through the gate, and cross the vines into the next area.
- Kill the necromancer first whenever one spawns. He keeps summoning reinforcements until he's dead.
- Siphon Water Anima, clear the skeletons around the Anima orb dispenser (their Anima is what creates the orb), take the orb to the Water pylon, and power it to cross the bridge to the first extraction point.
Use the extraction point to teleport to Zilyana, repair, and restock before heading back in.
First extraction point to the second extraction point
This section adds an Air-based platforming puzzle and the raid's first Sanguine Urn.
- Clear the mobs in the new area, including those positioned above and to the left.
- Head up the stairs where a dragon guards the next stretch. Pull every mob toward the stairwell first so you can hit multiple enemies at once while staying clear of the dragon's attacks.
- With the dragon down, clear the mob guarding the nearby pylon, power it up, and loot the chest beside it for the first Sanguine Urn.
- Backtrack across the small bridge and through the gate.
- Take the right path first (weaker mobs), then clear the tougher ones. Power the pylons to unlock the next gate.
- Step onto the Anima platform to trigger a mob wave. Kill the necromancer immediately, then the three Air Anima-infused skeletons, and use Windstep back up as soon as the third one dies to power the first Air pylon.
- For the second pylon, unlock the gate above, then use Windstep to hop diagonally across the gap. Go left into the hole in the wall, flip the lever, recharge on the Anima platform, jump to the top platform for the Anima orb, drop down with Windstep, place the orb, and power the pylon.
- Cross the toxic waterfall by walking the left edge and double-jumping around it. Cross the slanted beam, chop the thorny vine, and take the elevator up.
- Pull the levers in order starting with the one furthest away. Clear the skeletons before the second lever and the zombies before the third.
- Break down the wall past the archway, defeat the Plague King, and pull the final lever.
- Reach the second Sanguine Urn by using Windstep to the beam or ledge just above the lever room. Missing this jump is a common death.
- Kill the archer, then the lone zombie, before pulling the Abyssal Demon into the fight. If more mobs join in, kite the group up the nearby stairs and use the pillar there for cover.
- Loot the chest behind the statue to the left, then head up the hill to the second extraction point.

RuneScape: Dragonwilds Guide: How to Complete Regicide Quest
Second extraction point to the third extraction point
This stretch adds a fire-based gate and another dragon fight before the third extraction point.
- Head through the archway left of the stairs, break down the wall, clear the rats, and siphon Anima.
- Cross the gap and go through the gate, healing fully before engaging the mobs there. Open the gates in the room as you clear it since the extra space helps, and a wand performs well against the shielded mobs here.
- Create an Anima orb, place it in the pylon, then break down the wall behind the pillar.
- Kill the Rat King behind the wall, siphon Earth Anima, and loop back to go right through the next gate.
- When mobs spawn, open the gate immediately for room to maneuver. If the fight gets chaotic, drop off the edge since the flames below damage anything that follows you.
- Siphon Fire Anima, power the pylon, and cross the bridge.
- Heal fully before the dragon fight. Keep the dragon near the center of the arena so its surrounding mobs don't aggro at the same time.
- Clear the archers after the dragon, then head up the hill to the third extraction point.
Restock at the third extraction point before the final puzzle.
How do you solve the four-pylon code puzzle before Kuldra?
The final stretch before Kuldra's arena is a single puzzle: power all four Anima pylons, use their platforms to work out a code, and enter it to open the gate to the fourth extraction point.
- Jump across the platforms of the broken Cathedral. Multiple routes exist, so take your time.
- Read the book in the room for the code clue, then turn the first valve and the one after it to activate the code platforms.
- Turn the first valve again once the platforms are out to hold them in place, then jump up and drop down the other side.
- Pull the lever, siphon Anima, create an orb, place it in the pylon, and turn the valve to power that section's code plate.
- Cross the piping to the far side (the more straightforward path), step onto the platform to trigger mobs, clear them, and step onto the Anima platform to power that pylon.
- Drink a fire potion before crossing back if you're low on health, then repeat the process on the remaining side.
- Enter the code: Air, Water, Earth, Fire.
- Head through the gate and up the stairs to the fourth and final extraction point.
Repair and restock fully here. The gate ahead leads directly to Kuldra.
Kuldra boss fight walkthrough: how do the three phases work?
The Kuldra fight runs on a repeating loop across three phases. Each phase follows the same structure: kill an elemental dragon to generate an Anima orb, use the orb to power a cannon-linked pylon, and fire the cannon at Kuldra while dodging her attacks.
Kuldra's attacks include fire, poison, lightning, and ice, so your fire and poison potions from your prep pack are actively useful throughout the fight, not just backup supplies.
Repeat the cannon loop until all three phases are cleared, then follow Kuldra into her final form.
Defeating the God-Eater's Heart
After the third phase, you enter Kuldra's body and fight her heart directly. The heart spawns Heartworms between each round of damage and surrounds itself with poison circles.
- Run straight ahead to the heart, then kill the two Heartworms that spawn before attacking it.
- Use melee attacks rather than a wand or ranged weapon. Melee lands noticeably harder on the heart.
- Dodge the poison circles while attacking, and repeat the heartworm-then-heart cycle until the heart dies.
- When the heart tells you to get out, you don't need to rush. The fight ends without requiring an escape.
Speak to Zilyana after the fight to collect your rewards and complete the quest.
What are the Regicide quest rewards?
Completing Regicide earns you a Regicide Reward Pack from Commander Zilyana containing three items, plus ongoing access to the Scorned Wilderness raid.
Full access to Kuldra's Sanctum also unlocks for repeat runs. Note that extraction points reset when Kuldra dies, so each new run starts from Dragontail Vines.
For more ways to strengthen your character before attempting this raid, the guide on best skills to prioritize early in RuneScape: Dragonwilds is worth reading before you step through the Dragon Gate. If you're building out your full knowledge base for Ashenfall, the complete RuneScape: Dragonwilds strategy guides collection has everything from combat systems to zone-specific tips to carry you through the rest of the main storyline.