Soul-Eater Imaru is the Power Level 5 boss of Fellhollow in RuneScape: Dragonwilds, and she hits harder than anything you've faced before reaching her tower. With 14,000 HP, full immunity to Poison, Burn, and Bleed, and a soul-based mechanic that punishes players who don't know what they're doing, this is not a fight you walk into unprepared. This guide covers everything from unlocking the arena to surviving the final stomp phase and farming her rare drops.
Who is Soul-Eater Imaru?

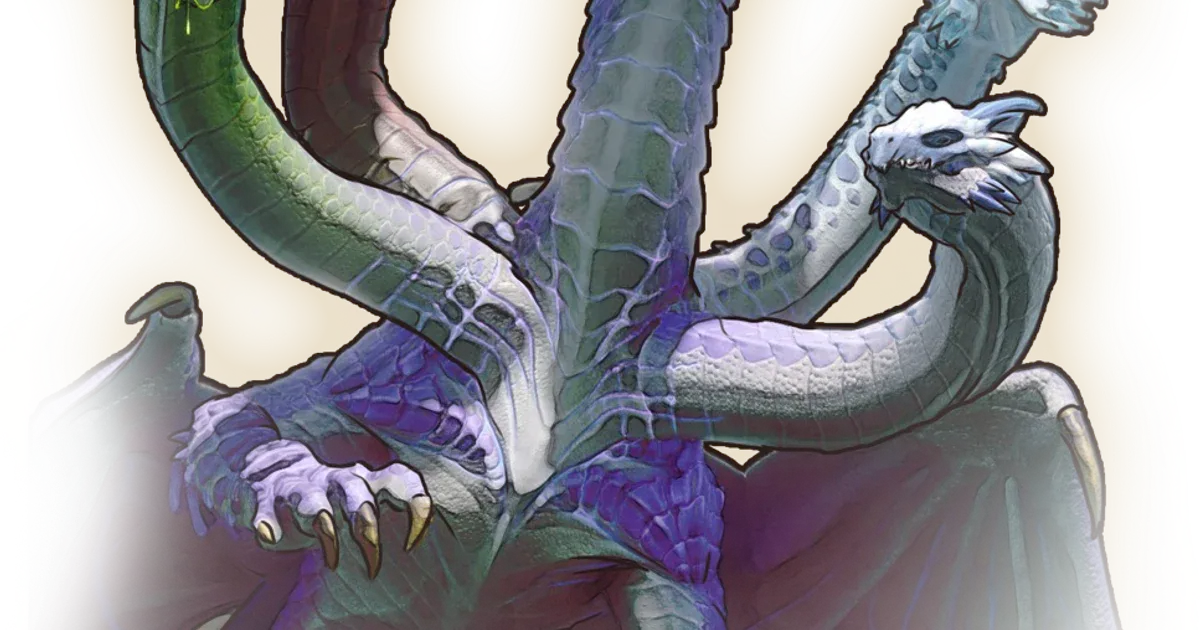
Understanding Imaru's background isn't just lore flavor. It directly explains why her mechanics work the way they do. Imaru was originally a water dragon created by the dragonkin, infused with water magic that tempered the rage typical of her kind. She and her mate Xikotal settled in Fellhollow and protected the human settlers there, blessing them with an enchantment woven into their very bones.
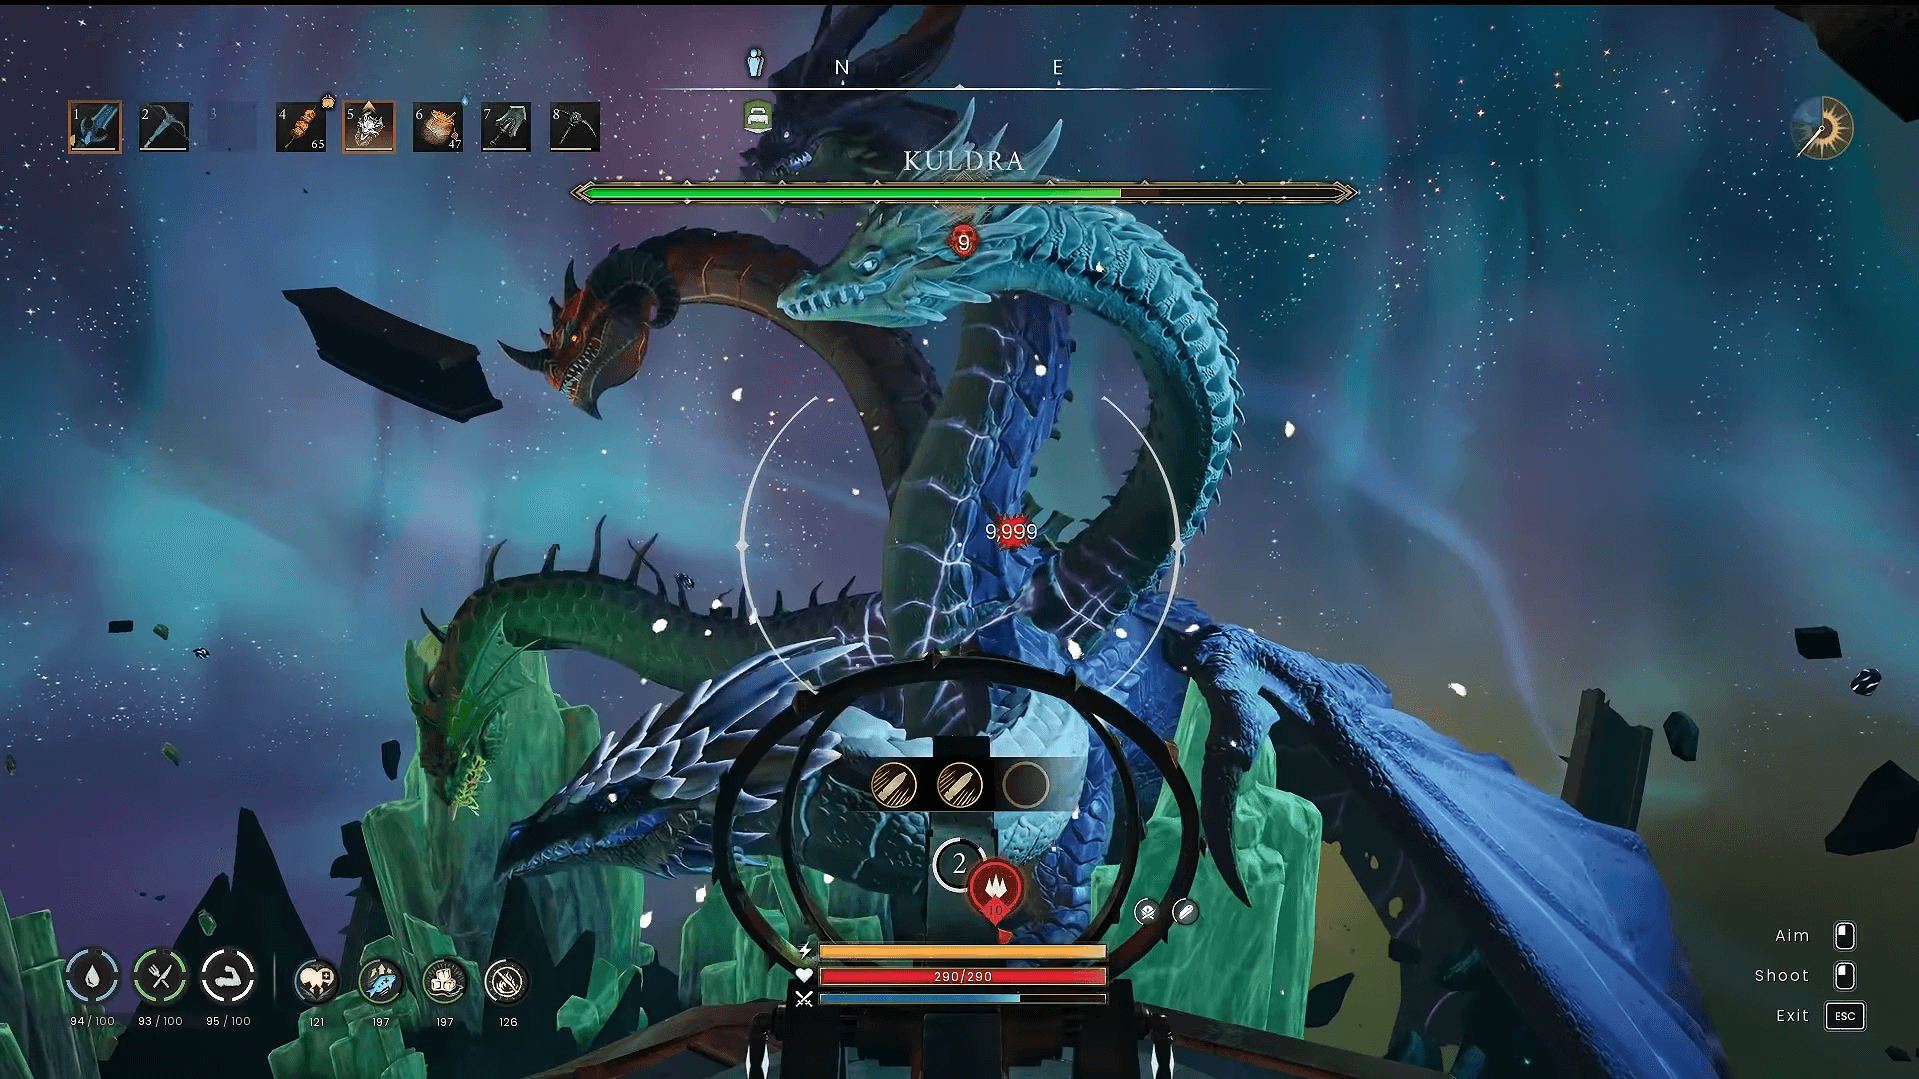
That protection collapsed when Kuldra arrived and demanded the humans' destruction. Imaru and Xikotal refused and fought back, but Kuldra was too powerful. She ripped Xikotal's heart from his chest and devoured it in front of Imaru, then left Imaru alive, considering grief a worse punishment than death.
Imaru sought out Ravanna, a sorcerer skilled in necromancy, begging for Xikotal's resurrection. Ravanna couldn't manage that, but she offered something else: a grief-curse forged from Imaru's rage, designed as a weapon against Kuldra. Armed with it, Imaru attacked Kuldra a second time. The battle shook the land itself, with wind turning to knives and rocks hurled like cannon fire. The curse had genuinely changed her, and Kuldra's armor shuddered under the assault. But Kuldra still won.
Death didn't stop Imaru. She wedged herself in the River Noumenon, blocking the path to the afterlife, and clawed her way back to the living world. The resurrection came with a cost: corruption. She began devouring the souls of the very settlers she had sworn to protect, turning them into undead. The infection spread even to those who hadn't received her original blessing. Ravanna, unable to kill Imaru or break the curse, sealed her inside a tower in Hope's Fall and split the curse's essence into three fragments scattered across Fellhollow, hoping someone stronger would one day use that same curse against her.
That someone is you.


How do you unlock Imaru's Tower?
The entrance to Imaru's Tower in Hope's Fall is sealed by magic. You need three Curse Fragments collected from across Fellhollow to dispel the barrier.
| Curse Fragment | Theme | Effect on the Seal |
|---|---|---|
| Curse Fragment (Grief) | The loss of Xikotal | Dispels the first layer of the barrier |
| Curse Fragment (Despair) | The failure of the human blessing | Weakens the spectral seal |
| Curse Fragment (Rage) | The desire for Kuldra's destruction | Fully unlocks the boss arena |
All three must be collected before you can enter. If you've already defeated Imaru and want a rematch, you have to re-collect all three fragments again. There's no shortcut on repeat runs.
What gear should you bring to fight Imaru?
The Salve Amulet is non-negotiable for this fight. Imaru is an undead boss, and the Salve Amulet provides a significant bonus against undead enemies. Don't enter the tower without it.
For weapons, the community consensus after dozens of runs leans toward high-tier two-handed melee weapons. The reason is practical: two-handed weapons can clear the arena of vines on cleansing altars faster than ranged, and the spin attack available with a 2H weapon during the soul phase deals substantial bonus damage and can stun Imaru. That stun window is where your biggest damage happens.
Mages can absolutely clear this fight, but the workload is higher. You'll need to switch between Fire and Air spells to handle different minion types, and doing that mid-combat without pre-hotkeying your runes is a fast way to die.
| Slot | Melee Setup | Mage Setup |
|---|---|---|
| Weapon | Tier 5 Two-Handed Sword | Tier 5 Staff of the Torrent |
| Armor | White Armor Set | Full Tier 5 Spellweaver Robes |
| Amulet | Salve Amulet | Salve Amulet |
| Consumables | Healing Potions, Melee Buffs | Mana Potions, Magic Power Boosts |
Before the fight, use the Purifying Pools in Fellhollow's sub-regions to clear any lingering debuffs. Entering the tower with stacked negative effects from the region's undead enemies will cut your effective health pool significantly.
Phase-by-phase breakdown: How do you beat Imaru?
Phase 1: Opening onslaught
Imaru opens with standard draconic attacks layered with spectral effects. The most immediate hazard is her necrotic puddles. Standing in one drains your health fast, and they persist long enough to take over large sections of the arena if you let her drop them in the center.
Kite Imaru toward the edges of the arena deliberately. Keep the center clear for dodging. Your target for ending this phase is getting her down to roughly two-thirds HP before she takes flight for the first time. The best damage windows open immediately after she misses a slam attack, so wait for the whiff before committing to a burst.
Phase 2: Soul form and minion waves
This is where most first-time attempts fall apart. Imaru periodically becomes translucent, entering her soul form. During this state, standard physical and elemental attacks deal no damage. You need to use soul-aligned attacks or enter your own soul form to damage her.
The timing matters. Enter soul form too early and you burn your soul energy before she's vulnerable. Enter too late and the window closes. Watch for the visual charge-up cue before committing.
While Imaru is in soul form, she summons waves of undead minions. This is the part that kills players who tunnel-vision the boss. The minions deal stacking damage, and if you ignore them, your health disappears even when you're dodging Imaru's main attacks cleanly. Clear them with AoE attacks, then return focus to Imaru.
Using a 2H weapon spin attack while in soul form deals significant bonus damage and can stun Imaru, creating a window to land your biggest hits once she returns to physical form.
Phase 3: Two-footed stomps
As Imaru drops below roughly one-third HP, her movement becomes more aggressive. She shifts into a pattern of three-count stomps: watch for the 1-2-3 rhythm, then dodge on the third beat.
The two-footed slam is the most dangerous attack in the fight. Under-geared players can be one-shot by it. If your DPS is high enough, you can skip the final spectral transition entirely by landing a heavy blow during the stomp animation, ending the fight before the phase fully triggers.
Save your biggest cooldowns for this phase. The stomp animation has a brief stun window at the end that lets you land free hits.
What does Imaru drop?
| Item | Quantity | Drop Rate | Notes |
|---|---|---|---|
| Imaru's Head | 1 | Always (100%) | Used for trophies and quest turn-ins |
| Ascension Shard (Power Level 5) | 30-40 | Always (100%) | A known bug sometimes results in only 1 dropping |
| Serrated Claw | 1 | 1/10 | Crafting component for melee weapons |
The Serrated Claw at 1/10 is the main reason players run Imaru repeatedly. The math is straightforward but the RNG is not: players have documented 38+ consecutive kills without seeing it drop. That's within statistical possibility at 1/10, but it's brutal in practice. If you're farming the Serrated Claw specifically, run in batches of 5-10 and take breaks. Grinding 40 runs in a single session is a reliable path to burnout.
The Ascension Shard drop was added to the table in the 0.12.0 update. The listed quantity is 30-40, but the bug that sometimes drops only 1 has been reported consistently enough to be worth knowing about before you open the loot window.
Common mistakes that get players killed
- Ignoring minions during soul form. The stacking damage from undead adds is what actually kills most players, not Imaru's main attacks.
- Dropping puddles in the center. Once the arena center is covered in necrotic puddles, you have no safe space for dodging the stomp phase. Push Imaru to the edges from the start.
- Mistiming soul form entry. Wait for the visual charge-up before entering soul form. Early commitment wastes your soul energy on nothing.
- Skipping the Purifying Pools. Entering with region debuffs from Fellhollow's undead enemies stacks against you from the first hit.
- Game crashes near the kill. Fellhollow has dense particle effects and some players have reported crashes precisely when Imaru dies. Lowering graphics settings before the attempt reduces this risk.
Getting ready for Fellhollow
If you're still building toward the gear levels needed for this fight, the RuneScape: Dragonwilds combat guide covers parrying, Visceral Attacks, and Special Attack bars in detail. Getting those mechanics right before you face Imaru makes the soul form phase significantly more manageable.
For skill progression that accelerates your path to Tier 5 gear, the guide on best skills to prioritize in the early game is worth reading before you commit to a build. The skills you level first have a real impact on how quickly you can reach Fellhollow-ready gear.
If you're working through the quest content in Fellhollow alongside the boss hunt, the Withering Heights quest walkthrough covers the full progression from entering the Scorned Wilderness to the Kuldra encounter that contextualizes Imaru's place in the story.
For everything else across Ashenfall, the full RuneScape: Dragonwilds guide collection has you covered from beginner survival to endgame boss prep.