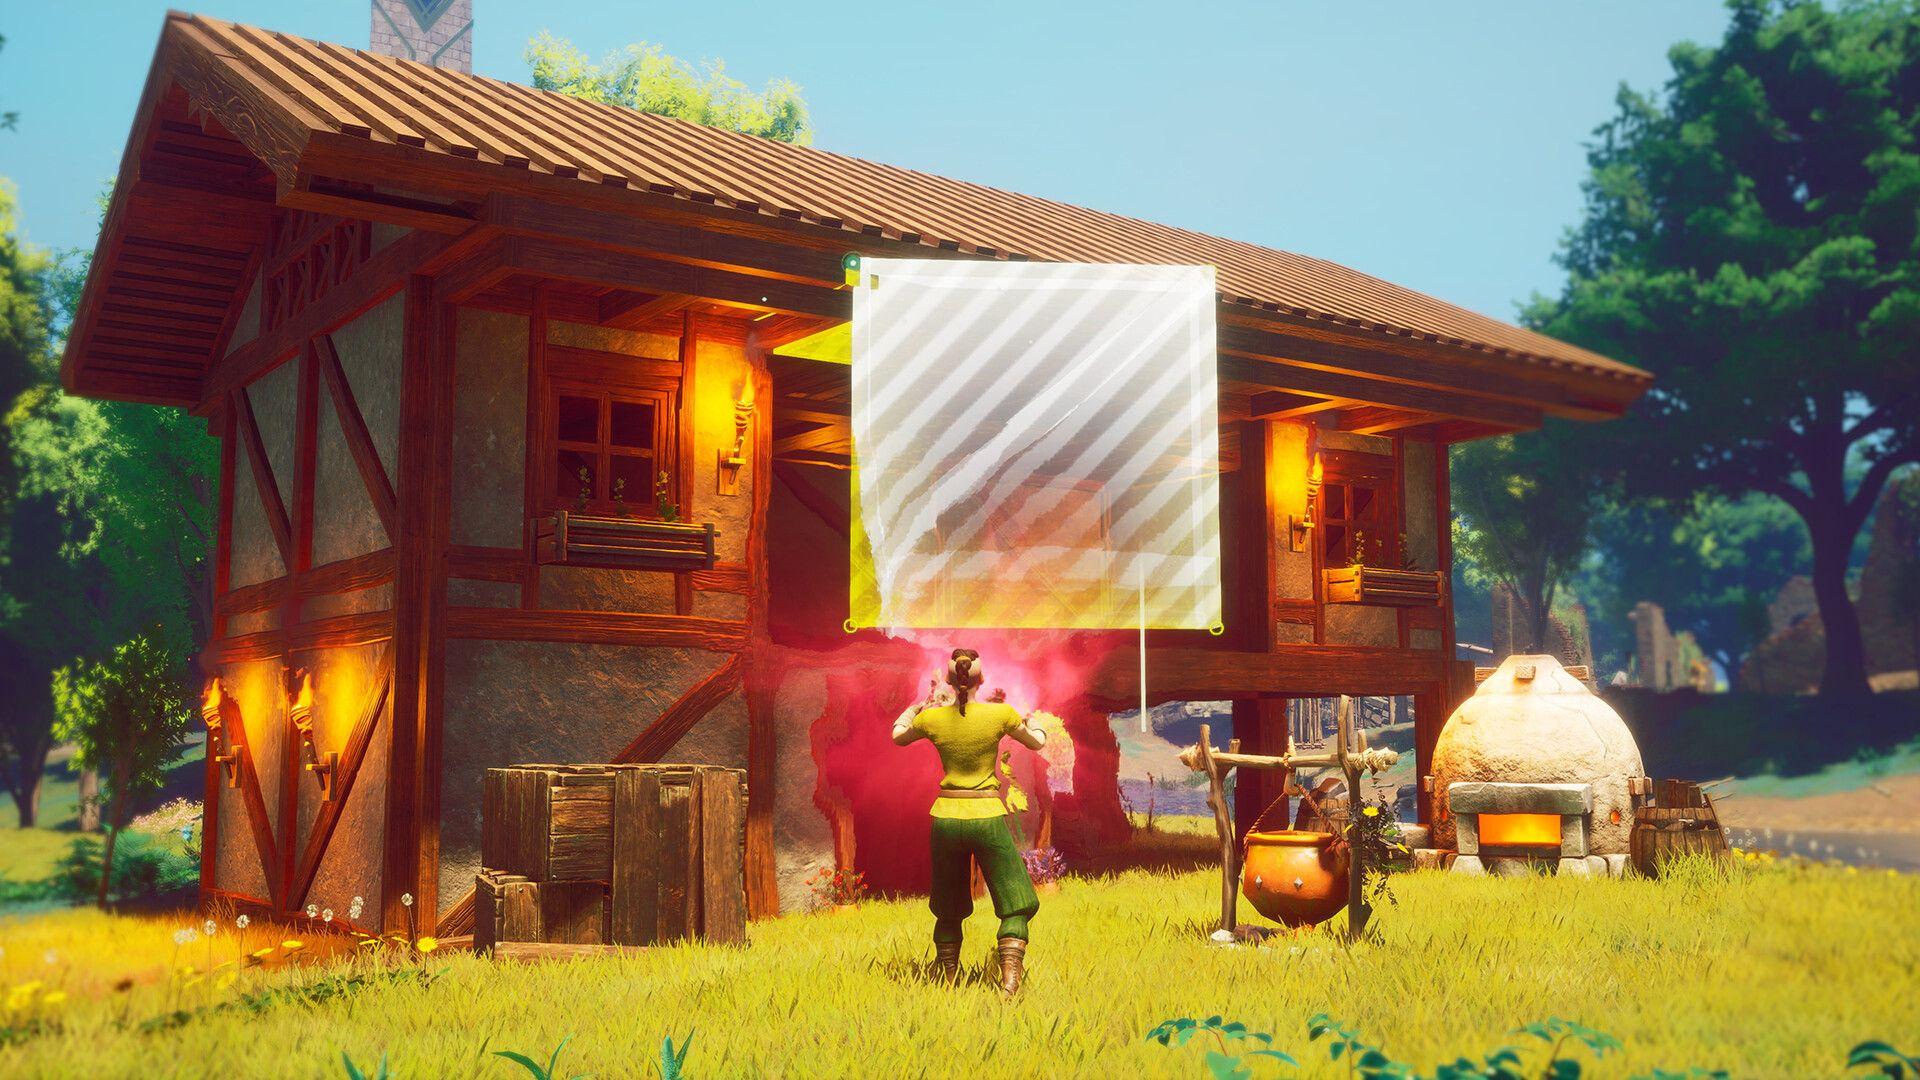


RuneScape: Dragonwilds builds its entire progression loop around crafting stations. Your first Crafting Table handles basic tools, but producing Leather, metal bars, planks, and cloth each requires its own dedicated station. The good news is that the unlock order is logical once you understand which stations feed into others. This guide walks through every station, its exact build cost, and the most efficient sequence to get your workshop running.
How do you unlock new crafting recipes in Dragonwilds?
Recipes unlock by picking up and processing new materials, not by spending skill points at a menu. Grab a small amount of every unfamiliar resource you find during exploration, even if you have no immediate use for it. The game tracks what you have handled and reveals recipes accordingly.
Processing matters just as much as gathering. Animal Hide and Leather are separate ingredients, so collecting hides without running them through a Tannery means recipes requiring Leather will stay locked. The same logic applies across the entire crafting chain.
Some recipes also have skill progression requirements. If a recipe appears greyed out, check both its required station and whether a skill unlock is blocking it. Your Journal tracks discovered recipes and their requirements, making it worth checking before a gathering run so you know exactly what to bring back.
What to build first: your foundational stations
Three stations form the starting core of any base. All are built through Build Mode and accessed by interacting with them directly.
RuneScape: Dragonwilds 1.0 Complete Crafting Stations Guide
Crafting Table
The Crafting Table costs 4 Ash Logs and is where basic tools and equipment come together. Beyond initial crafting, it has a Repair mode for restoring worn equipment, so it stays relevant long after you outgrow its recipes. Always repair gear here before heading out.
Campfire
The Campfire costs 4 Ash Logs and 4 Stone. It handles basic food cooking and converts Dirty Water into Clean Water. Keep fuel loaded and ingredients stocked so you can resupply between expeditions without delay.
Rune Altar
The Rune Altar costs 12 Stone and 4 Rune Essence. It converts Rune Essence into runes used for magic and certain construction recipes. The rune types available depend on your Runecrafting skill unlocks, so building the altar early does not immediately open up every rune. Law Runes produced here enable Lodestone fast travel, which is worth prioritising.
Thread and leather
Before metalworking enters the picture, two stations handle the textile and leather processing that early equipment recipes depend on.
RuneScape: Dragonwilds 1.0 Complete Crafting Stations Guide
Spinning Wheel
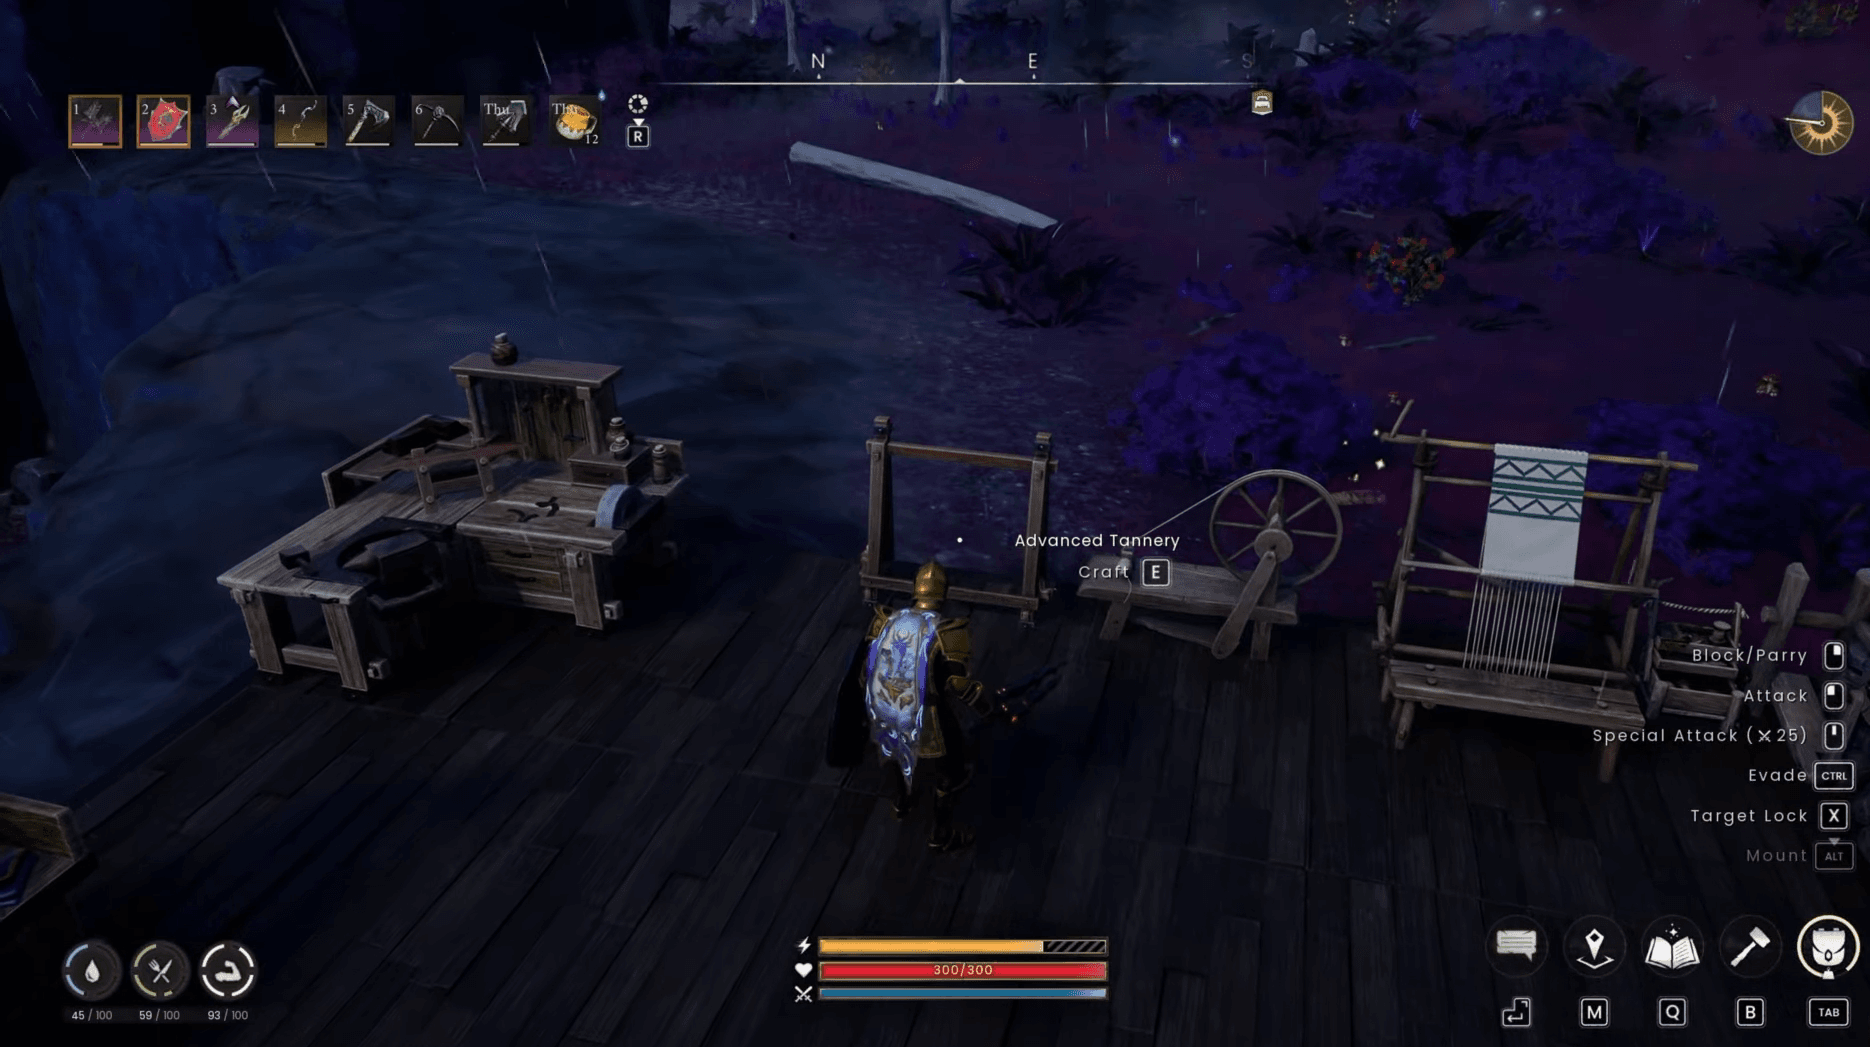
The Spinning Wheel costs 12 Ash Logs, 4 Flax, and 2 Stone. Its primary function is converting Flax into Coarse Thread. Save extra Flax after construction so you have material ready to process immediately. The Spinning Wheel also handles Fleece into Wool Thread for later recipes, so it stays useful well into mid-game.
Tannery
The Tannery costs 12 Ash Logs, 4 Animal Bone, and 2 Coarse Thread. Because it requires Coarse Thread to build, the Spinning Wheel must come first. Once up, the Tannery turns Animal Hide into Leather. Keep spare Leather and Coarse Thread in storage because both appear repeatedly in early equipment recipes.
Setting up the metalworking chain
Metalworking introduces a multi-step production line. You need fuel before you can smelt, and the fuel station comes before the smelting station.
Kiln
The Kiln costs 8 Ash Logs, 20 Stone, 6 Clay, and 10 Fire Runes. Its most important early function is converting wood into Charcoal. Charcoal is both a construction requirement for the Furnace and the fuel it runs on, so produce more than the Furnace recipe alone calls for. The Kiln also fires Clay Vessels needed for brewing, so it pulls double duty.
Furnace
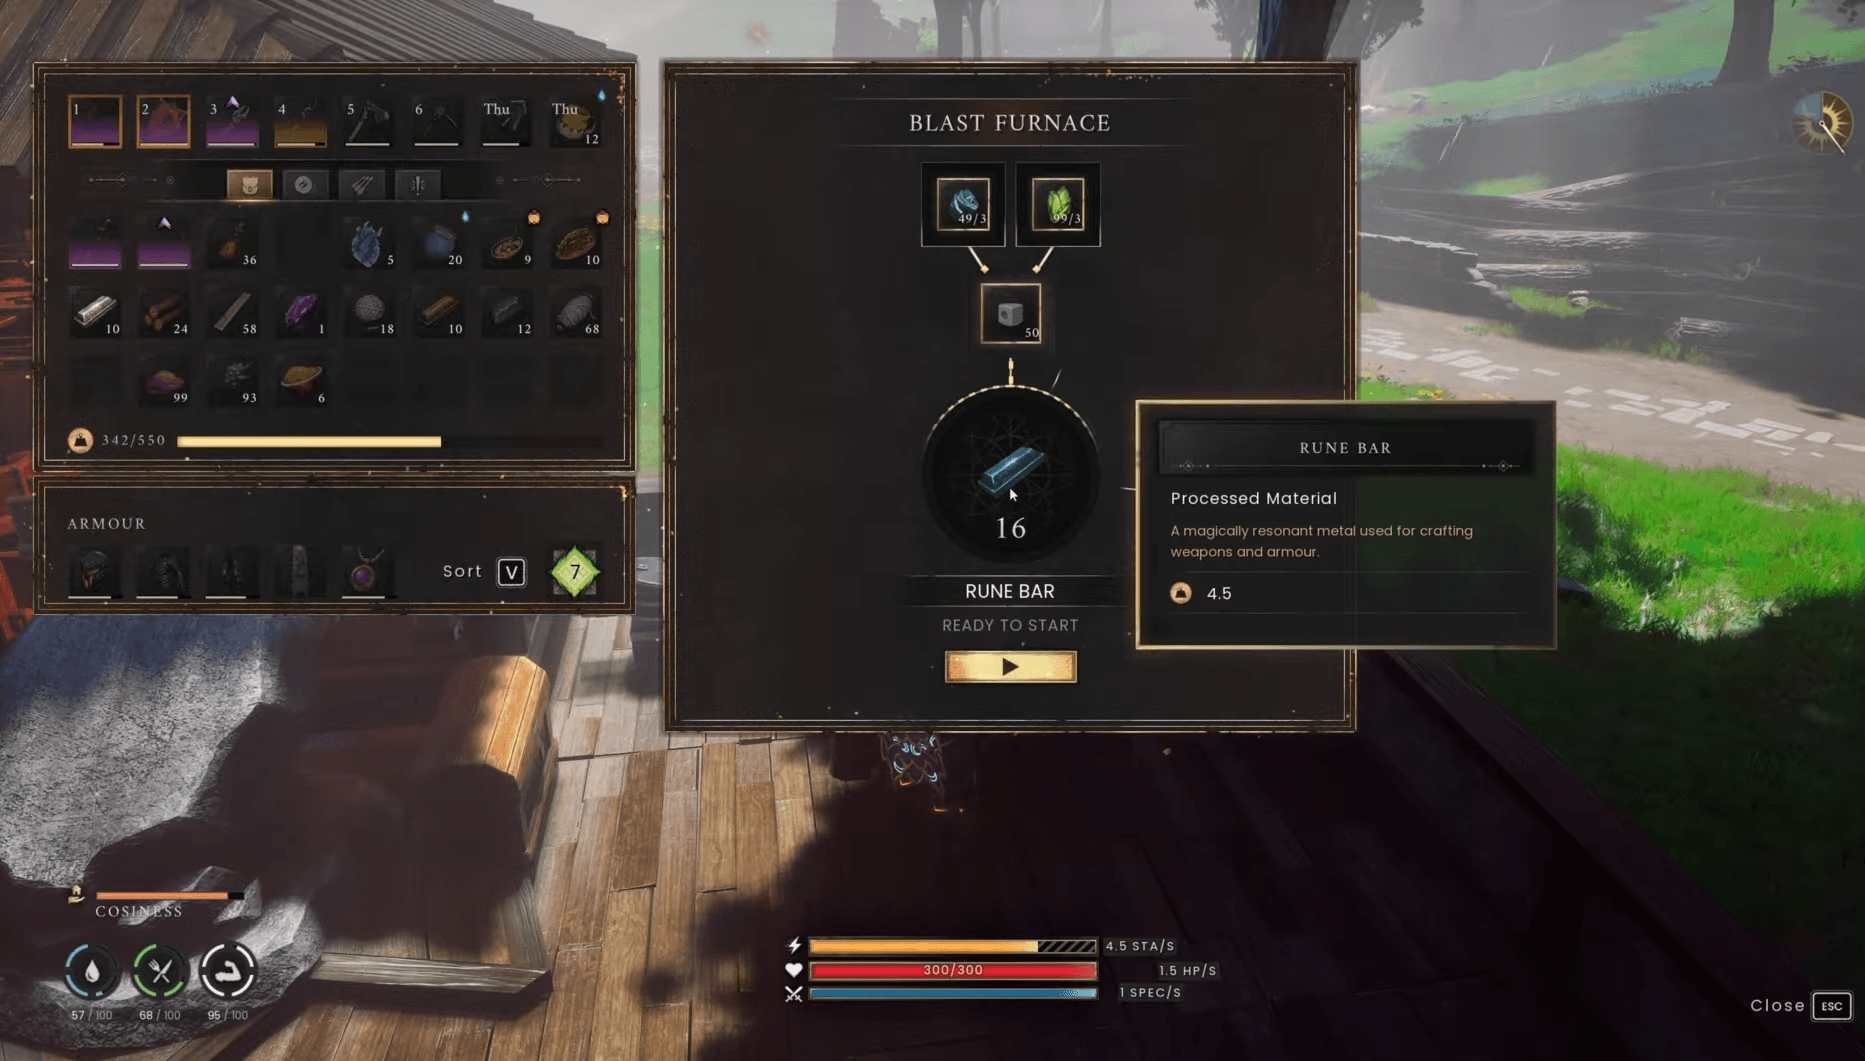
The Furnace costs 24 Stone, 8 Clay, 4 Charcoal, 10 Fire Runes, and 8 Vault Shards. Load it with Copper Ore and Tin Ore to produce Bronze Bars, the metalworking currency for most mid-game construction. A Bone Pickaxe is required to mine these early ore deposits.
RuneScape: Dragonwilds 1.0 Complete Crafting Stations Guide
Before spending your first Bronze Bars, decide which equipment bench or station you are working toward. Bronze Bars are the bottleneck for several recipes simultaneously.
Which equipment bench should you build first?
Once Bronze Bars are flowing, four specialist benches open up. Each handles a different category of equipment, and each one costs the same amount.
Every one of these four stations costs 6 Bronze Bars, 20 Ash Logs, 8 Coarse Thread, and 1 Vault Core. That cost applies per station, so build the bench that unlocks your next gear upgrade first, then expand.
Ranged and magic players still have a reason to build the Blacksmith's Bench early because it produces gathering tools, not just melee gear. The Mystic Forge also supports weapon ascension later, letting eligible Masterwork and Vestige weapons advance to higher tiers.
For a deeper breakdown of how to fight with the gear you craft, the RuneScape: Dragonwilds 1.0 combat guide covers parrying, Stamina management, and Special Attack bars in detail.
Planks and cloth
With Bronze Bars available, two more processing stations open up that feed into construction and equipment recipes.
Sawmill
The Sawmill costs 18 Ash Logs, 4 Bronze Bars, and 8 Stone. It converts Ash Logs into Ash Planks and handles Oak Logs into Oak Planks as well. Planks feed directly into the Loom's construction cost, so build the Sawmill before attempting the Loom.
Loom
The Loom costs 22 Ash Planks, 4 Bronze Bars, and 6 Wool Thread. Prepare the Planks at your Sawmill and spin Fleece into Wool Thread at the Spinning Wheel before starting construction. Once built, the Loom converts thread into cloth: Coarse Thread into Rough Cloth and Wool Thread into Wool Cloth.
The cloth production chain is worth mapping out before you start gathering. A cloth recipe might require you to collect raw material, spin it into thread, then process that thread at the Loom. Check the full chain in your Journal first.
Cooking and brewing: preparing for expeditions
The Campfire covers early food needs, but dedicated cooking stations offer more recipe options as your Cooking skill grows.
The Stone Range and Cooking Range both use recipe menus for meals and drinks. Build them as your Cooking skill unlocks more recipes and you start needing specific food buffs for tougher areas.
The Brewing Cauldron produces potions with combat and skilling bonuses. Some brewing recipes require Clay Vessels, which you make in two steps: craft an unfired vessel at the Pottery Wheel, then fire it in the Kiln. The Kiln earns its floor space several times over.
How do you keep your workshop running efficiently?
A few habits make a significant difference once your workshop has more than a handful of stations.
Enable the Linked option on chests placed near your crafting area. Linked storage lets crafting and building recipes draw directly from those chests, so you are not constantly moving materials into your inventory. The Storage Ledger added in 1.0 extends this further, depositing matching inventory items into linked chests automatically.
For processing stations with input and fuel slots, load the materials and fuel before walking away. Check the output slot when you return rather than assuming the station finished correctly.
Use the Crafting Table's Repair mode before every expedition. Worn equipment loses effectiveness, and repairing it costs far less than replacing it.
What comes after the basic workshop?
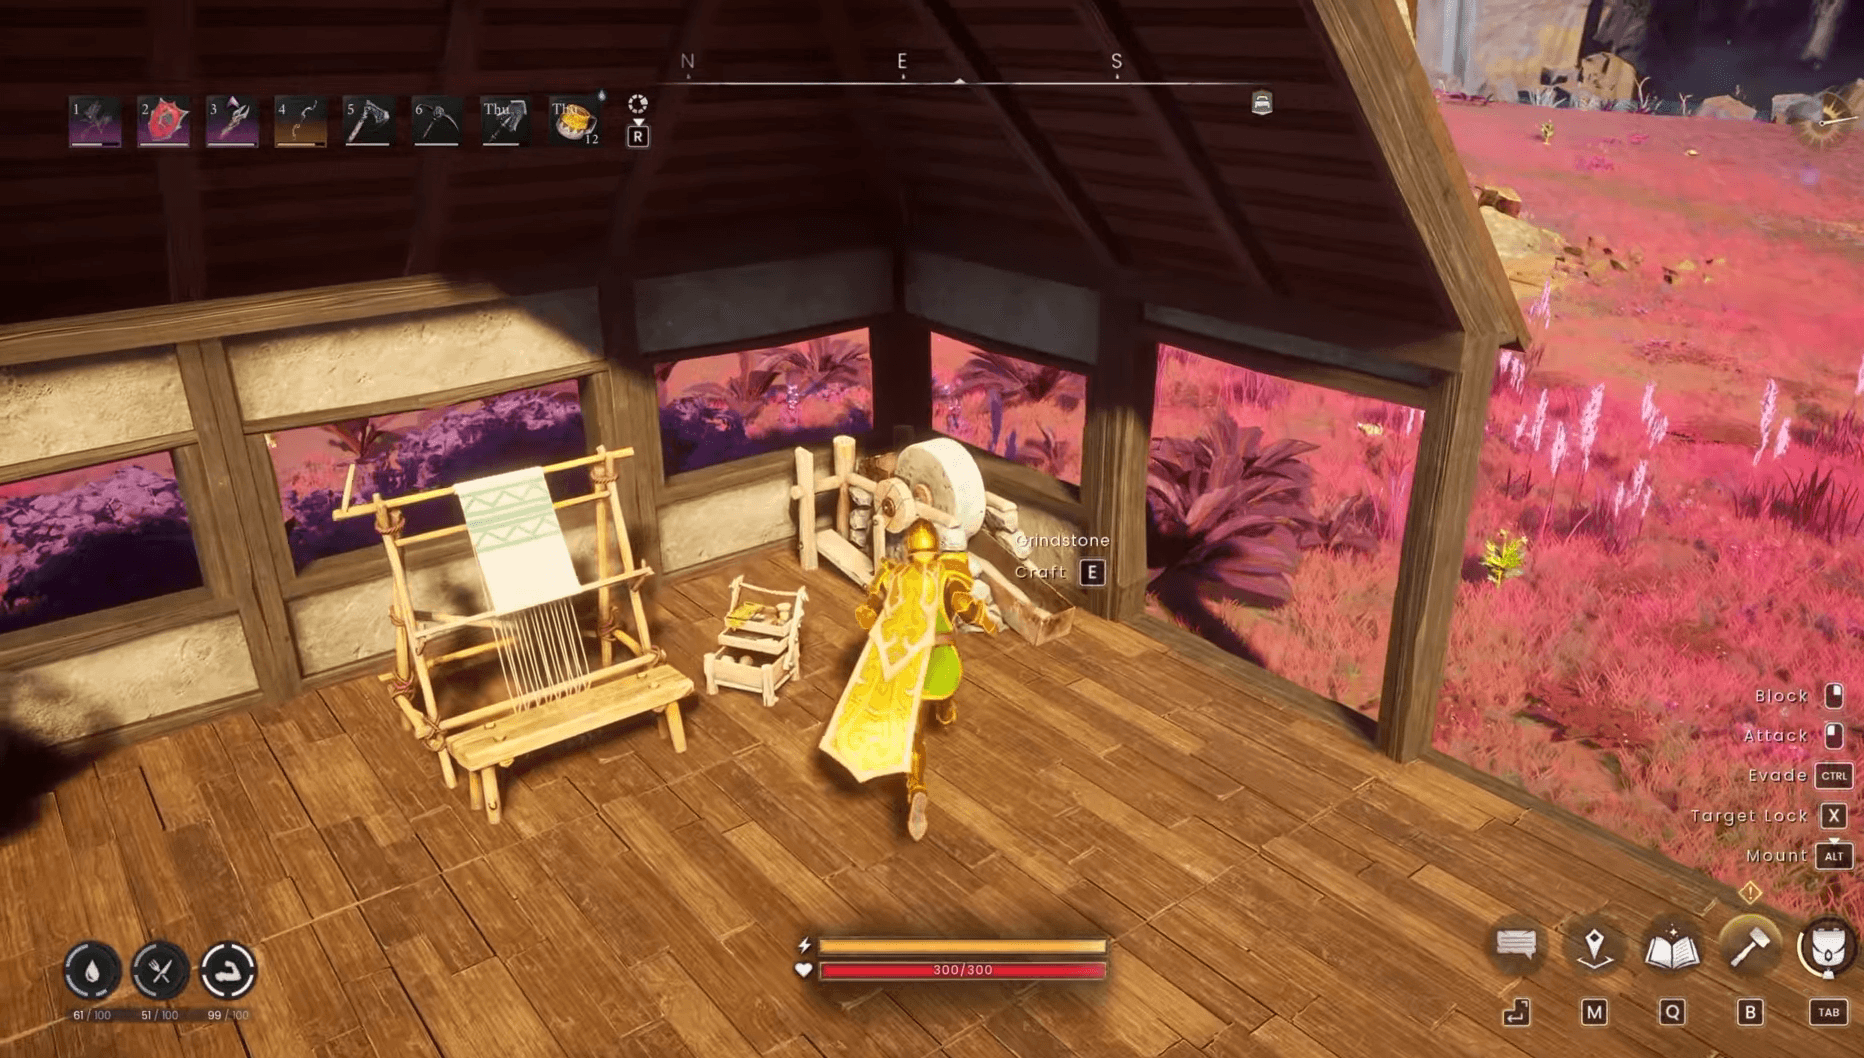
Later progression introduces stations that require materials beyond Bronze Bars. The Grindstone, for example, needs Iron Bars and Granite, placing it well past the early-game setup. Station upgrades like the Tanner's Kit and Loom Harness expand what their base stations can process, adding advanced recipe support without requiring a full replacement.
Leave gaps between your first stations when laying out your base. Adding the Grindstone or cooking expansions to a cramped workshop is frustrating, and reorganising storage around new stations wastes time you could spend exploring.
If you are still working out which skills to level alongside your crafting setup, the guide on best skills to prioritize early in RuneScape: Dragonwilds pairs directly with the station unlock order here. For everything else the game has to offer, browse the full RuneScape: Dragonwilds strategy guides collection.