
The Cable Car ride to Mt. Siah Kopa marks the point of no return in Silver Pines. Before you board, there are collectibles, mementos, and an inventory upgrade worth grabbing. Once you arrive on the mountain, the path forward requires two 40 A Fuses, a locked gate, and a fight you probably didn't see coming. This guide covers everything from the final bell sequence to the Thelend Broadcasting building at the top.
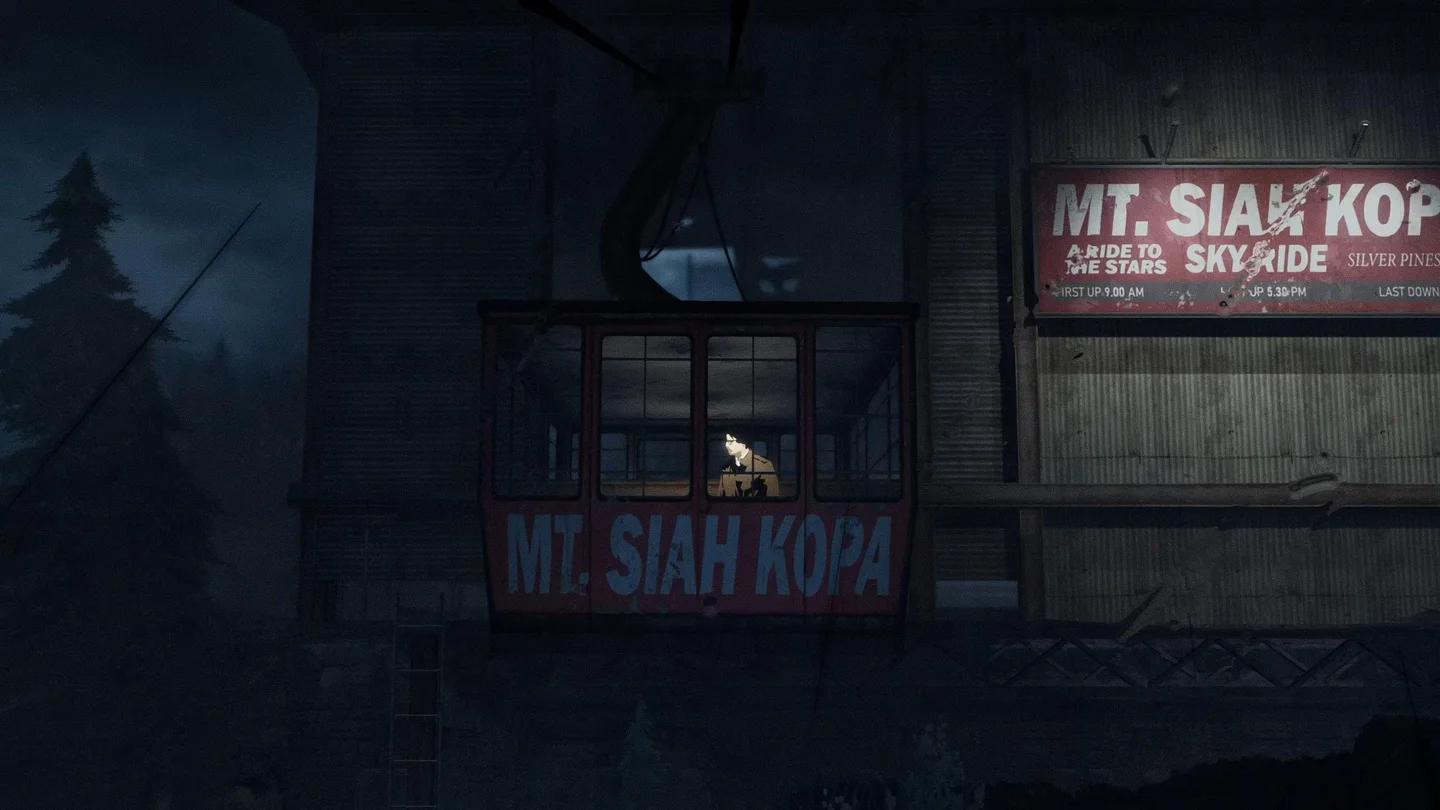
Cable Car arrives at Mt. Siah Kopa
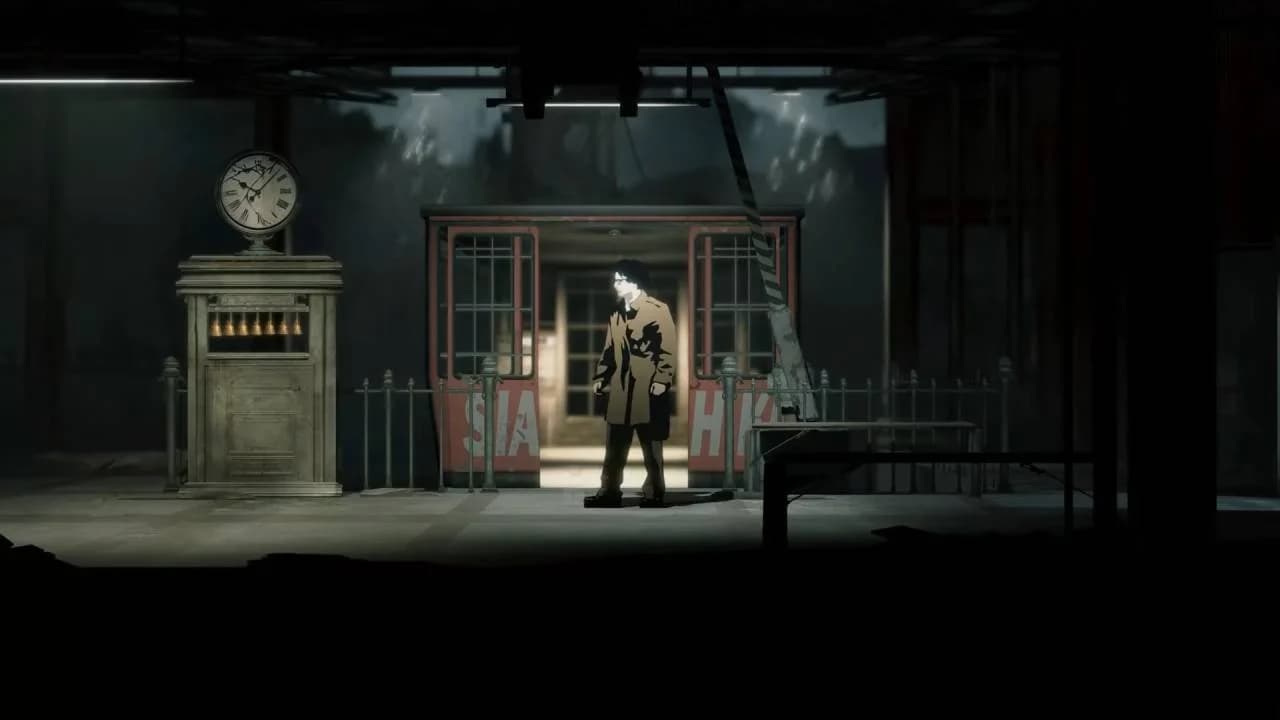
How do you call the Cable Car?
With all five Cable Station Bells collected, head back to the Cable Car Station and place each bell in its correct slot. Look at the plaque above the station (repaired earlier in the game) to get the sequence, then play the bells in this exact order: E-G-D-C-F-A-B. The cable car will arrive and you can board when ready.

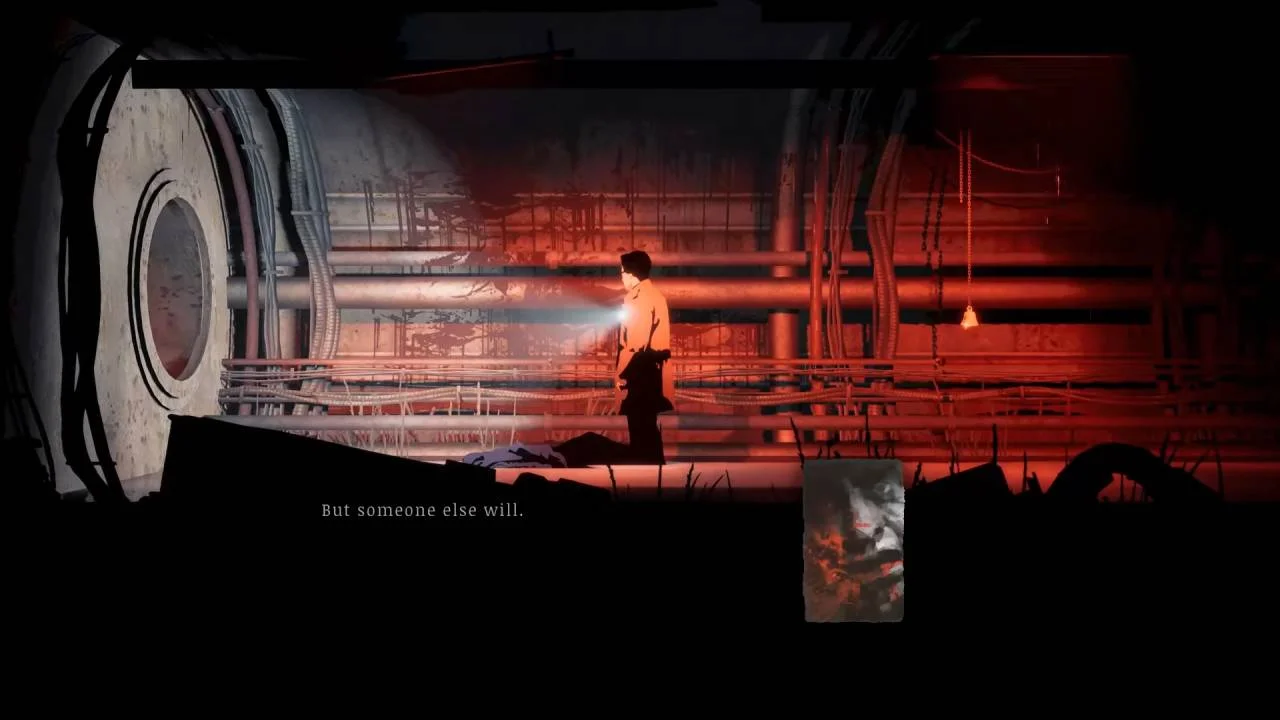
Pre-departure collectibles worth grabbing
Rifle Scope
On the bottom floor of the Mt. Siah Kopa gondola building, move left of the storage trunk and break through the concrete wall. Loot the bag hanging on the pillar to pick up a scope for the rifle. There's also ammo in the backpack on the floor.
Quiet Hours Cafe lockbox
Right outside the gondola building, climb over the railing to the right of the door and loot the bag to collect the Quiet Hours Cafe key. Head back to the cafe, go to the back room, and open the lockbox in the left corner to get a Double Action Mechanism piece for the Revolver.
Town Hall Clock and mementos
In the Town Hall, go up to the second-floor office and note the time on the wall clock. Climb out the window onto the roof and use the crank to set the large outdoor clock to match. Back inside, pull the fake candlestick in the hallway just before the office to open a secret passage. Inside you'll find the Cracked Wrist Watch memento, which grants faster melee attacks and 20% more melee damage when Wounded or Critical.
For a second memento, go through the meeting room in the Town Hall and climb onto the stage to reach the basement furnace room. Through the door to the right of the furnace, enter the gallery and break the concrete wall on the left with the sledgehammer. The 30 Days Sober Chip inside reduces stamina cost for melee attacks by 30%.
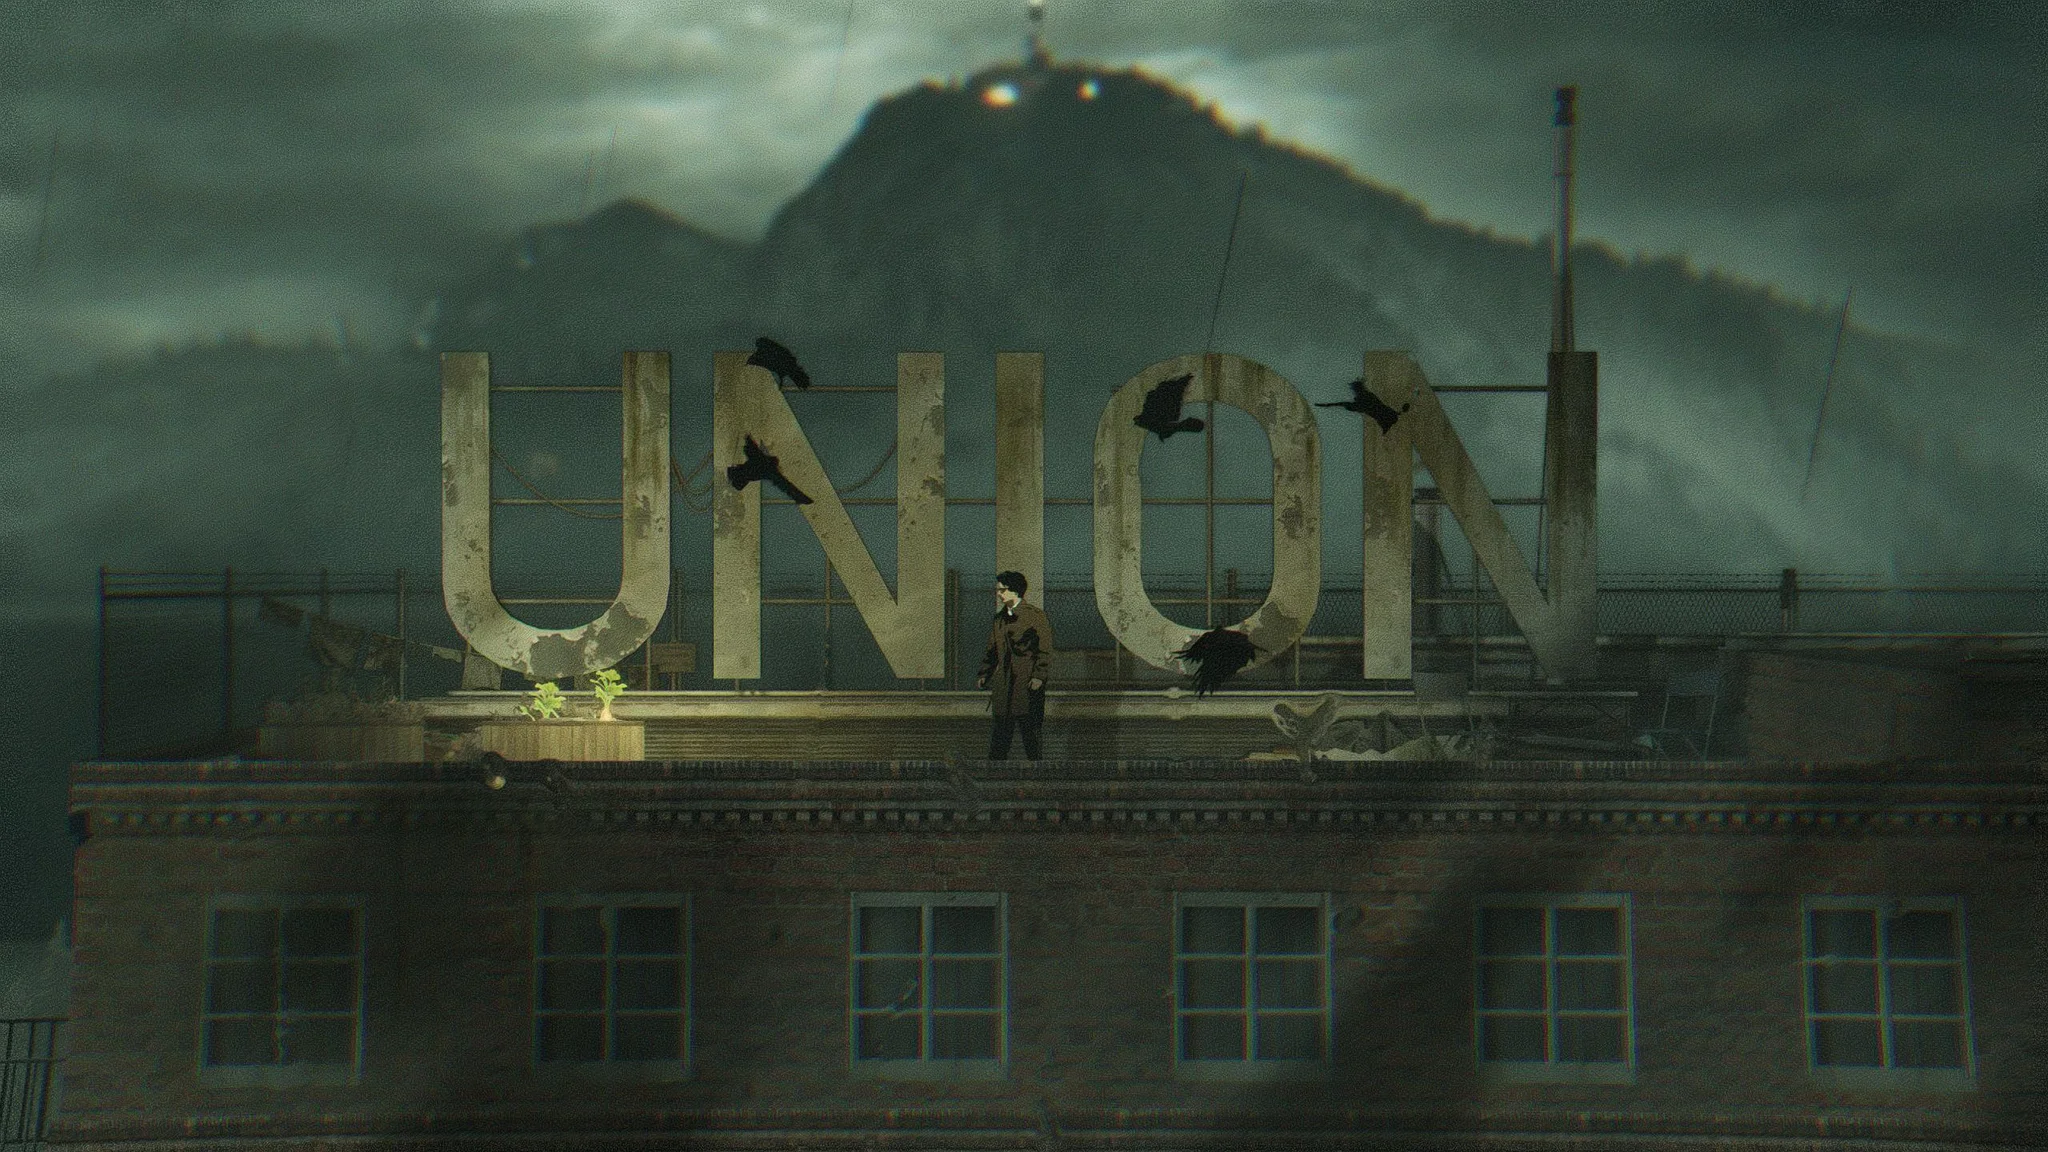
Union Apartments Laundry Room
From the first floor of the Union Apartments, take the stairwell down to the basement. Head through the door toward the Laundry Room, then move upward to the lit area with hanging clothes. Break the concrete wall on the right to find the V Guitar Pick memento, which makes the final hit in a combo sequence deal 30% extra damage.
Digging Man's Mobile Home and the shovel
After placing all the bells, the Digging Man outside his mobile home near the gondola building will have stopped digging. Go inside his home to collect the hip bag inventory upgrade on the left, and pick up the shovel. Drop into the hole outside and use the shovel (spam E) to dig up a Star for the ring constellation box.

Hip bag inside the mobile home
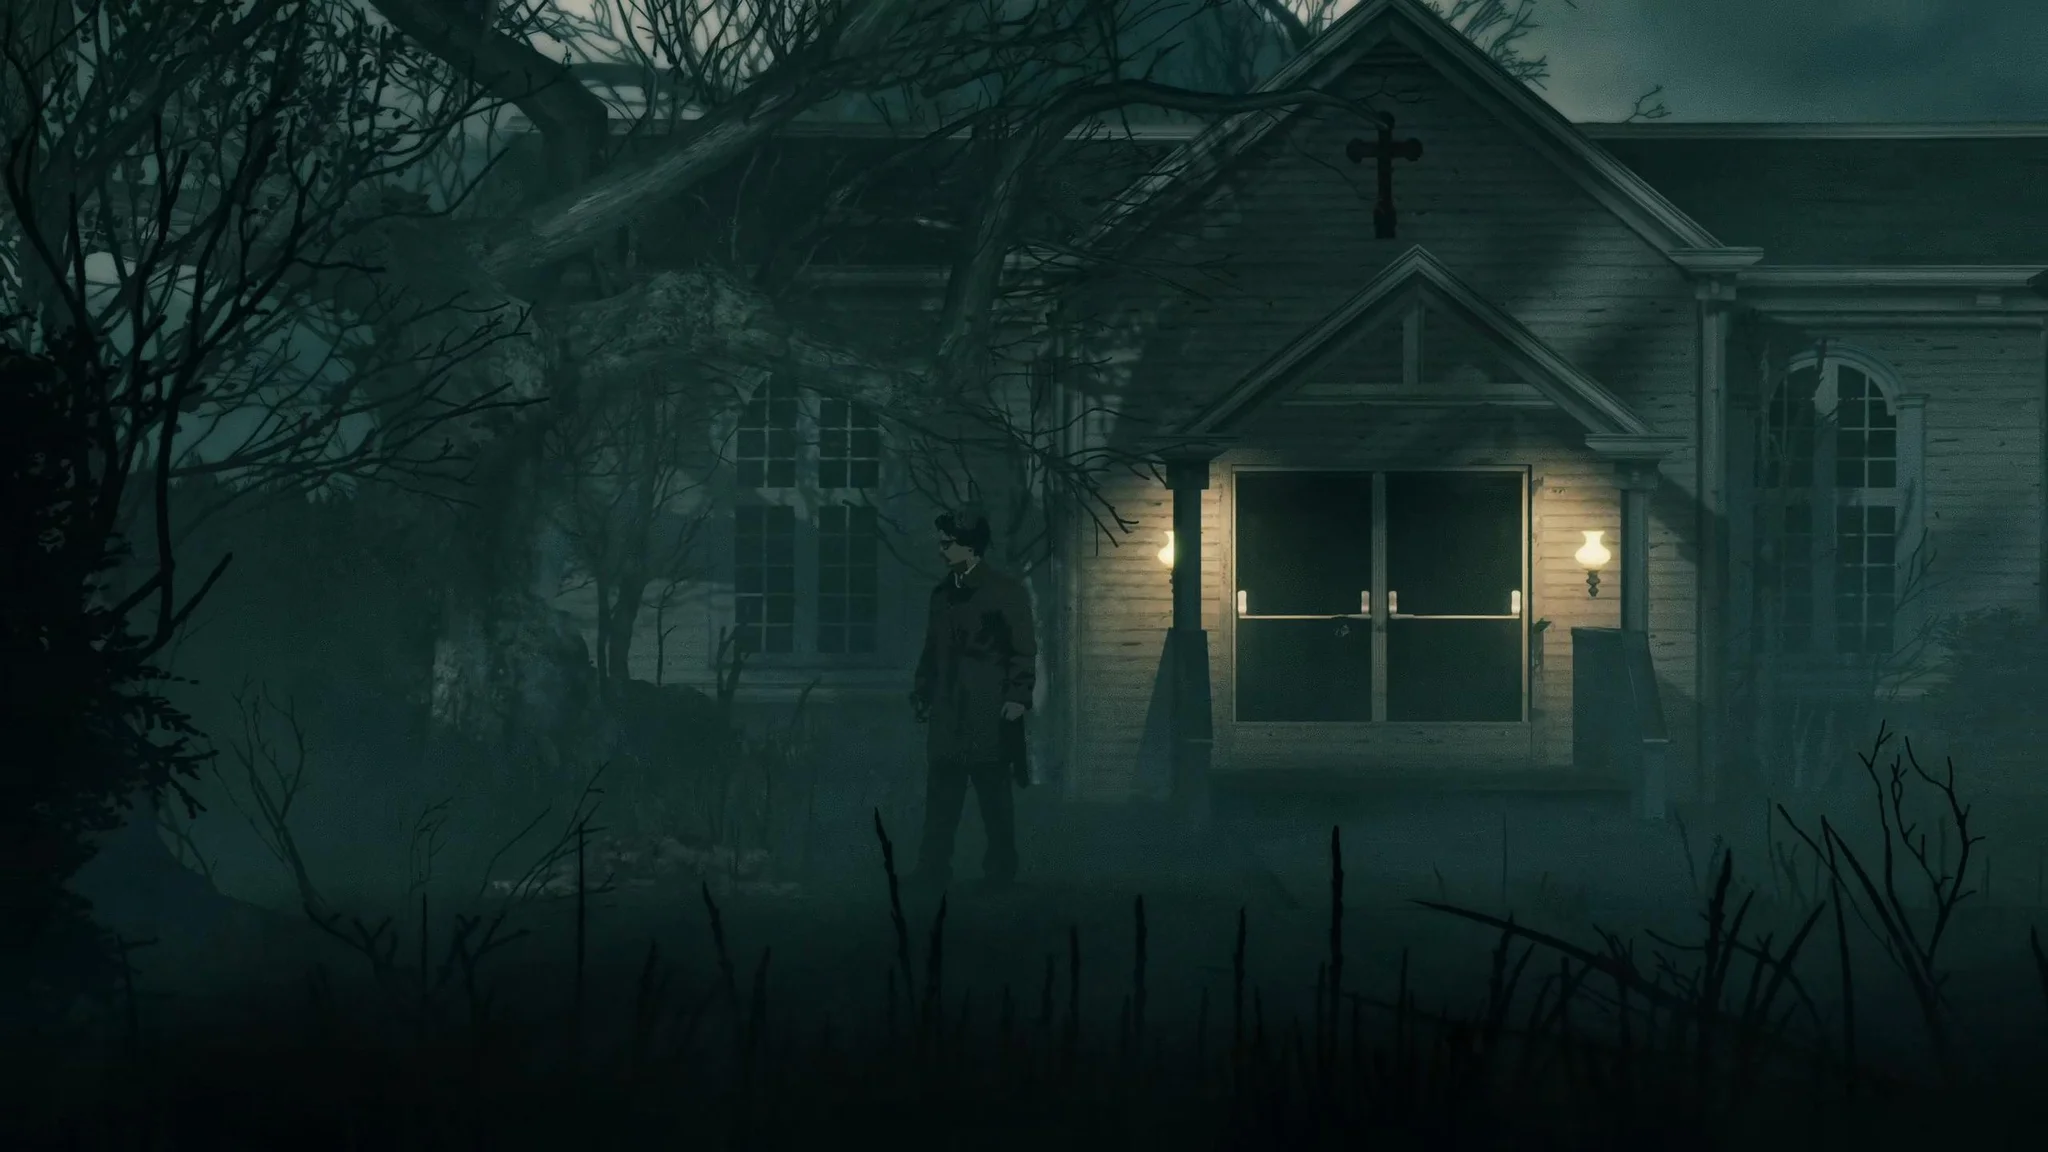
Church Hill Cemetery and Confession
With the shovel in hand, cross back to Church Hill. In the cemetery (top-left corner), dig the leaf spot near the right wall to uncover the Old Corsage memento, which improves weapon handling and reduces recoil from firearms. In the church yard on the left side, dig up another leaf spot to find a key to the confession booth. Use it to enter the left side of the confession and collect the wind chime inside.
For a full breakdown of Church Hill's keys, cubes, and collectibles, the Silver Pines Church Hill walkthrough covers every step.
Motel Room 3 (Outskirts)
Take the ferry back to the Outskirts. From the ferry station, walk left and down to find a lighthouse on the right. Break through the concrete with the sledgehammer, climb to the top, and collect the Room 3 keycard. At the motel, open Room 3 and grab the tape from the wardrobe. Play it on the cassette player. The safe code is 6-6-7-1 (the same code given earlier for the gift shop). Inside is a Star for the ring constellation box.
Arriving at Mt. Siah Kopa
Boarding the cable car earns the Ascension achievement. Once you arrive at the mountain station, walk right to find a safe phone room immediately. Save here before doing anything else.
Through the red-lit doorway beside the save room, go right into the bathroom and photograph the numbers on the wall. Climb the ladder to the left, break through the wooden barrier on the right, and enter the code 0-4-4-1 into the keypad. Drop through the hole in the floor inside the gated area to reach a locked room stocked with ammo.
For the inventory upgrade on the mountain, exit the double doors on the right side of the station, walk left, and drop through the hole in the walkway. Jump across the gaps to reach a hip bag hanging on the left side.

Enter 0-4-4-1 at the keypad
How to find both 40 A Fuses
This is the part that trips up most players. The two fuses are in separate locations on the mountain, and the gate you need to power won't open until both are slotted into the fuse box near the Shack.
Fuse 1: Weather Station
From the station, go through the large doorway downward and cross the bridge. Follow the trail sign upward instead of continuing to the dead-end. Walk left and climb the ledges to reach a broken electrical pole at the Weather Station. The first Electrical Fuse (40 A) is in the fuse box on the pole.
Fuse 2: Access Tunnel
Backtrack to the second trail sign and follow it upward into the Access Tunnel. Go up the stairs to the right and collect the Mt. Siah Kopa Map pinned to the wall. Through the dark doorway next to the map, pull the fuse from the panel on the wall.
| Fuse | Location | How to reach |
|---|---|---|
| Electrical Fuse (40 A) #1 | Weather Station broken pole | Left of trail sign 1, climb ledges |
| Electrical Fuse (40 A) #2 | Access Tunnel panel | Follow trail sign 2 into tunnel, up stairs right |
Powering the fuse box and opening the gate
With both fuses collected, return to the Shack and slot them into the fuse box outside. Pull the power handle. Head back to the Access Tunnel, take the stairs down from the doorway, and pass through the now-unlocked magnetized gate. Go through the doorway upward to continue along the path.
A Pipe Bomb is available in the room on the left after passing through the gate. Pick it up before moving on.

Fuse box powered at the Shack
Reaching Thelend Broadcasting
Follow the northern passage out of the Access Tunnel, then go left and up the stairs. The path leads directly to Thelend Broadcasting. Take the northern passage inside, speak to the NPC, and pick up the Star after the conversation ends.
From there, head east and enter the broken drain pipe at the end. On the other side, the phone will ring. Answer it to speak with Mr. Jackman and save your progress.
For everything else across the game's zones, the full Silver Pines guide collection has area-specific walkthroughs covering Downtown, the Outskirts, the Sewers, and more.