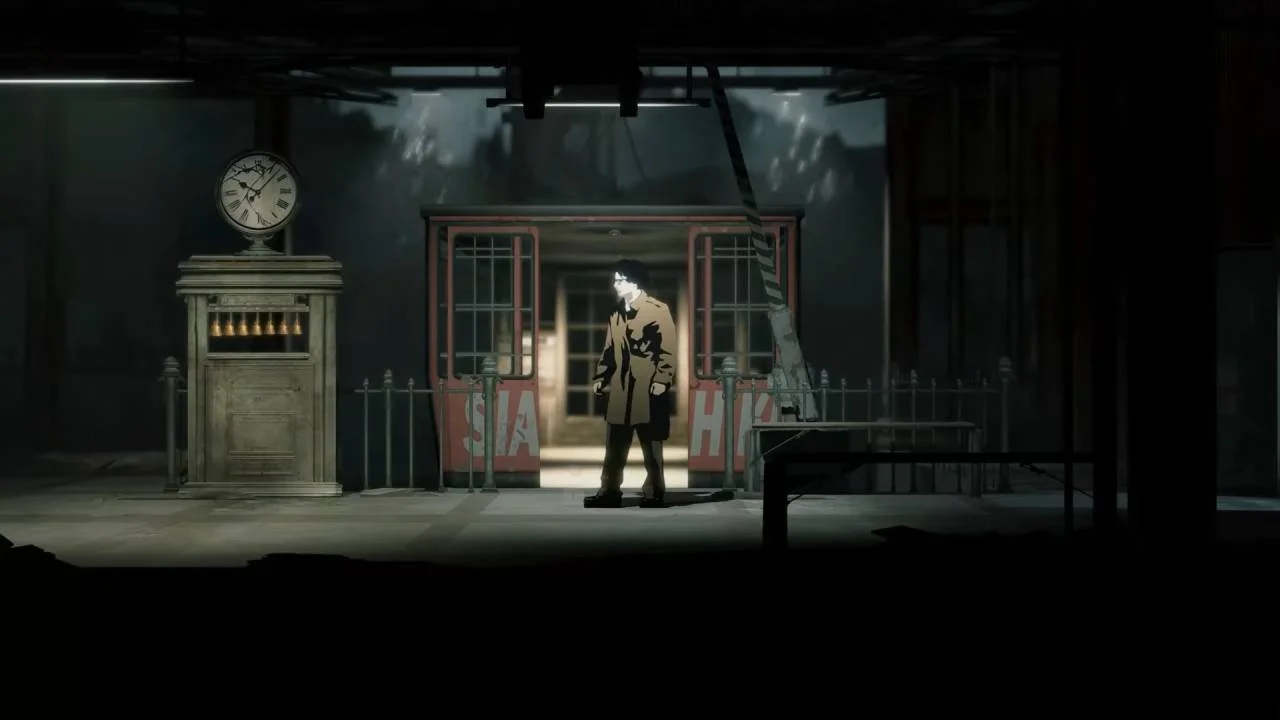
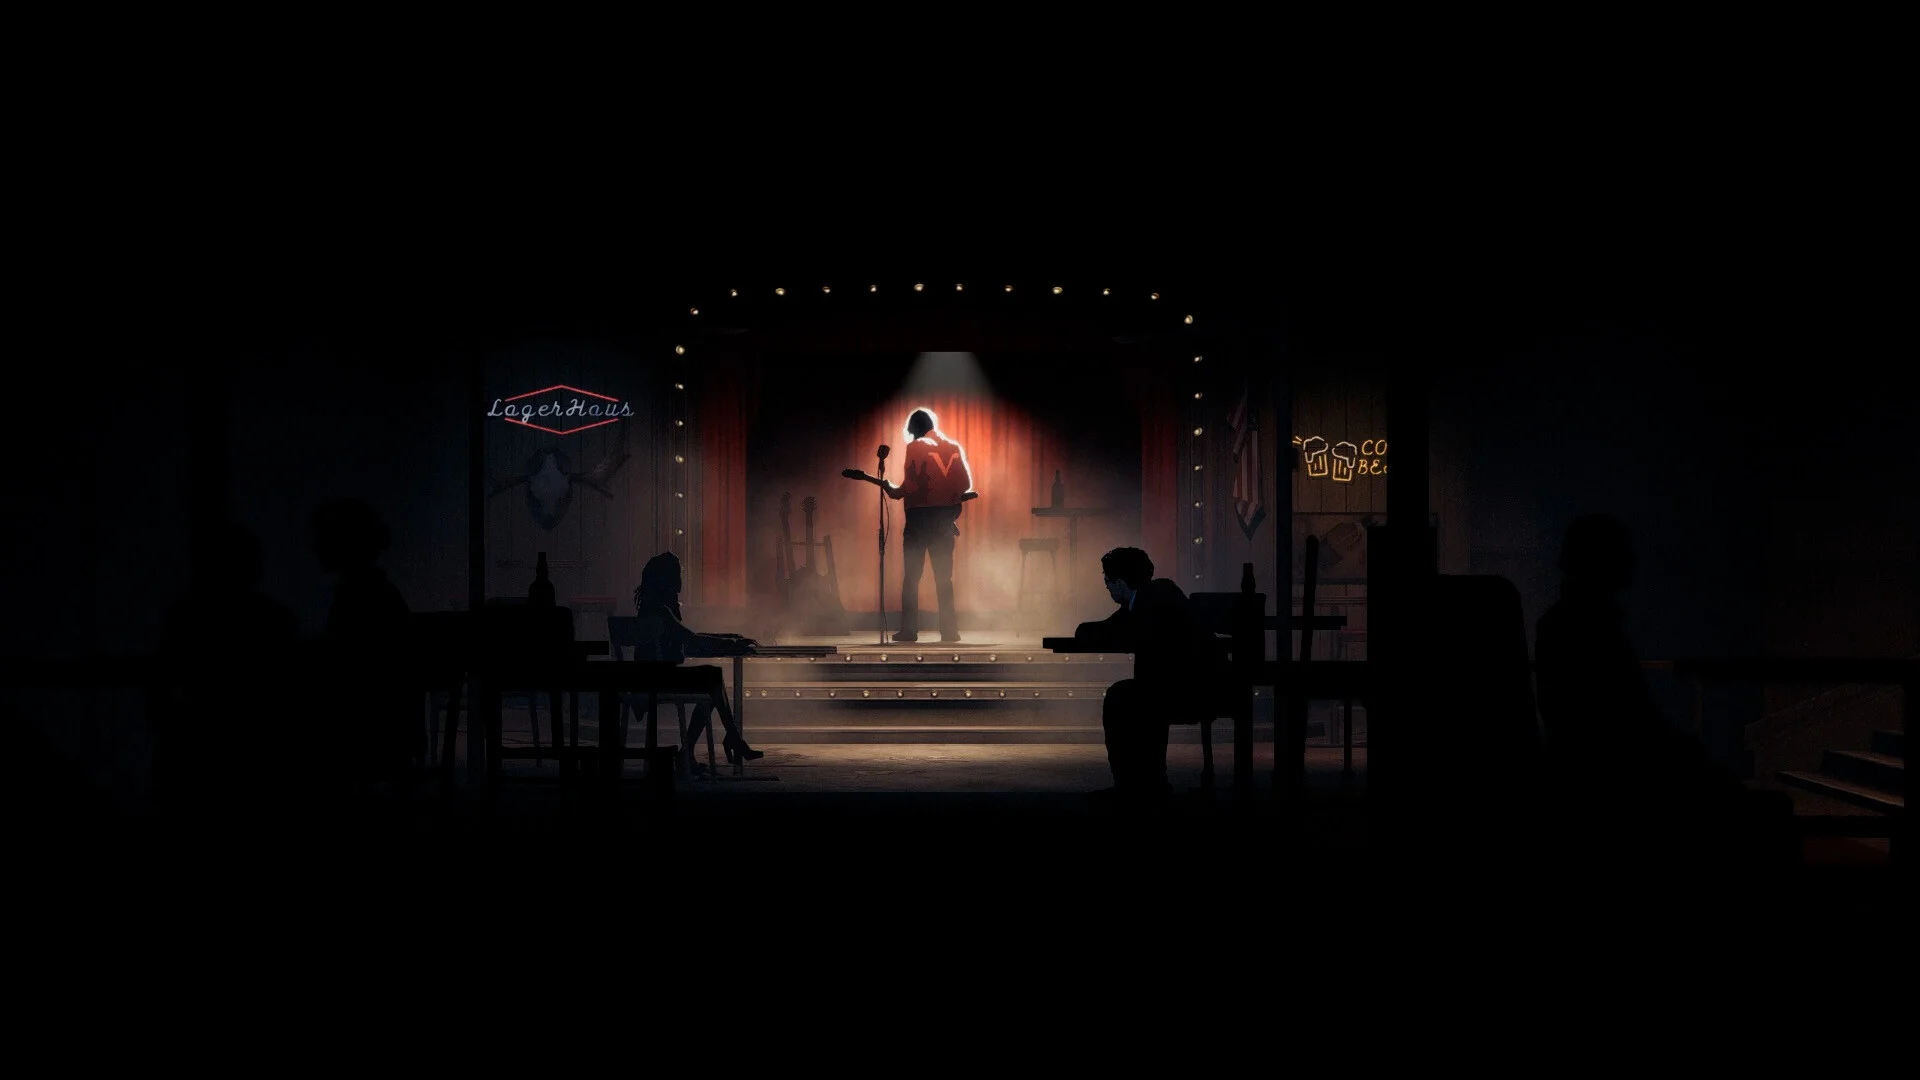
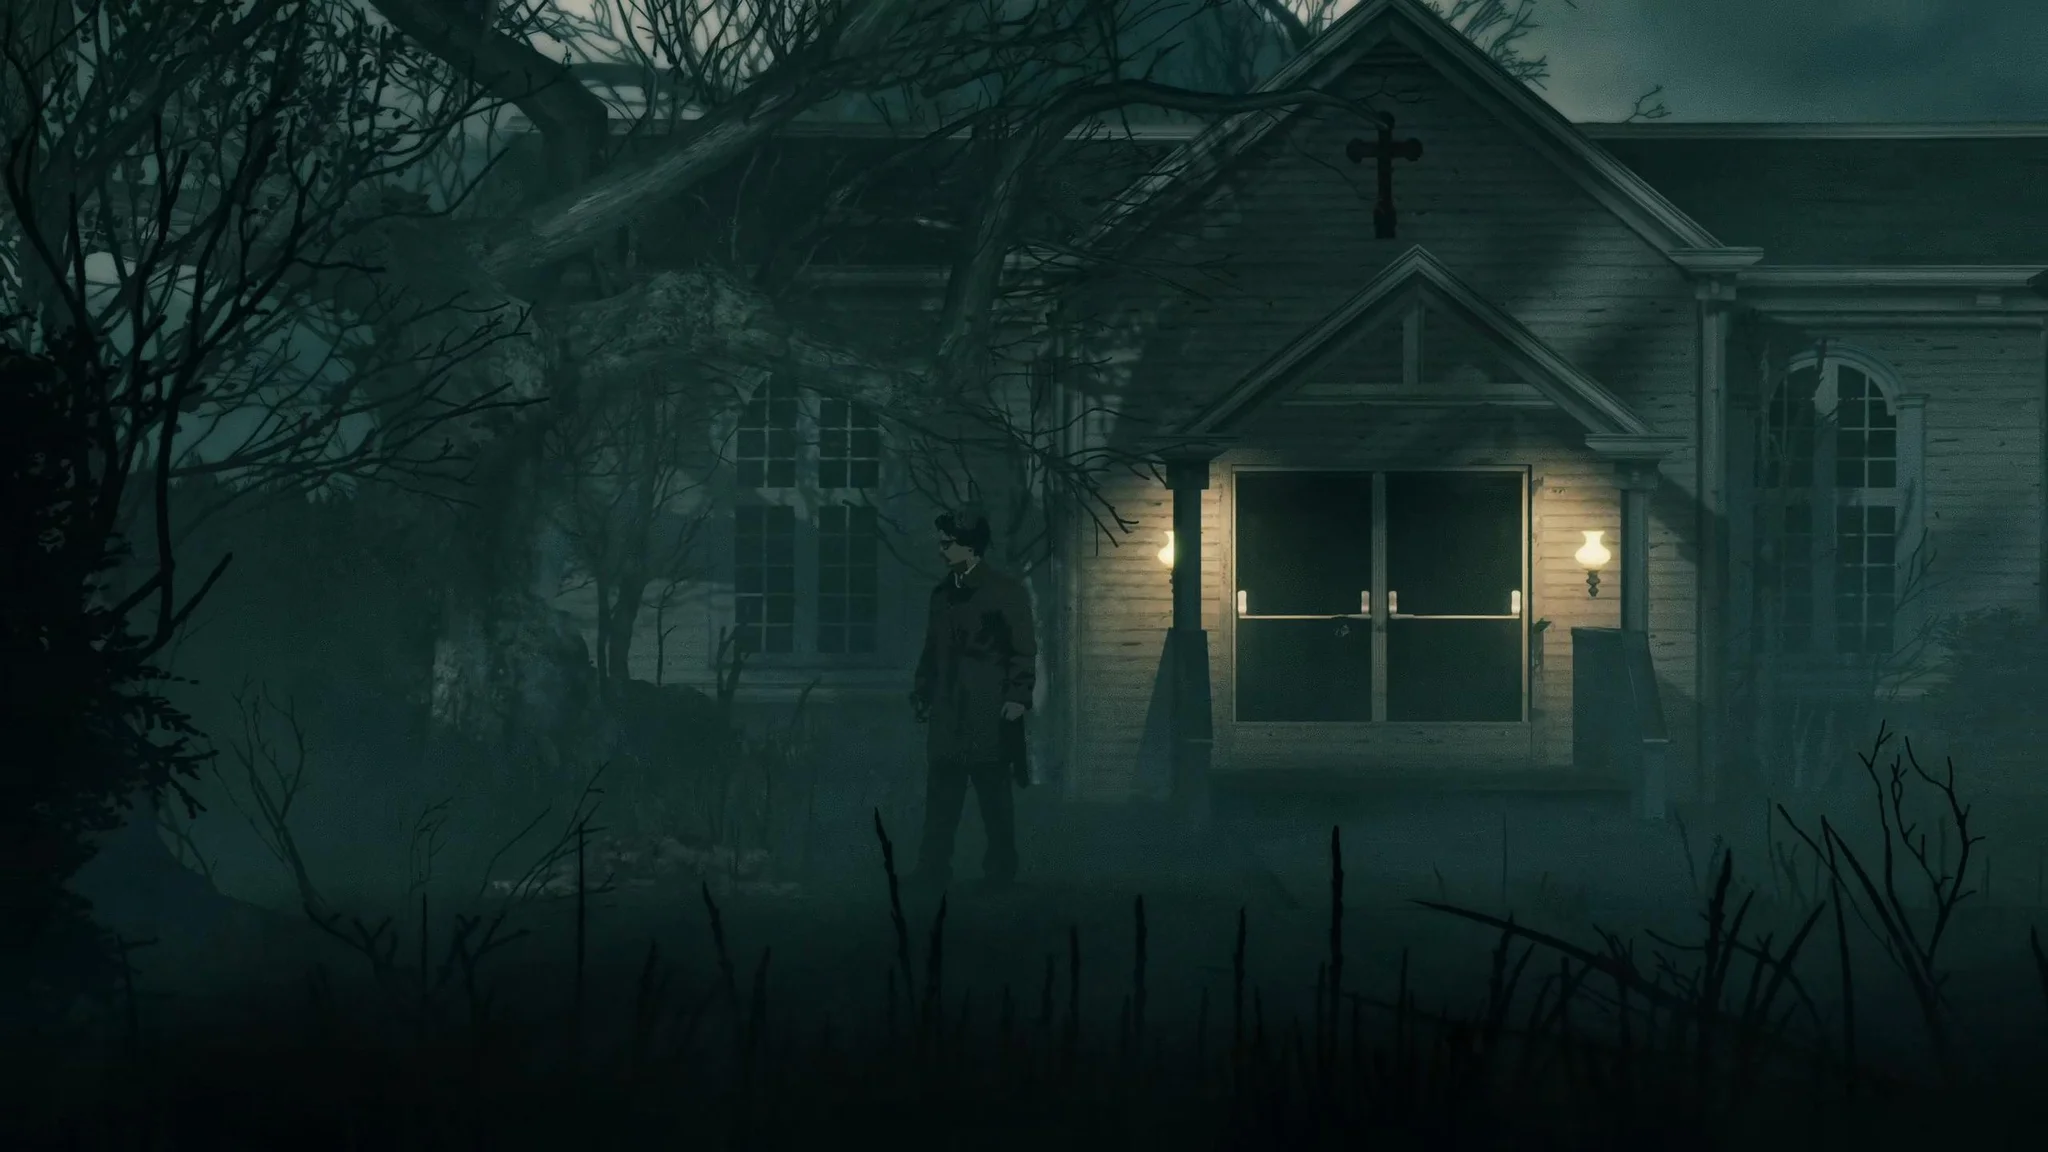
The Union Apartments is one of the longer stops in Silver Pines, and it earns that reputation. You're hunting four Laundry Tokens across multiple floors, solving a clipping-based combination lock, crashing through mirrors, and eventually triggering a flooded basement boss fight just by turning off a bathtub faucet. This guide covers every floor, every collectible, and the path to Cable Station Bell (D) without a single wasted step.
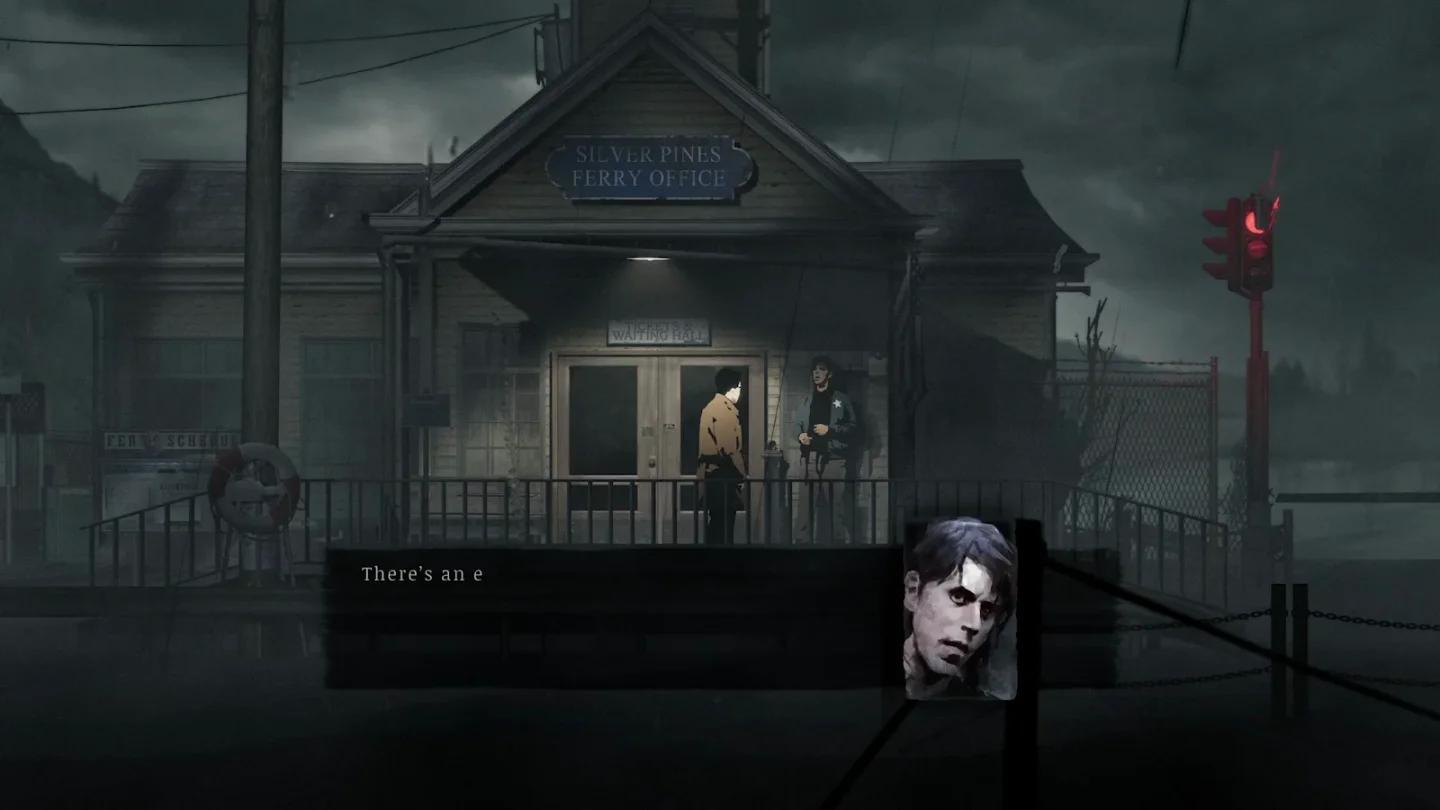
Union Apartments front entrance
How do you reach the Union Apartments?
From Downtown, head to the Movie Theater in the northeast corner. Enter through the double doors on the left, use your Flashlight, walk up the aisle toward the stage, then exit left through the emergency door. Keep heading west and you'll see the Union Apartments to the north. Speak with the person standing outside, then unlock the shortcut door to the left before heading through the north gate into the Union Apartments Grounds.

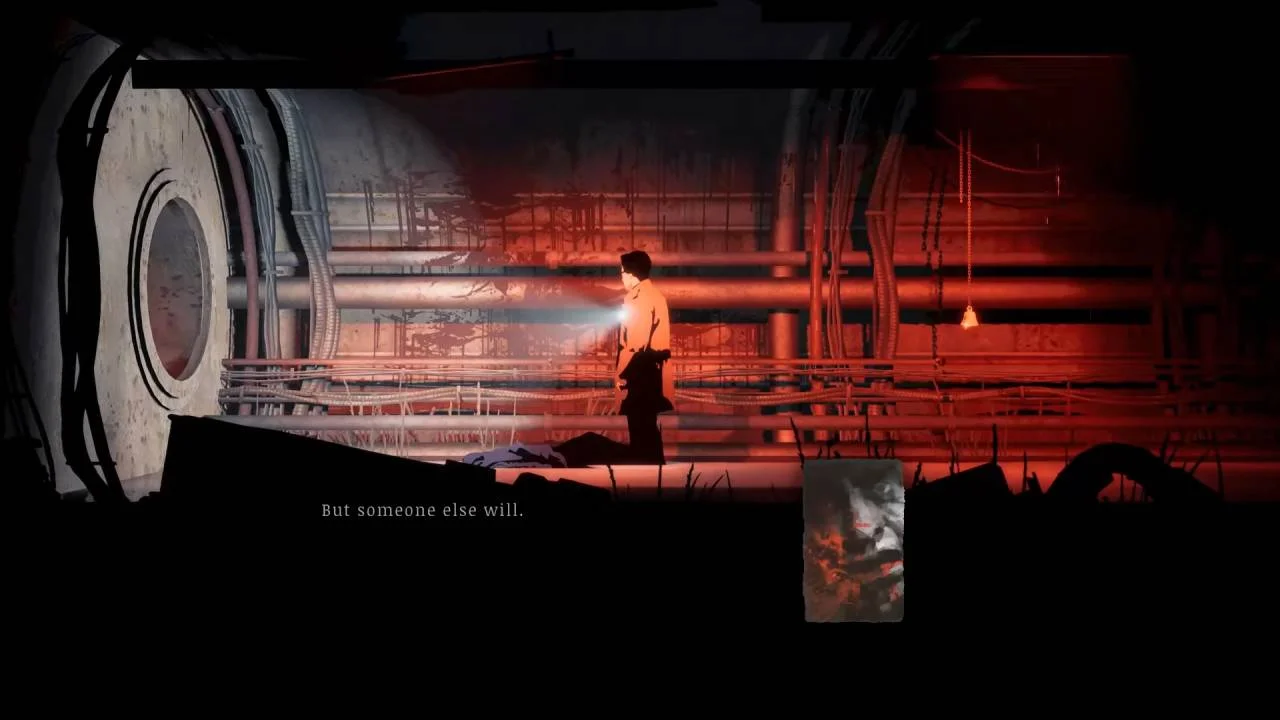
Optional: Double Barrel Shotgun before you go
If you haven't grabbed the Double Barrel Shotgun yet, swing by the Sport Smart Sporting Goods Store back entrance first. Turn on your Flashlight, flip the light switch, then head upstairs and inspect the framed baseball jersey on the floor. It's a number 23 jersey from the class of 67. Head back down and enter the code 2367 at the Ammo Zone gate. Clear the two enemies inside and break the case to collect the shotgun.
Accessing the building
Before entering the front door, go all the way left to the shed near the basketball hoop. Use the Crowbar to break through the wooden barrier and smash the wind chime inside for a Memento Vessel Shard.
Head back east and enter the main building. On the right wall, grab the Union Apartments Map (Fire Escape Plan). Check the Keybox on the left for the Utility Room Key, then inspect the Intercom next to the inner door. Room 4B belongs to Alice Baker, a name you'll recognize from Eddie Velvet's Interrogation Tape, but the line is busy because of interference from the Utility Room.
Go back outside and right, past the enemies. You can loot the car trunk nearby for some Money and climb the dumpster to reach a chest on the scaffolding containing Duct Tape. Enter the Utility Room with the key, shoot the gas canister just inside to take out both enemies at once, then go east and down the stairs. Walk through the flooded basement passage and interact with the Intercom on the wall to cut the broadcast. Head back to the front entrance and dial Room 4B on the intercom. Someone answers and tells you to come up.
Exploring the Union Apartments: floor by floor
1st floor
Go west down the 1st Floor Hallway and enter the Supervisor's Room 1A. Pick up the Laundry Token from the table. Check the notice board, which has four newspaper clippings pinned to it:
- Artist dies in fall
- Obituary of Albie
- Writer Suicide
- The Union Stalker
There's also a wall scrawl reading It Came For The Rest. The locked door to the right requires an apartment number code, which you'll solve after visiting each resident's apartment.
Back in the hallway, head east and peek through the window slit to spot a button with the number 4 on it. Call the elevator and step in. The 4-Button is missing from the panel, which is why you need to unlock the Supervisor's Room door later.
Continue east through the gate. Room 1B is boarded up for now. Enter Room 1C past the stairwell entrance. Grab the Gallery Pamphlet from 1C Note from the table, this is Drew Laker's apartment, the artist from the clipping. The bedroom wall has a message buried under thick paint you can't read yet. Check the bathroom medicine cabinet for a Healing Tonic, then return to the hallway.
At the far east end of the hallway, enter the Safe Room, save your progress, and note the mural on the left wall.
Basement
Take the Stairwell south near Room 1C down to the Basement. Go to the Storage Room first. Skip the locked first storage unit for now and enter the second one on the right. Loot the duffle bag for a second Laundry Token, then break the boards on the right wall to find a Pale Lichen and a First Aid Kit.
Head left out of storage into the Laundry Room. The Washing Machine contains a key, but needs all four Laundry Tokens to open. Take the northern passage in the Laundry Room and grab the third Laundry Token from the duffle bag in the left corner. You'll also spot cracked wall sections you can't break through yet, and a Waterlogged Poetry Book Note near those cracks.
2nd floor
Head back to the stairwell and up to the 2nd Floor. Go left immediately and loot the duffle bag on the ground for the fourth and final Laundry Token. Watch out for the enemy on the other side of the locked gate, it can still hit you with poison projectiles through the bars.
Enter Room 2B through the open doorway (no door). Go through the door on the right to find a makeshift alcohol still with some alcohol remaining. Pick up an empty Bottle from the floor and use it on the still to collect a Bottle of Alcohol.
Continue east to Room 2C. Clear the enemies, loot the chests and fridge, then shoot out the vent on the right wall near the front door and climb through. Break the wind chime on the other side for another Memento Vessel Shard.

Vent shortcut in Room 2C
Now that you have all four tokens, return to the Basement and insert them into the Washing Machine to collect the Union Level 3 Key.
On your way back up the stairwell, break the boarded window between floors 2 and 3, climb out onto the scaffolding, and go up the ladder to find another wind chime. Break it for a third Memento Vessel Shard.
3rd floor
Unlock the 3rd Floor door with the Union Level 3 Key. The western hallway is blocked by rubble, so enter Room 3C to the right first. In the bedroom, read the Water Damaged Diary From 3C, which references the stalker and ties directly to the Supervisor's Room combination lock.
Go to the bathroom and break the mirror. Climb through into Room 3B. Cut the fabric wall on the left and loot the bag behind it for Ammo. Use Room 3B's front door to access the western half of the floor.
Head left through the gate to reach Room 3A. Pick up the Birthday Card from 3A Note on the table. This is the apartment of the woman from the obituary clipping. You can also find the cat from the Silver Pines Outskirts sitting on the bed if you want to say hello.
Back in the hallway, go out the balcony door and climb down the railing to the 2nd Floor western section. Defeat the enemy, unlock the connecting door, then head up the passage to Room 2A. Grab the Typewriter Page from 2A Note from the desk. This is the writer's apartment. In the bedroom, pick up the Dried Up Paint Solvent from the floor.
When you leave, you'll encounter the Sheriff again. Run through his dialogue and head back to the 1st Floor.
Unlocking the Supervisor's Room door and reaching the 4th floor
Stamina upgrade and the Molotov Cocktail
In Room 1C, go to the bathroom and break the mirror to climb into Room 1B. Fight through the enemies and find the Coffee Pot at the far left. Brew a cup to permanently increase your Maximum Stamina.
Back in Room 1C's bedroom, combine the Dried Up Paint Solvent with the Bottle of Alcohol in your inventory. Apply the mixture to the thick wall paint to reveal the hidden message: Basement 1525.
Go down to the Storage Room in the basement and use code 1525 on the left storage unit's lock. Inside you'll find Gasoline and a Burnt Note. Combine the Gasoline with an empty Bottle to craft a Molotov Cocktail, a throwable weapon that's useful against tough enemies.
Solving the Supervisor's Room combination lock
Return to the Supervisor's Room and approach the combination-locked door. The order comes from the newspaper clippings on the board, read left to right:
| Clipping | Resident | Apartment |
|---|---|---|
| Artist dies in fall | Drew Laker | 1C |
| Obituary of Albie | Cat owner | 3A |
| Writer Suicide | Writer | 2A |
| The Union Stalker | Stalker | 3C |
Enter 1C, 3A, 2A, 3C in that order to unlock the door. Inside, grab the Floor 4 Button and the 1911 Service Pistol from the table.
Head to the elevator, insert the Floor 4 Button, and ride up.
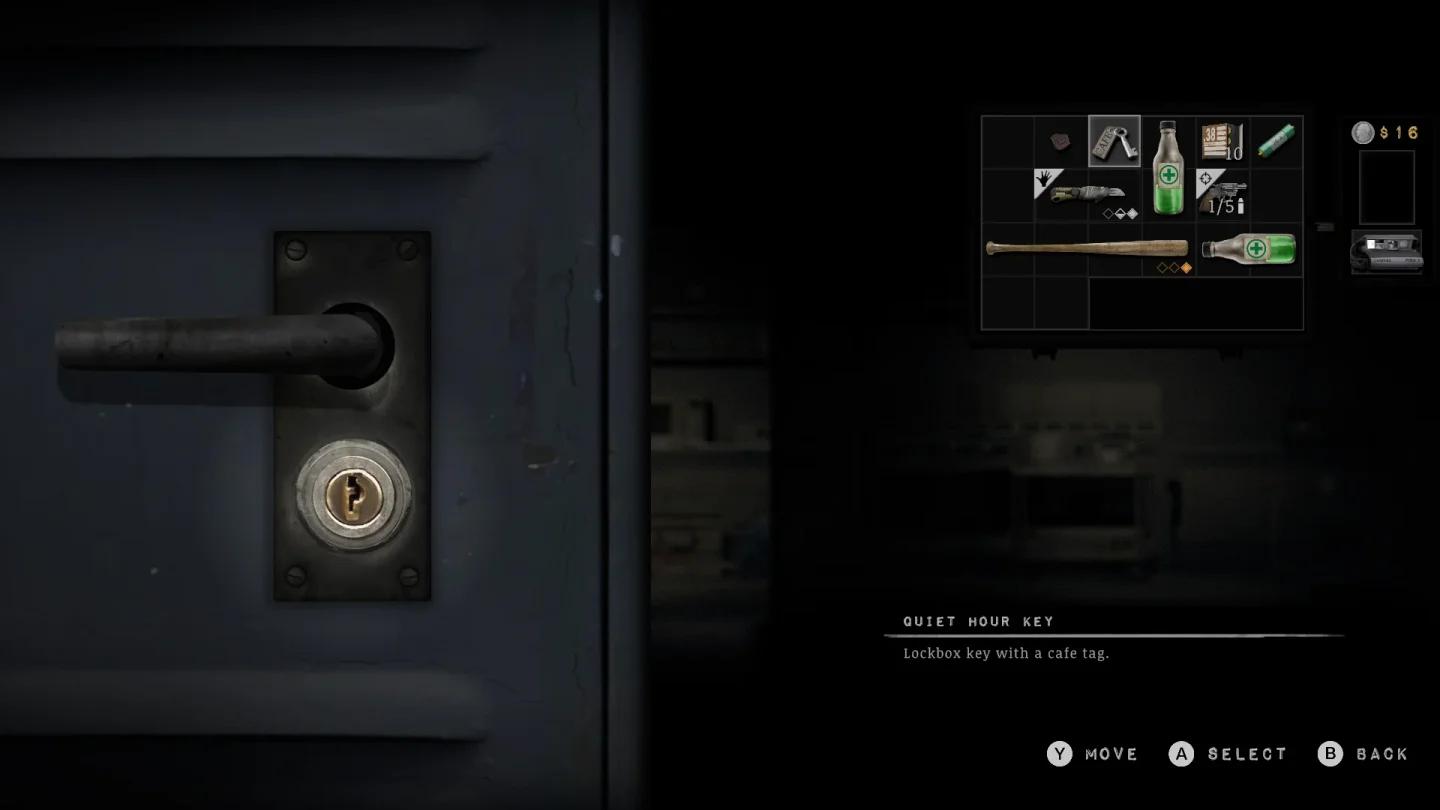
Supervisor's Room combination lock
Getting the Apartment 4B Key
On the 4th Floor, walk east past the enemies to the doorway marked with a Phone sign. Head up the stairs to the Roof. Climb over the raised section and reach the table near the Union sign to find a Diary Page and the Apartment 4B Key.
Crows will start attacking at this point. You can shoot them, but running back to the Safe Room is faster. Save, heal, and load up your weapons before continuing. The 1911 Service Pistol is the recommended choice here because it reloads the full clip in one action.
Use the Apartment 4B Key to enter Room 4B. Examine the photograph of Eddie and the girl from the bar on the left wall, then read the Diary Page on the bedside table. Walk through to the bathroom and interact with the bathtub to turn off the faucet. This triggers the boss fight.
How to beat the Union Apartments Basement boss
The fight takes place in the flooded basement. The creature spends most of the battle submerged, so positioning is everything.
Phase 1: Watch for splashing in the water. That signals where the boss will emerge. Dodge away from the splash point to avoid the spikes that shoot up from below.
Phase 2: After the spike attack, the boss surfaces briefly. This is your window to attack. Land headshots with the 1911 Service Pistol, the boss model makes head targeting straightforward.
Two surface attacks to watch for:
- If the boss appears close to you, it will spike outward from its body, knocking you back. Move away the moment it surfaces beneath you.
- If the boss appears further away, it will shoot a spike projectile from its mouth. The dodge timing is tight, so running away is the safer call.
Keep moving, avoid standing still, and keep shooting during every surface window. The boss goes down faster than it looks.

Boss spike attack pattern
Obtaining Cable Station Bell (D)
After the boss dies, you're transported to a swampy alternate area. The path right is flooded, so go left first and pick up the Sea Polished Glass Shard Memento. Equip it immediately, as it reduces stamina consumption while swimming.
Swim across the water to the right. When you exit the water, stomp on the item on the ground and pick up the Black Flesh. Grab the Diary Page a few steps ahead, then take the northern path.
Head right to find the Injured Bird in a cage and collect it. Now go back left and take the first southern exit. A few steps west leads to a table with a hole in the wall behind it. Interact with the hole.
Here's the choice: you can feed the hole the Injured Bird directly, or combine the Black Flesh with the Bloody Feathers (found near a lighthouse to the left past a gate) to craft a Bird Effigy as a substitute. Either option works. Feed the hole and collect the Cable Station Bell (D).
You'll be returned to the Union Apartments entrance. Go left and answer the ringing phone to speak with Mr. Jackman and save your progress.
Collectibles summary
| Collectible | Location | How to get |
|---|---|---|
| Memento Vessel Shard | Shed in Union Apartments yard | Break wind chime with Crowbar |
| Laundry Token 1 | Supervisor's Room 1A | On the table |
| Laundry Token 2 | Basement Storage Room (right unit) | Loot duffle bag |
| Laundry Token 3 | Laundry Room northern passage | Loot duffle bag in left corner |
| Laundry Token 4 | 2nd Floor west end | Loot duffle bag near locked gate |
| Memento Vessel Shard | Room 2C | Break wind chime through vent |
| Memento Vessel Shard | Scaffolding between floors 2-3 | Break boarded window, climb ladder |
| Union Level 3 Key | Washing Machine (Basement) | Insert all 4 Laundry Tokens |
| Stamina Upgrade | Room 1B Coffee Pot | Enter via Room 1C bathroom mirror |
| Molotov Cocktail | Basement Storage Room (left unit) | Code 1525, combine Gasoline with Bottle |
| Floor 4 Button | Supervisor's Room (behind combo door) | Solve apartment number lock |
| 1911 Service Pistol | Supervisor's Room (behind combo door) | Same as above |
| Hip Bag (inventory upgrade) | 4th Floor Stairwell | Collect after riding elevator |
| Apartment 4B Key | Rooftop table | Access via Phone Room stairs |
| Sea Polished Glass Shard | Swamp area post-boss | Walk left after boss fight |
| Cable Station Bell (D) | Hunger Room hole | Feed Injured Bird or Bird Effigy |

Cable Station Bell (D) location
For everything that comes before this section, the Silver Pines Downtown complete walkthrough covers the earlier Downtown areas in full detail. If you're also working through the underground sections, the Downtown Sewers walkthrough handles every valve, enemy, and collectible down there. The next major area after the Union Apartments is Church Hill, and the Church Hill walkthrough covering keys, cubes, and the bell picks up right where this one leaves off. Browse the full Silver Pines guides collection for every area covered.