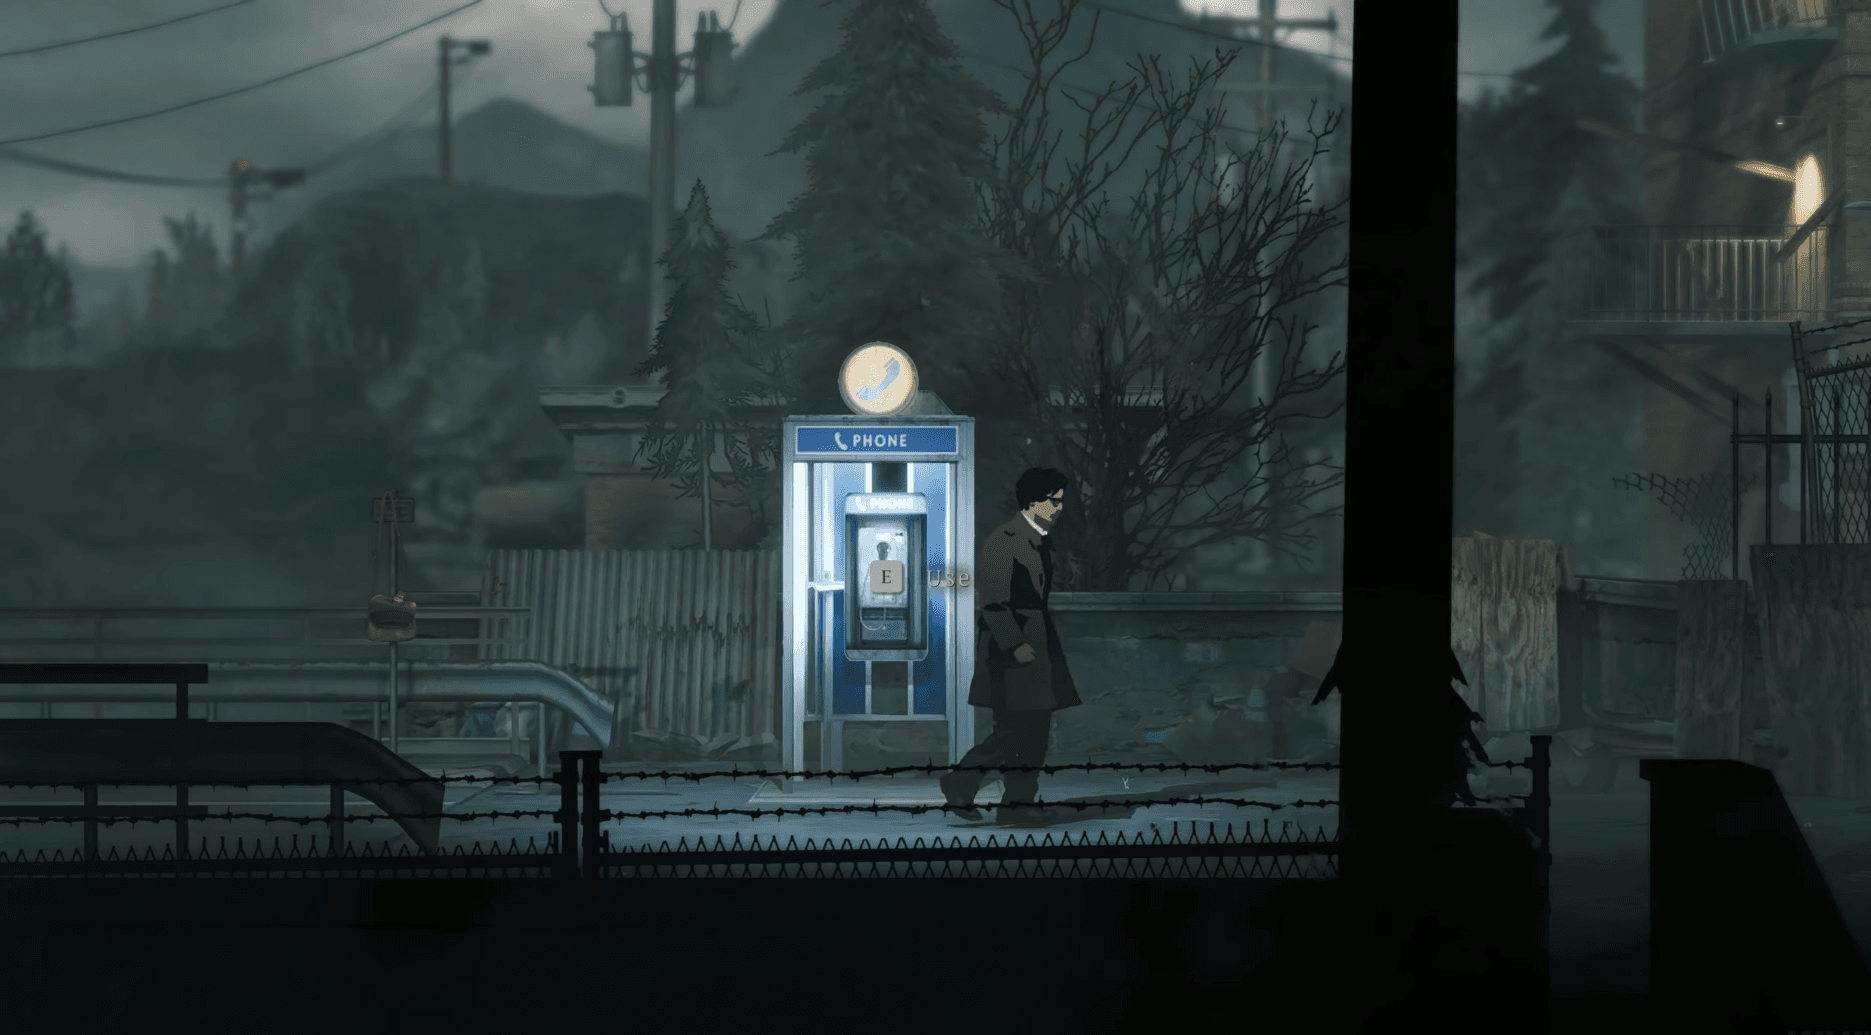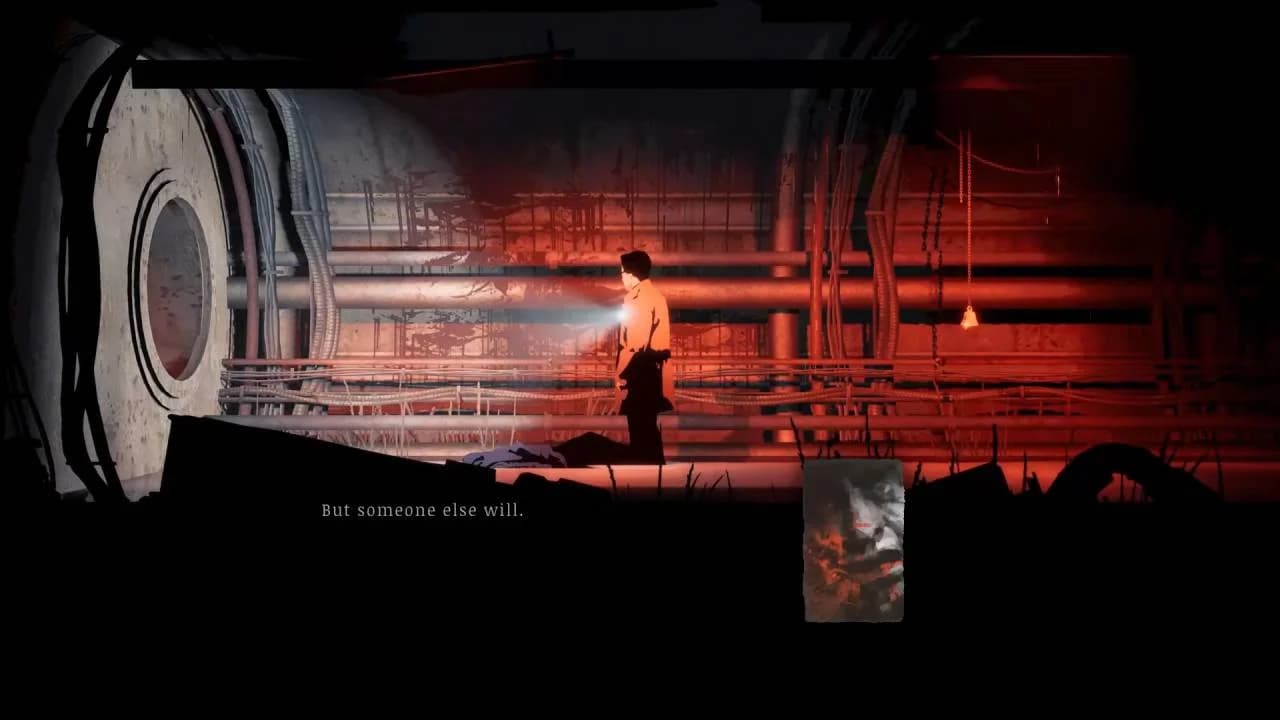

The Downtown Sewers are the most demanding section of Silver Pines so far. Three valves spread across a maze of pipes, a poison boss guarding one of them, and a bolted door that will not budge until every pressure wheel is maxed out. This guide covers every step from the manhole outside the Vet Clinic to the moment you walk out carrying the last bell.
What do you need before entering the sewers?
Before you drop down that manhole, make sure you have the crank, the manhole key, and the sledgehammer. Without all three, you will hit dead ends at critical points and have to backtrack. Stock up on cleansing tonics too. The poison boss in this section hits hard and lingers, so going in dry is a bad idea.
Head to the Quiet Hours Diner first. The Cowboy who was there earlier is back, and he hands over a Star, a Shotgun, and ammo for it. Save your game at the diner phone before moving on.
Vet Clinic manhole entry point

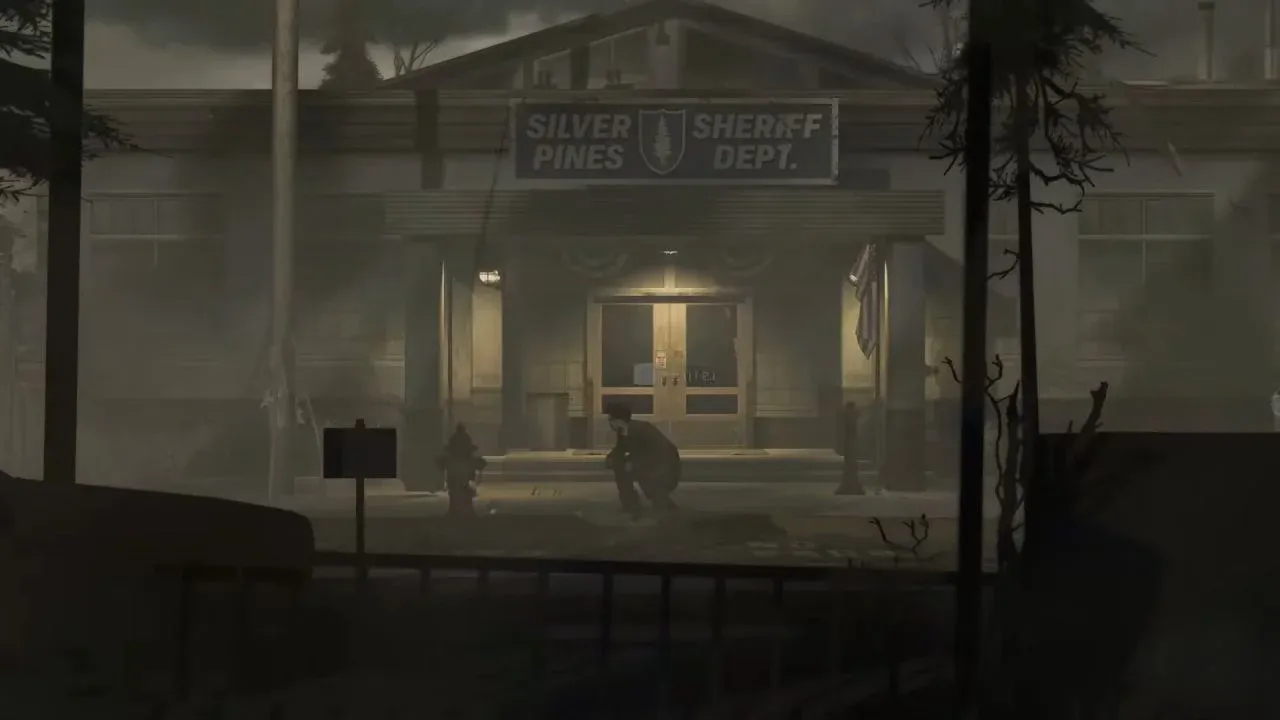
How to open the sluice gate controls
Walk to the Vet Clinic and open the manhole cover in front of it. Climb down and pick up the Heavy Cog at the bottom. Walk through the gate to the left to reach the main Sewer Systems area. Grab the map off the workbench as soon as you enter.
Exit through the door onto the dock, then keep going left until you reach the sluice gate control machine. Insert the Heavy Cog into the empty slot on the bottom. Adjust the gears so they are all touching in a continuous chain across the machine, then use the crank to start it up.
With the sluice gate running, head right toward the Sewer System door. There is a man standing outside it worth talking to. Once inside, walk left through the room and drop into the shallow water. Jump up to the pipe and keep moving left all the way to the dead end. Pick up the key off the body there. Enemies will wake up behind you, so move fast. Use the key on the gate to the right.
How to find all three flow control valves
All three valves need to be active before the bolted door will open. Here is where each one sits and what stands between you and it.
| Valve | Location | Obstacle |
|---|---|---|
| Flow Control A | Through the big pipe after climbing over the pipes in the hallway | None, straightforward crawl |
| Flow Control C | Left side of the exterior bridge section past door 1329 | Enemy on the bridge, broken bridge gap |
| Flow Control B | Bottom of the pit behind the locked gate (code 1-4-6-7) | Poison boss spawns when you activate it |
Finding Flow Control A
After unlocking the gate with the key from the dead end, go right and through the door upward. In the hallway, go left and climb over the pipes. Crouch through the large pipe at the end to reach the room with Flow Control A. Turn on the valve.
Finding Flow Control C
From the same hallway, go all the way right and crouch through another big pipe. You drop into an exterior area with a dog to deal with. Jump up to the pipe on the right side. From here you can see the bolted door with the three pressure wheels in front of it.
Go up the stairs to the left of the bolted door and through the Staff Only door into the safe room. Save at the phone here. Check the control panel on the left: valve A should already be lit.
Go right and through the door marked 1329 beside the hanging jackets. Immediately to the right is a concrete wall. Break through it with the sledgehammer, use the manhole key on the manhole below, and climb down to collect the Rusted Spur memento (10% ranged damage boost, increased recoil).
Back up through the 1329 door, walk left to the broken bridge, drop down, fight the enemy, and jump up to the other side. Cross the exterior bridge, fight the enemy in the next room, and grab the clipboard off the floor. Keep going left to reach Flow Control C and turn it on.
Before backtracking, go through the door to the left of that valve. Duck through the wall on the left for some healing. Continue through the doorway upward and look for the crack in the wall to the left. On the workbench inside, pick up the weapons tool kit (used to shorten a shotgun barrel). Climbing the ladder beside the workbench leads up to a shop with ammo and a magazine on the floor.
Three pressure wheels at the bell chamber
Finding Flow Control B and the poison boss
Backtrack to the safe room and save again. Head back toward the entrance and look for the locked gate on the right. The code from the clipboard is 1-4-6-7. Enter it to unlock the gate.
Climb over the railing and drop down into the pit below. Walk right and activate Flow Control B. The boss spawns immediately.
Once the boss is down, climb back out and head toward the bolted door. Turn all three pressure wheels to their maximum position. Step back before they fully engage because the bolted door blows open and the blast can damage you. Walk into the chamber and collect the bell.
The man from outside the Sewer System door will attack you immediately after. Spam E to fight him off, then press M1 to shoot. Loot the 44 Magnum from his body.
Mementos and collectibles in the sewers
The sewers have more collectibles than most areas. Here is a full list so nothing gets missed.
- Rusted Spur (10% ranged damage, increased recoil): Behind the concrete wall through door 1329, down the manhole.
- Cat Collar: Jump off the right side of the Eastern Dock, enter the sewers access, crawl through the hole in the vet clinic basement wall. Enter code 3-8-1-9 (feline pets only from the pet ledger) to free the black cat. Requires having pet the cat at the Ferry Station and spoken to it in the Union Apartments.
- Worn Silver Buckle (25% extra damage on sprinting melee attacks): Defeat the boss in the ship hatch. Access the ship from the Eastern Dock by crossing the boards from the Sewer Access door. Climb the pallets, go over the roof, and enter the control panel room. The correct button sequence is: bottom left, bottom right, top right.
- Faceless Coin (melee charged attacks deal 20% more damage): Go to the park in Downtown and use the manhole in front of the gazebo. Use the sledgehammer to break the concrete wall to the left and enter the Silver Gazette. Walk through to the printing press room.
What else can you grab before leaving?
Bowling car keys
From the safe room, go left through the gate and follow the path to the tunnel with the Exit sign. Go through and break the concrete wall to the right with the sledgehammer. Loot the bowling car key from the yellow toolbox inside. The car it opens is parked in front of the liquor store, to the left of the Mt. Siah Kopa gondola building.
Memento slot pieces
Two wind chime memento slot pieces are accessible from the Eastern Dock area:
- One hangs near the dock gate. Shoot it down from the dock, then swim across from Riverside using the Glass Shard memento to pick it up.
- A second one is on a floating ship deck with blue storage containers to the right of the main ship. Jump from the right side of the ship to reach it.
The Blade
With the sledgehammer in hand, cross the bridge to Riverside and break through the concrete wall immediately to the right. Follow the path past enemies to a house. The Blade melee weapon is on the table inside.
Where do you go after the sewers?
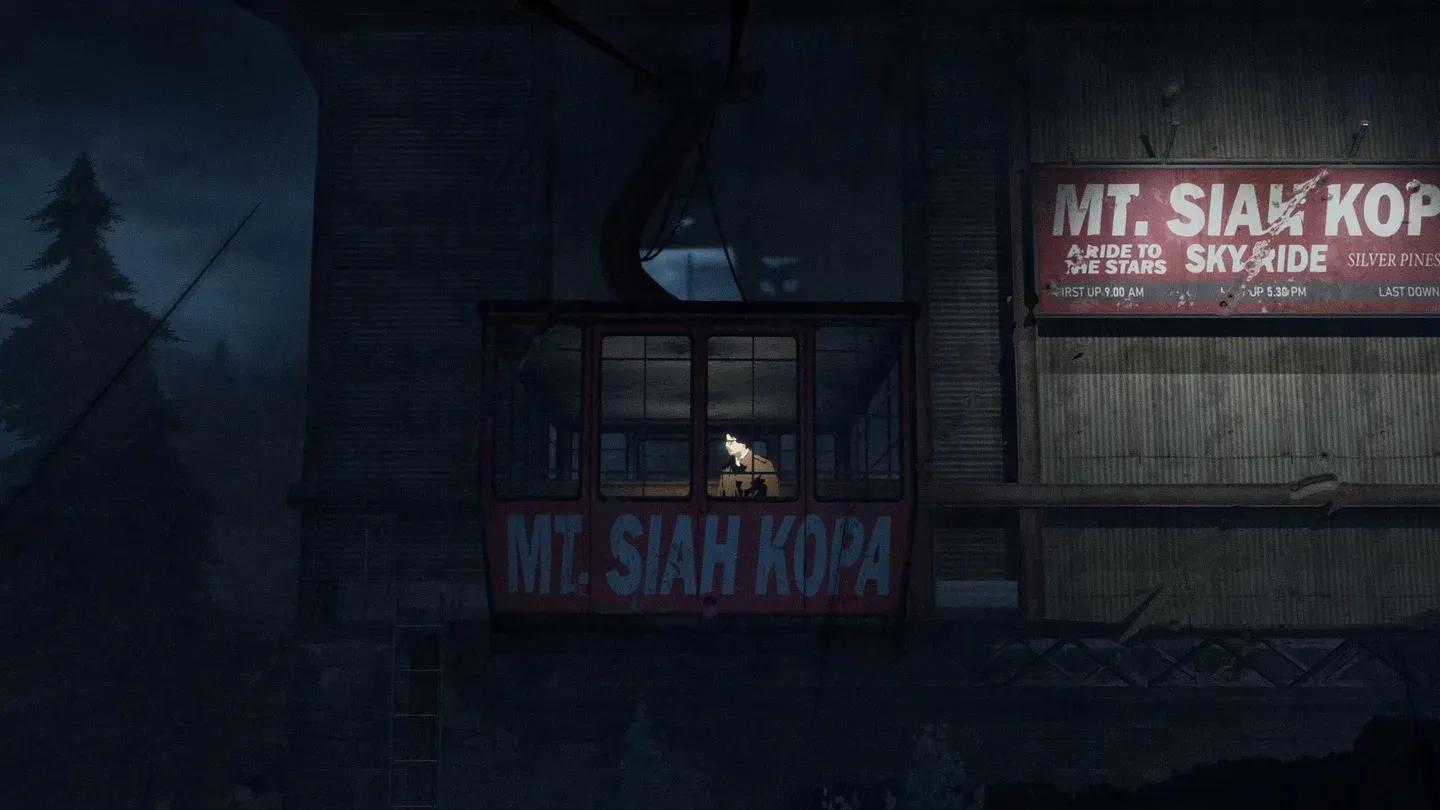
With the bell collected, climb out of the sewers and head to the gondola building. That ride up to Mt. Siah Kopa is the next major chapter. For everything else you might have missed across the rest of the game, the full Silver Pines guide collection has area-by-area breakdowns covering the Downtown puzzles, the Outskirts, upgrades, and more.
For players still working through earlier sections, the Silver Pines Downtown puzzles guide covers the bird cage code, ship control sequence, and ferry fixes in one place. If the Outskirts are next on your list, the Silver Pines Outskirts walkthrough takes you from the diner all the way to the ferry with every key and collectible mapped out.