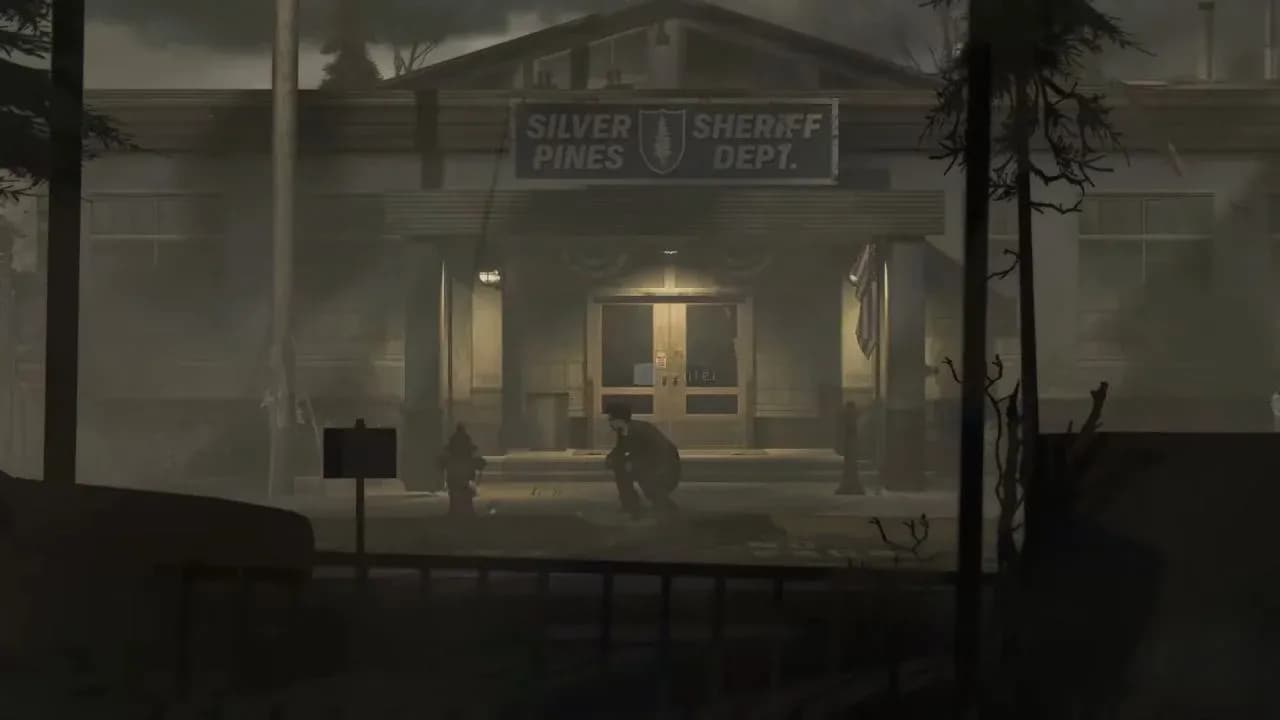

The Silver Pines Sheriff's Department sits on the east side of the Riverside district, and the front door keypad stops most players cold. The code is not handed to you directly. You have to earn it through a two-step radio puzzle, then work through a building packed with locked rooms, a combination safe, a projector puzzle, and a boss fight. This guide covers all of it, start to finish, so you can walk out with Cable Station Bell A and the Six-Shot Cylinder upgrade without backtracking blind.
What is the Sheriff's Office door code?
The front door code is 1715. A working radio inside the dark Route 13 tunnel reads it out to you, but you have to set it up correctly first.
Here is the full sequence:
- Head to the parking area west of the Sheriff's Department and find the cop car with its siren lights still running. Interact with the radio inside and photograph it with your camera. The broken radio is tuned to 86.6 MHz with the first three mode lights set to red.
- Before you can reach the tunnel, you need the flashlight. Go to the Wing Oil gas station, switch on the fusebox at the rear yard to restore power, then enter through the front door and collect the flashlight from the workshop floor at the far end.
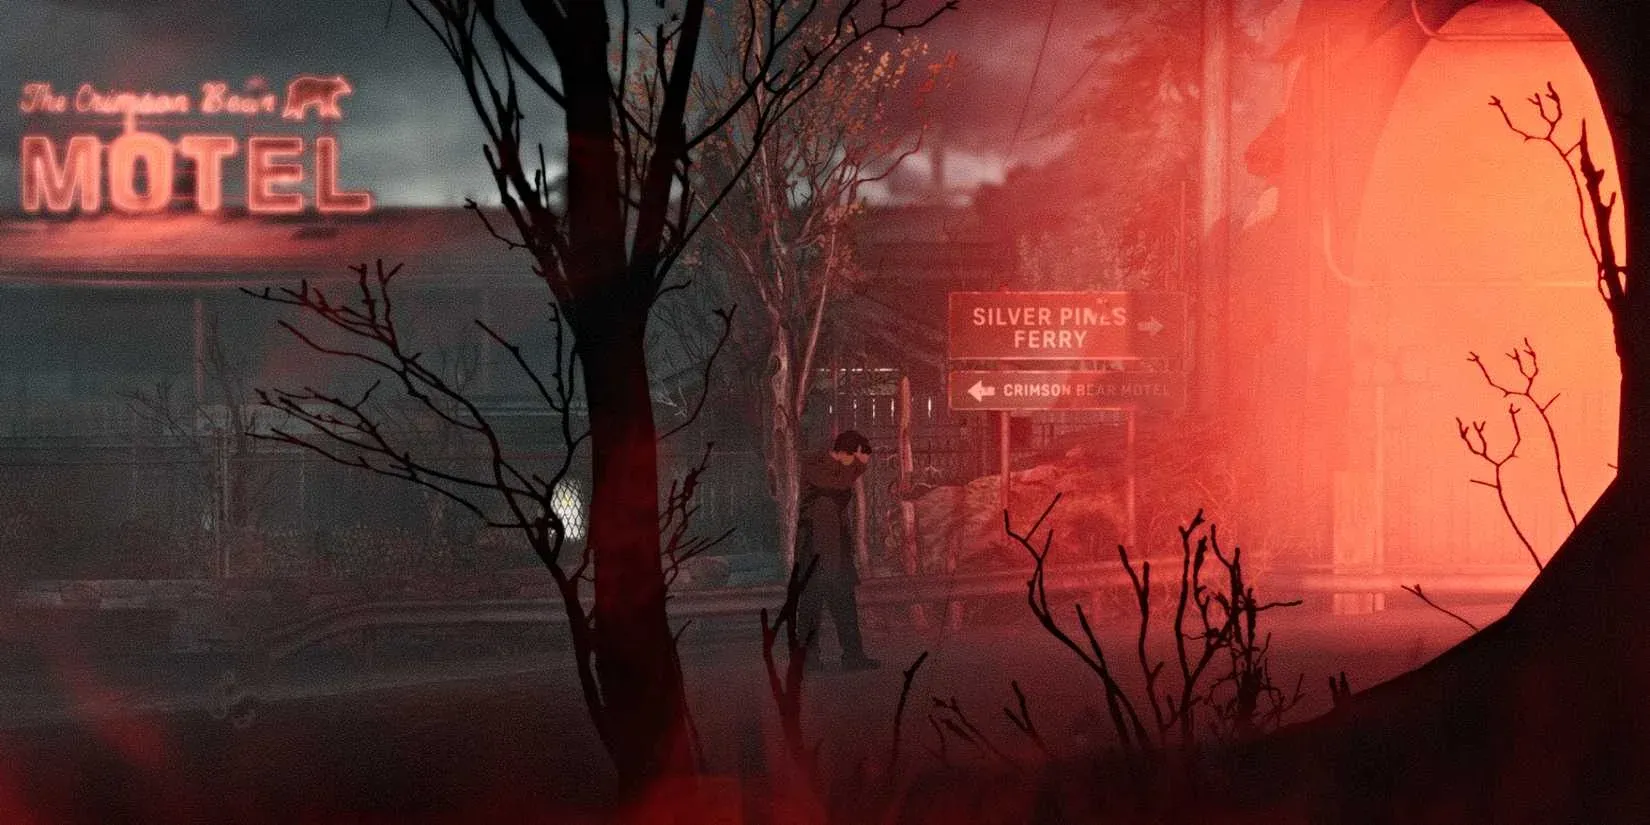
- Head east past the gas station and into the dark Route 13 exit. Use your flashlight and take out the poison-spitting creature inside.
- Find the blue truck in the tunnel and interact with its radio. Set the frequency to 86.6 MHz and adjust the mode so only the first three lights are red, matching the photo from the cop car.
- A voice transmits the code: 1715. Head back to the Sheriff's Department front door and enter it on the keypad.

Front door code: 1715

All Sheriff's Office keys and what they unlock
The building is a maze of locked doors. Here is every key, where to find it, and what it opens.
| Key | Location | What it unlocks |
|---|---|---|
| Basement Key | Lockbox on the wall in the Sheriff's office | Gate to the basement |
| North Wing Key | Key rack in the basement storage room | Pantry door in the North Wing |
| Armory Key | Bed in Cell B | Armory gate (Model 7 Rifle inside) |
| Evidence Lockup Key | Painting safe | Evidence lockup gate by the garden |
| Locker Key | Backlot area | Locker in the locker room |
| Metal Handle | Cell A, accessed via vent above cold storage | Second cold storage drawer |
| Weapon Case Key | Jacket on the body in the second cold storage drawer | Weapon Utility Case (unlocks Six-Shot Cylinder) |
How to solve the painting safe puzzle
The safe in the Sheriff's office uses a directional dial, not a numeric code. The combination is 15, 7, 3, 10, and you switch direction between each number.
To find those numbers, you need to photograph four artworks scattered around the building. The Sheriff's Office Book marks four key words with turn arrows: bones, spirits, body, and evil. A note in the briefing room tells you where the matching pieces hang.
- Bones (15): the skeletal remains painting
- Spirits (7): the spirit mask painting in the archive
- Body (3): the autopsy painting
- Evil (10): the stone devil relief in the back garden
Once you have all four photographs, return to the safe and follow the Safe Manual Page instructions:
- Turn clockwise to 15
- Turn anti-clockwise to 7
- Turn clockwise to 3
- Turn anti-clockwise to 10
The Evidence Lockup Key is inside, along with some .223 ammo for the Model 7 Rifle.

Painting safe dial sequence
How to solve the projector puzzle and free Deputy Roberts
The holding cell code is 3100, and you derive it from Badge 0013 written backwards.
Here is how to get there:
- Go to the morgue and examine the drowned body. Something is wedged between its teeth. Pry out Badge 0013 using the Crowbar (which you get from the evidence lockup).
- Pick up the License Plate from the junk in the back alley, past the barricade you blast open with the shotgun.
- Take the License Plate to the projector in the briefing room and slot it in. The cutout holes reveal five words: BADGE NUMBER REVERSE RELEASE PRISONER.
- Write 0013 backwards: 3100. Enter that on the holding cell keypad.
- Speak to Deputy Roberts inside, grab the Cassette Tape from the table, and play it on the record player.
After the tape ends, Roberts leaves. Head upstairs, save at the payphone, and prepare for a boss fight.
After the fight, check Roberts' body for the Snake Earring memento, then walk left down Silver Road to collect Cable Station Bell A.

Projector reveals cell code
How to get the Crowbar and the Six-Shot Cylinder upgrade
Both of these require a bit of routing through the cold storage area.
Crowbar:
- Open the evidence lockup in the garden area with the Evidence Lockup Key from the painting safe.
- The Crowbar sits inside on the right. It lets you pry open boarded doors and storage crates throughout the building.
Six-Shot Cylinder (Snub .38 upgrade):
- From the cold storage room, shoot the vent above the right-side drawer and climb through to Cell A.
- Pick up the Metal Handle from the toilet.
- Return to cold storage and use the handle to open the second drawer. Check the jacket on the body inside for the Weapon Case Key.
- Combine the Weapon Case Key with the Weapon Utility Case stored in the armory. The result is the Six-Shot Cylinder, which gives your Snub .38 Revolver a sixth round.
What else to grab before you leave
The Sheriff's Department has a few more items worth collecting on your way out:
- Model 7 Rifle: inside the armory, unlocked with the Armory Key from Cell B. Ammo sits in a nearby locker.
- North Wing Key: on the key rack in the basement storage room. Opens the pantry door in the North Wing.
- Locker Key: found in the backlot. Opens the locker room lockers for supplies.
- Cassette Tape: on the table in the interrogation room with Deputy Roberts. Needed to progress the story.
For players tracking collectibles, there are also Memento Vessel Shards hidden in the basement, accessible via a vent above a storage room. Combine four shards to unlock an extra memento slot. If you want a full breakdown of every shard in the game, the Silver Pines all 16 vessel shard locations guide has exact directions for every one.

Model 7 Rifle in the armory
Quick reference: all Sheriff's Office codes
| Lock | Code | How to find the clue |
|---|---|---|
| Front door keypad | 1715 | Tune tunnel truck radio to 86.6 MHz, first three mode lights red |
| Painting safe | 15, 7, 3, 10 (alternating direction) | Four artworks photographed around the building |
| Holding cell keypad | 3100 | Badge 0013 reversed, revealed by the projector puzzle |
The Sheriff's Office is one of the denser areas in Silver Pines, and it feeds directly into the cable car bell chain that opens up the mountain. Missing the Six-Shot Cylinder or the Crowbar here means backtracking later, so clear the whole building before you leave.
For players who want to see how the Sheriff's Office fits into the broader story, the Eddie Velvet guide separates confirmed facts from theory around the Cassette Tape you find in the interrogation room. And if you are working toward a specific ending, the Silver Pines all endings guide covers exactly what you need to collect and which choices matter before the final area. More walkthroughs and collectible guides are available in the full Silver Pines guide collection.