Silver Pines does not hold your hand. There are no glowing waypoints, no minimap pinging objectives at you, and no automatic fog-of-war clearing. Every zone in this survival horror Metroidvania has its own physical map you need to pick up from a notice board or wall-mounted fire escape plan, and until you do, you are navigating blind. There are 11 maps total spread across the game's interconnected areas, and this guide covers every single one in the order you'll realistically encounter them.
Why do the maps matter in Silver Pines?
In most adventure games the map fills itself in as you walk around. Silver Pines works differently. Each area's map is a discrete collectible attached to a specific board or wall, and picking it up reveals the layout of that zone including save rooms, resource caches, and shortcuts between areas. Without the map, you are relying on memory alone in a game that actively punishes disorientation.
The photograph system makes this even more important. You can take photos of locked doors, unsolved puzzles, or resource spots you had to leave behind, then pin those photos directly onto your map as physical reminders. That loop, find the map, pin your photos, plan your backtracking route, is the core navigation rhythm of Silver Pines. Missing a map early in a zone means that entire system breaks down for that area.

Grab every notice board map


All 11 map locations in Silver Pines
Here are all the maps in the order you'll find them during a normal playthrough.
Outskirts maps
Silver Pines Town Map sits right at the beginning of the game. Exit the Miner Diner, grab the items from your car, then head right. The map is on the Silver Pines poster board along the road and is almost impossible to miss.
Crimson Bear Motel Map comes shortly after. Once you use the passcode to get through the motel gate, go left toward the Museum and Gift Shop. The map is posted on the exterior of that building.
Downtown maps
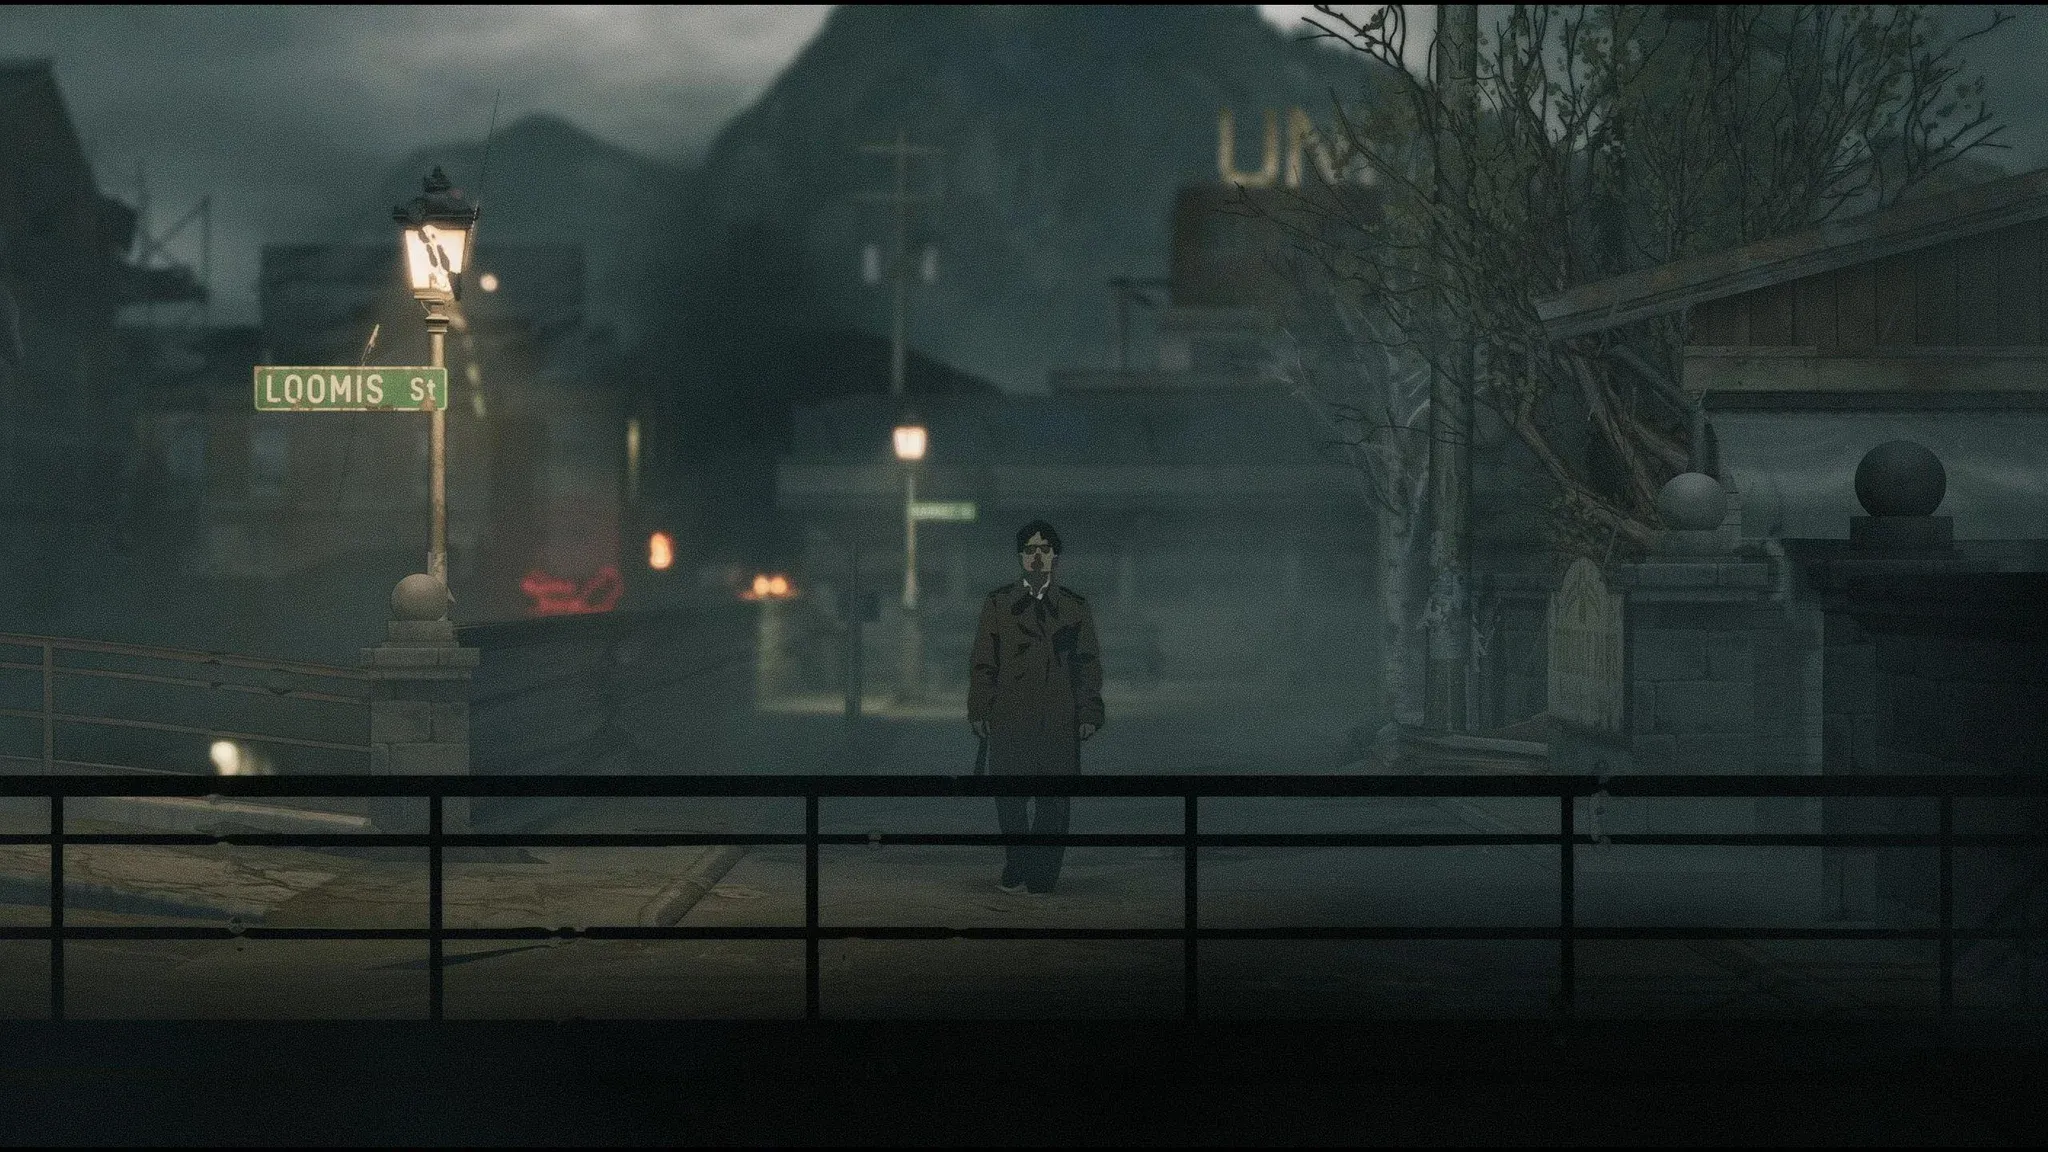
Downtown Silver Pines Map appears just after you take the ferry for the first time. Head inland and look for the bus stop near Loomis Park. The map is mounted there.
Town Hall Map is inside the Town Hall building on the first floor. Head upstairs and check to the right of the stairs where a fire escape plan hangs on the notice board.
Union Building Map (also listed in some sources as Union Apartments) is found immediately upon entering the building. Check the wall near the front entrance for the fire escape plan.
Riverside maps
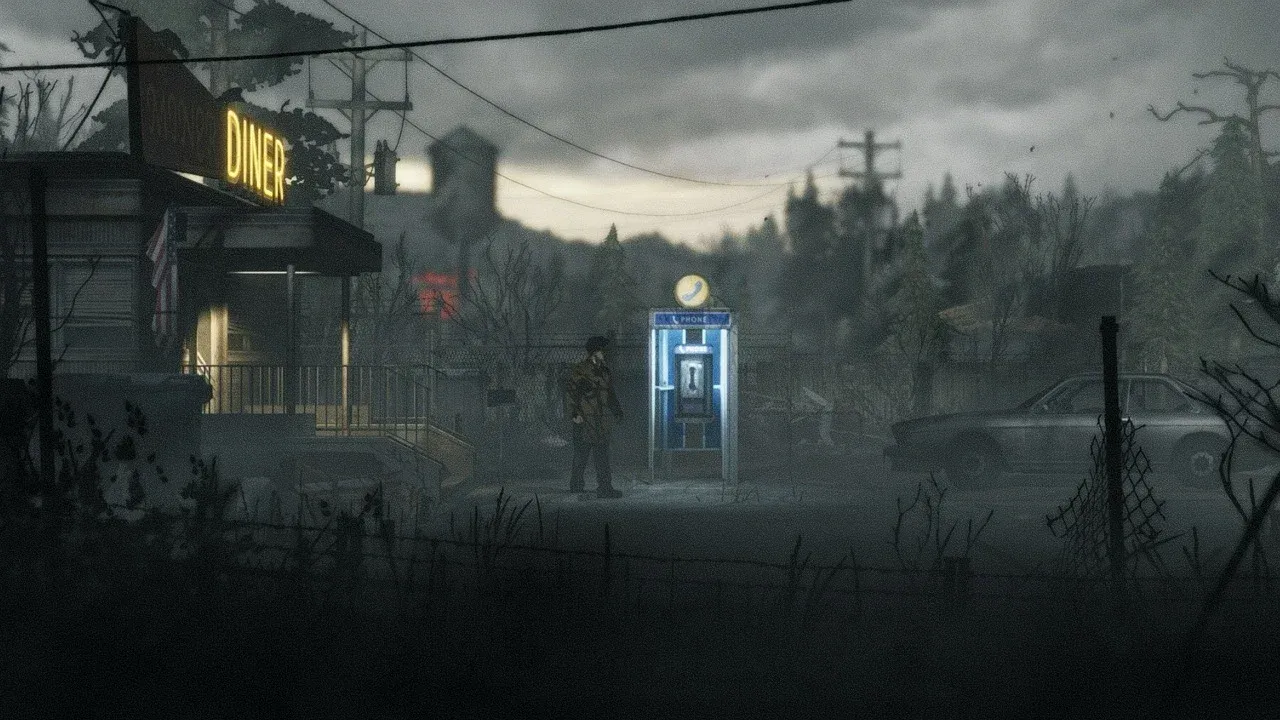
Riverside Map requires crossing the bridge into the Riverside district. Once across, head toward the payphone and go up the stairs to the left. The map is on the notice board there.
Sheriff Station Map (Police Station in some areas of the game's UI) is found after you gain access to the building. Head toward the back of the building and look for the fire escape plan mounted on the wall between the North Hall and the Locker Room.

Sheriff Station fire escape plan
Sewers and later areas
Sewers Map requires the crowbar before you can enter. Once inside, the map is mounted on the wall just past the entrance. Do not go deeper without grabbing it first.
Church Hill Map is found inside the small Parish Hall building after you arrive at Church Hill. The map is behind a padlocked door inside, so come prepared.
Mt. Siah Kopa Map appears after you reach the mountain. Push east to find a tunnel entrance and look just inside to the right for this map.
Thelend Broadcasting Lot Map is the final one and the most progress-gated. You need to complete the audio puzzle first and then reach the Bleachers section. The map is near a door to the right in that area.
Quick reference: all 11 maps at a glance
| Map Name | Location | How to Access |
|---|---|---|
| Silver Pines Town Map | Poster board right of Miner Diner | Available from game start |
| Crimson Bear Motel | Museum and Gift Shop exterior | Requires motel gate passcode |
| Downtown Silver Pines | Bus stop near Loomis Park | After first ferry ride |
| Town Hall | First floor, right of stairs | Enter Town Hall building |
| Union Building | Near front entrance wall | Enter Union Building |
| Riverside | Notice board above payphone stairs | Cross bridge into Riverside |
| Sheriff Station | Wall between North Hall and Locker Room | Unlock Sheriff Station access |
| Sewers | Wall just inside entrance | Requires crowbar |
| Church Hill | Inside Parish Hall, behind padlocked door | Arrive at Church Hill |
| Mt. Siah Kopa | Just inside eastern tunnel | Reach the mountain |
| Thelend Broadcasting Lot | Near door by the Bleachers | Complete audio puzzle first |

All 11 maps at a glance
How tools unlock map access
Several maps are gated behind tools you pick up during the story, and this is where Silver Pines' Metroidvania structure shows itself most clearly. The sewers are inaccessible until you have the crowbar. Church Hill's Parish Hall map sits behind a padlocked door. The Thelend Broadcasting Lot map only becomes reachable after the audio puzzle is solved.
This is not busywork. The game is designed so that every new tool you find should prompt a mental scan of your pinned photos. Got the crowbar? Time to revisit every boarded door and sewer grate you photographed earlier. The maps you collect in those newly opened zones then expand your picture of the town further, feeding the next round of backtracking.
For players chasing 100% completion, the photograph system is non-negotiable. Before leaving any area, take photos of anything you cannot interact with yet and pin them to your map. When you return with the right tool, those photos become your roadmap. Check out the all 9 inventory upgrade pouch locations guide to give yourself more carrying capacity, which makes managing tools and resources across these backtracking runs significantly less painful.
What to collect alongside the maps
Once you have a zone's map and can see the full layout, the real work begins. Silver Pines has several collectible systems that reward thorough exploration, and the maps make hunting them far more efficient.
The game has 25 Mementos scattered across all areas, each granting a passive perk. The complete Memento locations guide covers every one of them with exact locations. Separately, there are 16 Vessel Shards that function as health upgrades, detailed in the all 16 Vessel Shard locations guide. Having the area map in hand before you hunt either of these collectibles makes the process dramatically faster since you can see the full zone layout and plan your route.
For everything else the game throws at you, including endings, collectibles, and upgrade systems, the full Silver Pines guide collection has you covered.