
The ferry drops you off in Downtown, and the area immediately starts throwing locked gates, dark buildings, and bird-shaped puzzles at you. None of it is explained particularly well, which is why players tend to miss collectibles or loop back across the map multiple times. This walkthrough covers the full Downtown section of Silver Pines in one pass, from the ferry dock all the way to the Riverside gate, with every bird statuette, memento slot piece, and key item in the order you should grab them.
First steps off the ferry
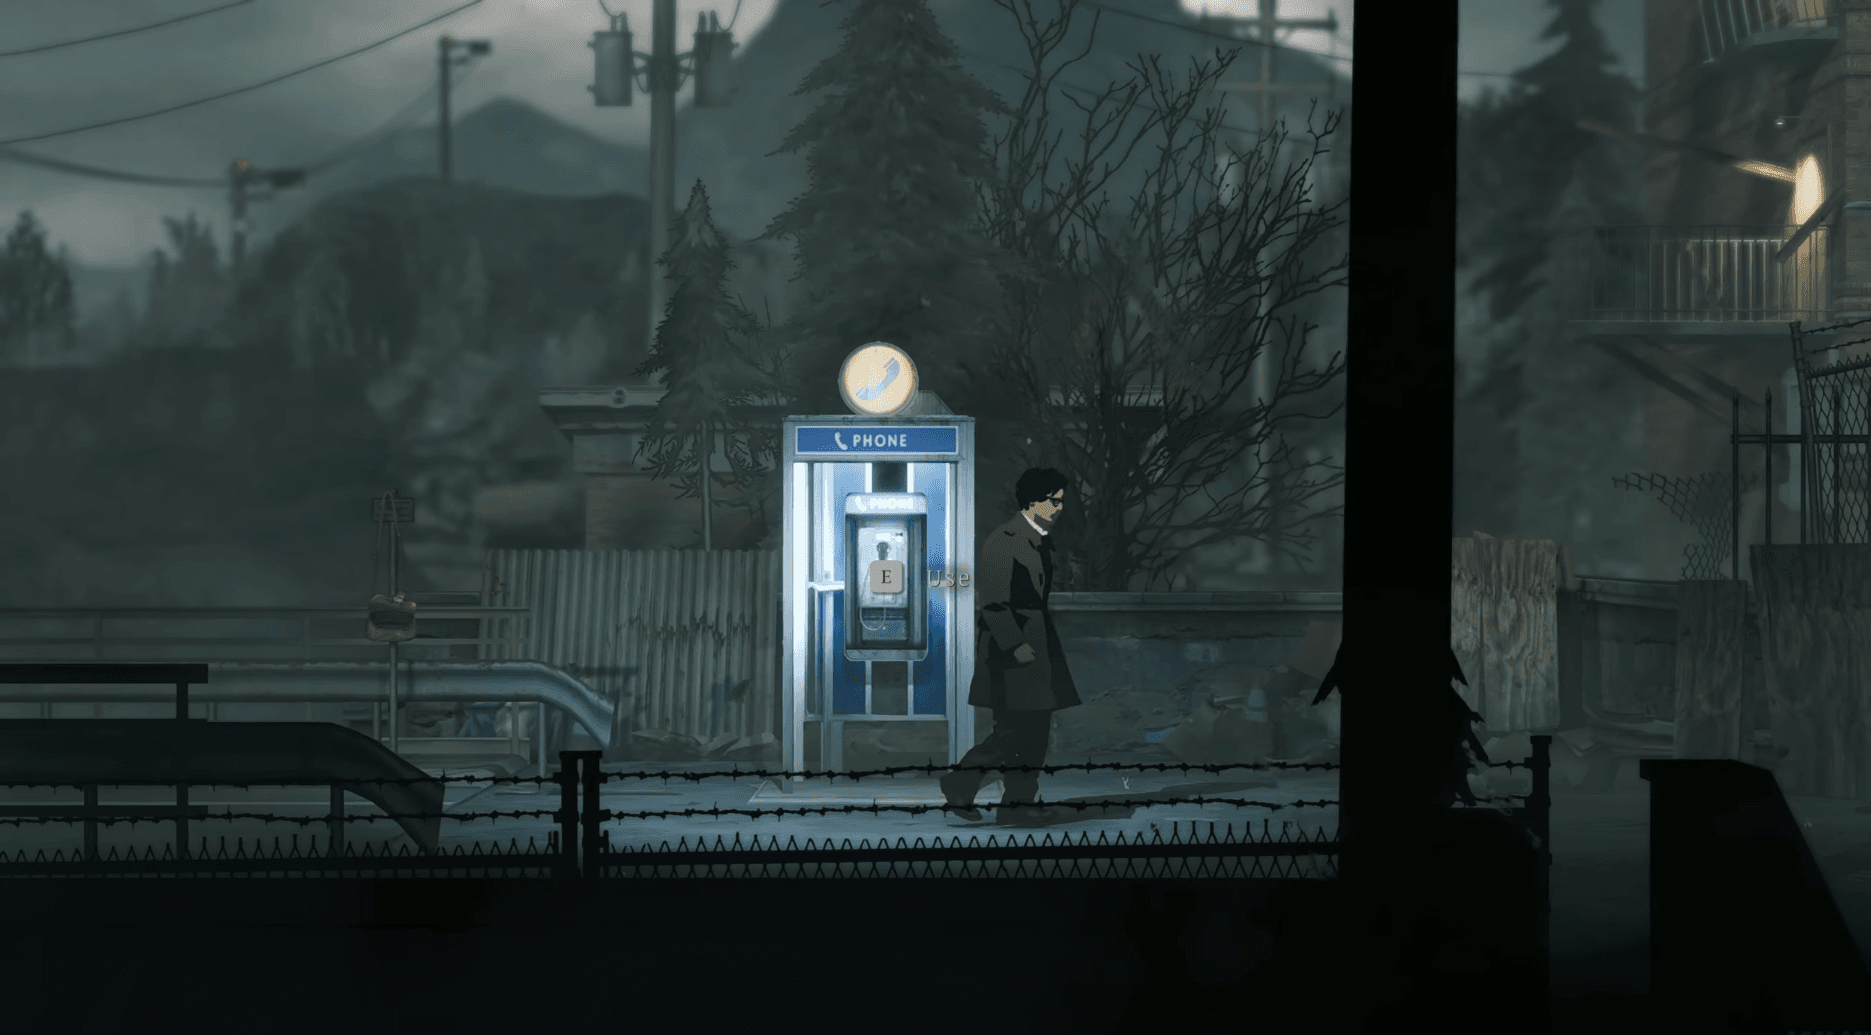
As soon as you step off the ferry, head right toward the ferry office building. There's a payphone out front you can use to save, and a missing person's poster on the building's exterior worth grabbing for your notes. Keep moving right from there and you'll reach a small dock. The sluice gate maintenance area is visible at the end, but a locked gate blocks access for now.
Memento slot piece 1: From the ferry office, continue right to the dock. Pull out the revolver and shoot down the bird figure hanging from the chime. That's your first memento slot piece.
Backtrack left and head uphill toward the cross sign. Moving right from there, you'll notice the park entrance is boarded up. Head back through the archway toward The Silver Gazette. Grab the newspaper about the storm from the front of the building and loot the bag on the ground for ammo. The Gazette's door is blocked, so return through the archway. The drawbridge toward Church Hill is raised, so that direction is closed off for now.

How do you get all three bird statuettes?
The bird cage puzzle in the Quiet Hours Cafe is the main collectible challenge in Downtown. It requires three colored bird statuettes placed in the correct slots. Here's where each one is.
Red bird (vet clinic)
From Loomis Park, cross the bridge heading right. You can stop to talk to the person with the umbrella, but keep moving until you reach the vet clinic. Head inside and look to the right of the vending machine. The red bird figurine is sitting on a cart. Grab it.
Silver bird (electrical pole near mobile home)
This one requires a small detour before you enter the gondola building. Walk left past the liquor store and up toward the mobile home. Speak to the man digging nearby. Then head right, drop down, and climb back up to reach an electrical pole. Shoot the padlock with the revolver to drop a ladder, climb it, and collect the silver bird from the nest at the top.
Yellow bird (movie theater)
Past the Sport Smart store and the sap tree, keep heading right until you reach the Movie Theater. The yellow bird is sitting on the counter just inside the entrance. Pick it up. The auditorium is too dark without a flashlight, and there's a locked door that needs a vending machine key costing 20 coins, so come back for those later.
Once you have all three, return to the Quiet Hours Cafe and place them in the hanging cage.
Memento: Smooth Stone with a Hole - collected from the bird cage in the Quiet Hours Cafe. Effect: headshots deal 20% extra damage.
What's inside the Quiet Hours Cafe?
The cafe sits in the upper right section of Downtown. Inside, you'll find storage and a payphone to save your game. On the counter to the left of the entrance is a stamina upgrade, so don't walk past it. The hanging bird cage is to the left of the counter.
In the kitchen, there's a locker that needs a key, and two fridges containing healing items. A door on the right side of the kitchen can only be opened from the other side, so leave it for now.
The Sport Smart gate: what's the code?
At the Sport Smart store, walk to the lit window and look through it. Use the camera to photograph the sign on the front of the counter showing card suits. The combination you need is Spade, Heart, Clove, Diamond.
To actually use this code, you need to reach the gate from the other side. Head past the Sport Smart store and upward. Take a left at the large sap tree with sap on it (watch for an enemy here). There's a storage unit door you can shoot open.
Memento slot piece 3: Inside that storage unit, you'll find a bird chime. Break it with a melee weapon to collect the piece.
Continue left and open a gate as a shortcut. Climb down the ladder and walk through the tunnel, moving slowly to sneak past the enemies inside. Head through the exit sign doorway, then left and down through another doorway to come back outside.
From the tunnel exit, go right and up the stairs to reach the Mt. Siah gondola building entrance. After handling the gondola section (detailed below), backtrack through the shortcut, go past the storage unit, and head down toward the Sport Smart sign. The gate right beside the sign is where you enter the card suit code: Spade, Heart, Clove, Diamond. This unlocks access to a bat melee weapon on the ground inside.
The Mt. Siah gondola building: bells and keys
Before entering the gondola building, make sure you've already collected the silver bird from the electrical pole (described above). Once inside, walk left and grab the sign piece from the bench beside the storage chest.
Head upstairs and right to find the bell station below the clock. Place the sign piece on the broken plaque to see it complete, then grab the Riverside Bridge key. This key unlocks the gate past Sport Smart and lets you continue into Riverside.
Memento slot piece 2: Still upstairs in the gondola building, walk all the way right to a balcony area. Hit the bird statue in the chime with a melee weapon.
Back downstairs, check the ticket booth window to collect a map note and speak to the character there. They'll tell you about the 5 missing bells needed to operate the gondola. Three are in Downtown, with the remaining two in Riverside and Church Hill respectively. Their locations are circled on the map.
Heading to Riverside
With the Riverside Bridge key in hand, walk right from the cafe, past the Sport Smart building, and unlock the gate. That opens the path into Riverside and the search for the first gondola bell.
The Downtown map is available on the bus stop just to the right of Loomis Park, in case you missed it earlier. Grabbing it before leaving is worth the few seconds it takes.
For everything else hidden across the game's areas, the Silver Pines all codes and puzzle solutions guide has every door code and combination organized by zone. If the Sheriff's Office is giving you trouble, the Sheriff's Office door code and puzzles guide covers the front door code, painting safe, and every key in that building. You can also find all 11 map locations with the Silver Pines map locations guide so you never have to guess where the next notice board is. More guides covering every part of the game are collected in the full Silver Pines guides hub.