Church Hill is the most puzzle-dense zone in Silver Pines, and it earns that reputation. Two locked key chains, three missing Metal Cubes, a cremation machine puzzle, and a wave fight before you can claim Cable Station Bell (B) — there's a lot happening across 21 rooms. This guide walks you through every step in the order the game expects you to do them, so nothing gets missed.
How do you get into Church Hill?
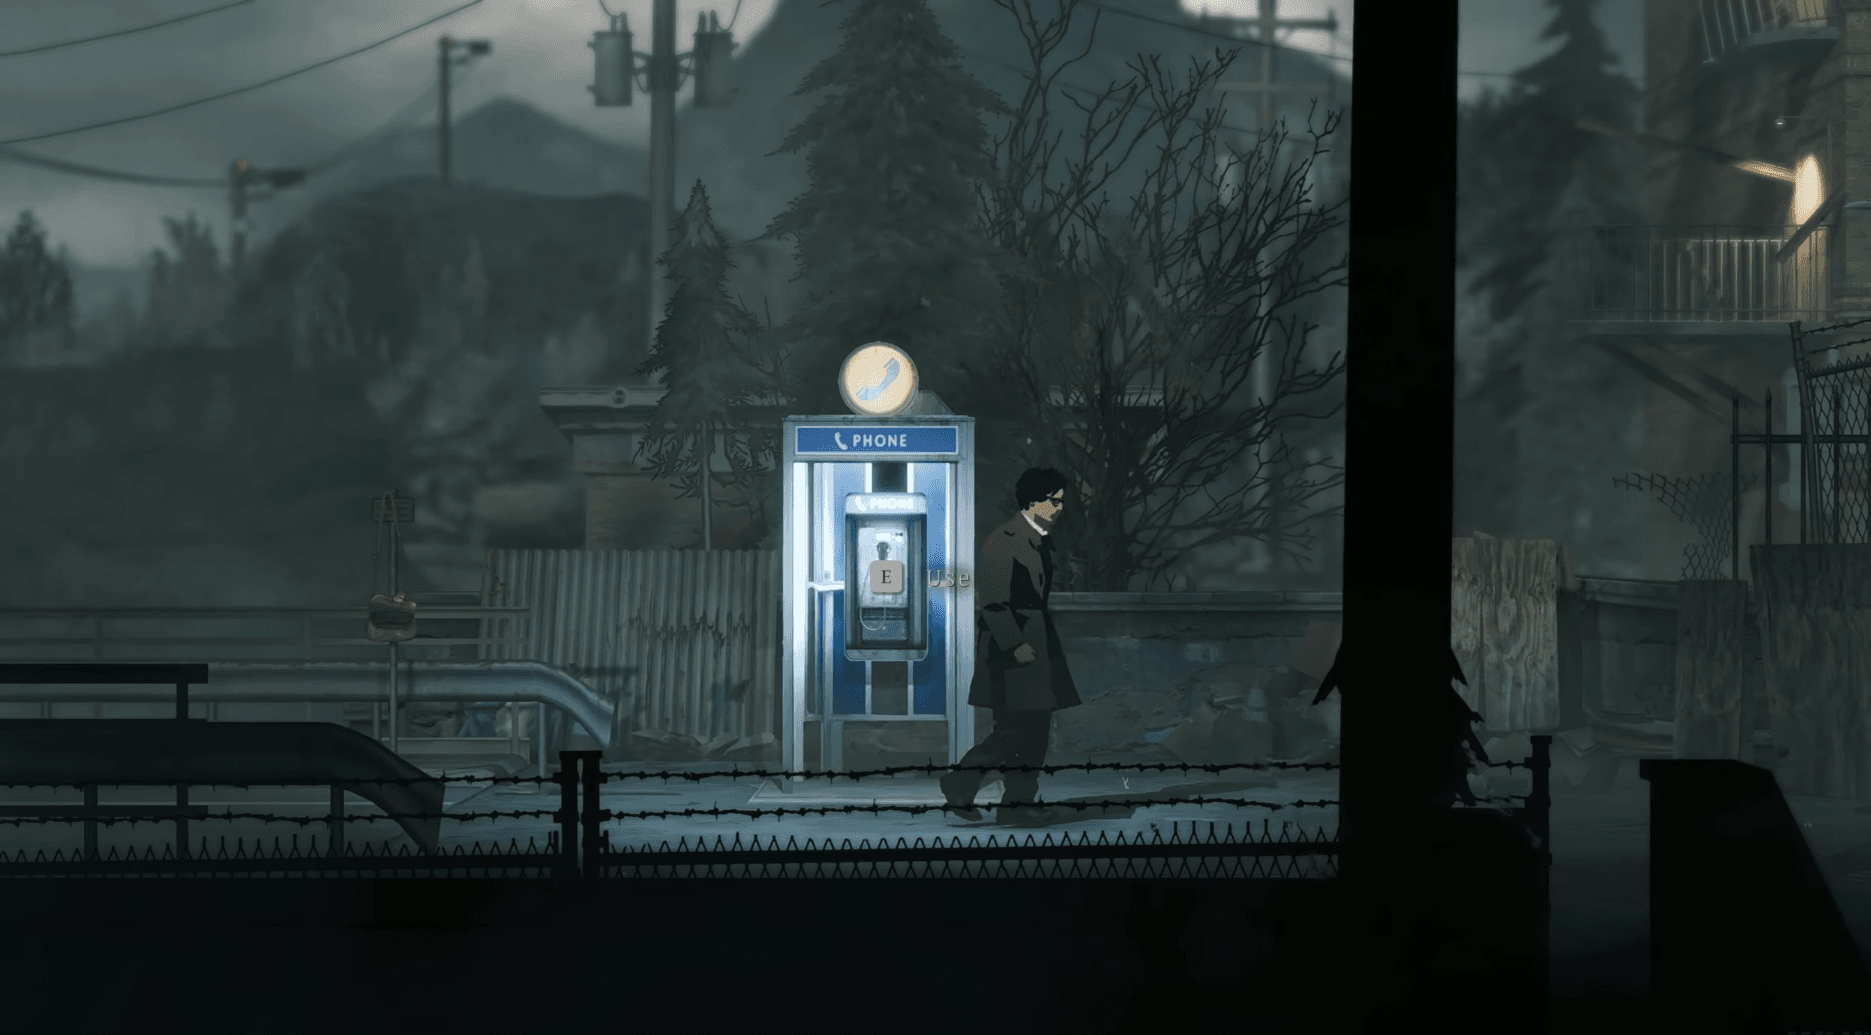
Church Hill connects only from Downtown. When you first arrive, the drawbridge is raised. Cross the water to the Bus Depot side and climb the ladder to find a control panel. Lower the drawbridge from there and the two areas stay linked for the rest of the game.

Lower the drawbridge first


Exploring the Church Hill outskirts
From the Bus Depot, head west past the stairs leading up to the church. The Parish Hall door is on the street level — go inside. On the table to the right, grab the Flower Shop Key. Then break the padlock on the door to the left of the entrance. Behind it you'll find a Coffee Pot and the Church Hill Map, which lays out how all the buildings connect. If you're tracking stamina upgrades, this is one of the game's seven coffee machines covered in the Silver Pines coffee machine locations guide.
Leave the Parish Hall and go up the steps to the Chapel Grounds. Head right to the Chapel Tower gate. You'll see a row of four rotating cube slots — one cube already hangs on the chain, and three are empty. That's your main objective for this whole zone. Remember what the gate looks like; you'll be back.
Enter the church through the main door and go right through the door at the end. The Sheriff is waiting here — talk to him. Continue right into the next room and pick up the Metal Cube from the table. That's the first of three you need.
Leave the church and head up the main street past the Bus Depot steps. The Funeral Home is just ahead. Walk through the front door and immediately look right — there's a poster of Father Jacob Foster on the wall. His necklace displays the same religious symbol as the cubes on the Chapel Tower gate. Take a photo of it with your Camera. This image stays accessible on your map and tells you exactly how to rotate the cubes when the time comes.
Where is the Flower Shop Key used?
Continue up the street to the Ashbrook Florist and use the Flower Shop Key to get inside. Check the pricing board: White Lilies cost 7, Red Roses cost 5, and Bluebells cost 2. Write that down or remember it — those three numbers are a code you'll need shortly. Hop over the counter to the left, break through into the back room, and grab the Funeral Home Family Key.
How do you get the Cemetery Key?
Head back to the Funeral Home and use the Funeral Home Family Key on the second-floor living quarters door. A wave of monsters greets you immediately — clear them out. Move forward until you find a large hole in the floor. Before dropping down, check the room ahead for the Funeral Home Dossier Note, then go through the north door to find the Funeral Home Code Note pinned to a mirror. It reads: Lily, Rose, Bluebell — confirming the flower prices (7, 5, 2) are the keypad code. There are also cracks in the wall here for later.
Drop through the hole in the floor. Head left through the door at the bottom and pick up the Cemetery Key from the coffin just inside. Continue left to unlock the shortcut door back to the Funeral Home entrance on the first floor.

Cemetery Key in the coffin room
How do you get all three Metal Cubes?
With the Cemetery Key in hand, unlock the Cemetery gate on Upper Church Hill. You'll spot the Sledgehammer leaning against the wall of the well — pick it up. The Sledgehammer works as a melee weapon and can break cracked walls throughout the game. Note the diamond-shaped hole on the well; you'll need the Crank Handle to use it.
To find the Crank Handle, return to the main street and jump off the railing to the left. Go forward and through the hole in the wall, then use the Sledgehammer to break the cracked wall on the right. The Crank Handle is on a table inside. While you're down here, check the shore to the left of the ruined house for the Journal of Father Foster note, and swim across the water for a Memento Vessel Shard if you want it.
Return to the Cemetery well and fit the Crank Handle into the diamond-shaped socket. Crank it up, stomp the eel that surfaces, and examine it for the second Metal Cube.
The third cube requires the cremation machine in the Funeral Home. Go back inside and find the Stairwell door near the Cremation Trolley on the first floor. Enter the code 752 on the keypad (the flower prices: 7+5+2, or Lily, Rose, Bluebell in order). Grab the Gasoline from the stairwell room on the left, then head down to the basement.
Read the Mortician's Ledger on the basement table. Page 2 confirms that Jacob Foster is in Casket Number 2. Call the elevator using the panel, then pull the movable stretcher all the way left to Casket 2 and transfer the coffin onto it. Push the stretcher to the Cremation Trolley and send it up. Run up to the first floor, use the stretcher there to transfer the body to the Cremation Machine, and press the button on the wall to activate it. Once it finishes, climb into the machine through the hole to collect the third and final Metal Cube.
Here's a summary of all three cube locations:
| Metal Cube | Location | How to get it |
|---|---|---|
| Cube 1 | Inside the church | On a table in the room past the main hall |
| Cube 2 | Cemetery well | Use the Crank Handle on the diamond socket |
| Cube 3 | Funeral Home cremation machine | Load Casket 2, run it through the cremation machine |
How do you open the Chapel Tower gate?
Return to the Chapel Tower gate on the Chapel Grounds and insert all three Metal Cubes into the empty slots. You now have four cubes total on the gate. Rotate each one to match the symbol arrangement from Father Jacob Foster's necklace in the photograph you took at the Funeral Home. Once all four align correctly, the gate unlocks.

Match the necklace symbol pattern
Climb up the tower. At the top, grab the Diary Page pinned to the beam beside the bell. When you're ready, ring the bell.
What happens after you ring the bell?
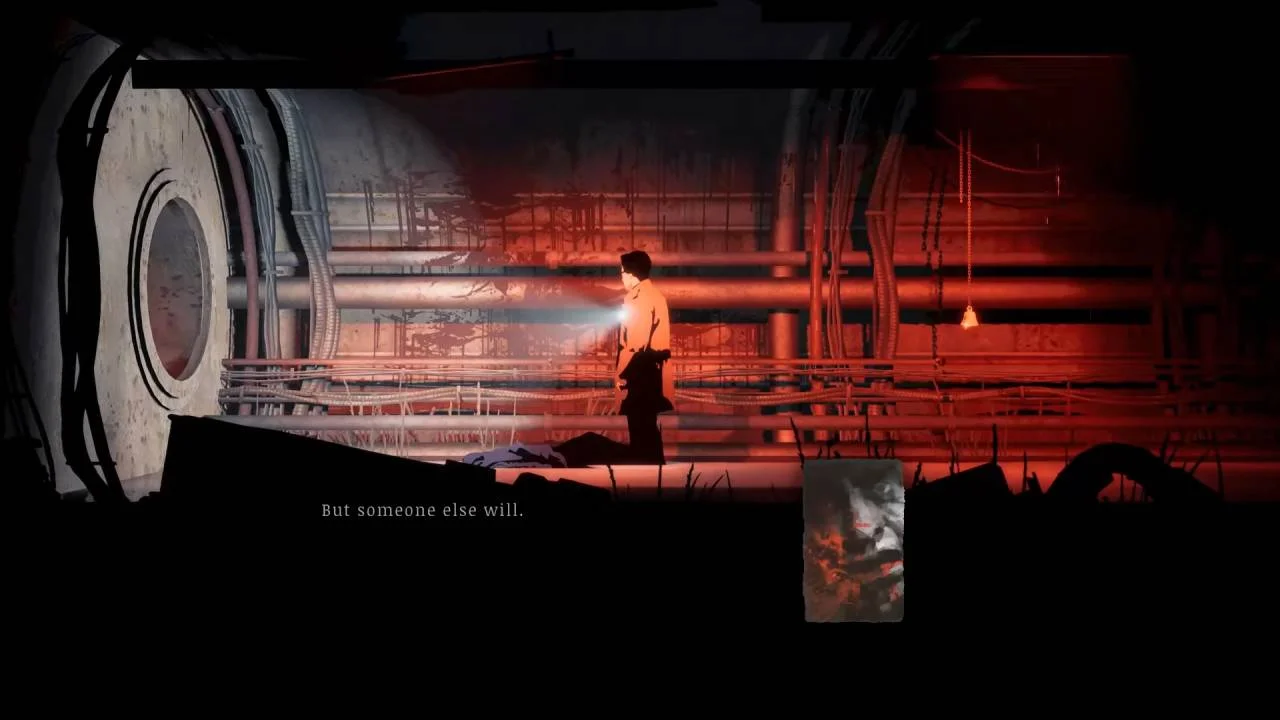
The world turns red. You now need to climb back down the Chapel Tower — and this is where players get caught out. The path below shifts, so aim your weapon downward before each drop to check what's underneath you. A fall to the bottom is lethal.
At the base of the tower, use the Storage Container to restock or reorganize your inventory before heading through the hole and into the church.
There's no boss fight here. Instead, the church throws several waves of enemies at you. The Rifle and your Shotguns are the most efficient tools for this — the waves come from multiple directions and close distance fast.
Once all enemies are down, go through the door on the left to collect Cable Station Bell (B). Head all the way left and enter the confessional. Sit in the chair to trigger a short conversation, then leave Church Hill.

Clear the waves to claim the bell
What should you do before leaving Church Hill?
Ringing the bell permanently changes the world state in Silver Pines. Two new enemy types appear on the streets from this point forward. Before pushing ahead to the Sewers for the final Cable Station Bell, this is the best time to revisit earlier zones.
You now have all the traversal upgrades needed to reach secrets in the Outskirts, Riverside, and other areas you passed through earlier. There are optional Mementos, hidden weapons, and even a secret boss in the Ship area in Downtown that only becomes accessible once you have the right tools. Stop by the Quiet Hour Cafe as well — the NPC there is close to death now, and talking to him earns you the North Star Shotgun.
For a complete breakdown of the Outskirts secrets worth grabbing, the Silver Pines Outskirts walkthrough has every collectible and key item mapped out. Save your progress before heading to the Sewers.
For everything else this game has to offer, the full Silver Pines guides collection covers every zone, puzzle, and upgrade from start to finish.