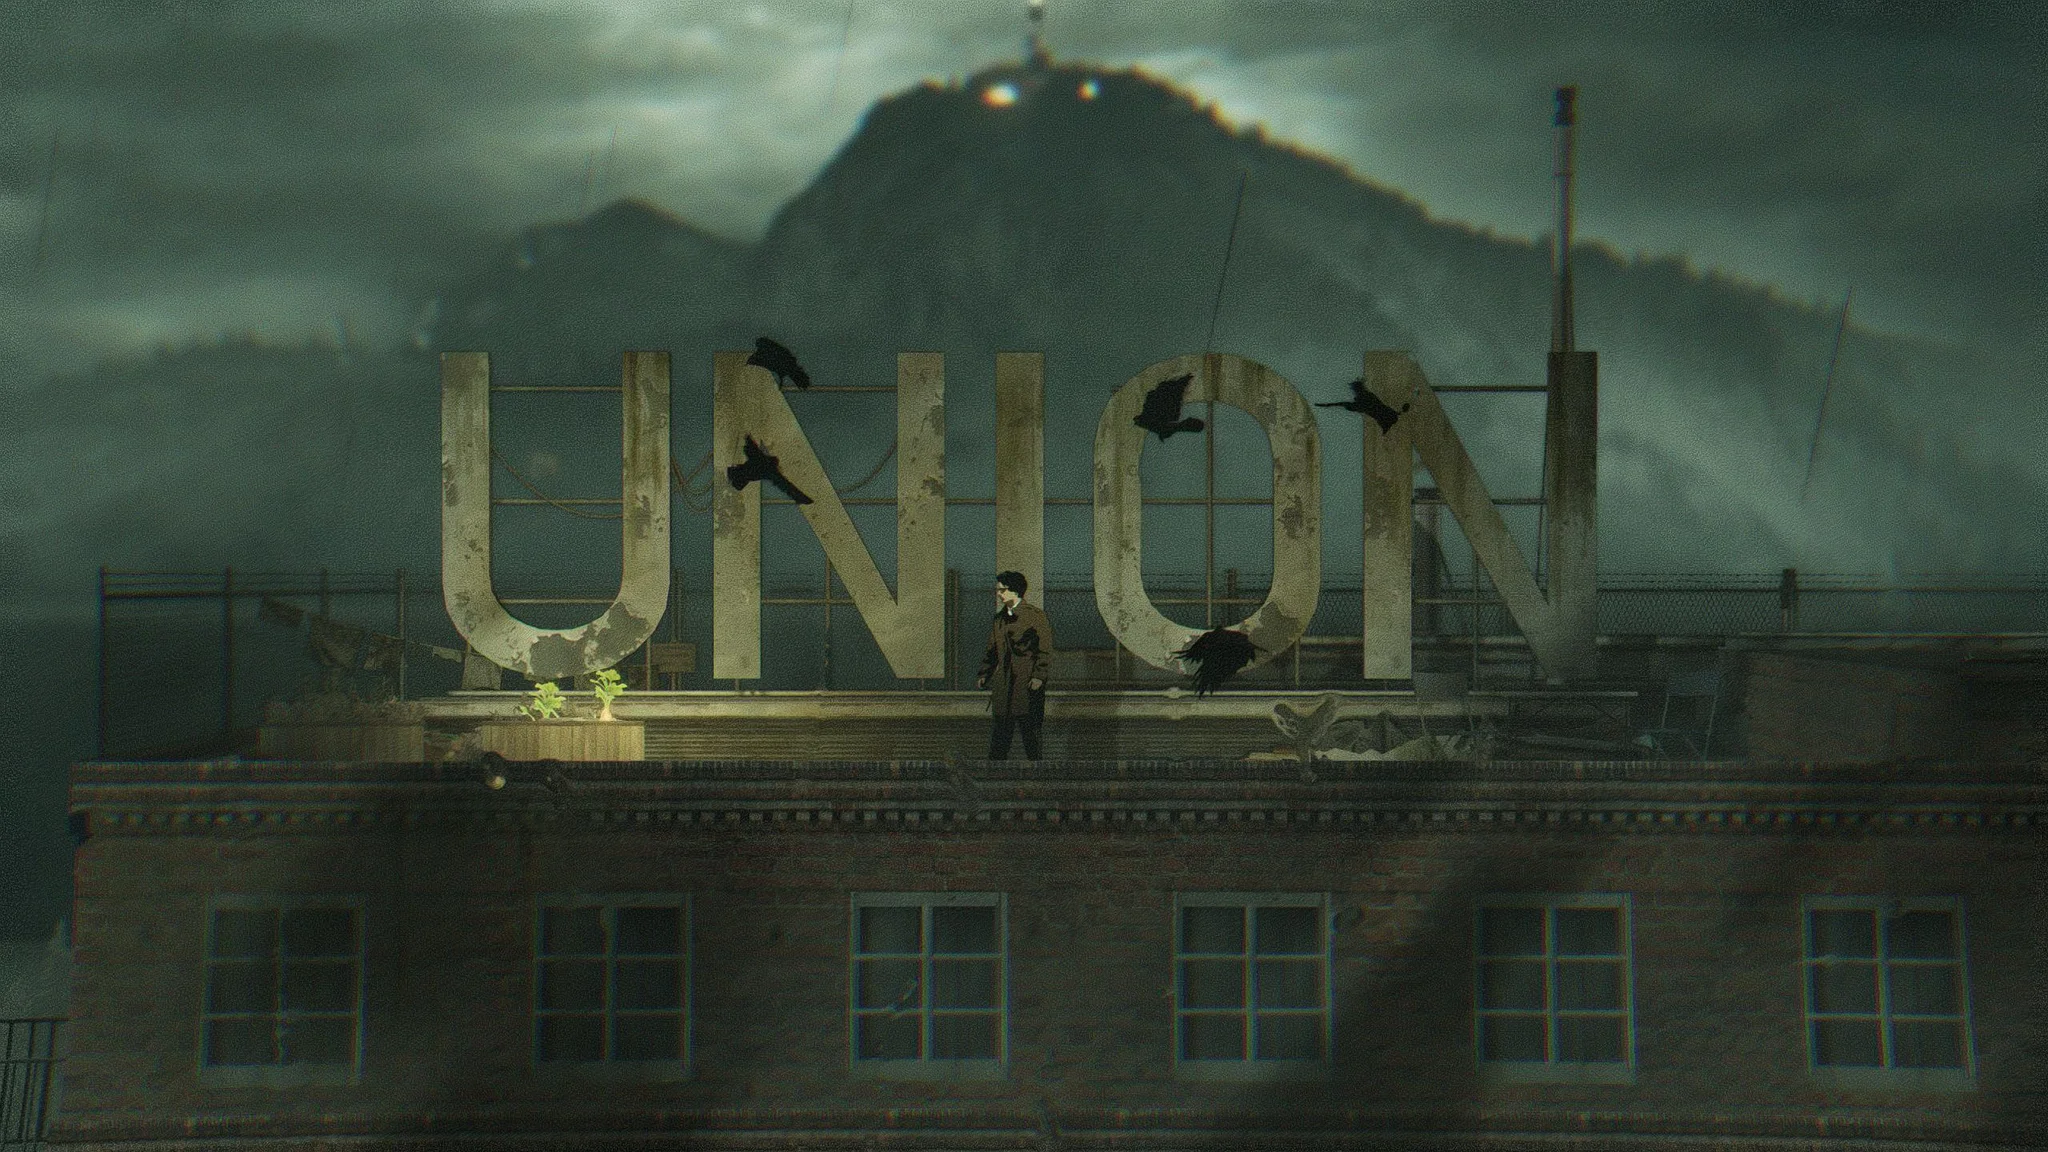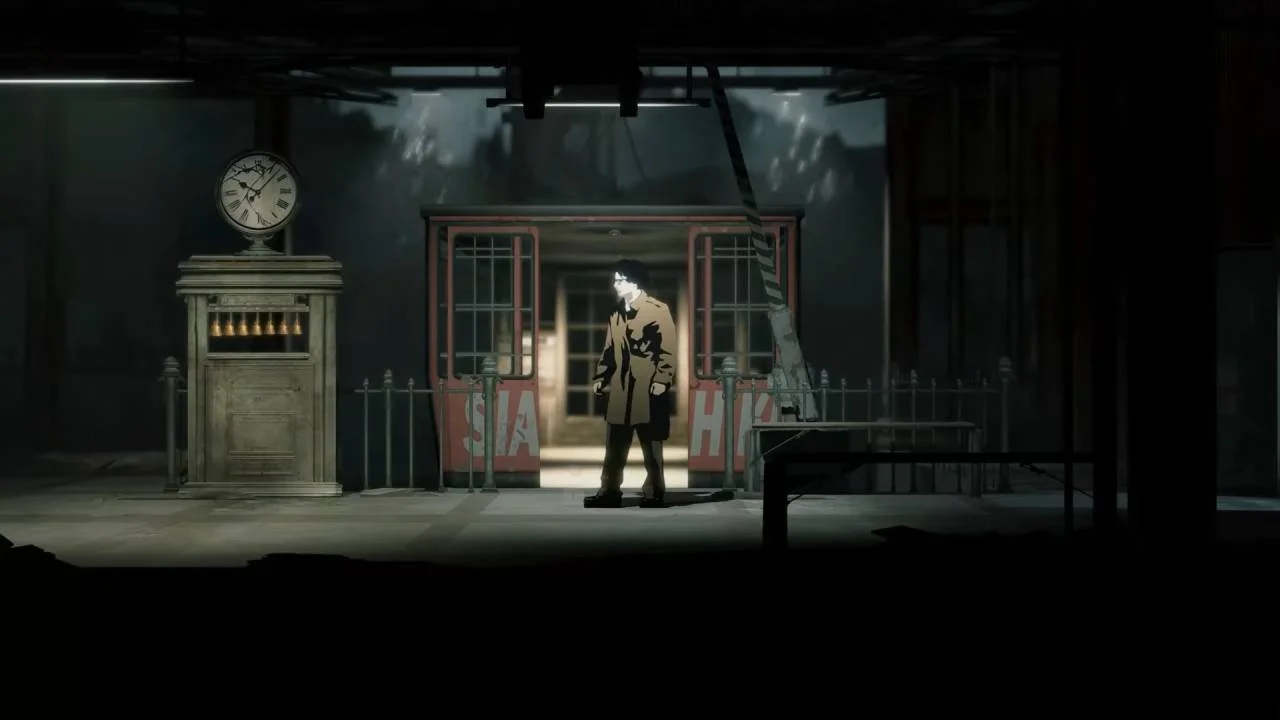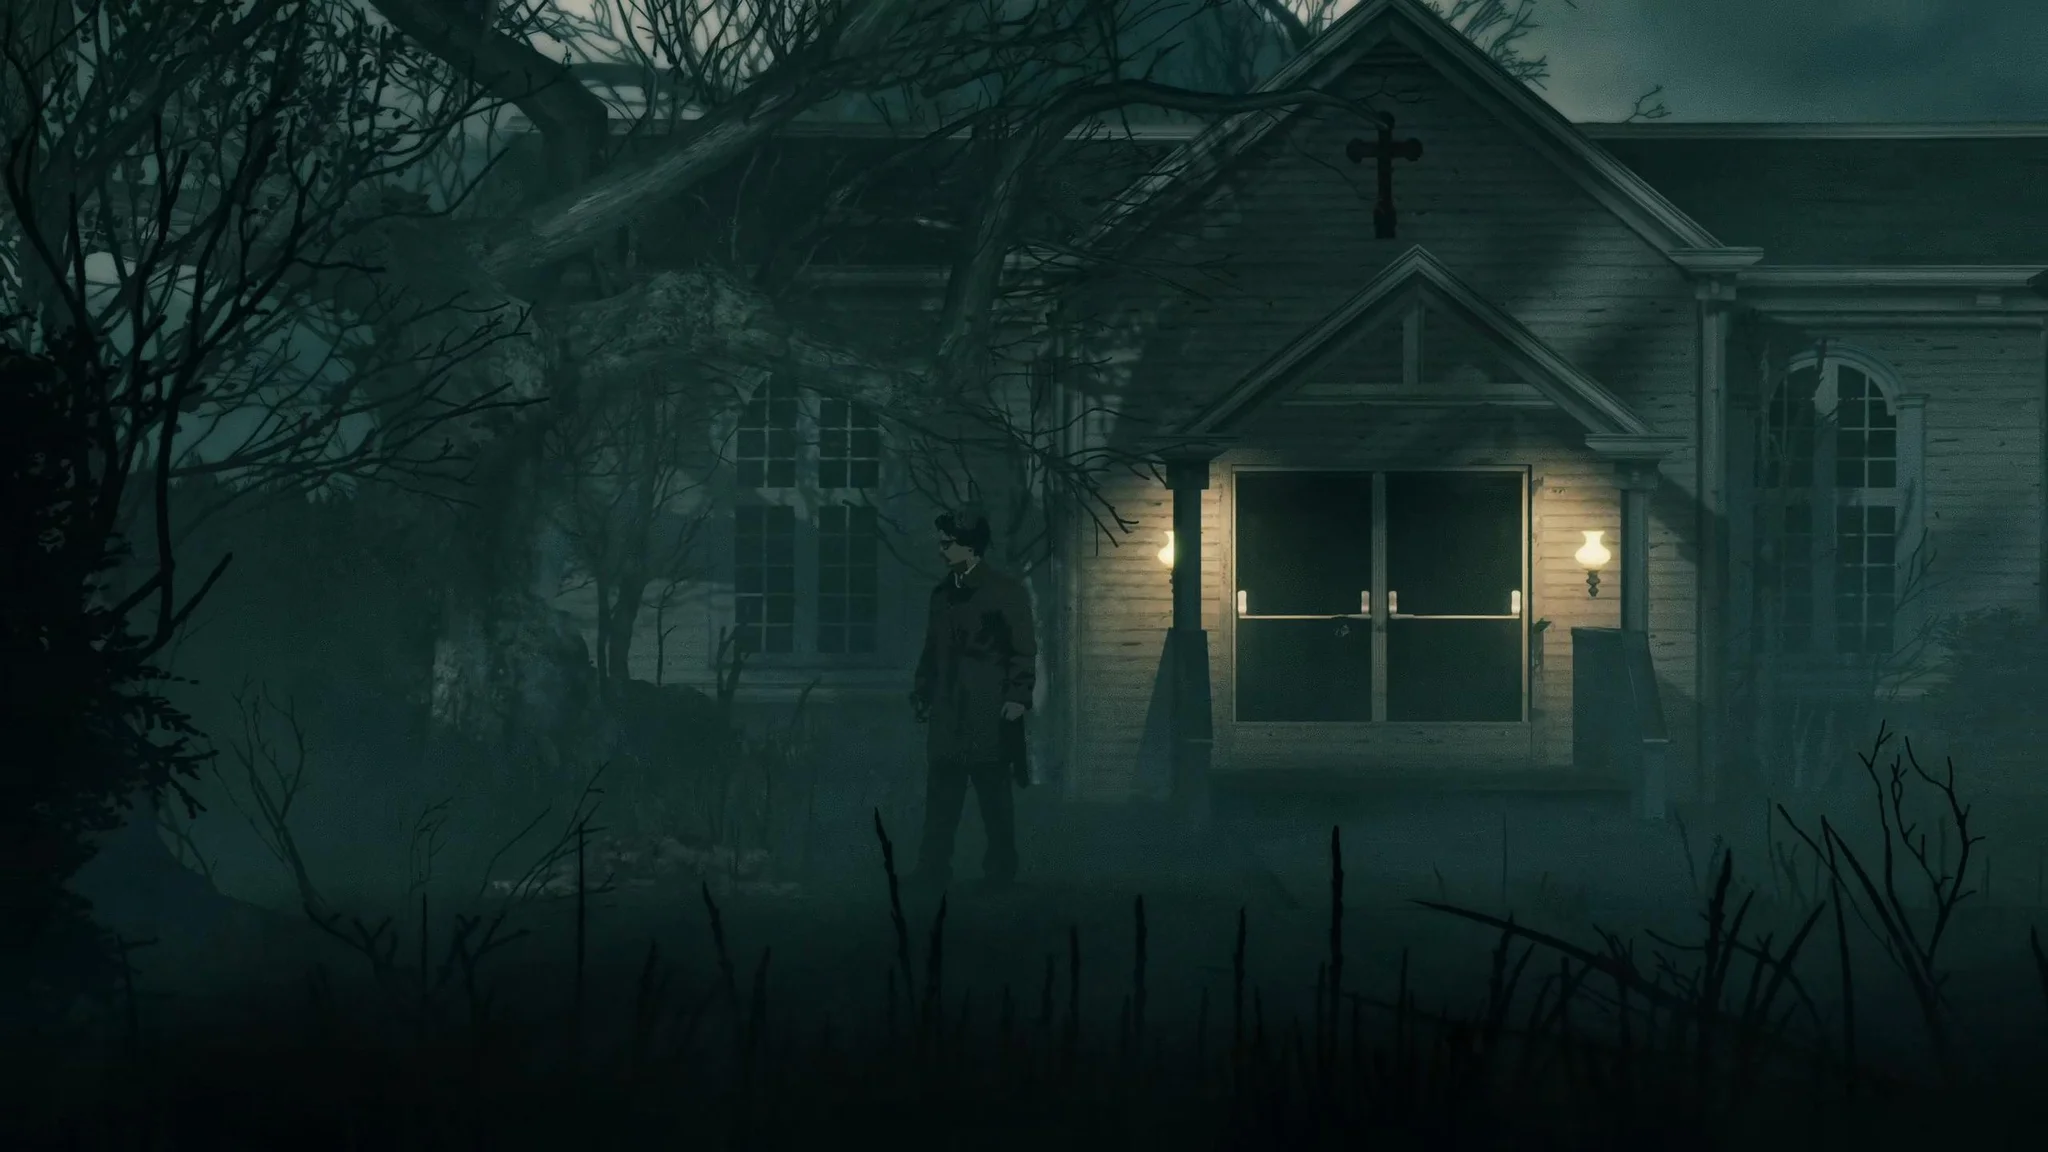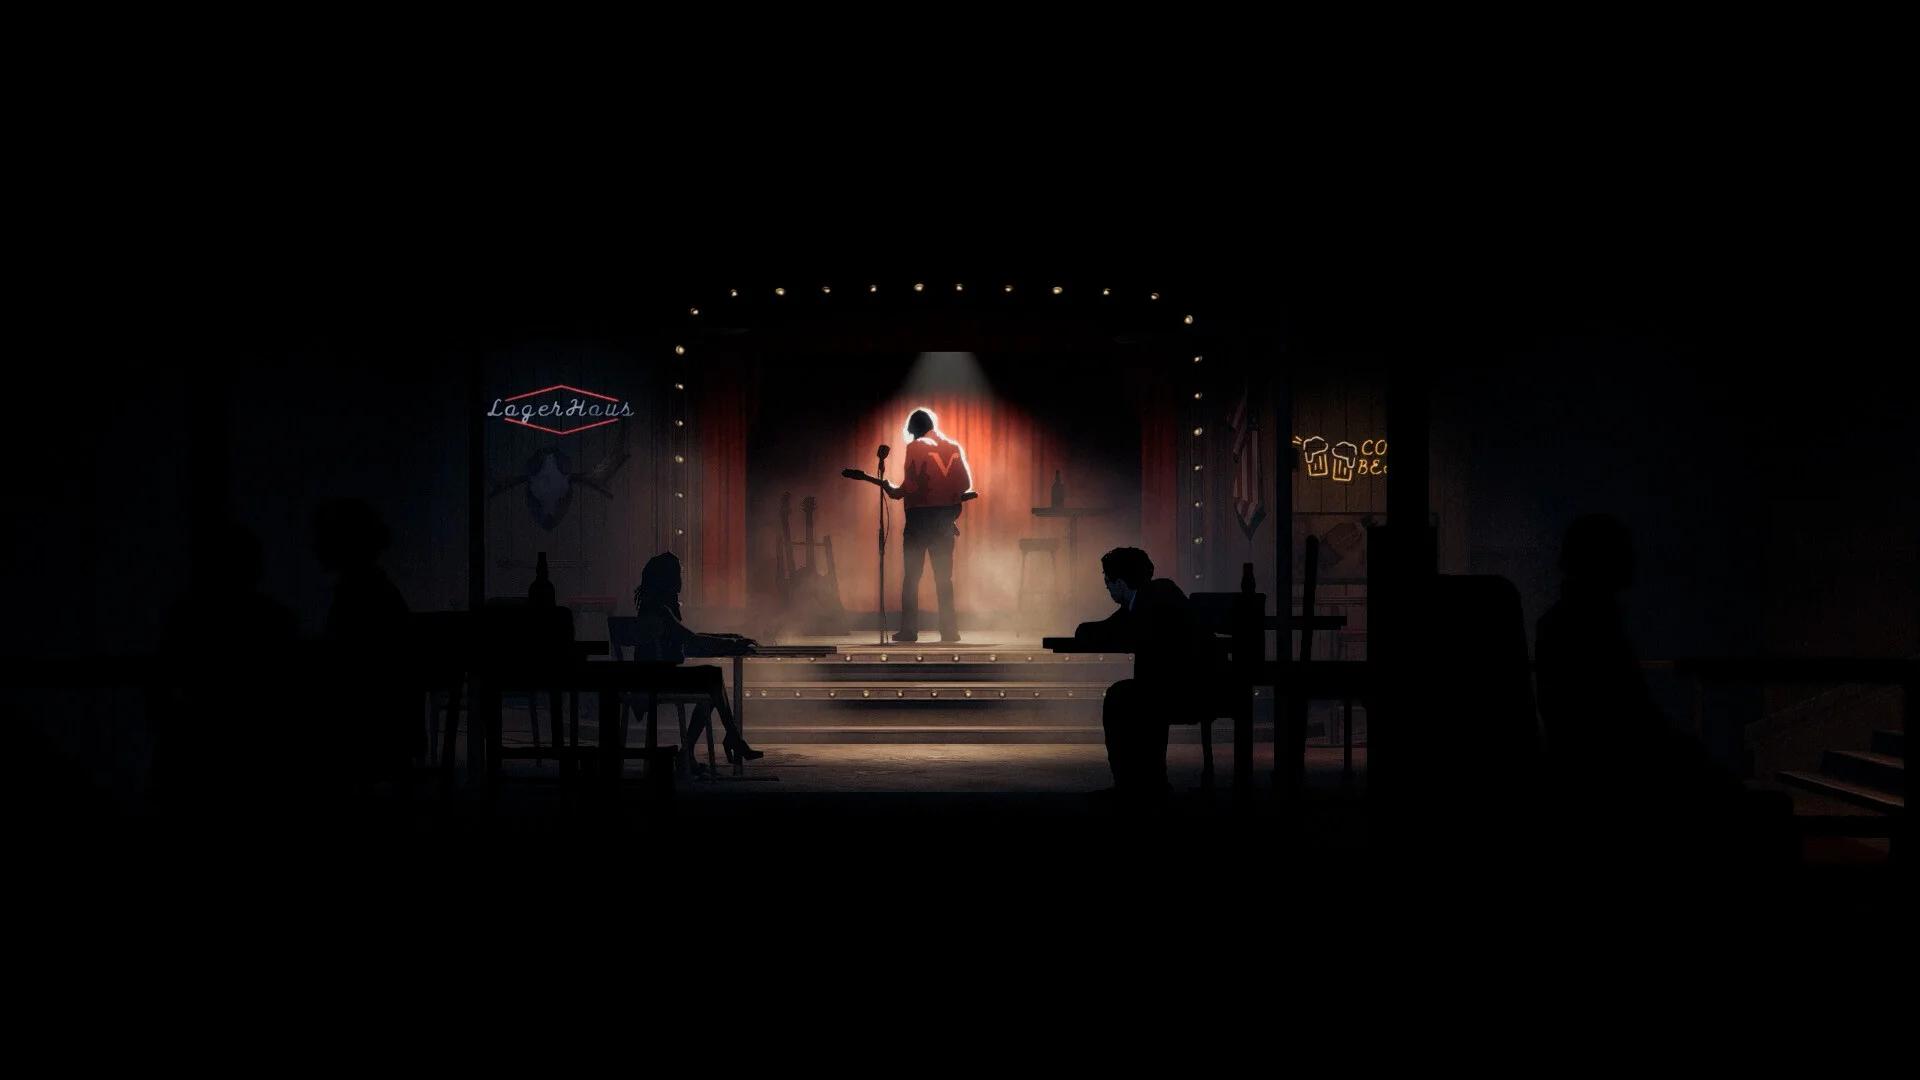

The trail through Siah Kopa ends at a broadcast center perched at the top of the mountain, and Silver Pines makes sure you earn every step of it. The Thelend Broadcasting Company is the game's longest and most layered area, stacking a soundboard puzzle, a color-mixing light rig, two boss encounters, and a surreal finale into one continuous stretch. This walkthrough covers every room in order so nothing gets missed.

Entering through the side window
How do you get inside Thelend Broadcasting?
The front door is boarded shut. From the approach path, head right into the large tunnel first. Break the concrete wall on the left inside that tunnel to find a Windchime memento slot. Then backtrack and crawl through the drain pipe on the left side of the building.
At the phone booth outside, answer the call to save your game. Before going in, drop down the ladder to the left and hit the lever to lower a bridge. This creates a shortcut back to the gondola that saves real time later.
Enter the building through the open window on the right side. Go through the door immediately to the right, clear the enemy in the bathroom, and collect the Ammo and Money inside. Head north through the hallway.

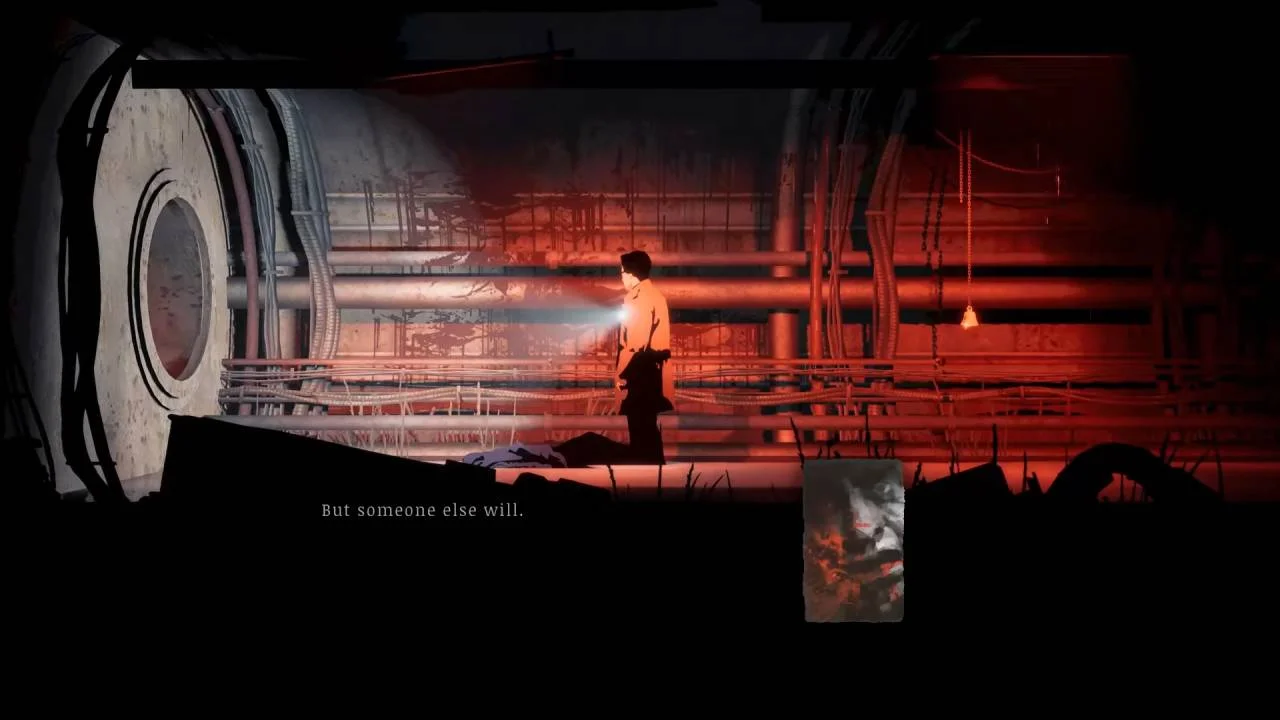
Solving the Recording Booth puzzle
The Recording Booth puzzle requires two Cables and the Technical Manual. Here is where to find everything.
Finding the Technical Manual and first Cable
Head north through the hallway, then go left through the door marked with the Stage 1 sign. Save at the Phone and pick up the Technical Manual from the table. The second page shows the correct cable layout for the soundboard, and the third page explains the lens color-mixing rules you will need later.
Leave through the door on the right and enter the room with the Live Show light above it. Clear the enemy that drops from the ceiling and pick up the first Cable from the console on the right. Note the VHS Tapes on the rack nearby. You will need them shortly.
Finding the second Cable
Head into the Storage area to the east. Break the padlocked gate on the right (a melee hit works), take the northern path, and clear the enemy that charges through the door on the left. Go into the room on the left and pick up the Cyan Lens. Continue east, go up the northern passage before the Backdoor Exit, and take down the monster that falls from the ceiling. The second Cable is on the shelf to the right.
Connecting the cables correctly
Return to the Recording Booth and interact with the Audio/Video Console. Place the cables in the slots matching the diagram in the Technical Manual:
| Strip | Active Channels |
|---|---|
| Line Out | 2, 4, 5 |
| Line In | 2, 5, 6 |
Once the connections are correct, you will hear four whispered phrases:
- All Lies
- Red Light
- No Brakes
- The Last Exit
Return to the Editing Bay and match each phrase to a VHS Tape title on the rack. Three tapes carry a number value of 0, and one, Finale: Last Exit, has a value of 2. Enter 0002 into the combination panel on the left. The gate opens, revealing a chest with the Backdoor Key inside.
How to get the Stage 1 Key
Use the Backdoor Key on the exit door near Storage and head outside. Go down the stairs and fight through the enemy ambush. Continue left, past the area leading to the Antenna tower (you need a key for that gate, which comes soon).
Take the southern path and climb in through the window to reach the Office. Open the safe using the code 66666 from the photograph taken earlier. Pick up the Stage 1 Key from the desk. An enemy drops in from above, so clear it, then unlock the door on the right to connect the shortcut back into the main building.
Return to the safe room near the Pantry and use the Stage 1 Key on the northern door.
Memento: Red Driving Glove - After unlocking the Stage 1 door, break the air vent in the wall to the left, climb through, and descend the ladder. The memento is in the trunk. It reduces melee charge attack time by 50%.
Getting all three lenses
The Stage Light in the room past the Stage 1 door has three lens slots. You already have the Cyan Lens. Insert it now and go find the other two.

Stage light lens slot panel
How to get the Yellow Lens
From the Stage Light, head right to the balcony area and collect the Thelend Broadcasting Map from the wall. Go down the stairs to Stage A. Pick up the Terminal Drive Script from the chair on the left, then continue left into the next room. Clear the enemies and grab the Tower Key from the table. Unlock the door to the left as a shortcut back to the building's back alley.
Head through the back alley to the Antenna tower, use the Tower Key on the gate, and climb the ladder. Grab the Yellow Lens at the top and immediately run back down. A horde of crows attacks at the apex, but they stop once you leave the area.
How to get the Magenta Lens
Back in Stage A, head right and take the stairs down to the Workshop. Walk left between the two set walls, watching for two powerful enemies. Push the large cart left toward the door, climb on top of it, and drop over the wall to reach a manhole. Use the Manhole Key to open it and descend for a weapon attachment and ammo.
Return to the Workshop floor and take the other manhole on the right side, which is already open. Follow the path to find the Magenta Lens on a table.
How to beat The Driver boss fight
With all three lenses collected, return to the Stage Light. To make the stage glow red, keep the Magenta and Yellow lenses active and pull the Cyan lens out. The third page of the Technical Manual explains this exactly. A door appears below on the stage, bathed in red light.
Save and stock up on healing items before going down. The boss is The Driver, returning from the Town Hall encounter. He uses the same projectile attacks and barrier patterns from before, but hits harder this time.
The fastest approach is to get behind him and focus on melee if you have speed and melee-boosting Mementos equipped. If you are running a ranged build, keep moving and fire whenever he is not behind a barrier.
Memento: 8 Ball Gear Shift - Dropped from The Driver's body after the fight. Increases available stamina, raises all damage dealt by 10%, and reduces damage received by 10%.
Defeating The Driver and walking through the red door on stage completes the Dead Air, Final Cut achievement.
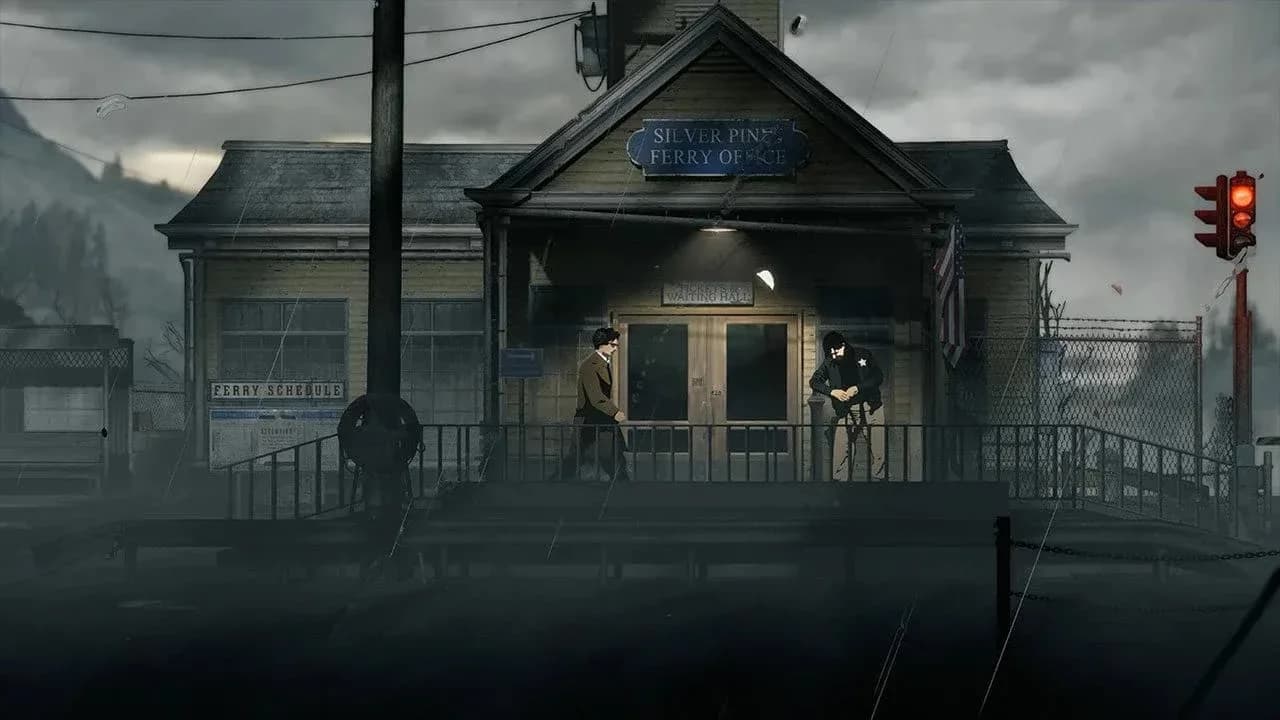
The Driver boss fight on stage
The finale: A Place That Ends
Going through the red door transports you to an unmapped location. Walk east, interact with the intercom on the electrical pole to hear a conversation, then continue forward until you find a hole in the floor. Drop through.
Turn on your Flashlight and go left first. Break the cracked wall and collect the Cassette Tape titled Love from the stand inside. Back in the corridor, find the phone with its Rotary Dial missing. Grab the Broken Key and Rusted Key from the key rack next to it.
Continue east to the safe room. Photograph the symbols on the wall here. They correspond to the phone's dial positions and you will need the order shortly. Break the beams to the right of the Phone for extra Ammo. Interact with the fish trophy for a brief optional conversation.
Head east to the broken bridge. Unlock the gate with the Rusted Key and cross. Go north to find the Strange Tree. It needs three Metal Spikes driven into it to trigger the final boss.
Obtaining the first Metal Spike
Jump across the broken bridge and use the ladder to descend. Pick up the Rotary Dial near the wrecked car at the bottom. Return to the phone in the earlier corridor, install the dial, and enter the symbols in the order shown on the safe room wall. The phone's coin return slot produces a second Broken Key. Combine both Broken Keys in your inventory to form the Bloodied Key, then use it on the locked door to the left. The first Metal Spike is stuck inside the hanging meat inside. Take it to the Strange Tree.
Obtaining the second Metal Spike
Cross the broken bridge and head east, then take the northern passage. Find the Tape Sleeve on the bed next to the TV. Interact with the TV and insert the Cassette Tape from your inventory. After the video plays, the TV catches fire and a Metal Spike appears on the screen. Pick it up and return to the Strange Tree.
Obtaining the third Metal Spike
Continue east along the main passage and jump the gap. Climb the platform on the right and go through the north doorway. Head left, climb the ladder, and check the container past the door to find the Wire Cutter. Return to the main passage, take the lower path, clear the enemy, and cut the two wires on the electrical box. Go through the door on the right, collect the Diary Page before the floor hole, and drop through. Reach the bottom, clear the enemy, and go left until you find the final Metal Spike.
How to beat the final boss
The final boss hits hard and knocks Red back with most of her attacks. Bring as many healing items as your inventory allows.
Her most dangerous move is her scream, which knocks you back at close range and inflicts Madness. Stay at mid-range when she is visible. She periodically vanishes from the arena. When that happens, move to the center and prepare to dodge the moment she reappears.
When the world turns red, she enters a more aggressive phase. Switch to your highest-damage weapon and keep moving. Equip Mementos that boost headshot damage to shorten the fight.
After she falls, pick up the Polaroid Negative Memento from the ground nearby. This is the final collectible Memento in the game. Save at the Phone, then walk right to find Eddie Velvet and trigger the ending choices.
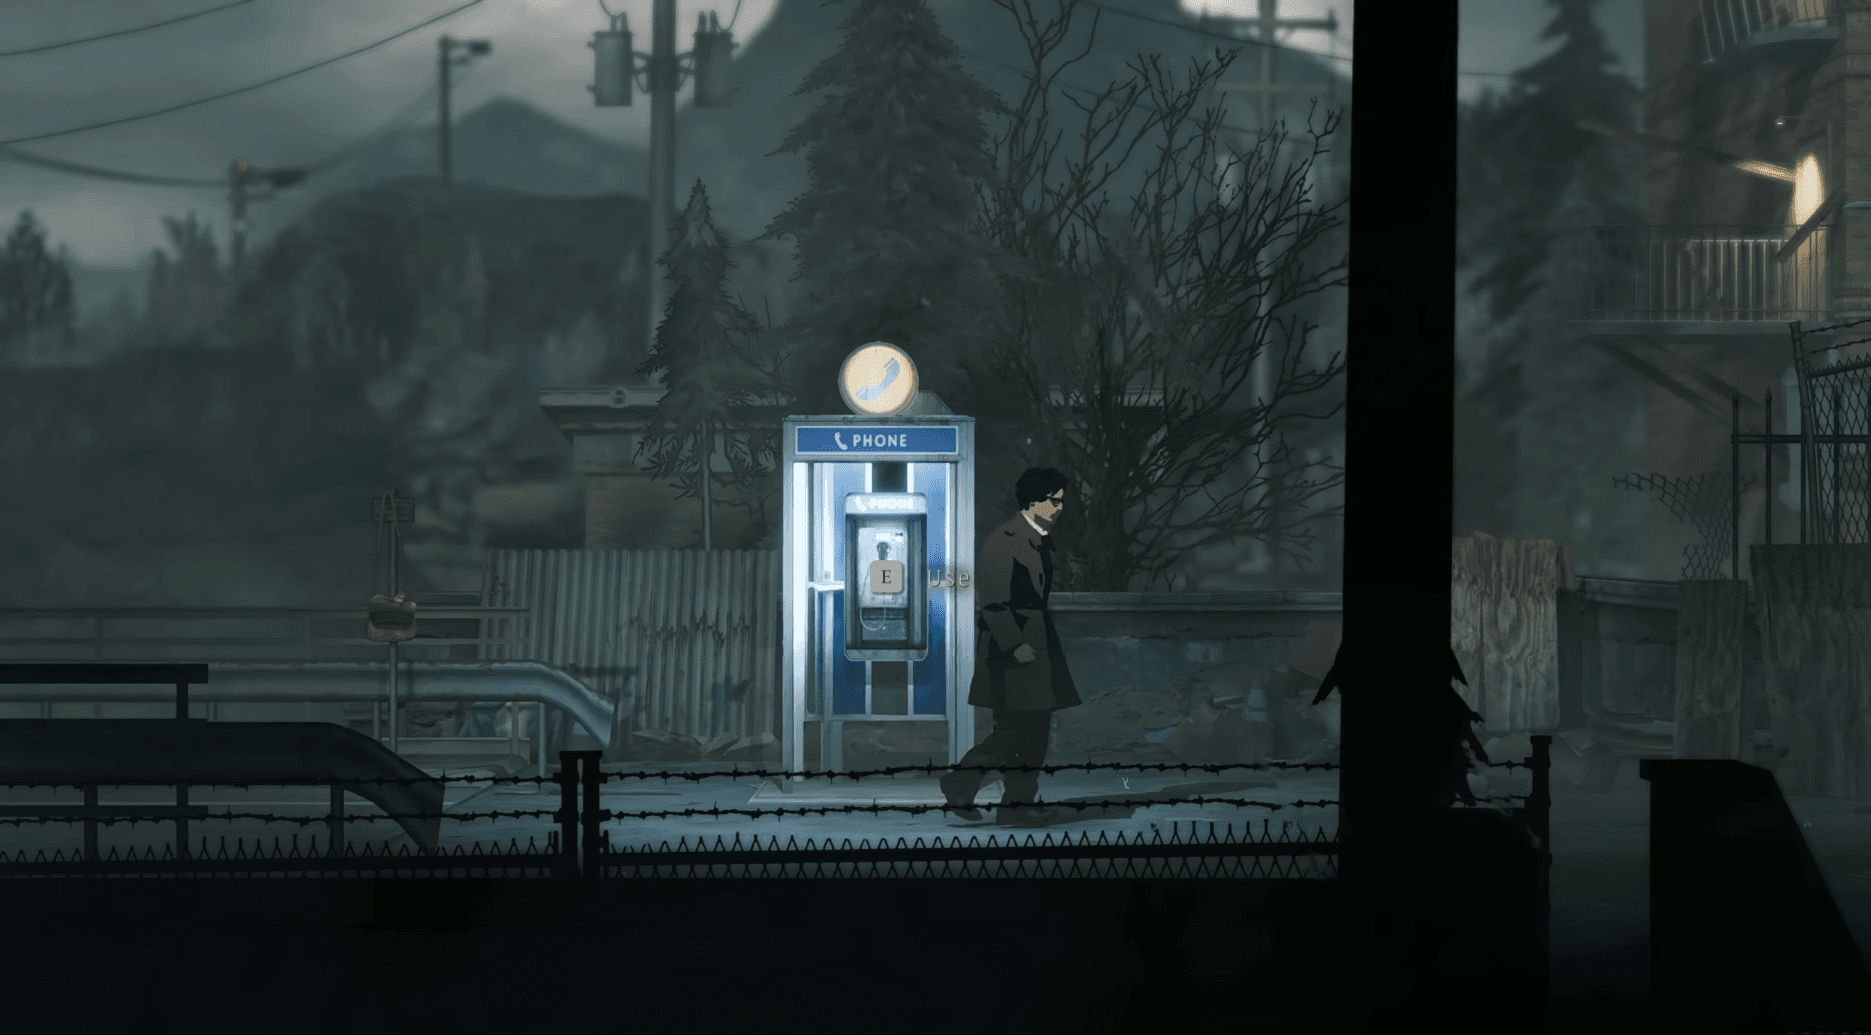
Final boss red world phase
How to unlock all three endings
All three endings branch from the same moment: your conversation with Eddie Velvet at the end of the finale area. For a deeper breakdown of requirements and collectible counts, the Silver Pines all endings guide covers exact Star locations and Memento totals.
| Ending | Name | Key Requirement |
|---|---|---|
| A | Leave | None |
| B | Live | All Mementos collected |
| C | Rest | Both Gold Rings obtained |
Ending A: Leave
Talk to Eddie Velvet twice, then choose Kill Eddie Velvet. You return to the Miner Diner in the Outskirts, answer the phone, and get in your car for the final cutscene. No prerequisites needed.
Ending B: Live
Choose Leave when talking to Eddie Velvet. Walk east to teleport back to Downtown, then go right and climb the ladder to speak with the NPC leaning against the wrecked vehicle. Make your way to the Burned Man in Silver Pines Outskirts. If you have collected every Memento in the game, he will ask you to burn them in the Furnace. Enter the Shack to his east, interact with the burning furnace, and choose Yes.
Ending C: Rest
This is the hardest ending and includes a secret boss fight. You need both Gold Rings.
The first Gold Ring comes from finding all seven Stars and unlocking the Locked Ring Box in the Miner Diner's restroom.
For the second, choose Leave when talking to Eddie Velvet. Go left when you return to Downtown and find Alice Baker's Floating Body in the water. Inspect it and take the Gold Ring from her finger.
Take both rings to the Rabbit Hole Bar and insert them into the Ring Indents on the backstage wall. You will be transported to an alternate version of the bar. Talk to the woman on the left (the guest from Room 3 at the Crimson Bear Motel), then speak with the Bartender to open the eastern passage.
Stock up using the Storage Container before heading east. The Server transforms into a giant creature and the fight opens with a chase sequence. Keep running past obstacles until you reach a dead end and face him directly. His three attacks are:
- Dropping debris from above
- A long poke attack (duck to avoid it)
- A poison blob spit (move out of the radius)
The ground eventually breaks, triggering a second chase that ends at the Miner Diner. Talk to what remains of the boss and go through the door for the final cutscene.
Thelend Broadcasting is the game's most demanding area, but the structure makes sense once you see the whole picture. If you want to make sure you hit every collectible before the finale, the all codes and puzzle solutions guide covers every door code and safe combination across the whole game. The full Silver Pines guides collection has complete coverage of every prior zone to fill any gaps before you reach the mountain.