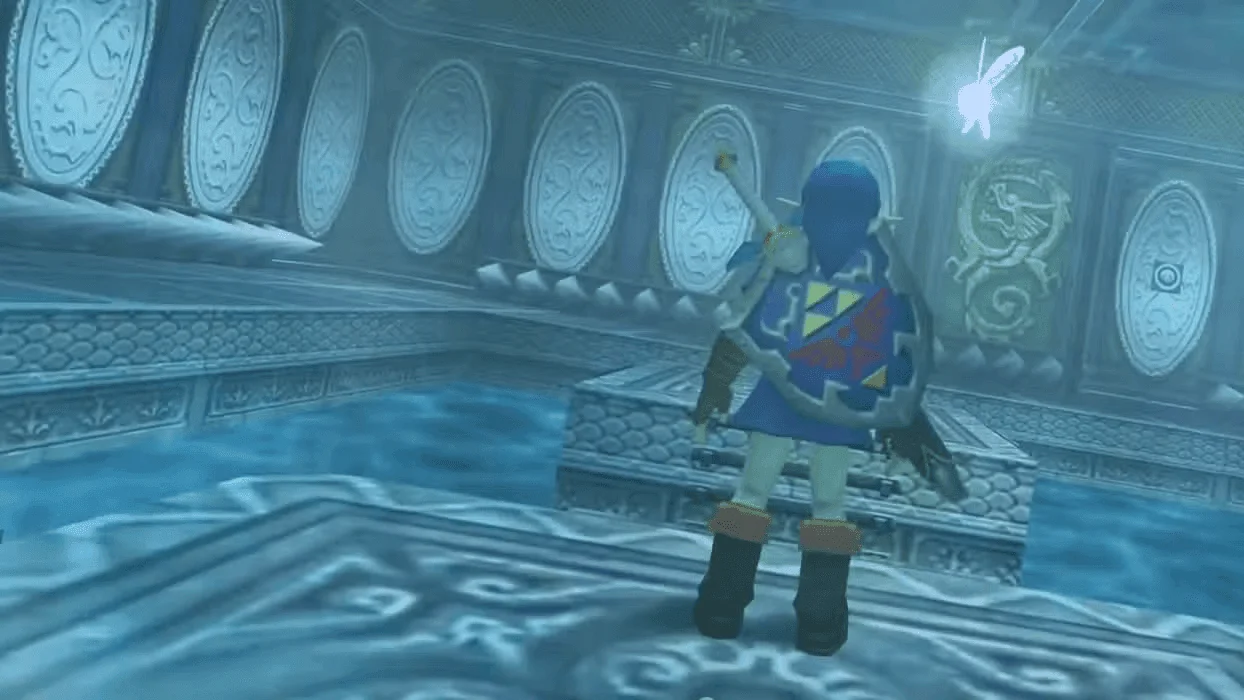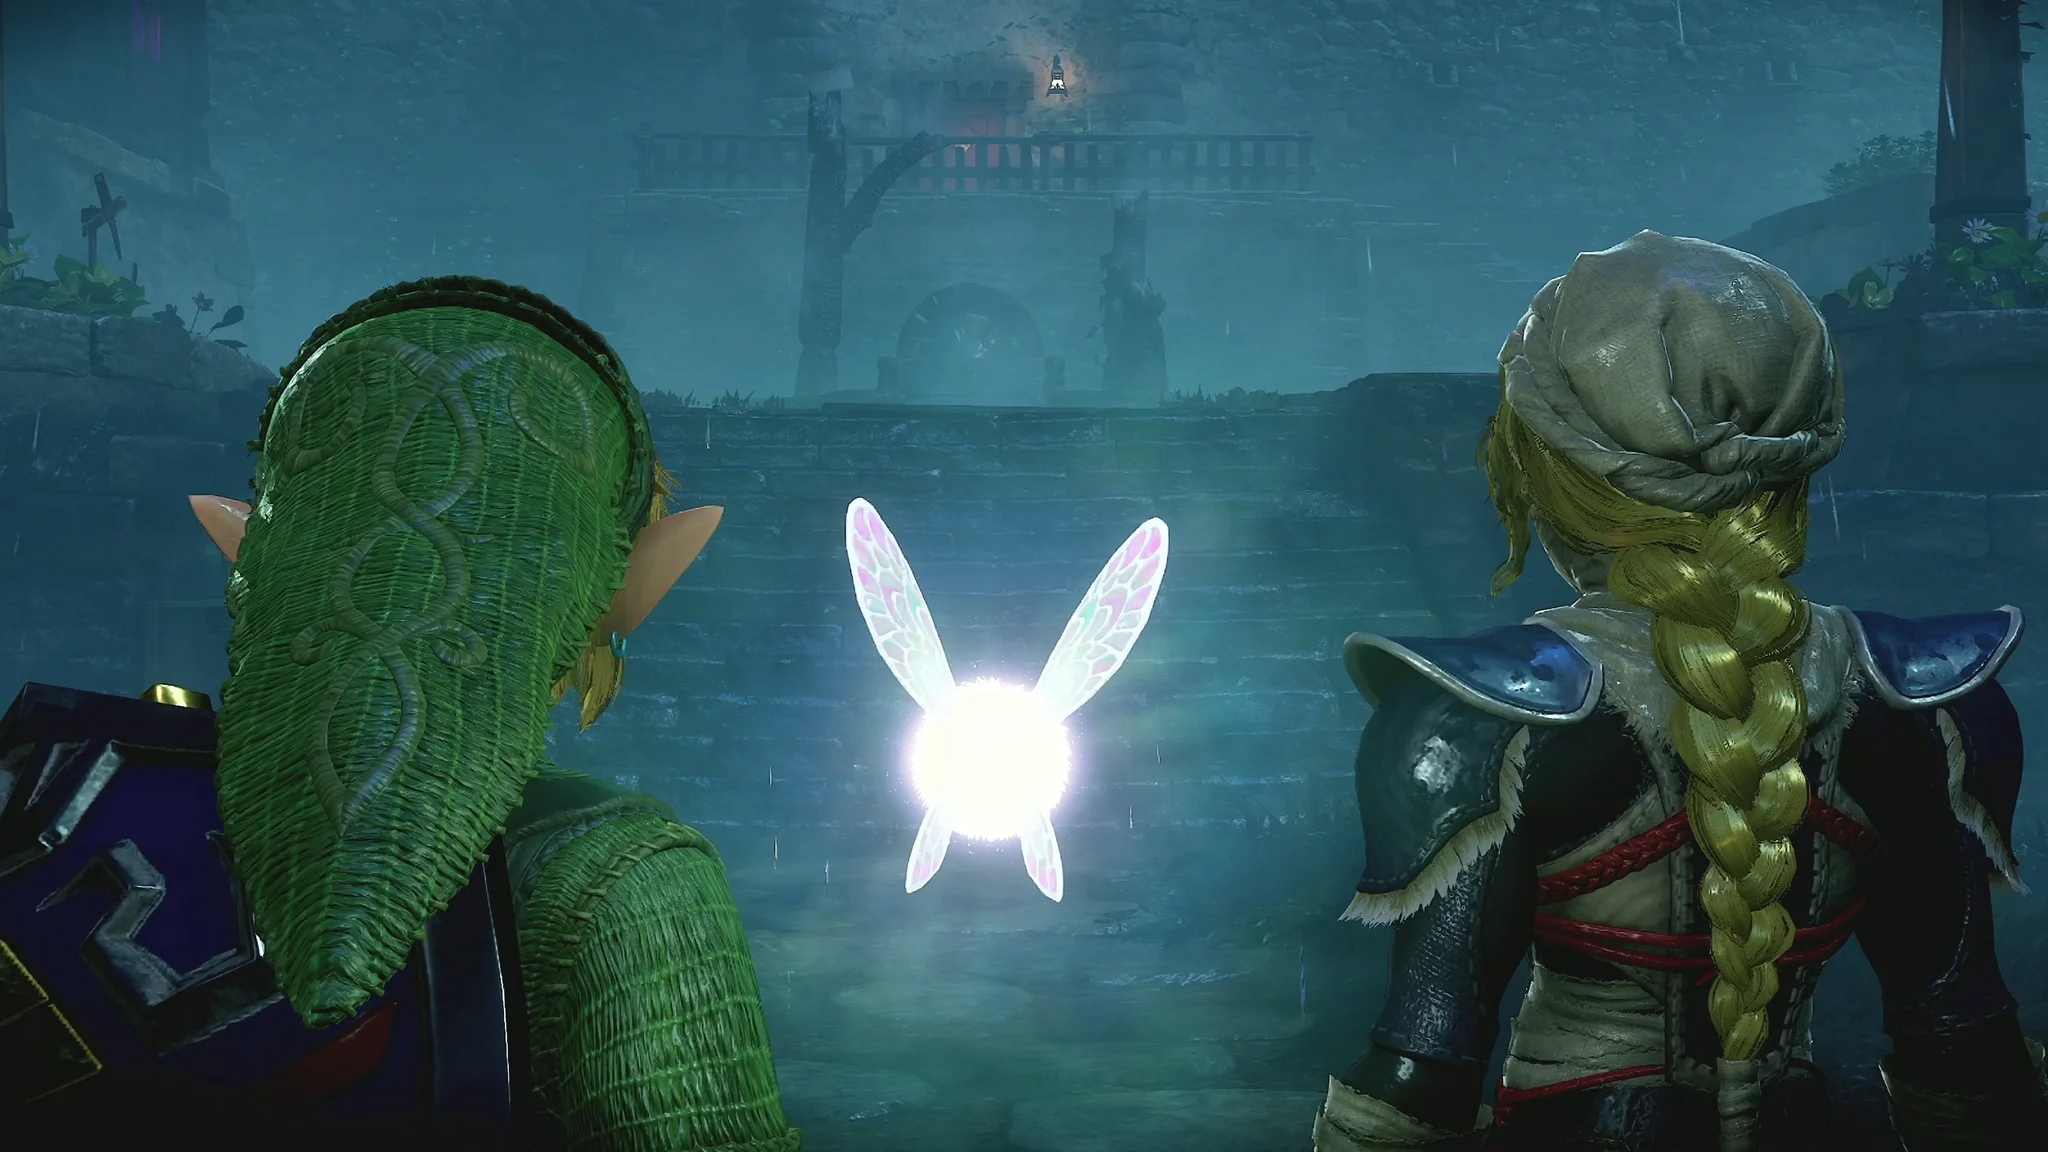

Target with ZL, block with an equipped shield, and use directional X dodges to create safe counterattacks. Combat in The Legend of Zelda: Ocarina of Time Remake is easier to control when you wait for enemies to finish their attacks instead of swinging through them.
A slow windup is a cue to watch the enemy's weapon, not permission to squeeze in another hit. Lizalfos, Dark Link, and Iron Knuckles leave different openings, and your sword choice can remove access to shield blocking. Learn the defensive inputs first, then decide how to punish each pause.
How targeting changes combat
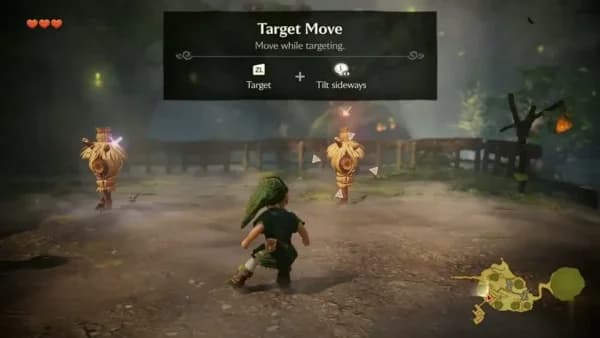
Hold ZL to lock onto whatever Navi approaches. Targeting keeps that subject in view and directs your sword swings toward it. Navi can also select people, signs, and switches, so check what you are facing before attacking.
While locked on, moving the left stick sideways circles your target without turning Link away. Use this movement to adjust your position while watching an enemy's weapon. You do not need to jump every time you want a different angle.
Release the targeting button to look around freely. The right stick rotates the camera, and pressing it resets the view. Adjust the camera when a wall, tree, or enemy blocks the action instead of trying to fight through an obstructed view.
Keep your attacks on target


Learn the movement in Kokiri Forest
The Kokiri swordsman at the training grounds teaches targeting, side jumps, backflips, and the jump attack. Complete those lessons before relying on the moves in a dungeon. The jump attack lesson becomes available after you find the Kokiri Sword.
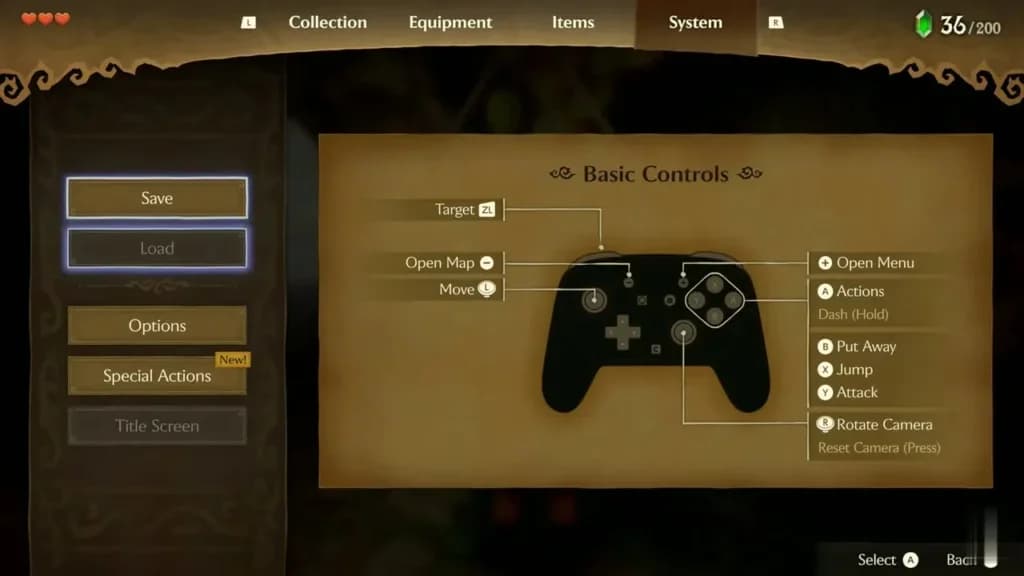
If you forget an input, press Plus and open the System tab. Its Basic Controls chart lets you check the layout without guessing during the next encounter.
When to block and when to dodge
Choose your defense by where you need to finish the movement. Blocking lets you hold your position, a side jump moves you around the target, and a backflip creates distance.
| Defensive option | Input | When to choose it |
|---|---|---|
| Shield block | Hold ZL with a shield equipped and a compatible sword in use | Defend against thrown nuts and slow sword swings while holding your ground |
| Side jump | Hold ZL, tilt the left stick left or right, and press X | Move sideways around an incoming attack while keeping the target locked |
| Backflip | Hold ZL, tilt the left stick backward, and press X | Put space between Link and a slow, heavy attacker |
Check the floor before choosing a dodge. A backflip needs room behind you, while a side jump needs space beside you. Near a pit or narrow platform, consider where you will land before pressing the button.
Guard before committing to damage
Check your equipment before relying on a block
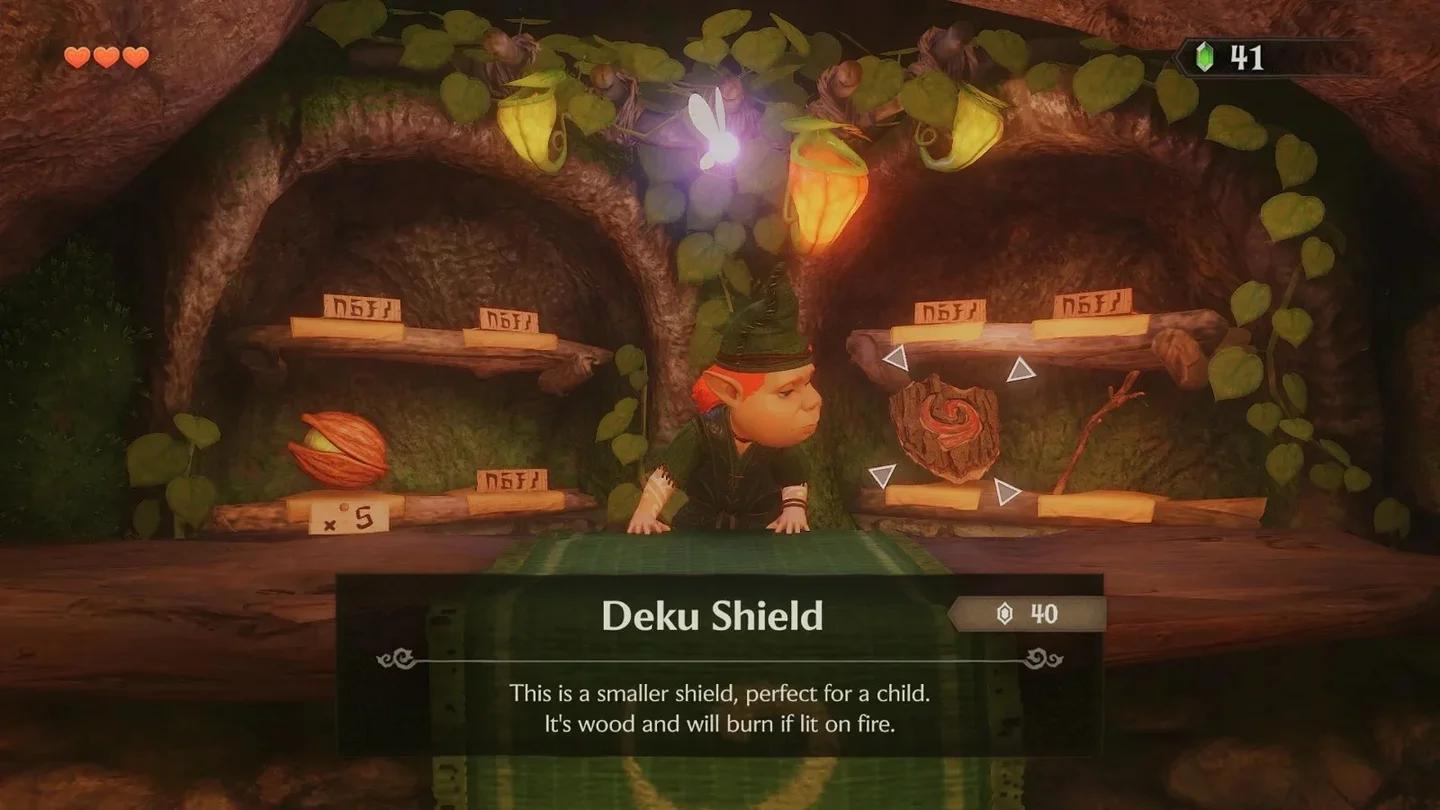
You can buy the Deku Shield at the Kokiri Shop for 40 rupees. Equip it before expecting targeting to raise a guard. Keep your shield ready between attacks, and commit to your own strike when the enemy gives you an opening.
The Biggoron Sword deals more damage than the Master Sword, but you cannot hold a shield while using it. Follow the Ocarina of Time Remake Biggoron Sword route when you want that damage increase and are comfortable defending with movement.
Read enemy guards and attack openings
An opening is the pause that lets you attack before the enemy resumes its offense. Watch for that pause instead of treating every moment within sword range as a chance to deal damage.
Enemy guards also tell you when to stop forcing attacks. Dark Link, for example, copies much of your movement and typically raises his shield when you do. Repeating the same sword exchange can keep you fighting on his terms.
| Enemy or attack cue | Defensive response | Your attack window |
|---|---|---|
| Lizalfos attacks in the Spirit Temple | Block with the Hylian Shield | Strike when the Lizalfos pauses |
| Iron Knuckle swings its axe | Keep your distance and dodge the long strike | Attack during its recovery |
| Dark Link holds his sword behind him | Prepare to dodge consecutive sword slashes | Counter once he stops moving |
| Dark Link's sword glows red in his second phase | Move out of the spin attack's reach | Return for quick hits afterward |
Do not assume a familiar combo is finished
Dark Link's second phase adds jump attacks that can interrupt his three-slash sequence. Counting three swings is less reliable than watching him actually stop. Back off when he begins moving again, even if you wanted another hit.
Avoid stab attacks against him. He can stand on Link's sword, preventing you from moving before striking you in the head. Use other attacks or tools instead of repeatedly offering him that counter.
Choose between melee and ranged attacks
Press Y for a sword slash. For a jump attack, hold ZL, press X, and press Y while airborne. The jump attack hits harder than a normal slash, so reserve it for a clear opportunity to connect.
Your Ocarina of Time Remake weapon choice should support the openings you can reach safely. A stronger weapon is useful when you land its attacks; it does not replace reading the enemy's next move.
Use items to create an opening
Press ZR to use the item displayed in the top-right slot. Check that slot before an encounter so your next item input produces the tool you intend to use.
Against Dark Link, the Fairy Bow and Megaton Hammer can stun him and create time for follow-up hits. He can dodge both, so watch whether the stun actually connects before closing in. Do not treat an attempted stun as a guaranteed opening.
Din's Fire is another option when sword exchanges become difficult. Dark Link struggles to dodge or counter it, but he must be within range. Its magic requirement also makes preparation part of the decision: use it with enough magic available to support the tactic.
Fight multiple enemies safely
Lock-on helps you follow a target, but you still need to watch the rest of the room. Before committing to a counterattack, check whether another enemy is approaching the space beside or behind Link.
Use this sequence when a room contains several attackers:
- Check the camera. Get the nearby enemies and the floor around Link into view.
- Choose room to move. Favor a position with space for your intended dodge instead of backing toward a wall or pit.
- Watch the other attackers. Delay your counter if a second enemy is already beginning a swing.
- Reassess between exchanges. Look around and acquire your intended target again when you need a clearer view.
Keep counters short while another enemy can reach you. The aim is to finish an attack with enough room to defend again, not to spend every available moment swinging.
Clear combat before working on a puzzle
In the Spirit Temple's light-beam lamp rooms, defeat the enemies before rotating the lamps. Separating those tasks lets you give the fight your full attention instead of trying to position a beam while enemies attack.
Manage health and consumables
Break pots, cut grass, and check rocks as you travel, since they can contain hearts and rupees. Recovering between encounters lets you save your carried supplies for fights where you cannot safely leave to search for health.
Sleeping in a bed restores your hearts and changes the time. Use that recovery option before returning to a difficult encounter if a bed is accessible on your route.
Prepare magic for item-based tactics
If you plan to use Din's Fire against Dark Link, enter with a full magic meter. Green Potions provide a refill, and the Ocarina of Time Remake Great Fairy locations guide covers the fountains and their upgrades, including increased magic capacity.
Dark Link briefly returns to a pool of darkness beneath the tree between phases. Use that safe interval to heal or refill magic. Finish before shadows shoot from the tree and he returns.
Save before entering a boss fight
Save manually before a boss by opening the menu, switching to System, and choosing Save. A reload may place you at a dungeon entrance, Link's house, or the Temple of Time, so save before committing to the encounter.