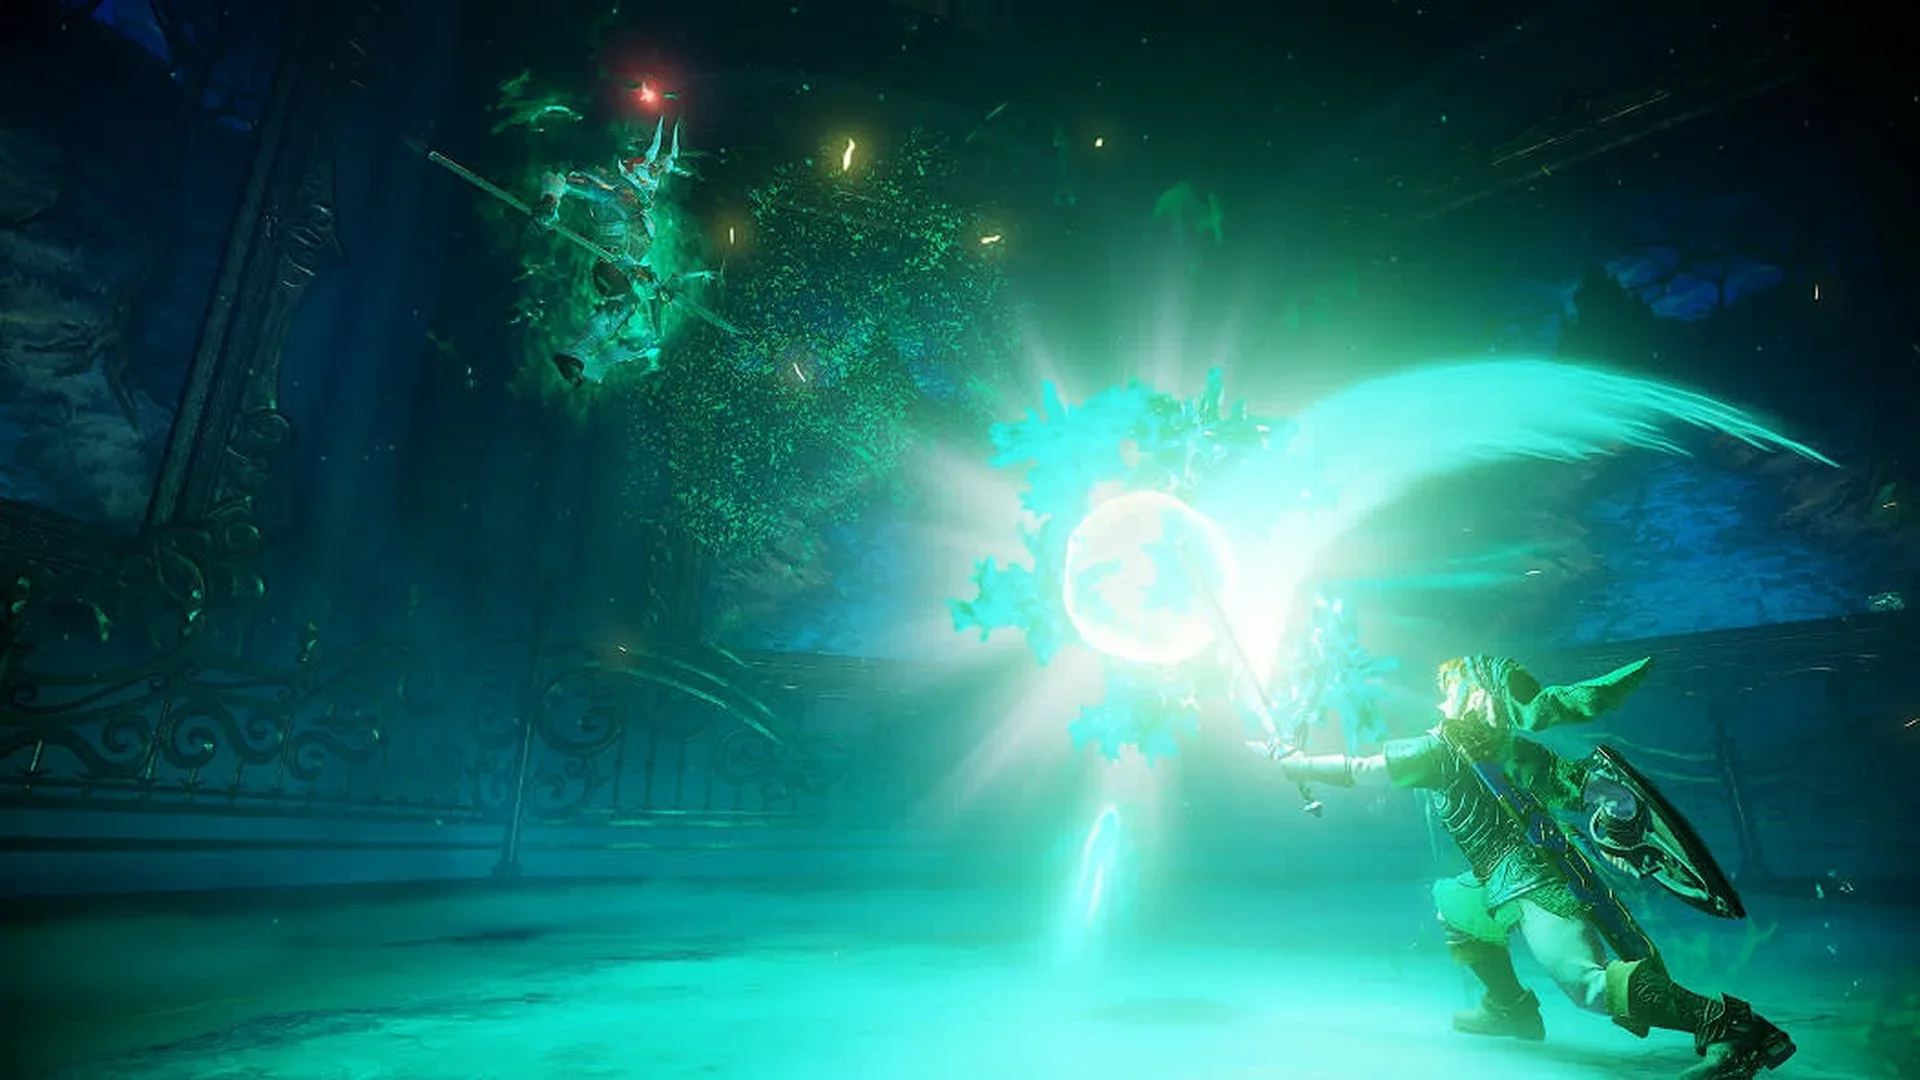

Beat Ganondorf by returning his orbs and following with Light Arrows; defeat Ganon by attacking his tail, arms, and exposed forehead in sequence. The final encounter in The Legend of Zelda: Ocarina of Time Remake includes a tower duel, a castle escape, and an expanded battle against Ganon.
Your main task changes throughout the finale. Ganondorf demands manual aiming and projectile timing, while Ganon requires you to recognize new weak points after each transition. Keep arrows and magic stocked, bring a weapon that works without the Master Sword, and watch for Zelda's intervention before the final opening.
Final boss preparation and spoiler warning
Full finale spoilers follow, including Ganon's additional phases and the finishing action.
You can enter the central tower after clearing the castle's six Sage trials. Defeat the two Iron Knuckles on the ascent to obtain the Boss Key, then continue toward Ganondorf's chamber.

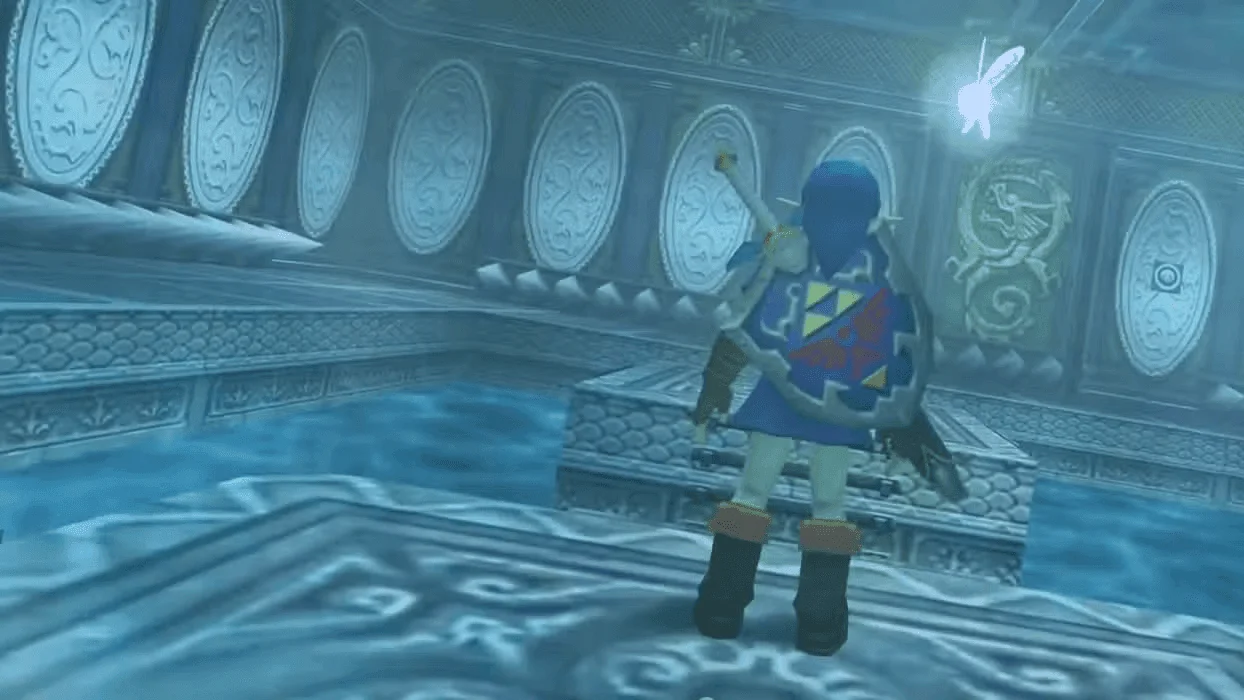
What to bring
Check your equipment and supplies before opening the boss door:
- Fairy Bow and Light Arrows, with arrows and magic available.
- Master Sword, plus the optional Biggoron Sword if you own it.
- Megaton Hammer and Mirror Shield.
- Hover Boots and Longshot.
- Bottled Fairies and recovery potions.
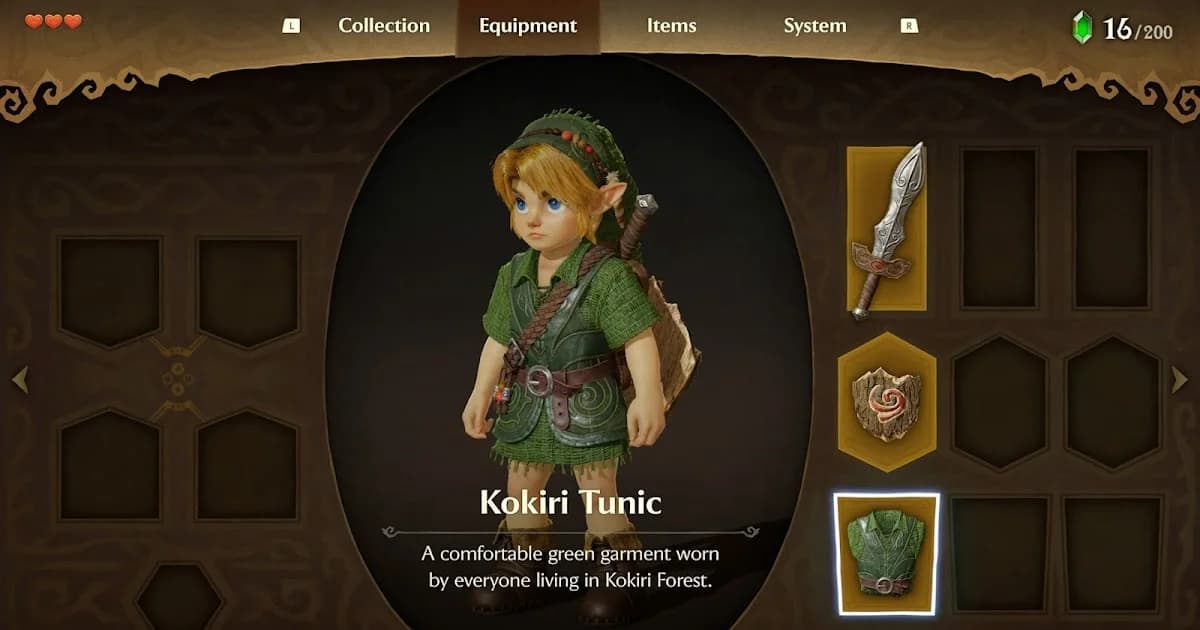
Check supplies before the duel
Inside the castle's main chamber, use the Lens of Truth on the wall beneath the bridge leading to the tower. The hidden Fairy Fountain lets you heal and bottle Fairies before the climb.
Get the damage-reduction upgrade
Visit the Ocarina of Time Remake Great Fairy Fountain near Ganondorf's Castle by crossing the Sages' bridge and lifting the black-and-gold rock with the Golden Gauntlets.
Offer 500 Rupees to receive the Gift of Halved Damage, which permanently halves incoming damage. If you're struggling with the final battles, this upgrade reduces the cost of missed projectile returns and failed dodges throughout the sequence.
How to counter Ganondorf's attacks
Navi cannot target Ganondorf during this encounter. Face him manually and position yourself on the outer platforms, preferably near a corner. He destroys floor sections as the fight progresses, eventually leaving the corners as your main footholds.
Read the attack before choosing a counter
| Ganondorf's attack | What to watch for | Your response |
|---|---|---|
| Single magic orb | One projectile traveling directly toward Link | Strike it with your sword and keep returning it until Ganondorf misses |
| Multiple magic orbs | A large energy buildup that produces several projectiles | Charge a Spin Attack and release as the projectiles reach you |
| Ground slam and shockwave | Ganondorf gathers energy in his fist before striking the floor | Move out of the wave's path and stay clear of falling floor sections |
During a single-orb rally, watch for Ganondorf striking the projectile harder with his fist. That return travels faster, so adjust your next swing to the shorter approach. Do not assume the timing will stay constant through the exchange.
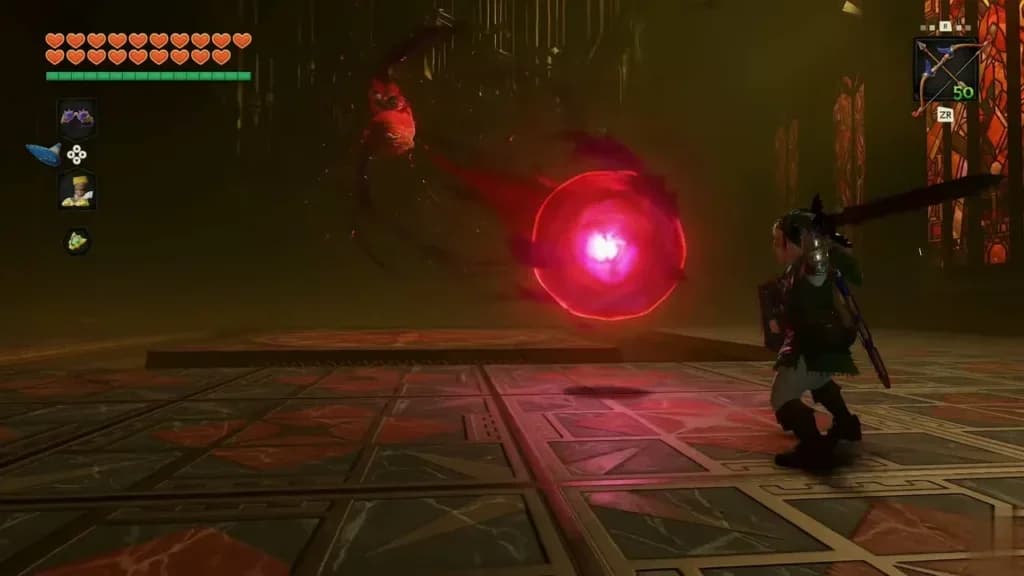
Return the full orb barrage
If you miss the opportunity to charge against multiple orbs, retreat with the Mirror Shield raised. Projectiles that strike the floor can destroy the tile beneath them, so check your footing before preparing the next return.
Create and use damage openings
Winning the projectile rally only staggers Ganondorf. You still need a Light Arrow to bring him down where your sword can reach him.
Turn a stagger into sword damage
Use this sequence as soon as your returned orb connects:
- Aim the Fairy Bow at Ganondorf's glowing chest.
- Shoot a Light Arrow to knock him onto the central platform.
- Cross to the center and land sword strikes during his recovery.
- Retreat to a corner before his next floor-destroying slam.
The Biggoron Sword is an optional weapon choice in Ocarina of Time Remake for these knockdown windows. If you want to use it, switch weapons before firing the Light Arrow so you can move straight into melee afterward.
Reach the center when the floor disappears
Use the Hover Boots to cross the gaps once the remaining outer floor becomes isolated. Spend the opening moving directly toward Ganondorf, then withdraw as soon as his recovery ends.
If you fall below the fighting platform, aim the Longshot high on a climbable wall to regain height quickly. You can also use the central platform's climbable wall to reach a downed Ganondorf when the normal route has disappeared.
Repeat the stagger, Light Arrow, and sword sequence until the cutscene begins. The next section starts with Zelda leading you out of the collapsing tower.
Complete the castle escape
The remake's escape has no countdown timer. Follow Zelda's route, but take enough care to preserve health for the battle outside.
Clear each obstacle in order
- Descend the stairs alongside Zelda and wait for her to open the sealed door.
- Take the left-hand route and jump across the broken floor.
- Defeat the two Stalfos in the next combat room. Dodge their jumping attacks, then counter during recovery.
- Follow Zelda and use the Longshot target to cross the large gap.
- After the floor collapses and Zelda holds off enemies, face away from her. Use the Megaton Hammer on the breakable rock wall to the left of the fire.
- Continue to the ReDeads. Zelda immobilizes them, letting you enter the group and clear them with a Spin Attack.
Let Zelda unlock the final door and continue outside. Prepare before approaching the disturbance in the rubble, because the next encounter temporarily removes your main weapon.
How to fight Ganon
Ganon knocks the Master Sword away at the start of the fight. If you completed the Ocarina of Time Remake Biggoron Sword quest beforehand, equip that sword; otherwise, use the Megaton Hammer. Navi returns for this battle, so targeting is available again.
Attack the tail during the first phase
Your target is the purple crystal on Ganon's tail. A frontal attack will not reach it, so wait for a committed sword attack before moving behind him.
His sword slam or thrust leaves the blade briefly stuck in the ground. Use that recovery to circle around and strike the tail, but avoid the ground rupture left by the impact because it explodes after a delay.
Light Arrows can also stun Ganon and give you time to get behind him. Use that option when you need a clearer opening; waiting for the stuck-sword recovery lets you save magic for later phases.
Avoid staying behind him too long
Ganon can sweep his swords across the ground in front of him. If you remain behind him, he can answer with a jumping slam. Move away when he leaves the ground, then wait for another opening instead of chasing an extra hit.
You can also shoot a normal arrow between his legs toward the tail when he raises a sword. The window is brief, so the melee route after a slam is easier to read if manual aiming is causing trouble.
If health, arrows, or magic run low, bait Ganon into striking the walls around the arena to uncover supplies. Keep attacking the tail until the phase transition returns the Master Sword.
Recover your weapon and finish the battle
Zelda returns the Master Sword after the tail phase. Ganon gains glowing arm weak points and a third eye, but the eye initially closes. Change targets to his forearms instead of continuing to circle toward the tail.
Break both forearm weak points
Wait for Ganon to drag or strike his sword across the ground and leave an arm low. Approach the exposed, glowing forearm, land a short burst of Master Sword attacks, and withdraw before he recovers.
Light Arrows can damage the arm weak points from a distance when you have an opening. The sword remains useful during stuck-blade recoveries, especially if you want to conserve ranged supplies for the forehead phase.
Watch the floor while choosing your approach. Circles mark incoming lightning strikes, and they can appear during his wind-up and after a sword swing. Move clear of those markers and avoid standing beside him during a ground slam.
Continue until both empowered arm weak points break and return to normal.
Stall for Zelda
Circle around the arena's outer edge while Zelda prepares her spell. Your cue to change tactics is the cutscene that exposes Ganon's third eye.
Shoot the forehead and land the finishing blow
The forehead is now your target. Aim a Light Arrow at the exposed eye, preferably during the recovery after a slam when Ganon stays still briefly. He covers the eye just before attacking, so wait for it to reopen instead of firing into his guard.
His slams now create multiple ground ruptures. Stand in the spaces between them before drawing the bow, then keep landing eye shots until he drops his swords and falls to his knees.
Close the distance and attack with the Master Sword. When the Finish prompt appears, press Y to deliver the concluding blow and complete the final battle.