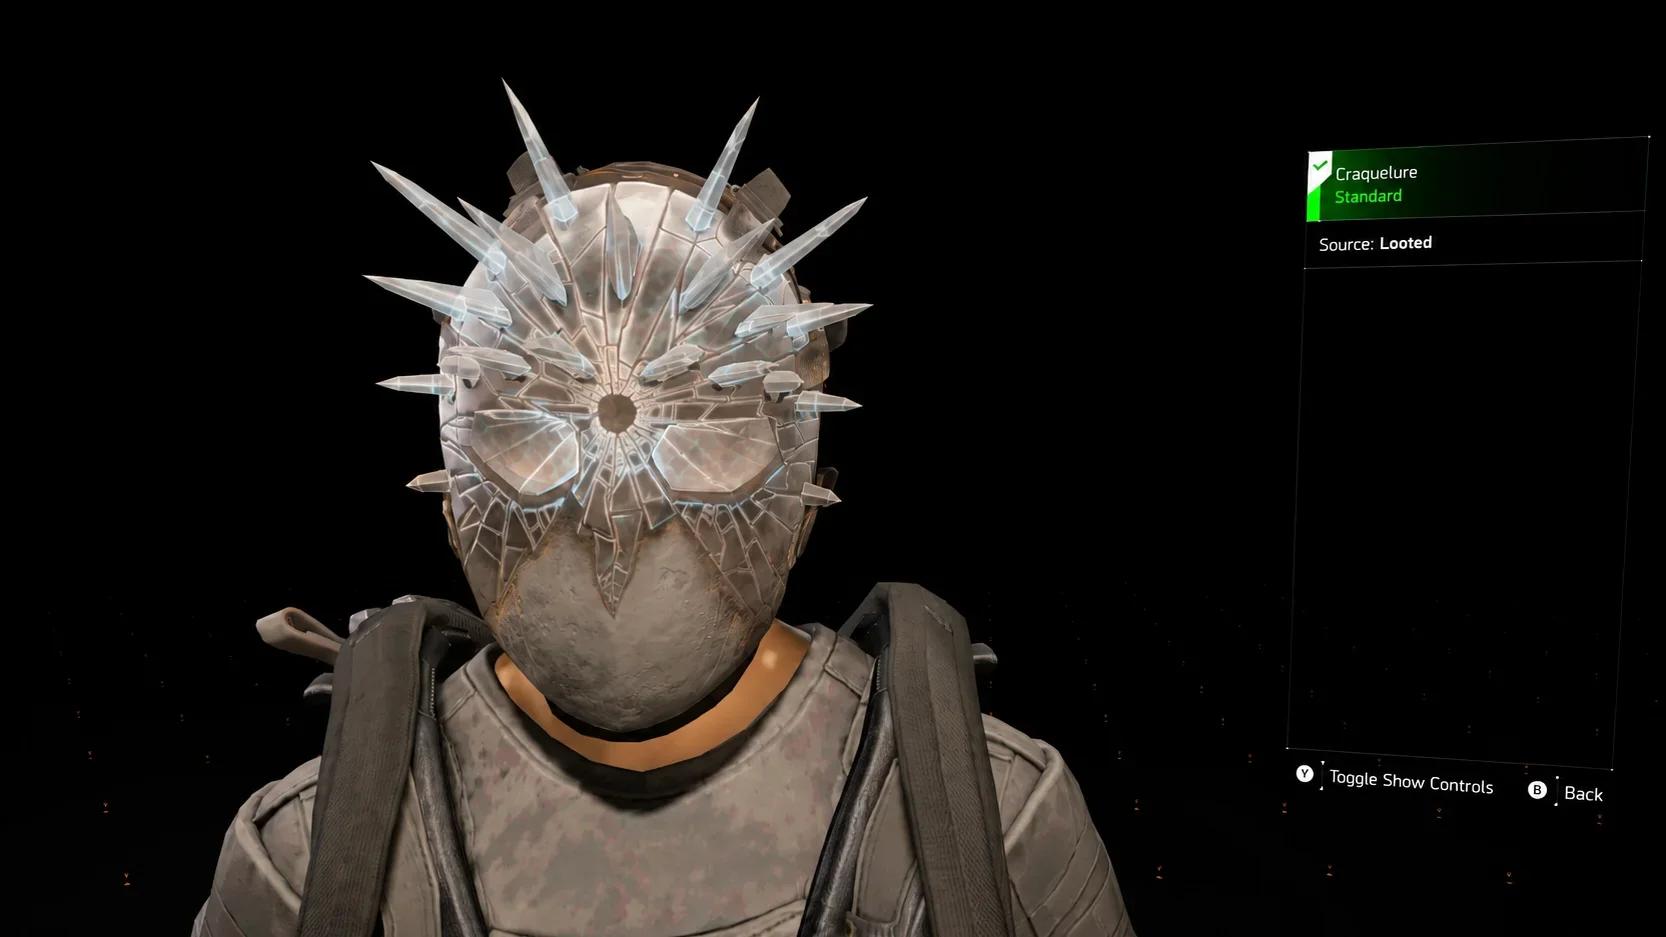

To get the Craquerlure Hunter Mask in Tom Clancy's The Division 2, extinguish six candle groups with specific emotes, then defeat the enemies summoned at the final stop.
This secret belongs to the Echoes of Central Park DLC. Its clues take you between mission landmarks, control points, and a festive building in Dakota District. Each candle location has a matching emote, with the last interaction starting the encounter that rewards the mask. Follow the route below to pair every location with the correct action.
Prepare for the Central Park candle puzzle
Count candle locations, not individual flames. A single stop can contain several candles, and the correct emote puts out that group. Watch for the flames to disappear before leaving each location.
Check your loadout before setting off, especially if you are still learning The Division 2's combat basics. Have your preferred weapons and skills ready before the final interaction, which leads directly into combat.

Candle locations and required emotes
Keep these six pairings handy as you travel. The detailed directions below explain where to look around each landmark.
| Stop | Navigation landmark | Required emote |
|---|---|---|
| One | College Criminal Justice mission waypoint | Wave |
| Two | East Entrance | Salute |
| Three | Bird's Nest control point | Exercise |
| Four | Handle control point | Request Help |
| Five | Dakota District building with Santa Claus | Clap |
| Six | Lit entrance reached from the Dojo safehouse | Surrender |
Find the first four candle locations
One: west of College Criminal Justice
Start at the College Criminal Justice mission waypoint and head just west of it. Look for a car with several candles on top. The candles are on the vehicle, so use the car itself as your final visual reference once you reach the area.
Perform the first emote in the table beside this group, then continue toward the East Entrance for the second stop.
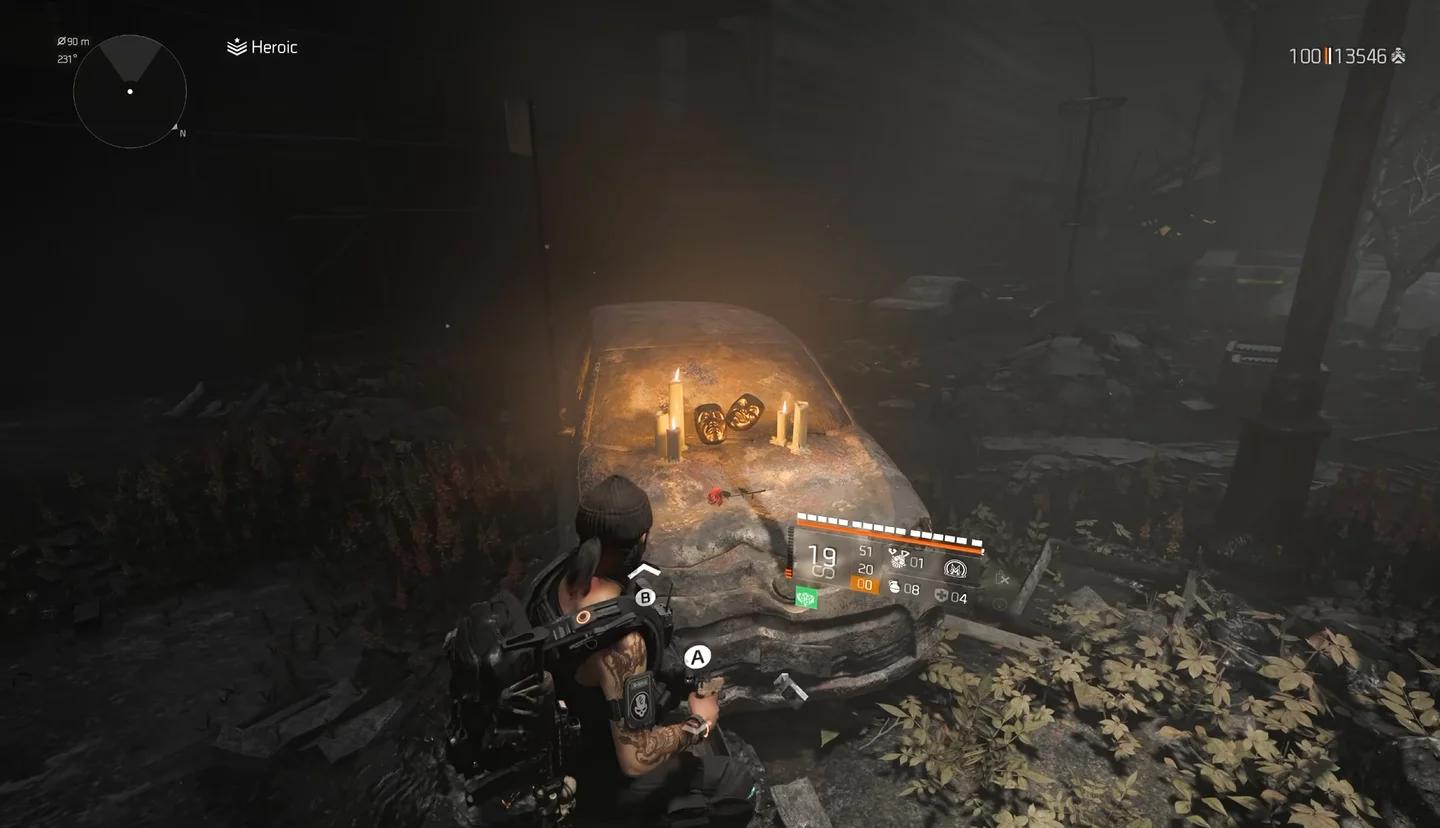
Find the first candle group
Two: south of the East Entrance
From the East Entrance, travel south and check the bushes for the next candles. This group is tucked into the vegetation, making the bushes the detail to search once you are on the correct side of the entrance.
Use the second pairing in the table here. After completing this stop, move on to the Bird's Nest control point.
Three: inside the Bird's Nest control point
If the Bird's Nest control point is already under your control, you can fast travel there. Drop to the bottom floor, turn around, and look in the corner for the third candle group.
The change in elevation is the main navigation step at this stop. Search the lower floor before continuing to the next control point.
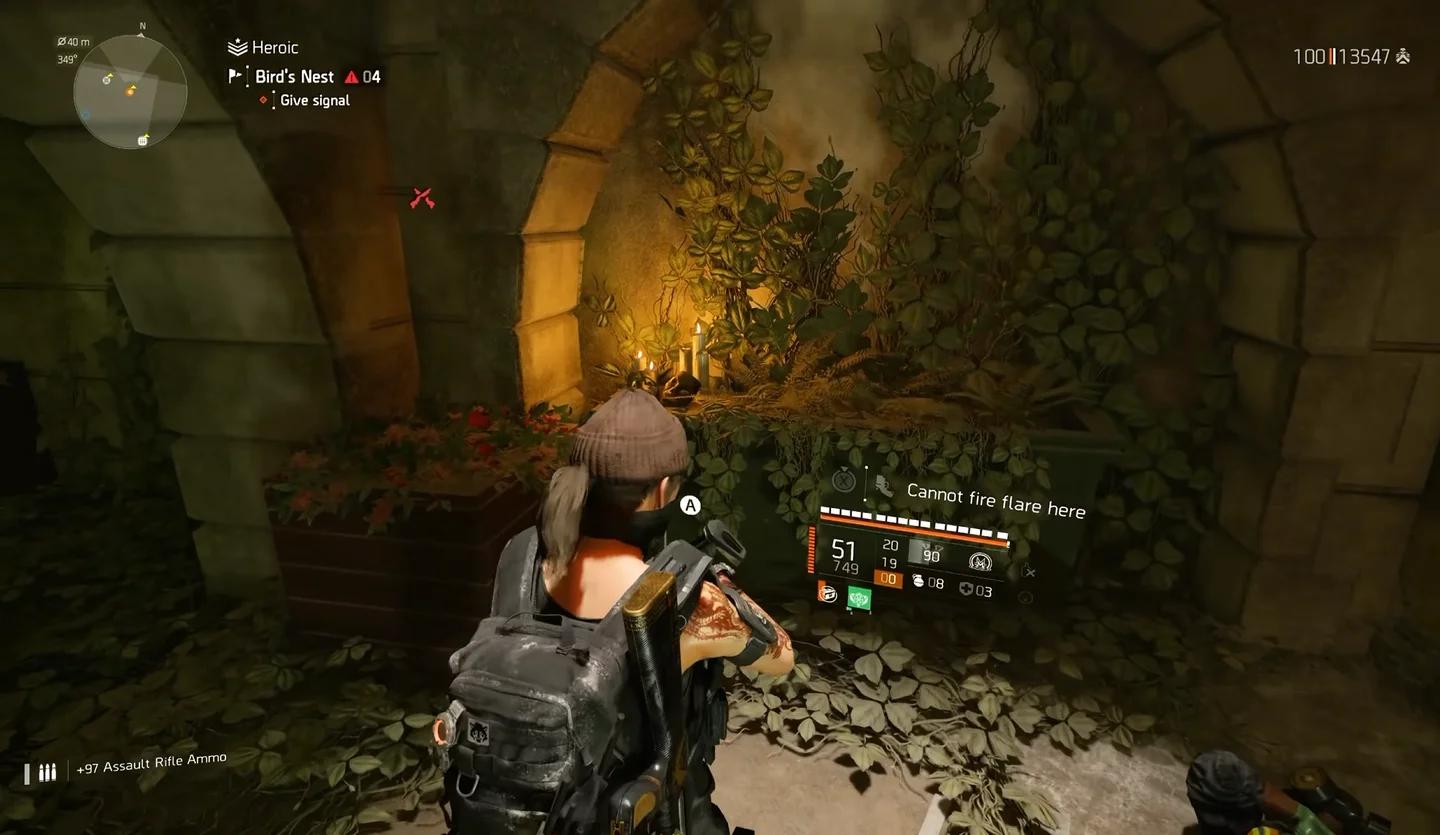
Drop down at the Bird's Nest
Four: north of the Handle control point
Use the Handle control point as your next navigation reference, then head north to find the fourth candle location. This is the stop paired with Request Help in the checklist.
Once this group is extinguished, the route moves into Dakota District. The next location has a more distinctive landmark: a building topped by a giant Santa Claus.
Complete the Dakota District and Dojo stops
Five: below the giant Santa Claus
In Dakota District, look for a building with a giant Santa Claus on top. Follow the festive lights to identify it, then enter the passageway beneath Santa.
Look left inside the passageway to find the candles. The rooftop decoration helps you find the building, but the candle interaction happens below it. Use the fifth emote pairing before leaving for the last stop.
Six: enter the lit doorway from the Dojo route
Start the final leg from the Dojo safehouse and look for a lit entrance. Go through it to find the last candle group inside.
Prepare for the fight before using Surrender. This final action extinguishes the candles and summons the enemies tied to the reward, so finish any loadout changes before performing it.
Defeat the enemies and collect the mask
Kill the enemies summoned at the sixth candle location, then collect the loot. The Craquerlure Hunter Mask is a guaranteed drop from this encounter.
The reward comes from completing that fight, so do not leave immediately after the final flames go out. Clear the summoned enemies and pick up the mask before moving on.