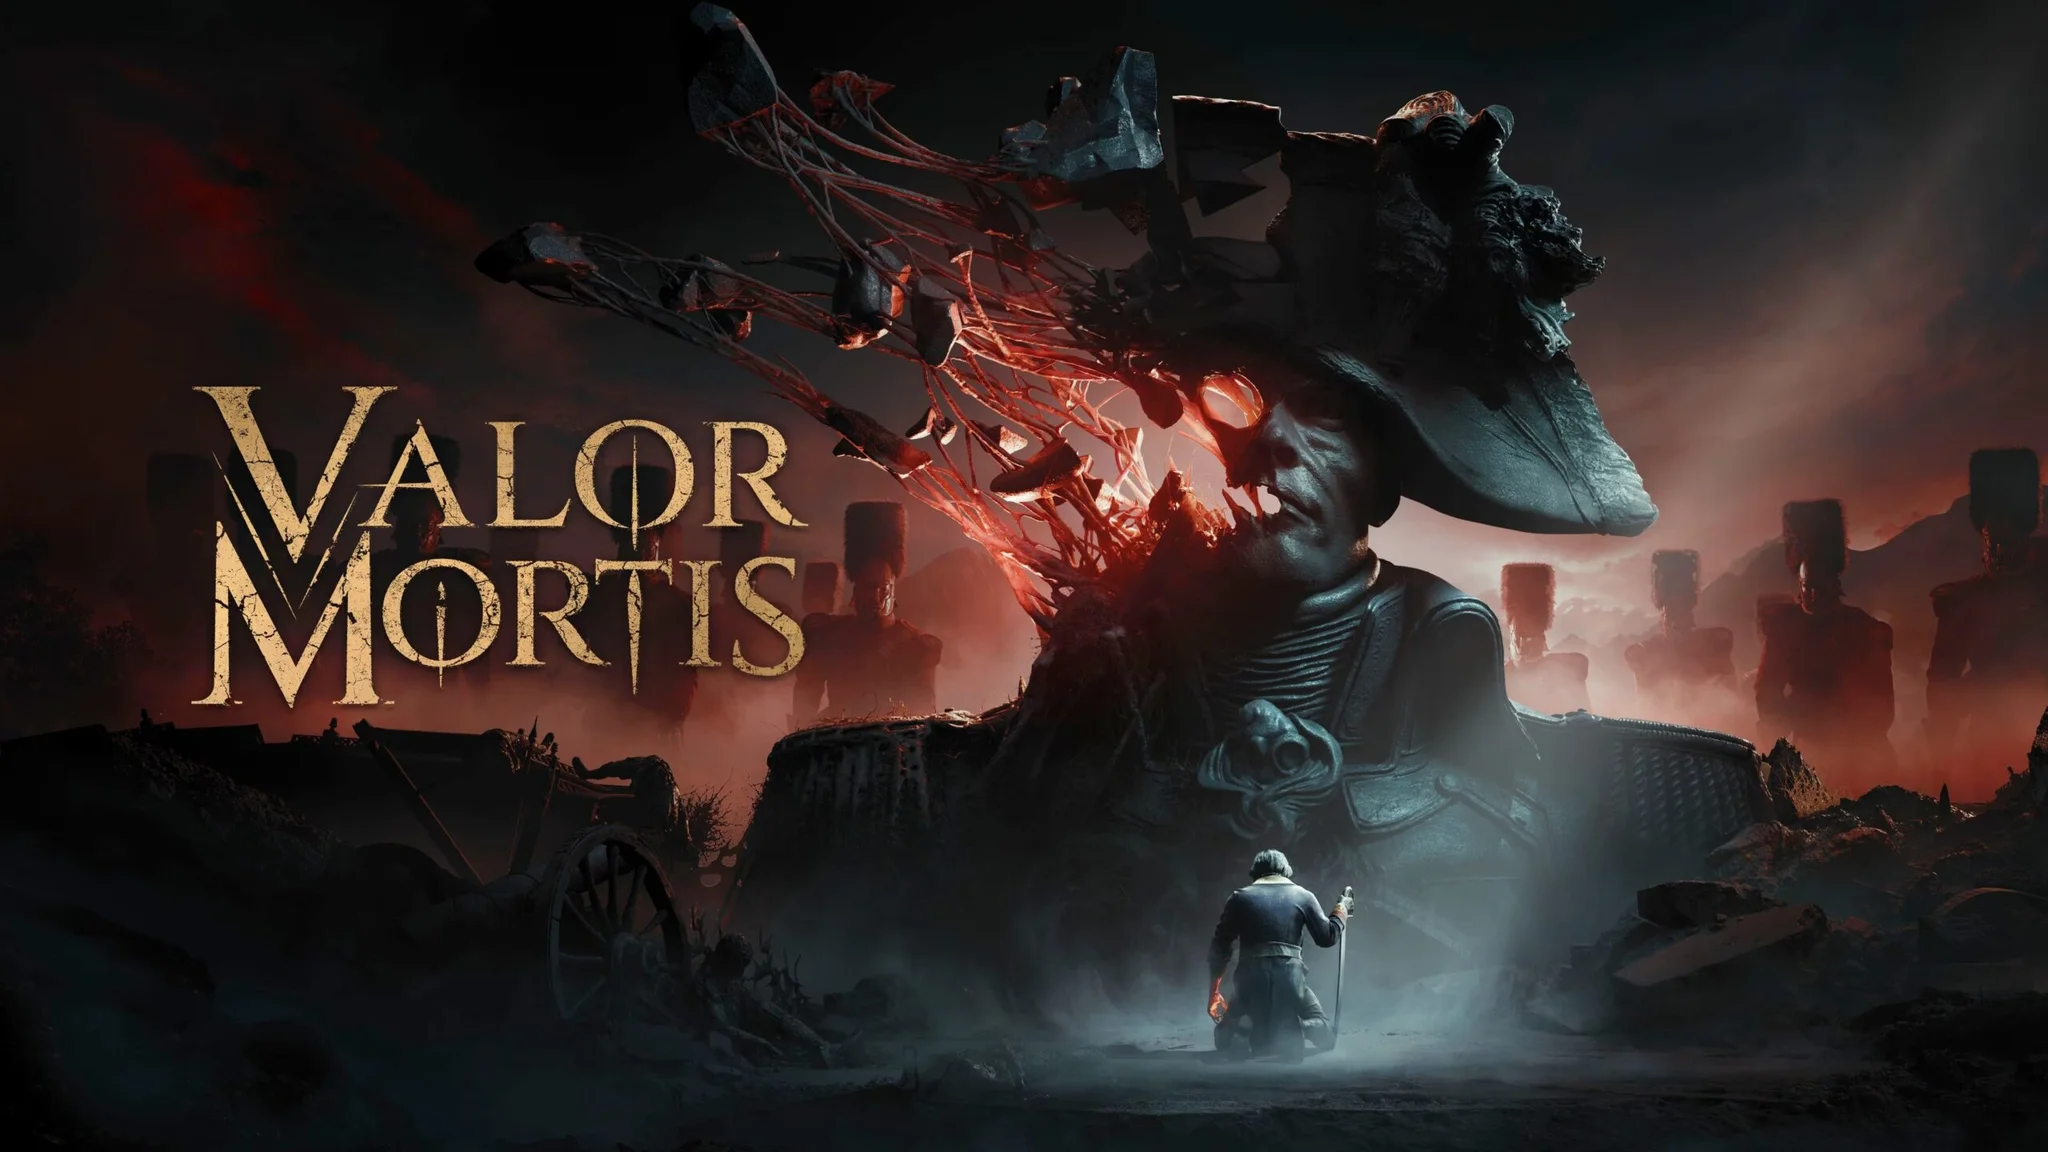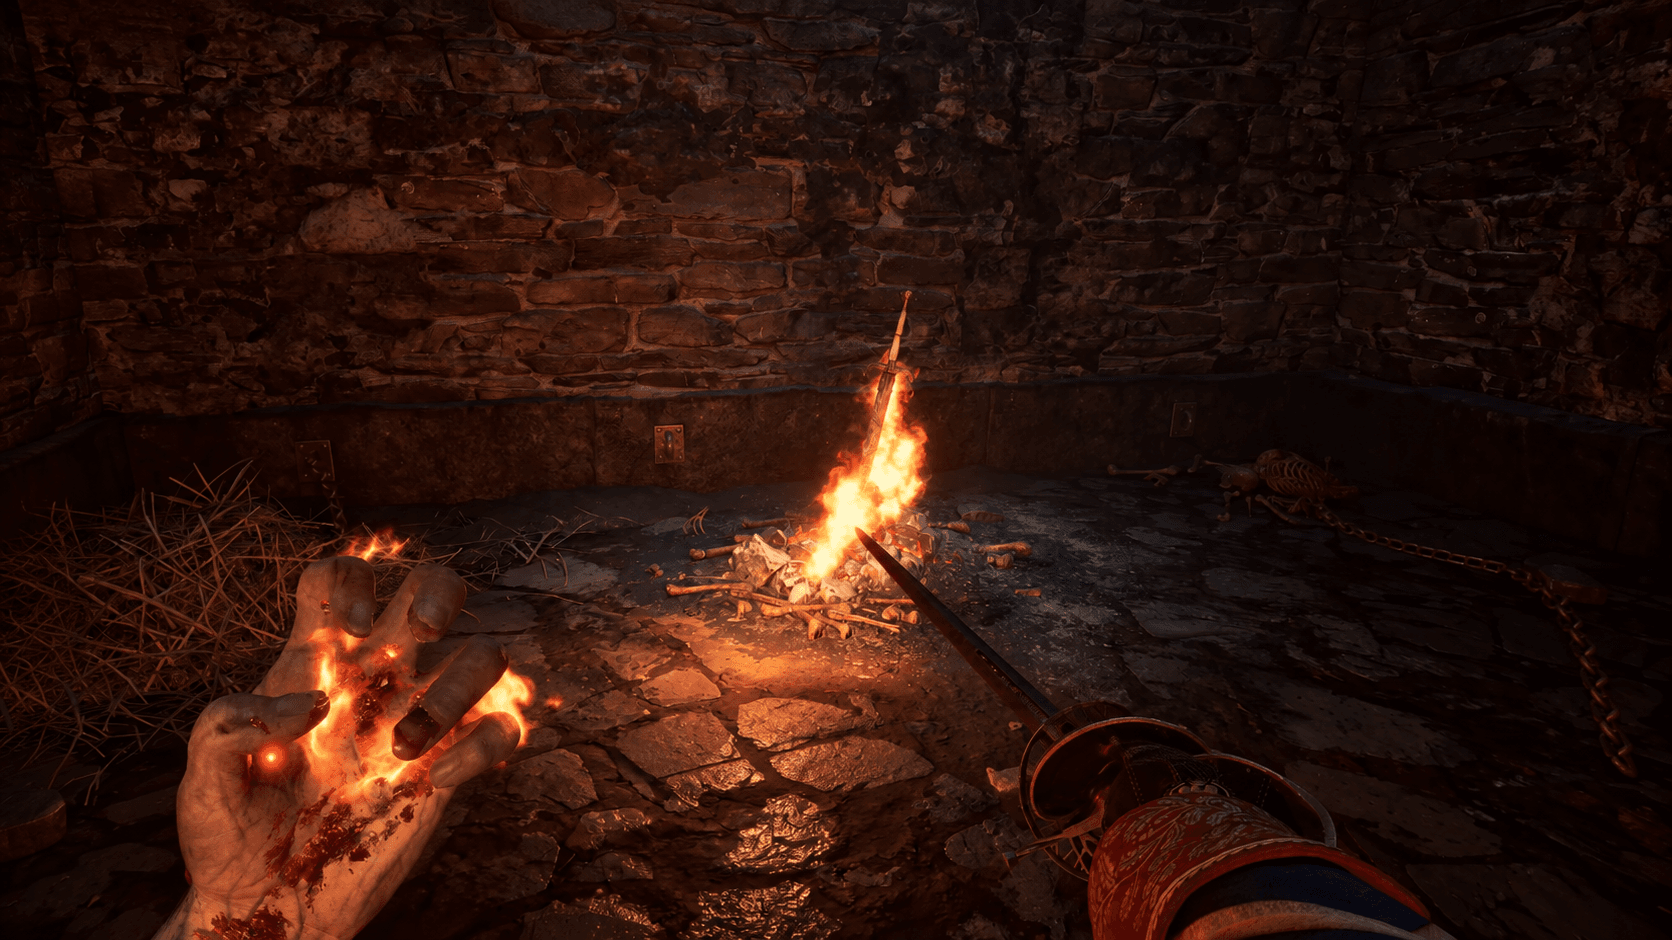

Valor Mortis gives you nine weapons and not enough rare materials to max all of them. That scarcity is the actual build decision. William carries three blades, three firearms, and three Transmutations, but Tier 4 upgrade materials are never sold and only a handful exist in the world. Get the ranking wrong and you will reach the final boss with a half-finished loadout. Here is the short answer: the Saber, the Claymore, and the Fire Transmutation are S-tier. Everything else is situational.

Saber upgrade tree, level 2
What is the best weapon in Valor Mortis?
The Saber is the best weapon in the game. It is the only blade that both blocks and parries, it has the steepest damage scaling of any melee weapon (20 damage at level 1, 60 at level 10), and its upgrade tree converts sustained combos into Endurance recovery. The Expert Swordsmanship perk at level 10 moves the Endurance refund to every third hit in an uninterrupted combo, which keeps you aggressive without burning your stamina bar.
For raw damage, the Claymore hits harder than anything else in the game, reaching 100 damage per hit at level 10 with 15 posture damage per swing. The trade-off is real: it cannot parry, so you are committed to blocking and spending banked Rampage charges on Heavy Attacks. The Fire Transmutation rounds out S-tier because fire is the only elemental weakness that meaningfully shortens boss fights. General Lothaire takes 40% extra fire damage and Experiment 83 takes 20% extra.

Full weapons tier list
| Tier | Weapon | Type | Max damage | Best for |
|---|---|---|---|---|
| S | Saber | Blade | 60 | Every fight |
| S | Claymore | Blade | 100 | Raw damage output |
| S | Fire Transmutation | Transmutation | Ignite 132 (max) | Fire-weak bosses |
| A | Pistol | Firearm | 60 | Weak points, boss burst |
| A | Musket | Firearm | 300 | Single-target boss burst |
| A | Rapier | Blade | 45 | Parry-focused builds |
| A | Shield Transmutation | Transmutation | Counter Blast | Red attack absorption |
| B | Blunderbuss | Firearm | 350 (all pellets) | Crowds, red interrupts |
| B | Stasis Transmutation | Transmutation | ×1.5 multiplier (max) | Non-resistant bosses |
Blades and firearms cap at level 10, with perks unlocking at levels 2, 5, 8, and 10. Transmutations cap at level 5 and gain a perk at every level from 2 to 5. When a perk slot offers two options, only one is active at a time, but you can swap between unlocked choices freely.
Where to find every weapon
| Weapon | Chapter | Location |
|---|---|---|
| Saber | 1 | Starting weapon |
| Fire Transmutation | 1 | Fire altar near the Onslaught Arch Lantern, The Battlefield |
| Pistol | 2 | Toppled rail carriage below the broken bridge, Valley of Ashes |
| Rapier | 3 | Altar inside the Abandoned Church hub |
| Blunderbuss | 3 | Near the Marketplace Lantern, Fallen Village |
| Stasis Transmutation | 4 | Dead officer's altar past the Old Mine Lantern, Caverns |
| Musket | 5 | Blue cushioned display case near the Poisoned Camp Lantern, Vale of Wrath |
| Claymore | 6 | Body in the Cursed Hollow church nave, end of Chapter VI |
| Shield Transmutation | 8 | Upper floor of the University |
All nine are story pickups, so nothing is permanently missable. The Claymore is the one players most often walk past because it sits in the Cursed Hollow church near Anna's arena. Open the shortcut before pushing forward or you will backtrack through a dense enemy section.

Pistol Arsenal screen, level 2
S-tier weapons in depth
Saber
The Saber's upgrade tree is built around sustain. Advanced Swordsmanship at level 2 restores Endurance on the fifth hit of an uninterrupted combo. At level 5, take Pursuit for Endurance recovery on hits that follow a dodge. At level 8, Second Wind gives you recoverable Health on every successful parry, which turns defense into offense. The level 10 perk moves the combo Endurance bonus to every third hit.
Against Anna and Captain Raphael, who both resist firearms, the Saber is your most reliable damage source. The pattern that works: dodge into a full combo, parry the boss's counterattack, and use the recovered Health to stay in range for the next exchange.
Claymore
The Claymore channels your Transmutations into heavy waves, raising Ignite damage from 60 to 132 as it levels. Its level 2 perk Rampage banks a resource for a stronger Heavy Attack. The level 10 perk Bloodlust restores Health every time you spend a Rampage charge, which is the only sustain this weapon offers in place of parrying.
At level 5, take Willpower for faster Endurance regeneration while holding block. The Claymore's strategy is simpler than the Saber's: block through a boss's attack string, then spend your banked Rampage on a Heavy Attack and let Bloodlust patch the Health you lost.
Fire Transmutation
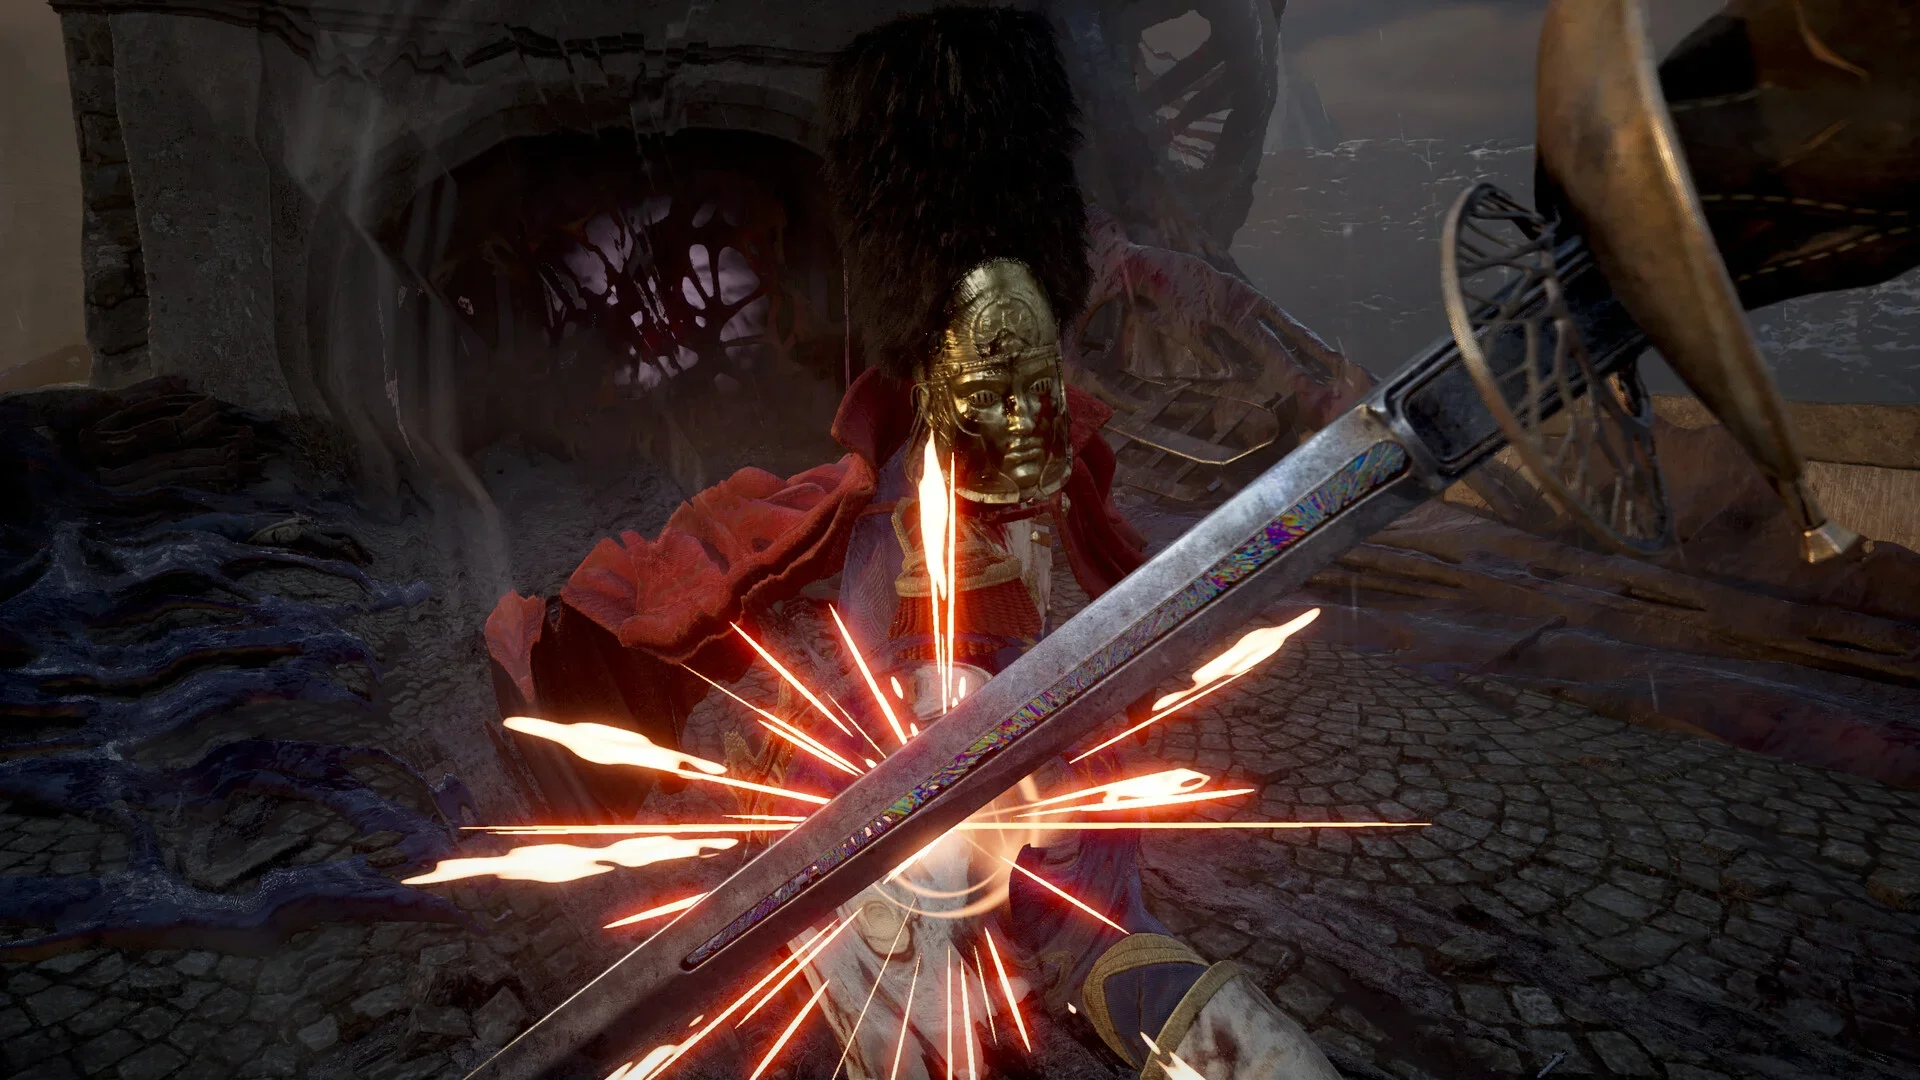
Brittleness at level 2 makes burning enemies take more melee damage, which pairs directly with the Saber or Claymore. Back-Burner at level 3 ramps damage and buildup with repeated casts. At level 5, Unstable Blaze makes a burning enemy explode when shot, which is the core of the strongest combo in the game: ignite the boss, fire the Pistol into it, then follow with a melee combo boosted by Ruthlessness.
Fire also spreads between grouped enemies, so it stays useful during exploration between boss fights.
A-tier weapons in depth
Pistol
The Pistol carries 15 rounds in a 5-round magazine and deals double damage on headshots against General Lothaire, Anna, The Orphan, and Captain Raphael. Its level 2 perk lets you hold Reload to chamber a posture-breaking round. At level 5, Ruthlessness empowers your next melee attack for every round that connected, which links your gun and blade damage into a single loop.
The one exception: High Justicar Aurelius has a masked head that takes half damage, so aim for the body against him.
Musket
The Musket deals the highest single-target firearm damage in the game, scaling from 150 to 300 per shot with 20 posture damage per hit. A level 10 Musket can end any boss in 5 to 20 body shots. The problem is the 6-round special ammo pouch shared with the Blunderbuss. Treat it as a burst finisher, not a main weapon. Spacious Barrel at level 10 raises ammo capacity, which directly addresses the Musket's biggest weakness. Save special rounds for posture-broken bosses.
Rapier
A perfect Rapier parry deals 150 posture damage, compared to 100 for the Saber. Its tree rewards consecutive parries through Remise at level 2, which stores parry bonuses for your next Heavy Attack up to ×3. At level 8, Astute Quarta refills 20 Nephtoglobin per parry, which fuels your Transmutations without touching your flasks.
The Rapier's weaknesses are real. It has the lowest max damage of the three blades at 45, and its block is poor. Every missed parry costs Health with no recovery option until you land the next one.
Shield Transmutation
The Shield Transmutation is the only thing in the game that blocks red Unblockable Attacks. Its Impenetrable Defence perk at level 4 is required for the Abyssal Eviction achievement, and the Shield must reach level 5 to unlock it. The built-in Counter Blast stores absorbed damage and releases it when you lower the Shield, so the pattern is: raise into a red attack, then lower immediately to release the stored damage while the boss is in its recovery animation.

Fire Transmutation in combat
B-tier weapons in depth
Blunderbuss
The Blunderbuss deals up to 350 damage when every pellet lands at point blank, but it holds 2 shots and reloads in 3.5 seconds. Its best feature is Showstopper at level 2, which lets shots interrupt Unblockable Attacks. That makes it genuinely useful in specific fights rather than a generic damage option. Keep it for crowded rooms and red-attack interrupts, and swap to the Pistol for Weak Points.
Stasis Transmutation
Stasis freezes enemies and machinery, and frozen targets take up to 1.5× damage at rank 5. The problem is resistance: General Lothaire, Experiment 83, and The Iron Marshall all resist it, which covers three of the most demanding fights in the game. Stasis performs best against the Sphinx, The Orphan, and Entity. Hex at level 4 stops Stasis from decaying, which is the perk that makes it actually useful against bosses.
How to upgrade weapons: costs and limits
All upgrades happen at the Abandoned Church hub. James's Iron Bench handles blades and firearms; Louis's Laboratoire handles Transmutations. Neither bench is available until you win the rematch against General Lothaire.
| Material tier | Blades / Firearms | Transmutations | Catalyst cost per piece |
|---|---|---|---|
| Tier 1 (Crude / Standard) | 6 pieces | 2 pieces | 1,500 / 2,000 |
| Tier 2 (Pure / Superior) | 6 pieces | 2 pieces | 3,000 / 4,000 |
| Tier 3 (Distilled / Exquisite) | 3 pieces | 2 pieces | 6,000 / 8,000 |
| Tier 4 (Quintessential / Masterwork) | 1 piece | 1 piece | Not sold |
Tiers 1 to 3 can be purchased with Catalysts. Buying all three tiers for a single blade costs 45,000 Catalysts; a single Transmutation costs around 28,000. Tier 4 materials are world finds only, and the supply is fixed:
- Quintessential Blade Material: 3 copies, enough to max every blade.
- Masterwork Firearm Parts: Plan for one max-level firearm.
- Quintessential Transmutation Material: 2 copies, so one Transmutation stays at level 4.
Every blade and firearm can still reach level 9 without Tier 4 material, and a level 9 weapon keeps all perks except the final one. The first max-level weapon in each category unlocks the Bladesmith, Gun of Glory, and Transmutation Artifex achievements.
What is the best upgrade order?
Upgrade materials do not drop from enemies, and Tier 4 is never restocked. Planning the order before the late regions prevents you from spending rare materials on a weapon you never finish.
- Push the Saber to level 4 as soon as James's Iron Bench opens. It is your main weapon for the next several bosses.
- Take Fire to level 2 once Louis's Laboratoire opens after Chapter III. Unlock Brittleness so burning enemies take extra Saber damage immediately.
- Raise the Pistol to level 5 for Ruthlessness. This links your gun and blade damage and speeds up every boss fight from the Vale of Wrath onward.
- Finish the Saber first. The Quintessential Blade Material from the Lighthouse chest in The Outskirts, near the Experiment 83 arena, goes here.
- Max one firearm. Spend the Masterwork Firearm Parts from the University lecture hall chest on the Pistol for all-round play, or on the Musket for boss burst.
- Split the Transmutation Tier 4 materials. Put the Monster Hunt reward into Fire and the Fortress Traverse chest material into the Shield to satisfy the Abyssal Eviction achievement requirement.
- Finish the remaining blades. The last two Quintessential Blade Materials are in the Fortress, available after Captain Raphael's region opens.
Ambers that pair best with each weapon
Ambers slot at any Lantern and change how your weapons perform without touching upgrade materials. A few pairings are worth knowing before you commit to a weapon:
- Saber:Warrior's Fury (+30% damage for 8 seconds after each kill at rank III) and Perfectionism (+20% melee damage at full Health) reward the Saber's parry-into-combo loop.
- Claymore:Glass Soldier (+30% melee damage at rank III, but you take more damage) is the natural pair since you are not relying on parries to stay healthy.
- Fire Transmutation:Lunatic's Grasp (+50% Ignite buildup at rank III) makes Ignite land faster, though it removes your own Ignite resistance.
- Rapier:Duellist's Focus (wider melee parry window) is the safety net this build needs. Pair it with Dominatus so posture breaks heal you.
- Firearms:Lucky Shot (20% chance a shot uses no ammo at rank III) and Volatile End (50-damage explosion on Weak Point hits) stretch your limited ammo pool further.
For a deeper look at Amber rankings and ready-made builds, check the Valor Mortis beginner's guide covering stamina, Transmutations, and Amber fundamentals.
Common mistakes with weapons
The mistake most players make is spreading upgrade materials evenly across all nine weapons. You will cap out Tier 3 materials on weapons you rarely use and arrive at the final chapters without a single max-level tool. Pick two or three weapons early and commit.
A second mistake is treating the Musket as a primary weapon. Its 6-round special ammo pouch runs dry fast, and it shares that pool with the Blunderbuss. Use it as a fight-opener or posture finisher, not a sustained damage source.
The third mistake is ignoring the Rapier entirely because its max damage looks low. A perfect Rapier parry plus the Remise combo can break boss posture faster than any other melee option in the game. If you are struggling with a boss that has long attack strings, the Rapier plus Astute Quarta turns every parry into free Nephtoglobin for Fire casts.
For a full breakdown of parry timing and posture mechanics, the parry and perfect dodge guide covers the exact windows and how to chain parries into posture breaks.
Frequently asked questions
Can you dual-wield blades in Valor Mortis? No. The left hand carries a firearm or a Transmutation alongside a one-handed blade. Two-blade dual wielding is not part of the system.
Does the Claymore work with Transmutations? Yes, and it is one of the Claymore's best features. It channels Transmutations into heavy waves, raising Ignite damage from 60 to 132 at level 10.
Which firearm should you max with the single Masterwork Firearm Part? The Pistol for all-round play. The Musket if you want maximum boss burst and are comfortable managing its 6-round ammo pool.
Where is the best place to farm Catalysts for weapon upgrades? Buying Tier 1 to 3 materials costs 45,000 Catalysts per blade. Check the all boss locations guide for efficient routes through high-density enemy areas that keep your Catalyst count healthy.
For the full collection of Valor Mortis strategy content, the Valor Mortis guides hub has every boss, trophy, and mechanic breakdown in one place.