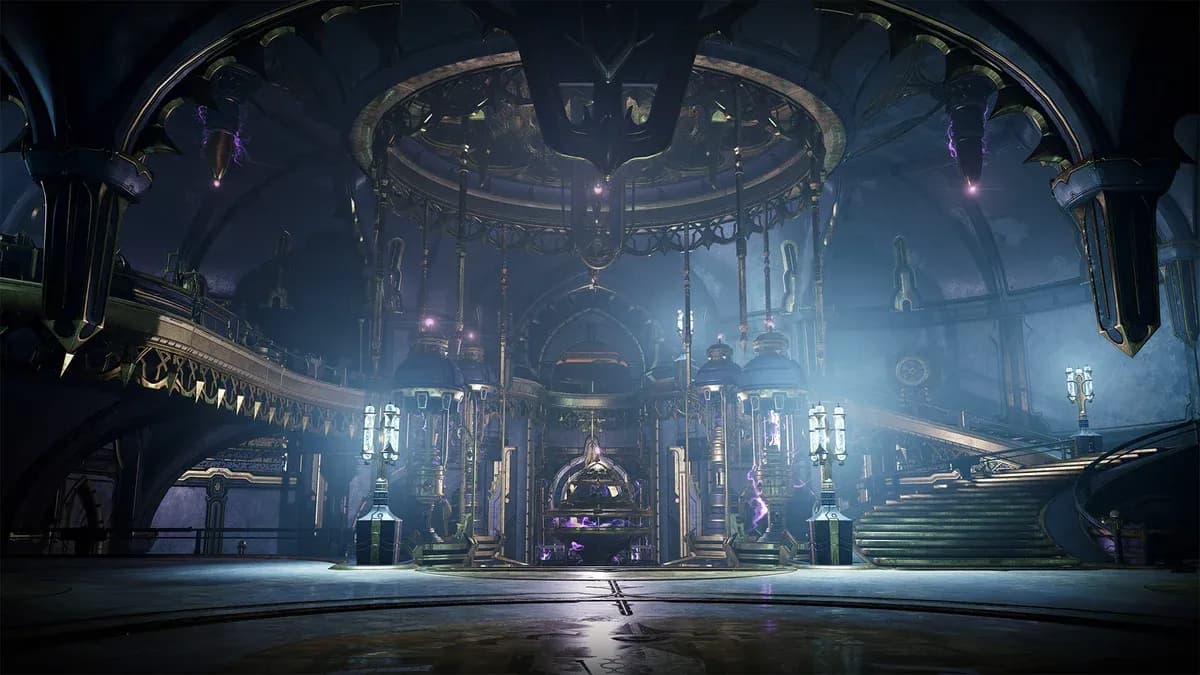

The hidden rooms most players never find in Albrecht's Laboratories
Warframe players who run Albrecht's Laboratories missions on Deimos are leaving serious loot on the table. Tucked behind yellow-locked doors, ventilation shafts, Reactive Crystals, and moving rock formations are hidden rooms packed with Voca medallions, Stela resources, rare Entrati Coffers, and Lohk Surges. The tileset has been hiding these since Update 35, with even more added in Update 35.5. This guide covers every known secret room type, how to open each one, and what you actually get for the effort.
What are the secret rooms in Albrecht's Laboratories?
Albrecht's Laboratories is the Murmur-controlled tileset on Deimos, unlocked after completing the Whispers in the Walls quest. The tileset runs six mission nodes (Nex, Persto, Cambire, Munio, Armatus, and Effervo) at enemy levels 55-60. Scattered across these tiles are rooms sealed by yellow locked doors. You cannot open them from the outside by normal means. Instead, each sealed room has a hidden entry point somewhere nearby, and once you're inside, a console lets you unlock the door from within.
Not every hidden room uses a vent. Some use Reactive Crystals that your Operator can activate, others use moving environmental geometry, and a few require multi-step console puzzles. The reward inside is almost always a cluster of Voca (Cavia syndicate medallions worth 500, 1,000, or 2,000 standing each), plus a chance at Murmur Sarcophages that drop 1-3 Stela. Rarer rooms can contain Lohk Surges and Somachord Tones.
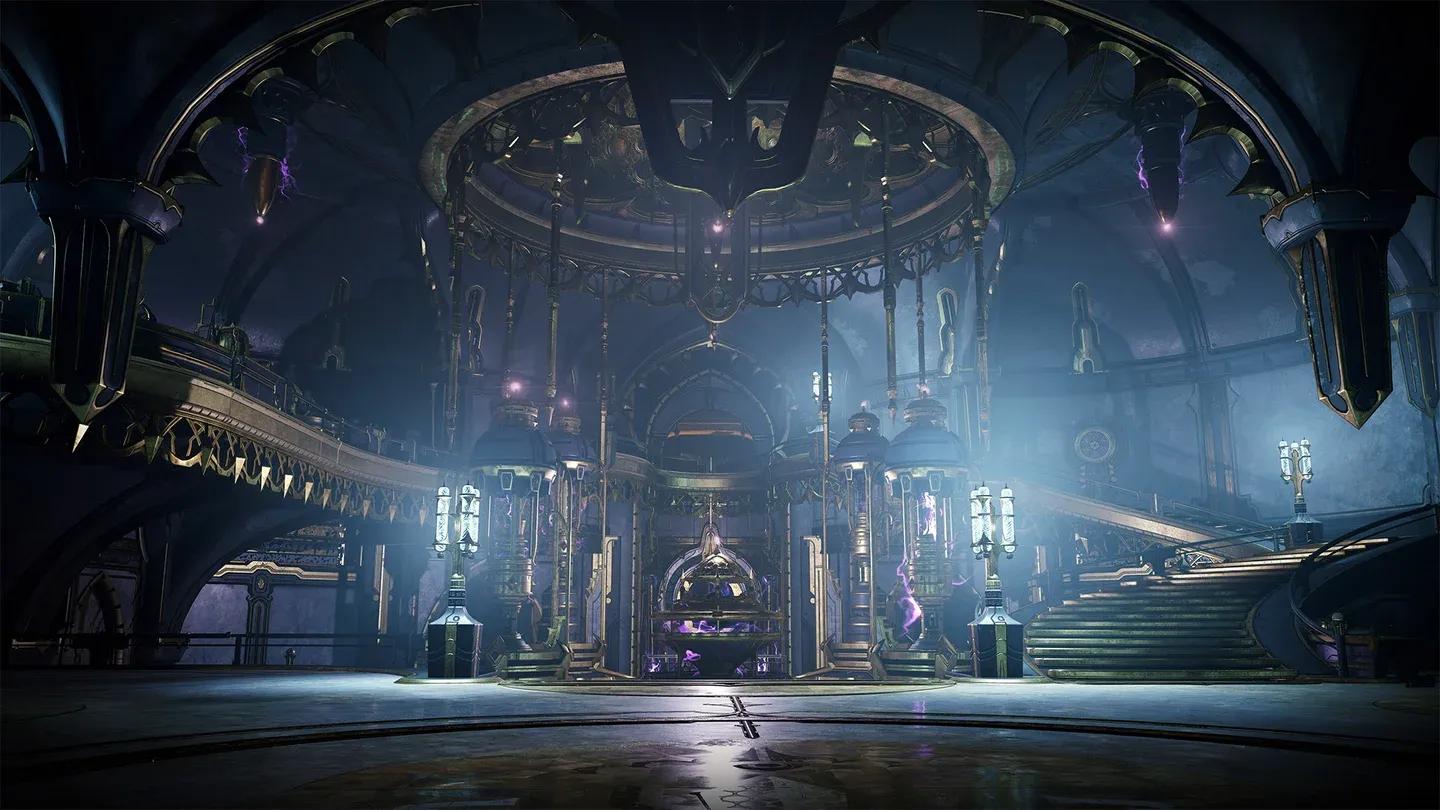
Locked doors hide the best loot
How do you enter each type of hidden room?
Ventilation shaft rooms (original launch rooms)
The most common entry method. Somewhere on the same tile as the locked door, there is a destructible grate covering a vent. Shoot or melee it, crawl through, and you drop into the sealed room. The vent locations are specific to each tile type:
- Mission exit tile: The extraction point has a locked door to its upper-left. Look at the ceiling near the back wall decoration for a breakable grate. The vent runs behind the wall and drops you inside.
- Double grass room (glass window tile): The central platform has four diagonal support pillars connecting to the ceiling. One pillar has no pipe attached. That gap leads to a ceiling vent. Break the grate and drop down. This room also contains a Somachord Tone.
- Brain room: A room with a large brain prop in the center. The vent entrance sits in the upper-left ceiling when facing the brain directly.
- Lying giant room: A room with a horizontal armless giant figure above a bridge. Four patterned spheres sit on the bridge. One sphere is unlit. Shoot it to activate it, which opens the gate below.
- Center tree room: This tile has two separate hidden rooms, one above and one below. The ceiling rooms have two vent entries: one near the central tree and one behind the outer machinery ring. The underground room is accessed through floor-level vents visible from two pit openings near the tree base. The underground room contains a Somachord Tone.
Reactive Crystal rooms (Update 35.5 additions)
These rooms require your Operator to fire at a Reactive Crystal to trigger the entry mechanism. Your Warframe's weapons do not work on these.
- Staircase grid room: In the circular room at the top of a staircase (usually containing a Lohk Surge), check the right-side wall for a vent. Alternatively, look for a Reactive Crystal on the wall behind the locked grid. Operator fire, AoE Amp attacks, or Xaku's fourth ability can trigger it from outside the bars.
- Glass sphere room: A small dead-end room with four half-glass spheres set into a floor disc. The Reactive Crystal is directly above the disc on the ceiling. Operator fire activates it, the floor descends after a few seconds, and a breakable grate in the lower room leads back up into the locked area. A Somachord Tone is just past the grate.
- Reaching giant room: Same layout as the Simulacrum room. A Reactive Crystal sits on a platform to the right of the entrance. Activate it with your Operator and the ceiling above the giant's outstretched hand opens.
Multi-step puzzle rooms
Requiem panel room (Update 35.5): A wide room with a central console. Activating it reveals four floating Requiem symbols. Eight Requiem symbols are mounted on the walls and pillars around the room. Shoot the four that match the ones floating from the console. When all four are activated, the panels go dark and a staircase descends into a basement. A Somachord Tone waits at the bottom.
Pendulum room (Update 35.5): A room dominated by a giant swinging pendulum. The sequence:
- Interact with PC console #1 on the left side of the room.
- Find the two Reactive Crystals at the base of the cylindrical devices on each side. Activate both with your Operator.
- Hack PC console #2 in the center of the room.
- Wait approximately 10 seconds. The door unlocks.
This room rewards three Lohk Surges and a Somachord Tone, making it one of the highest-value hidden rooms in the tileset.
Environmental geometry rooms
Outdoor rock path: On an outdoor tile with a barren rocky corridor, your item radar shows pickups behind a solid rock wall. Part of the rock formation moves periodically, opening and closing a gap at its base. Watch the large angled rock section and walk through when it rises.
Outdoor rock hall (Update 35.5): A wide outdoor area with multiple elevation changes and sand vortexes. Near the center, two locations have sand cascading like waterfalls down rock faces. Walk through the sand curtain to find a passage behind it. A periodically opening rock door sits at the end of the corridor. This room also has a Somachord Tone.

Red-lit dispensers are passable
Necramech Dispenser passages
This one trips up almost everyone. Some Necramech Dispensers mounted on walls can be walked through. The ones with red interior lighting are the passable ones. Inside the dispenser shaft, an elevator platform is stopped partway. Look for a white-lit bracket on the wall beside it and hit it with a slam attack (the most reliable method) to send the elevator down. This drops you into a hidden area. This mechanic appears in the electric device room and in some dead-end small rooms.
What loot do the hidden rooms actually contain?
Voca comes in three tiers: Shrill (500 Cavia standing), Bellow (1,000 standing), and Echo (2,000 standing). Up to 8 Voca spawn per mission across the entire tileset, and hidden rooms are one of the most consistent places to find the higher-tier variants.
Murmur Sarcophages (the stone coffin containers with finger decorations) drop 1-3 Stela each. Unlike normal containers, they have significantly more health and take a moment to destroy. They appear on cliff faces, in alcoves, and inside hidden rooms. Their spawn positions are fixed, not random.
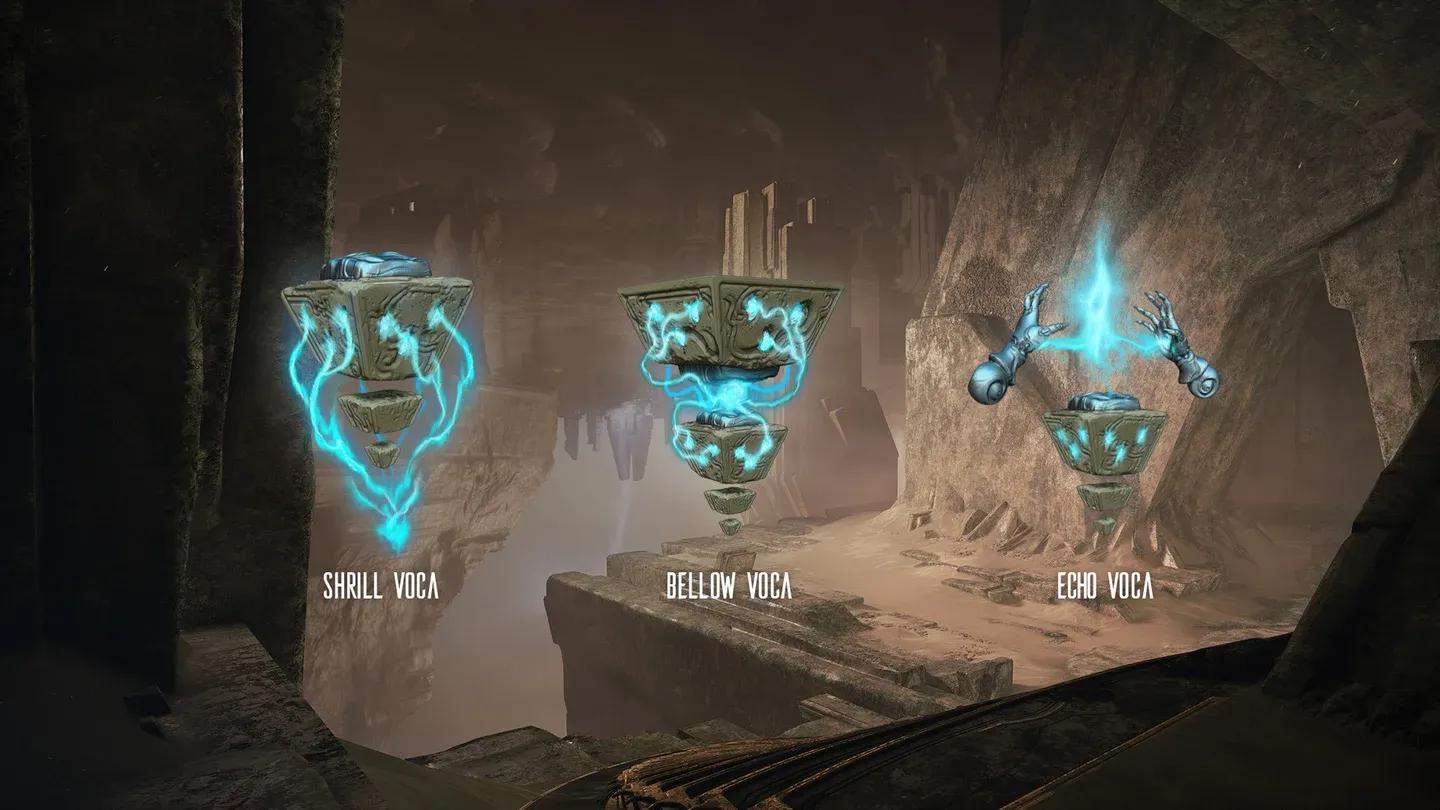
Voca medallions boost Cavia standing
How do you find hidden rooms faster?
The single most useful tool is your minimap item radar. Any item inside a hidden room still registers on radar if you are close enough. When you see floating item markers with no visible room attached, start scanning the walls and ceiling for vents, Reactive Crystals, or moving geometry.
The second trick is paying attention to the room's architecture. Locked yellow doors have a consistent visual style. If you see one and cannot find an obvious way in, look up at the ceiling first. Vent entries are almost always positioned above head height, often behind decorative elements that blend into the wall.
For Reactive Crystal rooms specifically, swapping to Operator mode and firing a quick void blast at suspicious wall fixtures costs nothing and takes two seconds. Xaku's Grasp of Lohk (fourth ability) can trigger crystals through walls at range, which speeds up the process considerably.
After testing runs across all six mission nodes, the pendulum room and the center tree room consistently offer the best return per time invested. The pendulum room's three Lohk Surges alone can dramatically change the feel of a long survival or defense run.
What about the Whisper boss and the grimoire?
Separate from the hidden rooms, the tileset also contains grimoires that spawn a mini-boss when interacted with. The grimoire does not appear on radar, but NPC Tagfer will contact you when you get close. Activating it spawns either a Mocking Whisper or a Scathing Whisper (random each time), both with 25,000 max health.
The Whisper has two health bars, but only the first needs to be depleted through combat. After that, Tagfer tells you to destroy the grimoire instead. The grimoire has a damage cap per hit, so high fire-rate weapons work better than single heavy hits. The Klamora Prism Operator Amp clears it almost instantly.
- Mocking Whisper uses Exalted Blade, Radial Blind, Axios Javelin, Rhino Charge, and a wall-and-boulder combo.
- Scathing Whisper uses a Grimoire weapon firing electric orbs, Nidus-style tentacles, Volt's Electric Shield, and Nova's Wormhole.
- Both are weak to Electricity and Radiation, and resistant to Viral.
- Defeating a Scathing Whisper drops an Albrecht's Records Fragment.
- Both drop Melee Arcanes from a 50% chance table, including Melee Fortification (25%), Melee Retaliation (25%), and four others at 12.5% each.
For more content to farm while running Albrecht's Labs nodes, check the Warframe guide collection for relic farming routes and event strategies that pair well with these missions.
The gimmick rooms worth knowing about
Two rooms in the tileset are not hidden rooms but contain interactive elements worth using:
Lightning machine room: A large room with a circular pedestal and a giant upper-body statue above it. A console on the outer balcony fires lightning into the pedestal. Place your Warframe on the pedestal, switch to Operator, then activate the console (or use Void Sling to jump onto the pedestal immediately after hitting the console). This summons a container ranging from a common Urumith Entrati Coffer up to the ultra-rare Thalmin Entrati Coffer, with a Ghost Kuaka as one of the mid-tier results. You get 3 attempts per mission.
Mirror room: A console in front of a large mirrored surface summons roughly six Murmur Eximus enemies. No special reward beyond the enemies themselves, but worth knowing so you do not accidentally trigger a tough fight mid-mission.
For players grinding Prime components alongside their Labs runs, the guides on Voruna Prime relic farming and Citrine Prime relic locations cover the fastest mission nodes to combine with Deimos rotations. If you want to stay current with the latest Warframe content alongside these farming routes, the Warframe Old Peace complete guide has everything on the newest modes and endgame systems.