Search games, articles, guides...CtrlK
Sign InGet Started

Master the Aion 2 Cleric with the best PvE build, skill priorities, Stigma setup, rotation, and gear stats to keep your party alive.

Written by Abdalla
Content Writer
See more GAMES.GG guides on Google
Add us as a preferred source and our guides show up first in your results.
Aion 2 Combat Analysis Guide: How to Read and Use the DPS Meter
Learn how to open Aion 2's built-in Combat Analysis, read every stat, compare builds on Training Scarecrows, and set up macros.

Aion 2 Draupnir Expedition Guide: All Bosses and Rewards
Beat every boss in Aion 2's Draupnir dungeon, survive Bakarma's wave phases, and maximize your Anguish and Bakarma gear drops.

Aion 2 Krao Cave Expedition Guide: Clear Every Boss Fast
Master Krao Cave in Aion 2 with boss mechanics, stagger timing, and reward tips for both Exploration and Conquest modes.
The Aion 2 Cleric is the game's sole dedicated healer, and every serious group content run wants one. It wields a Mace and Guard, covers every healing scenario from burst recovery to healing-over-time, cleanses debuffs, applies party-wide protection, and still contributes real damage between healing windows. The class has relatively low gear pressure compared to pure damage dealers, makes an excellent beginner pick, and stays relevant from the first dungeon through endgame raids.

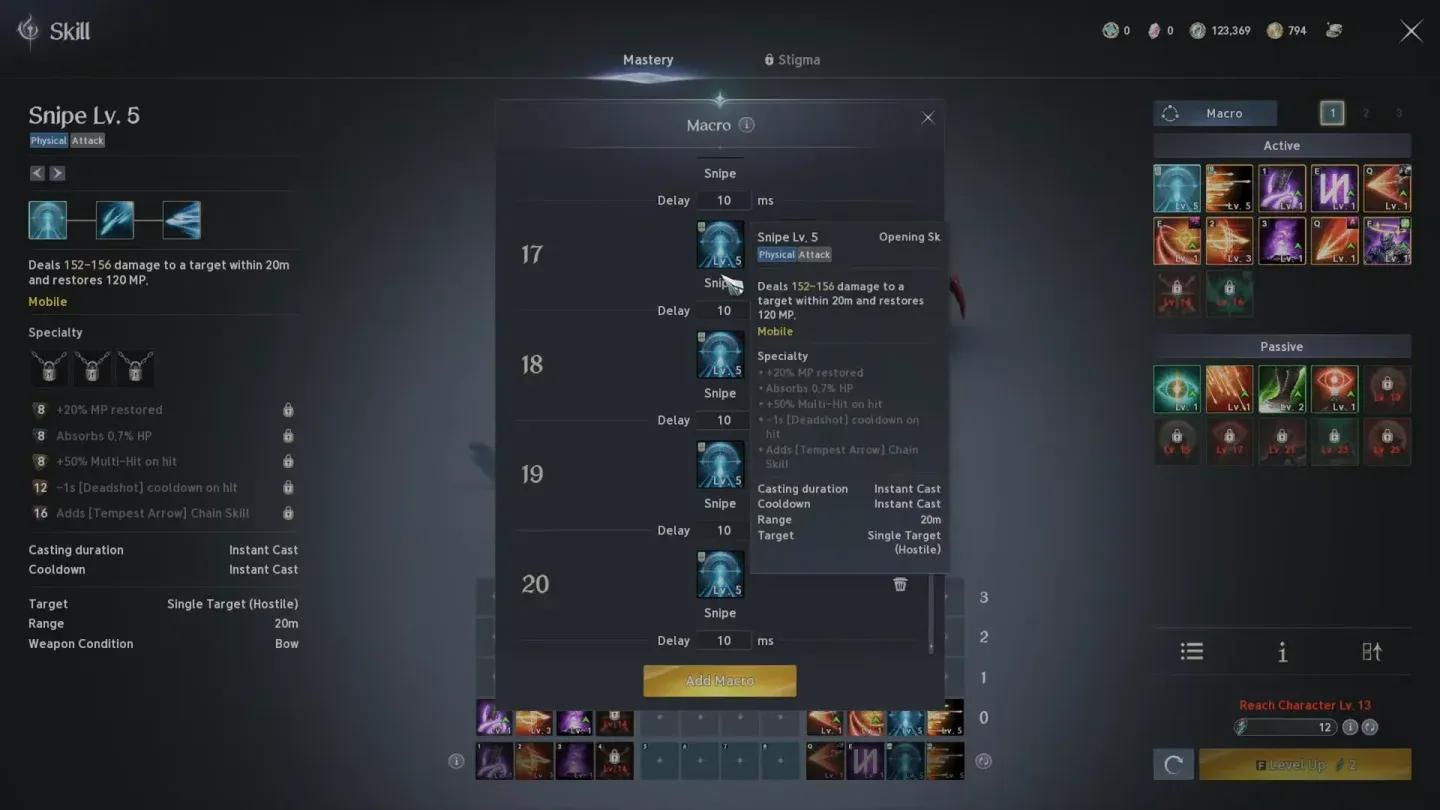
Cleric skill bar setup
The short answer: no other class can resurrect fallen party members. Summon Resurrection is a Stigma skill exclusive to Cleric, and that alone keeps the class in demand for every dungeon and raid. Stack on top of that the strongest group healing in the game, party-wide invincibility through Salvation, a shield based on 20% of maximum HP via Yustiel's Power, and a debuff cleanse baked into Radiant Recovery, and you have a class that genuinely cannot be replaced.
The tradeoff is slower solo clear speed than damage classes and the constant threat of being focused in PvP. Positioning and cooldown discipline matter more on Cleric than on almost any other class.
If you haven't settled on a class yet, check the Aion 2 class tier list to see how Cleric stacks up against every other option before committing.
| Category | Detail |
|---|---|
| Role | Primary healer and support |
| Weapon | Mace and Guard |
| Damage type | Earth and Wind |
| Unique utility | Only class with party resurrection |
| PvE rating | S-tier for group content |
| Solo speed | Slower than DPS classes |
| PvP vulnerability | High-priority target for enemies |
| Gear pressure | Lower than pure DPS classes |
| Beginner friendliness | Strong — clear role, good survivability |
The mistake most players make is treating all healing skills as interchangeable. They aren't. Each one solves a specific problem, and using the wrong one at the wrong moment wastes cooldowns you'll need thirty seconds later.
Healing Light restores HP to the caster and the party member with the lowest HP within 25 meters. It's not a targeted heal in the traditional sense — it automatically finds the most critical ally nearby. This means positioning matters: if your tank is 30 meters away and dying, Healing Light won't reach them.
Radiant Recovery heals the caster and all nearby party members while removing one debuff each. Its combined healing and cleanse function is what makes it valuable in mechanic-heavy encounters. Don't burn it just because someone took a hit — save it for when a removable debuff is active.
Light of Regeneration applies a healing-over-time effect to the caster and nearby party members for 30 seconds. Pre-cast it before sustained incoming damage, not as a reaction to someone already at 20% HP.
Healing Enhancement is the passive that ties everything together. It scales heal output with your Attack stat, which means offensive gear directly improves your healing. This is why Attack appears in the stat priority for a dedicated healer build.
Pre-cast Light of Regeneration so the healing-over-time field is already active when combat begins. This gives the party a buffer for the initial burst of incoming damage without burning a cooldown reactively.
Apply Debilitating Mark and Chain of Torment immediately. Both reduce enemy damage output and deal damage-over-time, and both need to stay active throughout the fight. Reapply them the moment they expire.
Chain of Torment must be active before you cast Condemnation. Condemnation requires its target to be afflicted with Chain of Torment — skipping this step wastes the cast entirely.
When the party is healthy and no mechanic is incoming:
Condemnation accounts for roughly 40% of Cleric's damage share in an optimized setup. Earth's Retribution contributes around 15%. Don't ignore the filler — it's what keeps your MP topped up through long fights.
| Skill | Target level | Priority notes |
|---|---|---|
| Radiant Recovery | 20 | AoE burst heal and cleanse — highest priority |
| Condemnation | 20 | 40%+ damage share; requires Chain of Torment active |
| Bolt | 20 | Charged AoE damage with stagger contribution |
| Earth's Retribution | 20 | Filler that restores 110 MP per cast |
| Light of Regeneration | 16 | AoE healing-over-time; pre-cast before pulls |
| Healing Light | 16 | Heals caster and lowest-HP party member |
| Divine Aura | 16 | Stationary turret dealing steady Earth damage |
| Chain of Torment | 12 | Required before Condemnation; reduces damage tolerance |
| Debilitating Mark | 12 | Reduces enemy PvE Damage Boost by 5%; apply and maintain |
| Judgment Thunder | 16 | AoE Wind damage; good for trash clearing |
| Defiance | 12 | Removes stun, knockdown, airborne, and fear; grants 5s immunity |
| Lightning Strike Scattershot | — | Skip investment entirely for this build |
Level 20 upgrade order: Radiant Recovery = Condemnation = Bolt = Earth's Retribution > Light of Regeneration > Healing Light
| Passive | Investment | Why it matters |
|---|---|---|
| Immortal Veil | Max | Defense and Critical Hit Resist — highest priority |
| Empyrean Lord's Grace | Max | Critical Hit, Double Chance, and extra attack damage |
| Earth's Grace | Max | Critical Damage Boost and 100 Accuracy |
| Healing Enhancement | Level 10 | Scales heal output with Attack stat |
| Warm Benediction | Level 10 | Max HP and MP foundation |
| Survival Willpower | Level 10 | Status effect resistance |
| Empyrean Lord's Benediction | Skip | Not worth the investment for this setup |
| Heal Block | Skip | PvP-specific; irrelevant in PvE |
| Prayer of Concentration | Skip | Situational; not needed in a solid healing setup |
Passive priority: Immortal Veil > Empyrean Lord's Grace = Earth's Grace
Stigma skills unlock at level 22 after Ascension and can be freely respecced, so adjust the setup based on content and party composition.
| Stigma | Level | Notes |
|---|---|---|
| Noble Aura | 20 (up to 25 for extra DPS) | Persistent aura that attacks alongside you |
| Prayer of Amplification | 20 (up to 25) | Increases Attack by 20% for the duration |
| Earth Punishment | 20 | Earth DoT with 20 stagger gauge damage |
| Voice of Doom | 20 | Reduces enemy Incoming Heal and HP Potion Recovery by 60% |
| Stigma | Level | Notes |
|---|---|---|
| Salvation | 25 | 3-second party invincibility |
| Yustiel's Power | 25 | Party shield equal to 20% max HP |
| Absolution | 20 | Removes up to 2 debuffs and heals the group |
| Benevolence | 20 | AoE HoT for 20 seconds |
| Light of Protection | 20 | Party damage and damage tolerance buff; skip if Chanter is in group |
| Summon Resurrection | 20 | The only party resurrection in the game |
Support priority order: Light of Protection = Absolution = Salvation = Yustiel's Power > Benevolence = Summon Resurrection
Avoid investing in Power of Explosion, Binding, and Assault Stigma for either setup.
Because Healing Enhancement scales heal output with Attack, offensive gear directly improves your healing. This changes how you evaluate gear compared to a traditional healer in other MMOs.
| Slot | Stat priority |
|---|---|
| Helm | Incoming Heal, Double Chance, Attack Increase, Constitution, Attack |
| Pauldrons | Critical Damage Boost, Defense Increase, Constitution, Attack |
| Breastplate | Damage Boost, Defense Increase, Constitution, Attack |
| Greaves | Damage Tolerance, Perfect Chance, Attack Increase, Attack, Constitution |
| Gloves | Combat Speed, Perfect Chance, Defense Increase, Constitution, Attack |
| Boots | Move Speed, Perfect Chance, Defense Increase, Attack, Constitution |
| Cloak | Double Chance, Perfect Chance, Attack Increase, Constitution, Attack |
| Necklace and Earrings | Attack, Critical Hit, Accuracy |
| Rings | Skill-based stats |
| Bracelet | Freedom, Illusion, Time, Destruction, Wisdom, Death |
| Brooch | Might, Constitution, Precision, Accuracy, Critical Hit |
Four boards are relevant for Cleric: Nezekan (unlocks at level 12), Zikel (level 20), Vaizel (level 30), and Triniel (level 40). Prioritize the orange nodes in each path. Daevanion Points come primarily from clearing Sealed Dungeons on the map — these are repeatable and should be a consistent part of your weekly loop.
T0 (must-have):
T1 (useful secondary options):
Skip entirely: Destiny (MP) — not worth the investment for this build.
Only two Arcana sets are recommended: Protected Soul and Punishing Overture. Craft the Scales and Chalice cards first — both use Splendent Noble Crystal, and Scales costs twice the material. Crafting other cards first and then switching wastes resources since 4 Noble Crystals equal 1 Splendent Noble Crystal.
Wings: Void Talisra Wings are the recommendation because they provide the Cooldown attribute. For a full breakdown of every wing option and how to acquire them, the Aion 2 wings list guide covers rarity, stats, and unlock methods.
Titles:
Burning every cooldown after the first hit. The most dangerous boss mechanics are rarely the first one. If you spend Salvation and Yustiel's Power reacting to minor damage, you'll have nothing left when the actual wipe mechanic lands.
Ignoring Healing Enhancement. This passive changes the entire gear evaluation for Cleric. Attack improves your healing — skipping it means your heals will underperform regardless of how much Heal Boost you stack.
Casting Condemnation without Chain of Torment active. The skill description says it requires a target afflicted with Chain of Torment. Casting it without that condition active wastes the skill entirely.
Treating Light of Regeneration as an emergency heal. It's a healing-over-time effect. Casting it when a party member is at 10% HP does almost nothing. Pre-cast it before damage windows, then use Healing Light or Radiant Recovery for immediate emergencies.
Automating emergency skills. Healing Light, Radiant Recovery, Absolution, Salvation, and Summon Resurrection all require situational judgment. Their value depends entirely on timing — a macro can't decide whether a resurrection attempt is safe.
Can Cleric and Chanter play in the same party? Yes, and it's a strong combination. Cleric handles dedicated healing and resurrection while Chanter provides hybrid support. Just check whether Light of Protection and Undefeated Mantra overlap before slotting both — the higher level takes priority, and ties go to Undefeated Mantra.
Does Cleric need a premium pet to heal effectively? No. Healing performance comes from skills, passives, gear, and Daevanion progression. Pets add bonuses, but no specific companion is required for the core rotation to function.
Should Cleric carry MP consumables? Yes. Earth's Retribution restores 110 MP per cast and handles most resource management, but long boss fights with heavy healing demands can still drain your bar. Consumables are a safety net, not a replacement for rotation discipline.
Which faction is better for Cleric? Faction choice doesn't affect class mechanics, but it does affect server structure and PvP access. The Aion 2 Elyos vs Asmodian guide breaks down every real difference between the two before you commit.
For more guides covering hotbar setup, macro building, and everything else you need to get started, the full Aion 2 guide collection has you covered.