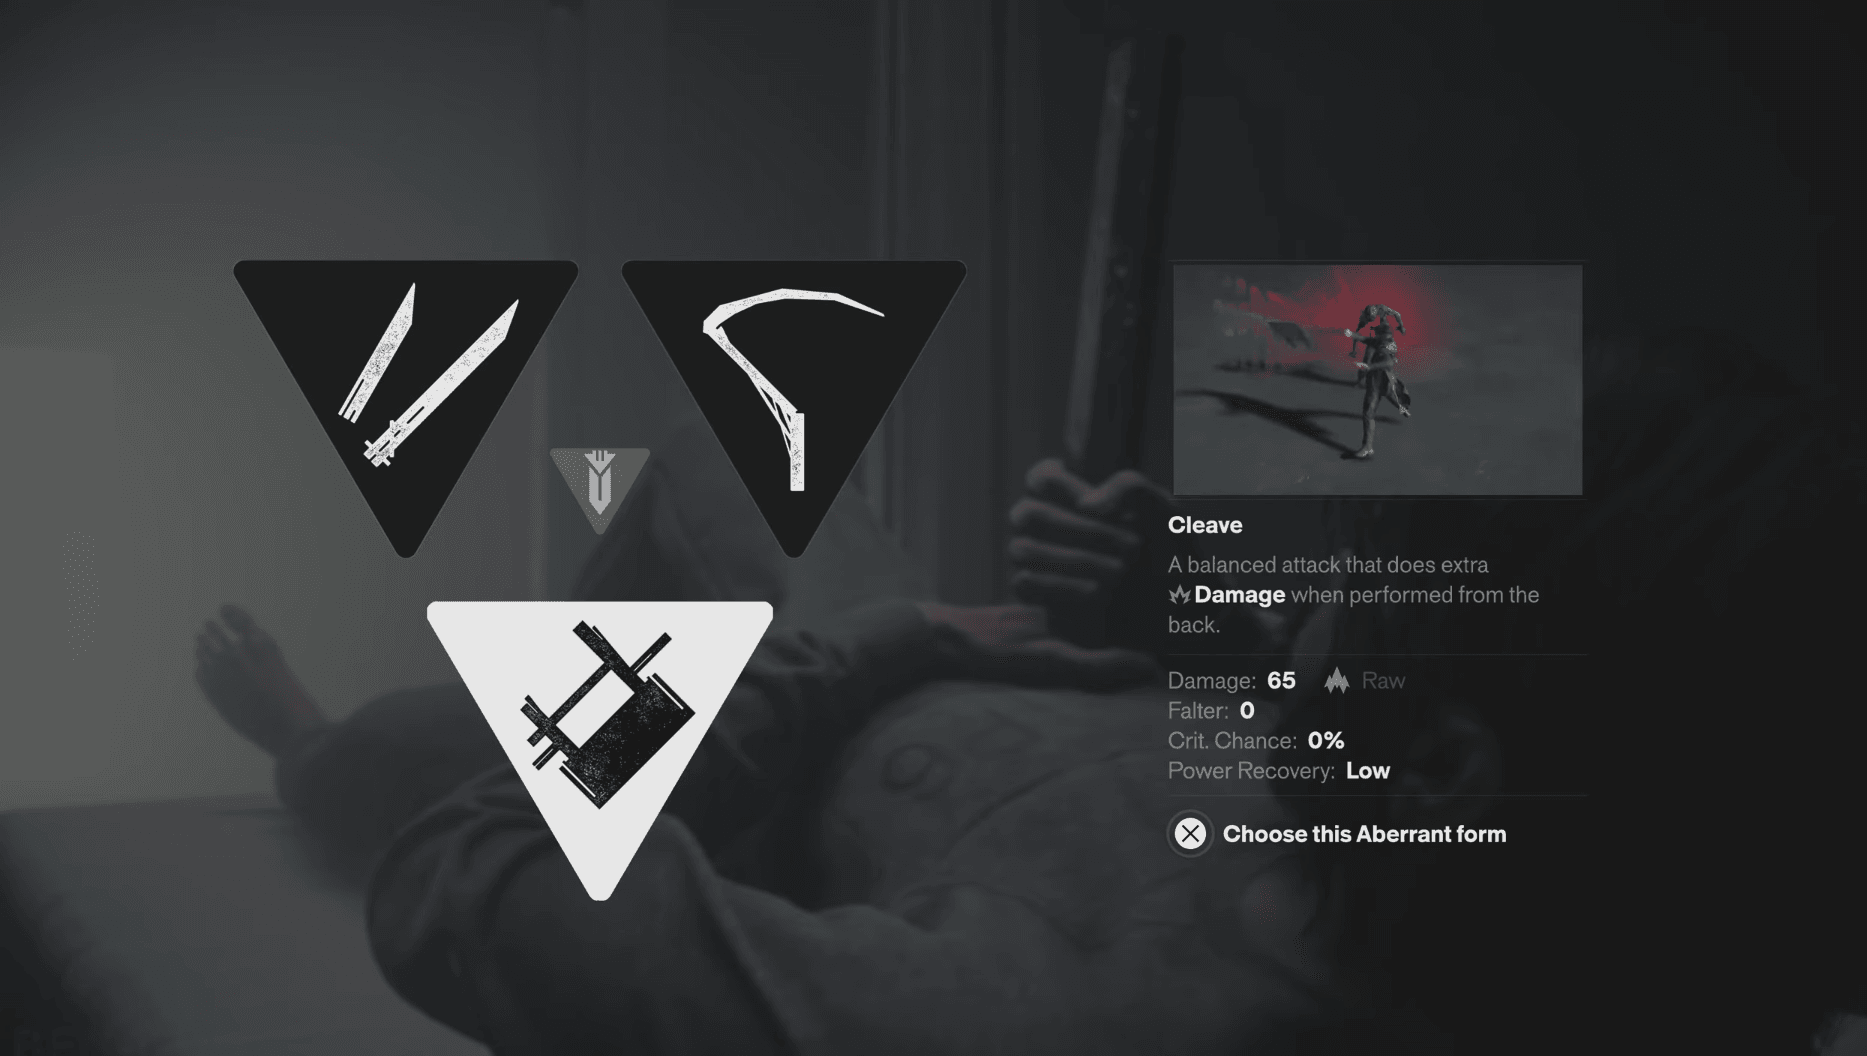


The first real decision CONTROL Resonant asks you to make is also one of the most consequential for the opening hours: which Aberrant Form to equip as your primary and secondary weapon. Dylan's Aberrant is his signature weapon, and it shifts shape based on your choice. You pick your primary form during the prologue, then lock in your secondary shortly after leaving the Oldest House. Both choices stick around for a while, so getting them right from the start matters.
What are Aberrant Forms in Control Resonant?
Dylan's Aberrant works like a shapeshifting weapon that takes a completely different physical form depending on which option you select. There are three primary forms and three secondary forms, six total. Your primary is triggered with light attacks and your secondary with heavy attacks. You start with one of each for free, and unlocking the remaining four requires spending Living Shards, which are not handed out freely. That scarcity is exactly why your starting picks deserve some thought.
Which primary Aberrant Form is best?
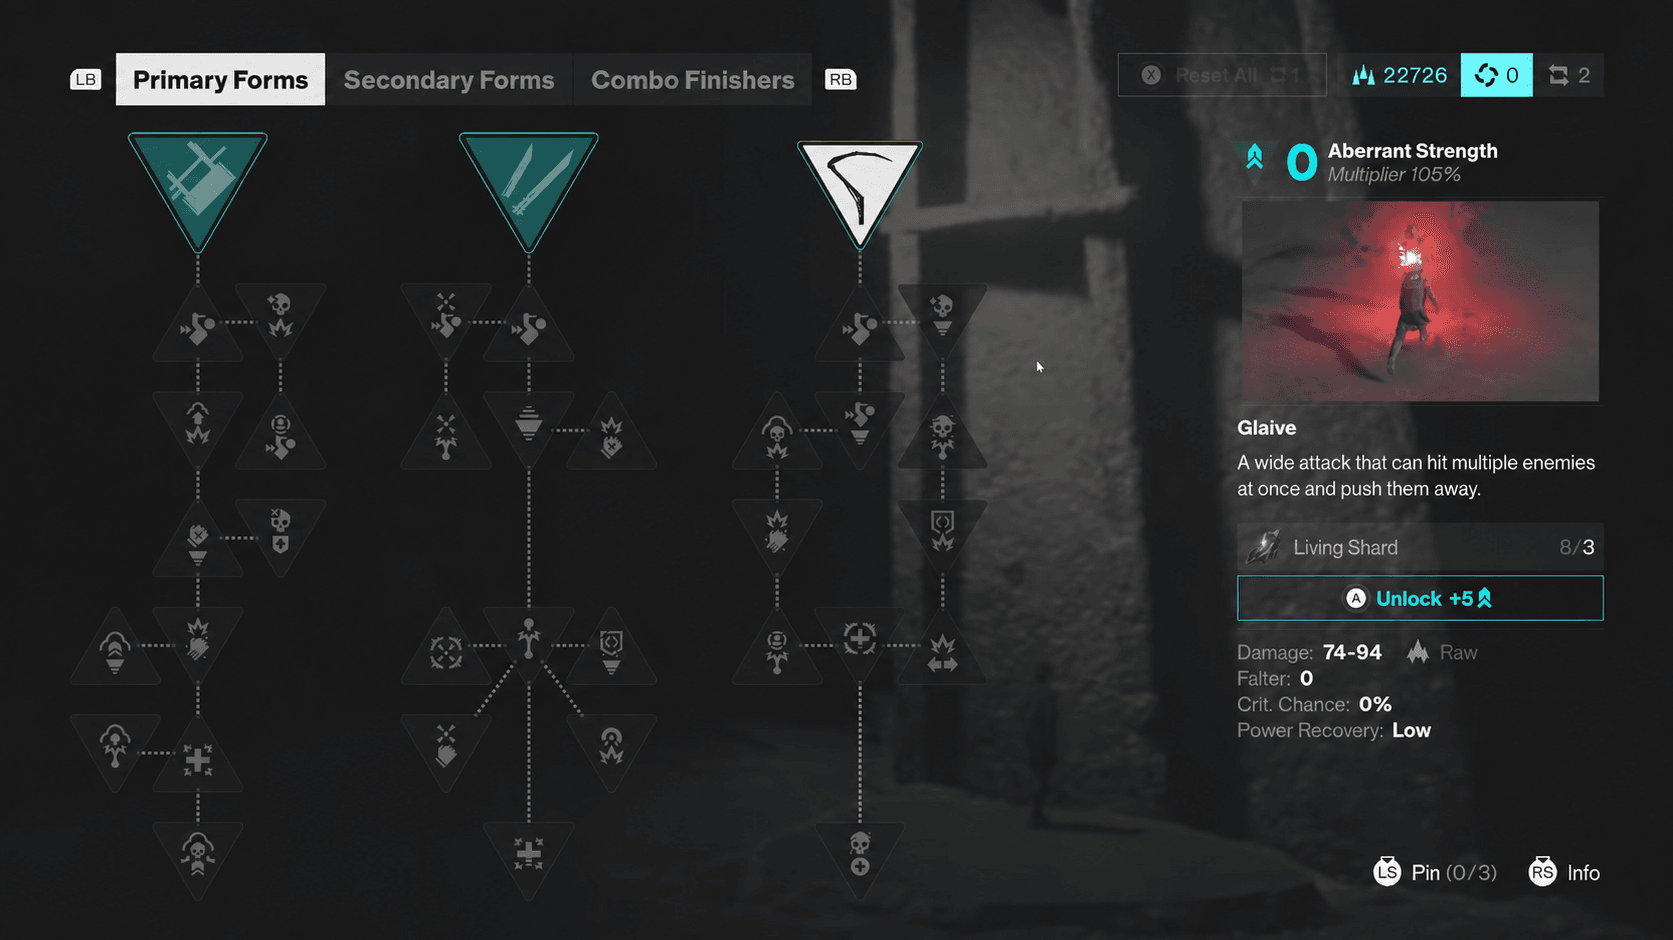
The three primary forms are Strike, Glaive, and Cleave. Here's how they rank and what each one actually does.
Control Resonant Guide: Best Aberrant Forms You Should Pick
Strike
Strike transforms the Aberrant into a pair of fast dual blades. The attack speed is the highest of the three primary options, and it carries a 30% critical hit chance, which no other primary form matches at the start. That built-in crit rate punches well above the lower per-hit damage numbers, and the quick animations make it easy to land hits and dodge out before enemies counter.
For players still learning enemy patterns, Strike is the most forgiving option. It handles both one-on-one fights and situations where multiple enemies crowd Dylan, since the fast swings let you react quickly when a new target moves in from the side.
Glaive
Glaive is a scythe-shaped weapon that sweeps in a wide arc, hitting multiple enemies at once and pushing them back. It runs on a three-combo attack pattern, which is simpler than Strike's moveset but effective against groups of weaker enemies. The extra reach is genuinely useful when you're surrounded.
The trade-off is speed and flexibility. Glaive feels slower in one-on-one exchanges and lacks Strike's critical chance, so it can feel unresponsive when you need to burst down a single target quickly. It's a solid pick for players who prefer controlling space over raw attack speed.
Cleave
Cleave is an axe-shaped form that specializes in quick swings and, with investment in its skill tree, launching enemies into the air for aerial follow-ups. Attacks from behind deal bonus damage, which synergizes with the evasive, dodge-heavy playstyle the game tends to encourage. Enemies hit from behind also reward the extra Power recovery and Falter buildup.
The catch is that Cleave's full potential is gated behind ability point investment. At the very start, before those upgrades land, it asks more from you than Strike does. Players comfortable with positioning and deliberate attack timing will get the most out of it.
Which secondary Aberrant Form is best?
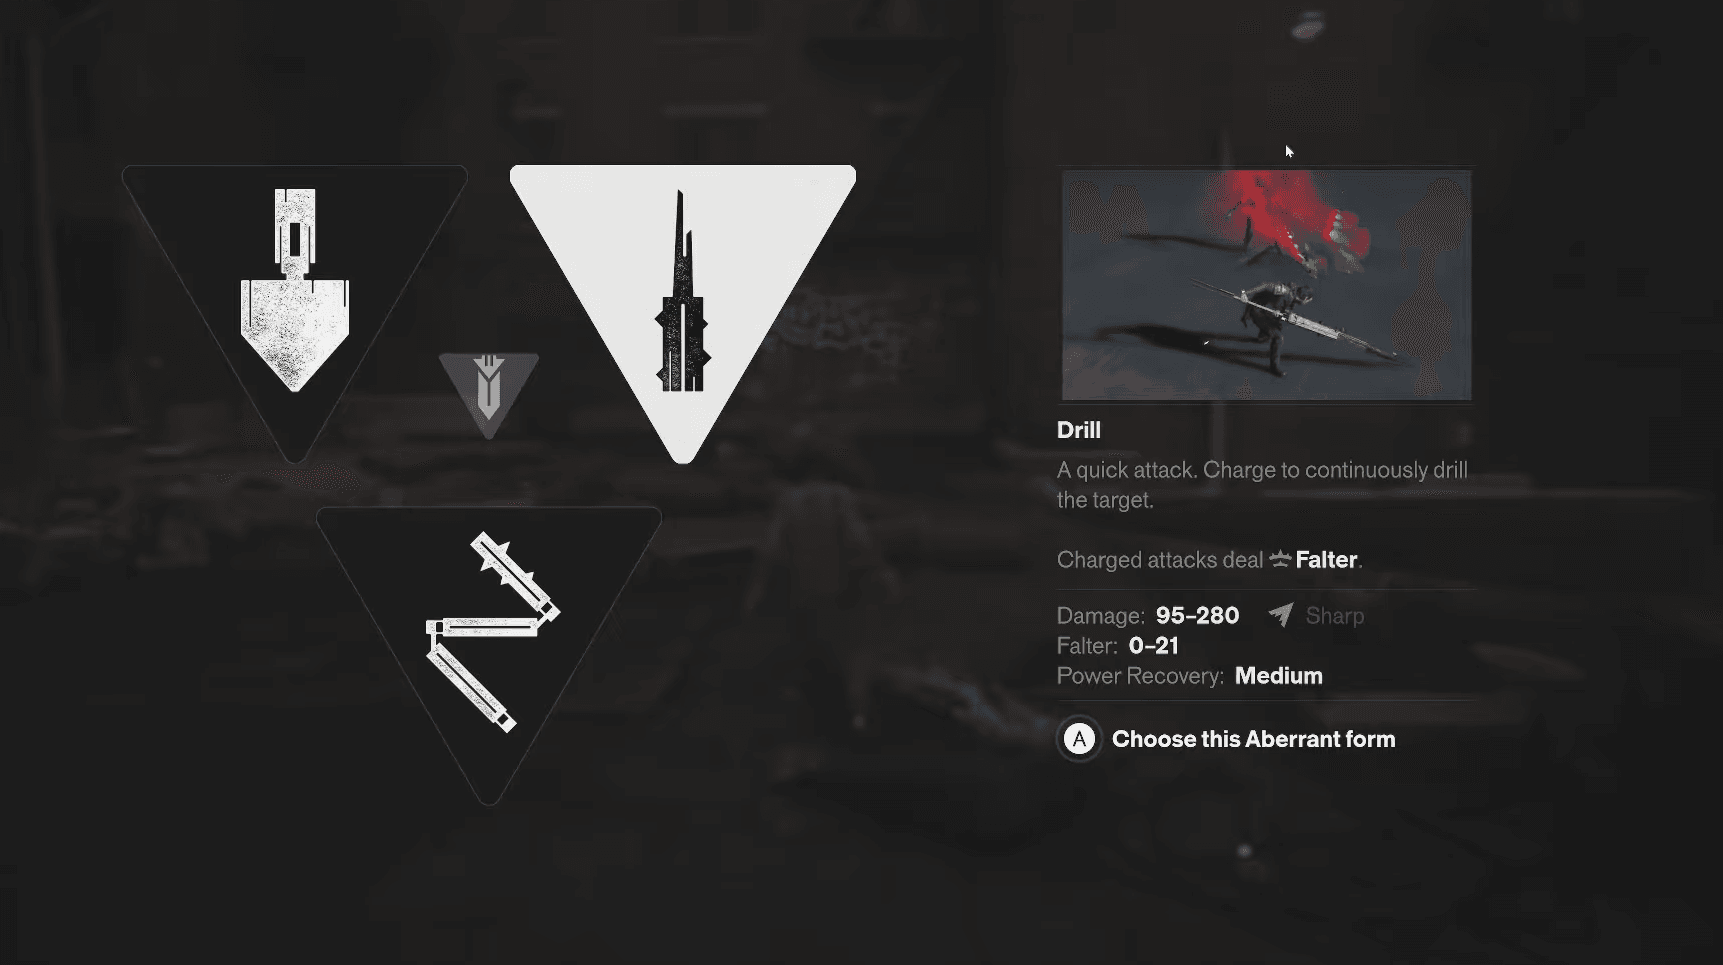
Secondary forms are your heavy attack option, triggered separately from your primary. You pick from Crush, Extend, and Drill shortly after the prologue ends.
Control Resonant Guide: Best Aberrant Forms You Should Pick
Crush
Crush turns the Aberrant into a large hammer. It hits hard, builds Falter status extremely fast, and frequently stunlocks enemies, letting you chain heavy swings with little risk of the target escaping. Many fights end with an execution after a Crush combo because the Falter buildup is that consistent.
It pairs particularly well with Cleave as a primary, since Crush also increases damage and Falter inflicted on airborne enemies. The charging speed is a real consideration early on, but it can be reduced with skill tree investment. Even without upgrades, the raw stun potential makes Crush the strongest secondary option.
Extend
Extend is a three-part nunchaku that trades raw damage for reach and AOE coverage. It can hit multiple opponents and is the most agile secondary form, but the charge attack locks you in place and requires precise timing. The damage output is the lowest of the three secondary options without upgrades.
Extend becomes meaningfully stronger once you unlock the Plain Retort ability, which puts Dylan into an Empowered state after hitting enemies with it, increasing both damage and Falter output. Before that ability comes online, it's a niche pick.
Dril
Drill is exactly what it sounds like: a drilling spear that rams into enemies for sustained, focused damage. It excels against shielded enemies, chipping through Hiss Shields faster than the other secondary forms. Its first skill tree ability, Debilitate, builds the Weakened status on targets, which increases the damage and Falter they take.
The learning curve is the steepest of the three. Drill starts fast but builds into slower, committed combos to maximize its output. It rewards patience and precision, particularly when weak points are exposed.
Best Aberrant Forms combination
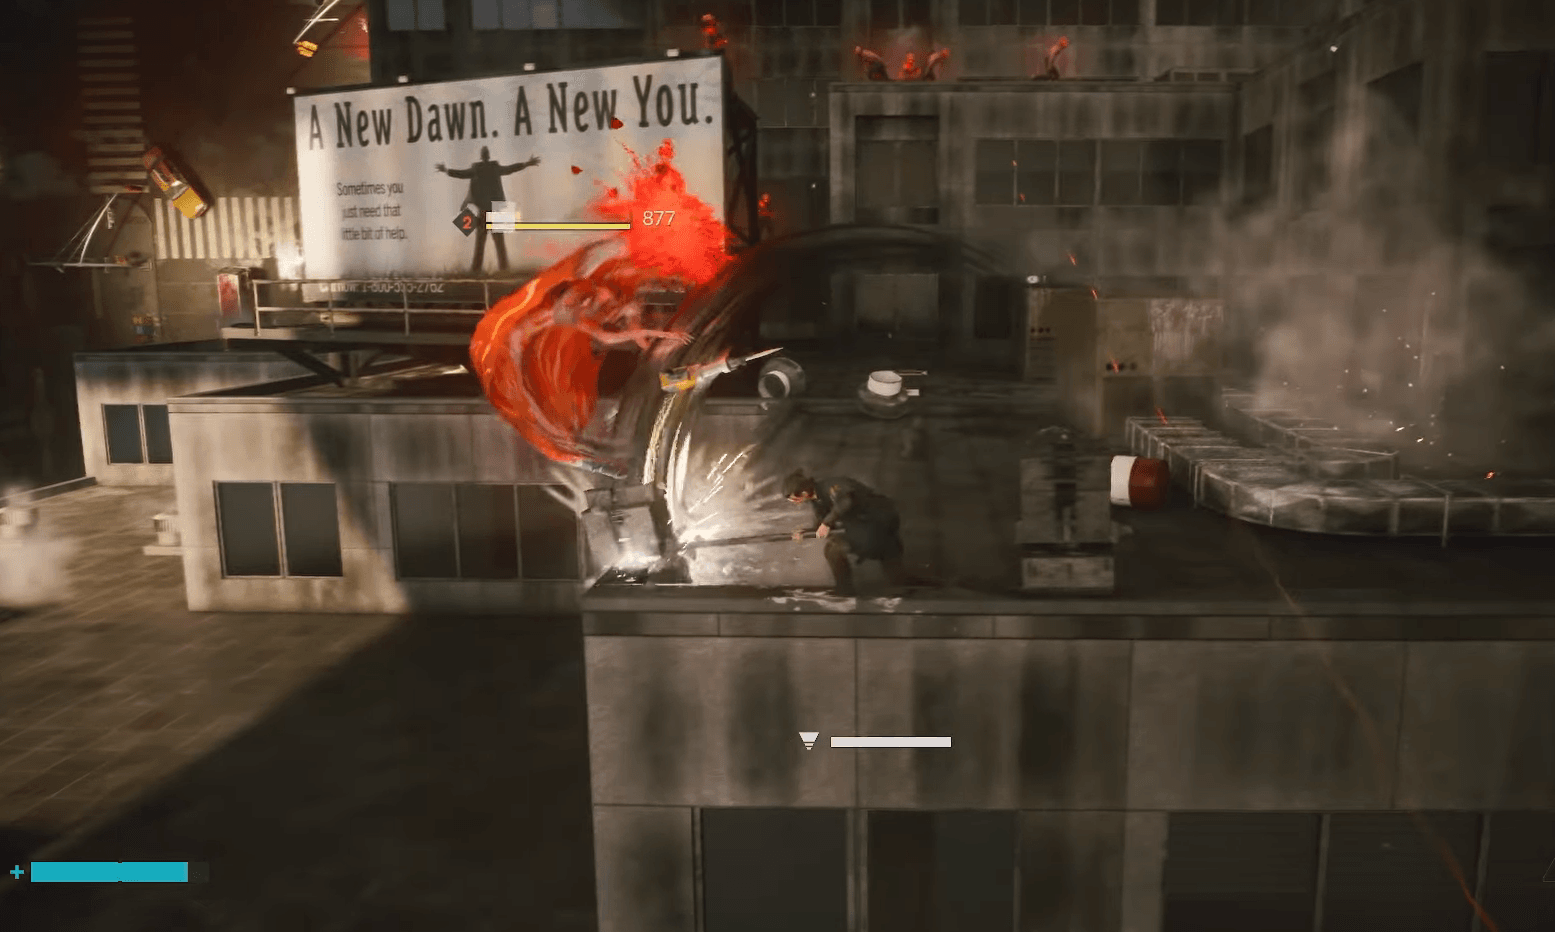
After testing all six forms across both slots, the strongest general-purpose pairing is Cleave + Crush. Cleave's aerial launch mechanics feed directly into Crush's bonus damage against airborne enemies, creating a loop where you launch with Cleave and punish with Crush for massive Falter and damage. The backstab bonus on Cleave also rewards the evasive movement the game pushes you toward.
For players who want a more straightforward experience without committing to aerial juggling, Strike + Crush is the easier version of the same idea. Strike handles fast light attacks and critical hits, while Crush covers the heavy, stunlocking follow-through. You lose the aerial synergy but gain a setup that works well without needing to position carefully.
Control Resonant Guide: Best Aberrant Forms You Should Pick
How to change your Aberrant Form
Outside of combat, you can swap forms at any time through your loadout menu. You can also visit the Gap, the interdimensional hub area accessible by holding G on keyboard or pressing D-Pad Down on controller, to access the Aberrant pillar. That's where you unlock new forms, invest skill points, and test builds at the training grounds.
Switching is blocked while Dylan is inside a story area, engaged in combat, or in a radio conversation with Zoe. Outside those conditions, the Gap is available anywhere in the world.
If you picked a form you're not happy with and don't want to spend Living Shards unlocking a replacement, Control Resonant also has reset items that let you respec your choices entirely.
For everything else you need before and after launch, the Control Resonant strategy guides collection covers the full game from system requirements to completion time. If you haven't bought yet, the pre-order editions and bonus breakdown explains every version available. And if you're planning a long session, how long it takes to beat Control Resonant puts the full 30-hour main story and 50-hour completionist run in perspective before you commit.