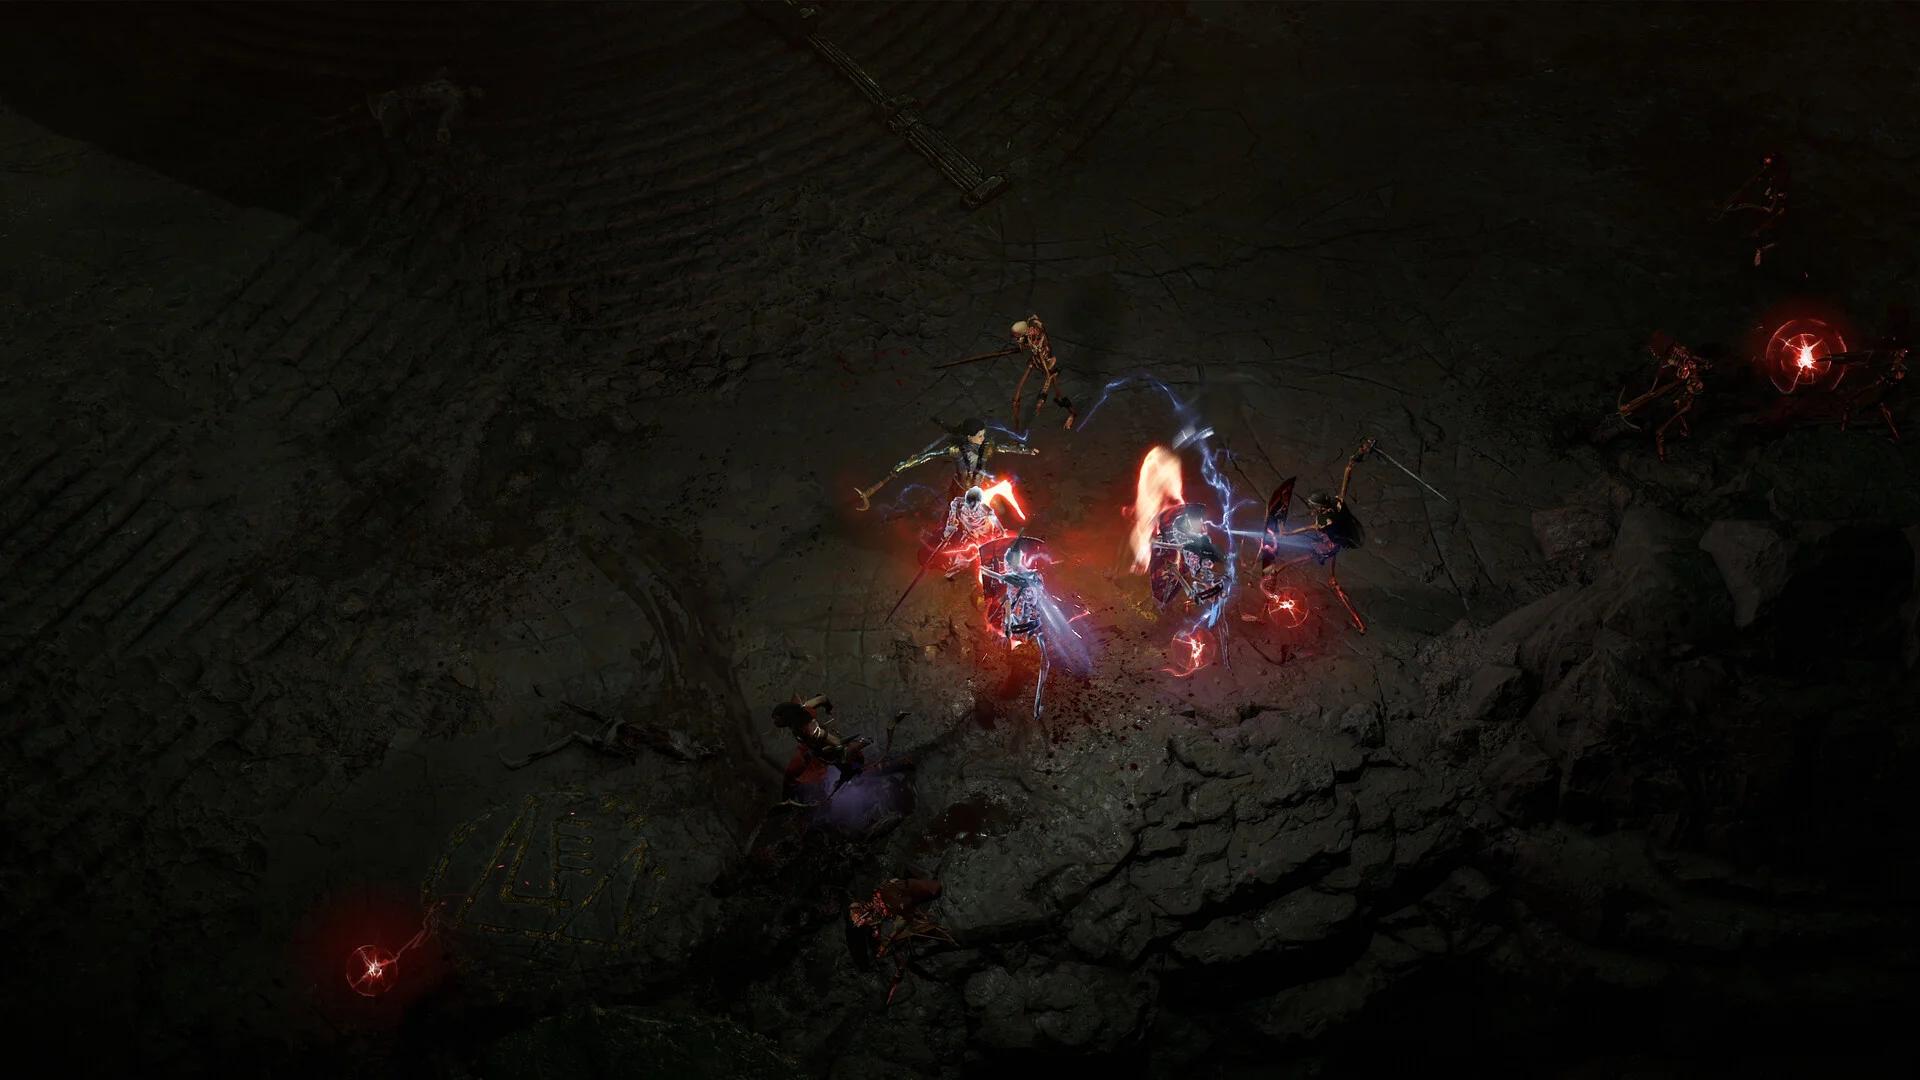

Build your Diablo IV Whirlwind Barbarian around Dust Devils, three shouts, Gohr's Devastating Grips, and Fury regeneration to sustain two-handed spinning.
This Season 15 setup targets level 70 characters with Torment 1 unlocked. Start with a Basic Skill to cover resource gaps, then switch to the defensive endgame bar once your Fury generation holds up. Whirlwind excels at clearing packs while moving, but isolated bosses expose weak resource generation and gaps between buffs. The upgrade order below puts sustained channeling ahead of damage bonuses you cannot keep active.
Whirlwind skills and weapon setup
The endgame bar combines your channeling attack with three shouts, an Ultimate, and a defensive skill. These are endgame skill-rank targets, not a leveling purchase order.
| Skill | Target rank | Job in the build |
|---|---|---|
| Whirlwind | 15 | Main attack; take the Tornado upgrade to create Dust Devils |
| Rallying Cry | 15 | Supports resource generation; take its Fortify upgrade |
| War Cry | 15 | Damage buff; its Ferocity upgrade supplies Ferocity |
| Challenging Shout | 4 | Defensive shout for dangerous encounters |
| Wrath of the Berserker | 15 | Supplies Berserking and Unstoppable |
| Iron Skin | 1 | Adds a Barrier when you need protection |
Dust Devils extend your damage beyond Whirlwind's immediate spinning area. The Tornado upgrade also makes Heavy Hitting Aspect relevant to the build, so keep that upgrade when assembling the equipment below.

Six skills for sustained spinning


Assign your weapon and Technique
The Barbarian's Arsenal lets you choose which equipped weapon a skill uses. Set Whirlwind deliberately instead of leaving its assignment unchecked after an equipment change.
- Open your skill menu and hover over Whirlwind on the toolbar.
- Use Cycle Weapon to assign your highest-damage two-handed weapon.
- For the equipment plan below, use a two-handed bludgeoning weapon so Aspect of Walloping can apply.
- Select Polearm Technique for its damage bonus while Healthy, above 80% Life.
A stronger two-handed slashing weapon can be a temporary choice, but Walloping requires your attack to use a bludgeoning weapon. Check that condition whenever you change Whirlwind's assignment.
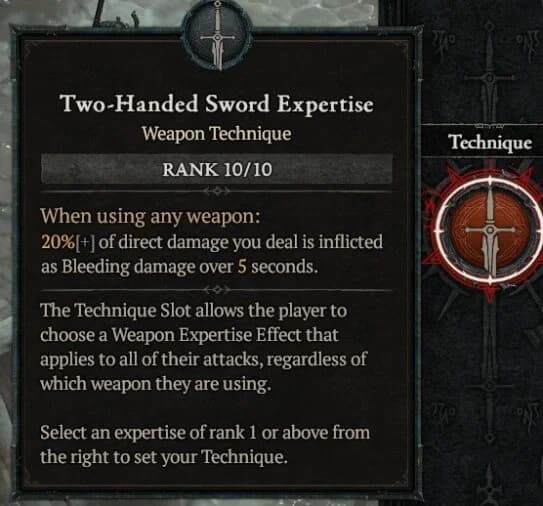
Choose Whirlwind's active weapon
Use a separate starter bar
Before your gear sustains continuous channeling, equip Lunging Strike, Whirlwind, Rallying Cry, War Cry, Challenging Shout, and Call of the Ancients. Lunging Strike gives you a resource generator and a way to close distance, while Call of the Ancients supplies help against tougher enemies.
Move to the endgame bar by replacing Lunging Strike with Iron Skin and Call of the Ancients with Wrath of the Berserker. Keep the starter arrangement if removing your Basic Skill leaves you stranded without Fury.
Whirlwind favors moving area damage over single-target efficiency. Consider that trade-off when comparing Diablo IV Barbarian builds, particularly if bosses are your main farming target.
Gear and Aspects for every slot
Secure Aspect of Channeling and Aspect of Anger Management early. Both require Legendary drops to establish their Codex entries, so salvage items carrying those powers.
The following is a life-based endgame loadout. It does not require a Mythic Unique, but its final weapon choice assumes you have already solved Fury generation.
| Gear slot | Item or Aspect | Why you use it |
|---|---|---|
| Helm | Tuskhelm of Joritz the Mighty | Grants damage, Fury generation, and cooldown benefits when you gain Berserking while already Berserk |
| Chest | Aspect of Heavenly Strength | Reduces damage taken while wielding a two-handed weapon |
| Gloves | Gohr's Devastating Grips | Increases Whirlwind damage and pulls enemies toward you every 2 seconds |
| Pants | Juggernaut's Aspect | Increases Armor, but doubles Evade's cooldown |
| Boots | Aspect of Anger Management | Provides Berserking and a damage bonus while above 50 Fury, at a regeneration cost |
| Amulet | Edgemaster's Aspect | Rewards keeping your available Fury high |
| First ring | Crushing Aspect | Increases damage while Fortified |
| Second ring | Aspect of Berserk Fury | Generates Fury each second while Berserking |
| Two-handed bludgeoning weapon | Aspect of Channeling | Multiplies damage while you channel |
| Two-handed slashing weapon | Heavy Hitting Aspect | Increases damage from skills that create Dust Devils |
| First dual-wield weapon | Aspect of Walloping | Supports bludgeoning attacks against incapacitated or Vulnerable enemies |
| Second dual-wield weapon | Ramaladni's Magnum Opus | Scales skill damage with your Fury, but adds continuous resource drain |
Prioritize Gohr's Devastating Grips as your first major Unique upgrade. Its pull gathers enemies into your damage instead of leaving you to chase scattered targets. Tuskhelm then rewards the Berserking uptime already supported by your boots and Ultimate.
Starter substitutions and later upgrades
Use a Legendary weapon with Aspect of Elemental Fate before equipping Ramaladni's Magnum Opus. The sword drains 7% of Maximum Fury each second in combat. At 200 Maximum Fury, that is 14 Fury per second before paying for Whirlwind itself.
Delay the sword until your regeneration covers that extra drain. A damage multiplier is a poor upgrade if it repeatedly switches off your main attack.
Tibault's Will is an alternative to the Legendary pants when you need more resource support and can maintain its activation through Unstoppable. Keep Juggernaut's Aspect if survivability is the immediate problem.
If you find Ring of Starless Skies, replace the ring carrying Aspect of Berserk Fury. Its resource-cost support makes it a useful upgrade for maintaining a high Fury pool.
Fix Fury before chasing more damage
Rallying Cry costs Fury in this setup. Refresh it as the previous buff expires instead of repeatedly casting it while its existing effect still has time remaining.
Anger Management also reduces Primary Resource Regeneration by 3. Falling below its 50-Fury threshold can interrupt the Berserking it provides, weakening several connected bonuses at once.
If you're struggling with repeated stops, use these gear fixes before adding another damage-focused item.
| Resource fix | Equipment to check | Best use |
|---|---|---|
| Fury Regeneration | Chest, pants, and boots | Sustaining channeling without relying on kills |
| Fury on Kill | Weapons and rings | Refilling while clearing packs |
| Resource Cost Reduction | Weapons and rings | Reducing the cost of keeping Whirlwind active |
| Lucky Hit: Chance to Restore Primary Resource temper | Rings and amulet | Adding another resource recovery source |
Fury on Kill helps in dense encounters, but it cannot support an isolated boss by itself. Judge your resource setup during a sustained single-target fight, not just while cutting through a room of weaker enemies.
Stat priorities after sustain is stable
Prioritize Weapon Damage on the weapon assigned to Whirlwind. Strength supports damage, while Maximum Life and defensive affixes support this life-based equipment plan.
Next, improve Cooldown Reduction and Critical Strike Chance. Critical Strike Damage Multiplier is valuable on weapons, and Vulnerable Damage Multiplier is useful on jewelry and gloves.
Long-term optimization targets include 60% Cooldown Reduction, 100% Critical Strike Chance with your supporting bonuses, and 200 or more Maximum Resource. These are developed-build goals, not requirements to begin Torment 1. Increase Maximum Fury alongside regeneration because Ramaladni's drain grows with the pool.
Runes, gems, and supporting systems
Socket choices and rune pairs
You can equip two Runewords, with each pair occupying two sockets in the same item. Your two-handed weapons are convenient locations for the following pairs.
| Rune pair | Effect for this build |
|---|---|
| Bac + Gar | Turns movement into Offering for additional Critical Strike Chance |
| Cir + Vex | Uses repeated skill casts to generate Offering for additional skill ranks |
Bac fits a build that keeps moving during its main attack. Cir benefits from your supporting casts, including shouts, Iron Skin, and restarting Whirlwind.
Use Grand Skulls in remaining weapon sockets for Physical damage and Grand Rubies in armor for Strength. Grand Diamonds in jewelry provide elemental resistance when those sockets are not occupied by seasonal Soul Splinters.
Paragon and mercenaries
Level your Glyphs in this order: Twister, Exploit, Wrath, Challenger, and Marshal.
Warbringer supplies Fortify to support Crushing Aspect. Exploit supplies Vulnerable, which also helps meet Walloping's enemy-status condition. Keep these connections intact when changing your Paragon setup.
Hire Raheir for solo play. His defensive support and Inspiration damage bonus fit the build without adding another resource requirement. Use Aldkin's Field of Languish as your reinforcement for periodic damage reduction.
Talisman and Season 15 Soul Splinters
Use a Legendary Seal with the +1 Charm Slots affix and the five-piece Berserker's Crucible Charm set. Its bonuses reward staying Berserk. A Fists of Fate charm is an offensive choice for the sixth slot, separate from the gloves occupied by Gohr's Devastating Grips.
Prioritize these Soul Splinters for jewelry:
- Abyssal Splinter of Anguish.
- Abyssal Splinter of Pain.
- Abyssal Splinter of the Black Soulstone.
Pain reduces movement speed in exchange for damage reduction. Black Soulstone increases damage taken as its souls accumulate. Replace Black Soulstone with Abyssal Splinter of the Mother if those stacks make encounters too dangerous.
Whirlwind rotation for packs and bosses
Keep moving through enemies or circle the pack while channeling. Against tougher targets, align your supporting buffs before settling into sustained damage.
- On the starter bar, open with Lunging Strike to approach and build Fury.
- Activate Rallying Cry, then War Cry and your Ultimate for a difficult encounter.
- Channel Whirlwind while moving through the enemies you want to damage.
- Use Challenging Shout when incoming damage rises.
- On the endgame bar, use Iron Skin when your Barrier is low or you need another defensive layer.
During boss fights, circle to avoid attacks and watch your Fury through the entire buff cycle. If the starter setup runs dry, stop channeling, rebuild with Lunging Strike, and resume. Keep the Basic Skill until your gear can sustain the fight without it.