


Episode 5 of Directive 8020 is where your earlier decisions start landing. The sedative puzzle, the lab explosion, and the Williams identity question all hit in the same chapter, and screwing up any one of them can kill a crew member. This guide covers every section, every secret, and every branching outcome so you know exactly what you're walking into.
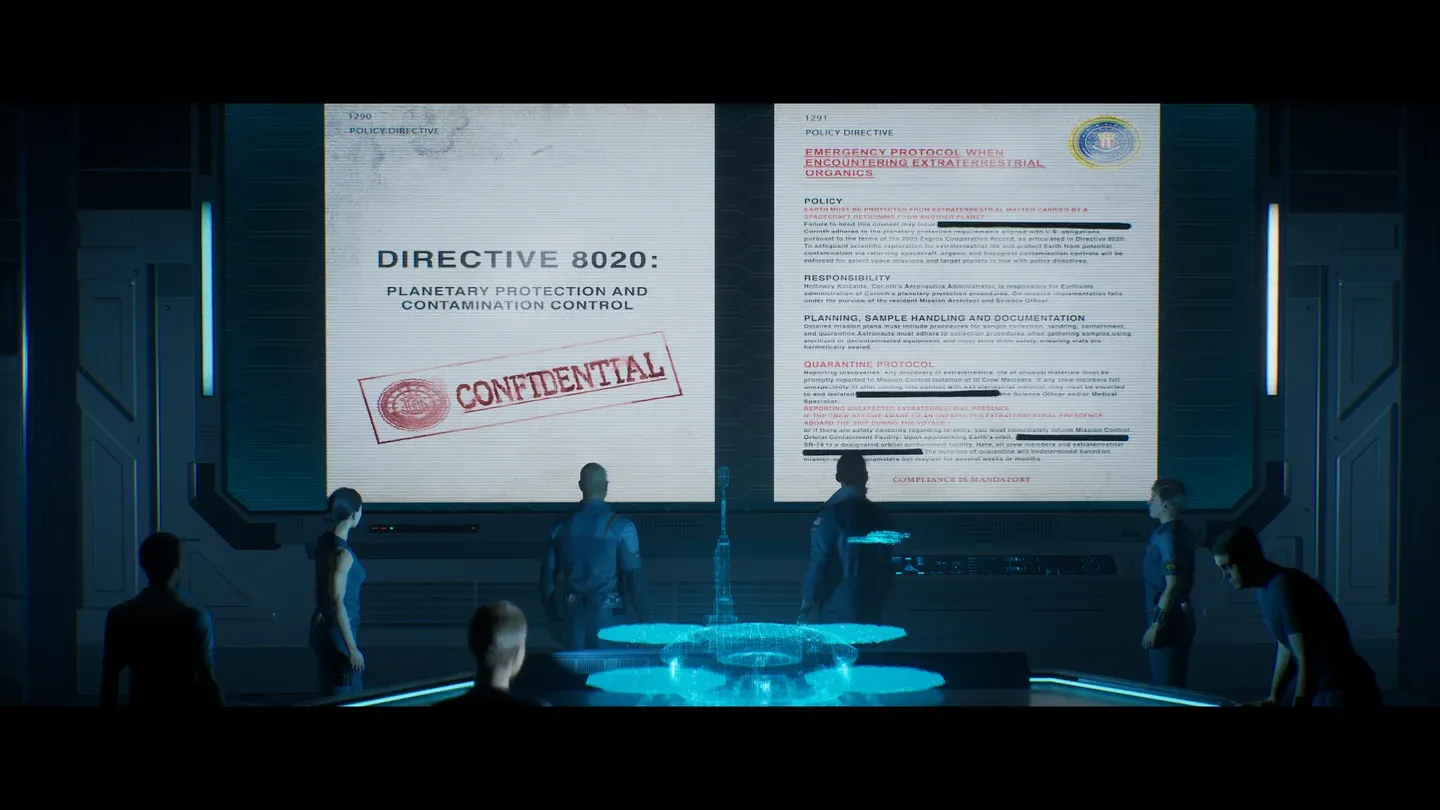
Eisele evades Stafford in Ep5
How does Episode 5 begin?
The episode opens with a flash-forward: you're playing as Eisele, and Stafford is hunting her through a waste burning area. Hold LB/L1 to sprint and follow the path forward. No vents or doors will open off the main route, so stick to the marked path until you reach the Control Room.
Once you arrive and the pressurization completes, use the console ahead. It needs three breaker switches activated in the Power Supply area before it functions. That means heading back out into Stafford territory.
How do you activate the three breaker switches?
Stealth is the intended approach here, but getting caught isn't fatal. If Stafford grabs Eisele, a QTE lets her stun him and escape. Here's the sequence for all three switches:
- Switch 1: Directly ahead and to the right after re-entering the Power Supply. Hide behind the nearby boxes and wait for Stafford to move before pulling it.
- Switch 2: After the first switch, wait behind the boxes until Stafford opens the gate to the right. Use your Utility Strap to open the next gate on the left, then trigger the computer inside to distract Stafford. While he's occupied, go out the left gate and find the second switch down and to the left.
- Switch 3: Just right of the second switch, use the Utility Strap on another gate. Walk past the two consoles, climb the ledge ahead, and look right to find the final switch.
After the third switch, run straight through the door marked Central Core to trigger the cutscene. Eisele is safe, and the scene flashes back to the present timeline.
Collecting secrets before the lab scene
Once you're back in the present controlling Cooper, don't follow Anders into the other room yet. Doing so triggers the next scene immediately, and you'll miss two collectibles.
- Charybdis (Conspiracy 4/12): Leave the lab through the door to the left (not the one Anders used) to reach the reception area. Look at the computer on the wall beside the stairs.
- Terraformation (Cetus Mission 7/10): In the storage room where Anders is waiting, walk around the shelves near the door and check the back right corner for a video screen.
Grab both before speaking to Anders for the first time.
What is the chemical cabinet code in Episode 5?
After your first conversation with Anders, she asks Cooper to retrieve a sedative from the drug cabinet in the lab. The cabinet is locked with a three-digit keypad, and you need to identify the right chemicals by cross-referencing the computer terminal with the three posters on the walls.
The answer:
Enter 1-6-8 on the keypad to synthesize the sedative. The game shows you the required chemical structures on the terminal, and the matching posters around the room identify which numbered vial corresponds to each structure. Take your time reading the posters rather than guessing.
For a deeper breakdown of this specific puzzle, the Directive 8020 chemical agents puzzle guide for Anders covers the exact keypad logic step by step.
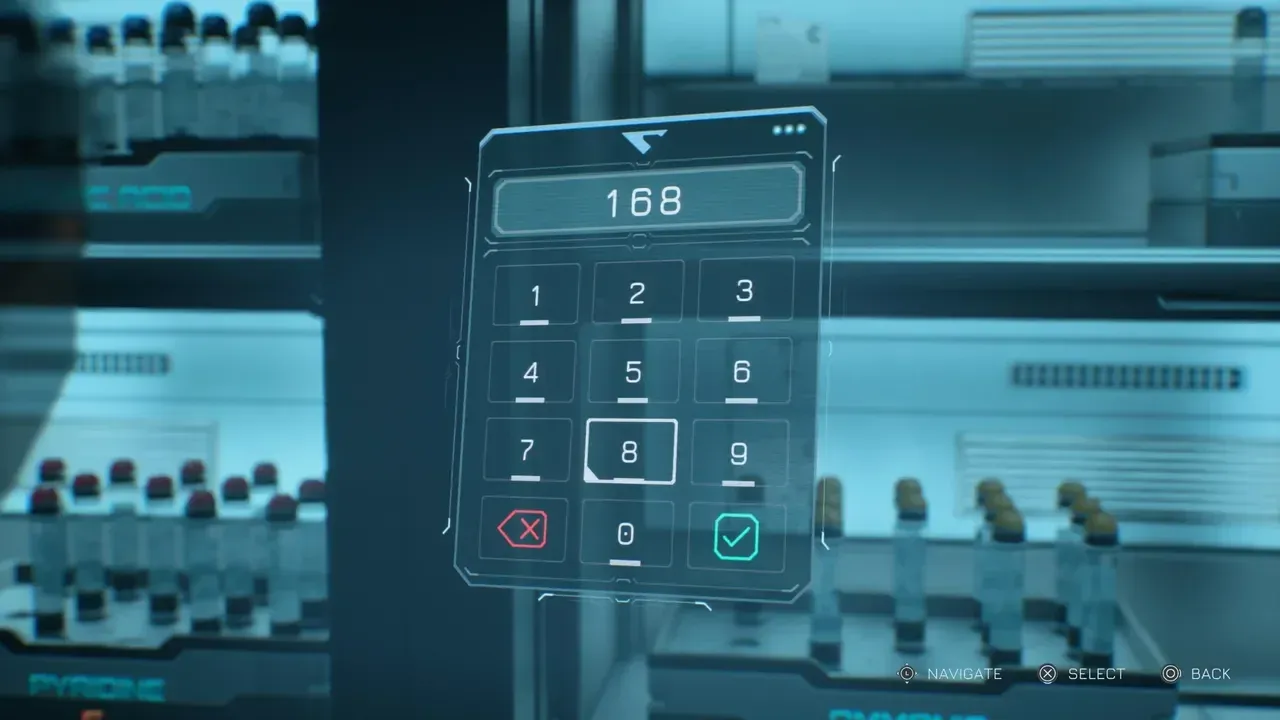
Code 168 unlocks the cabinet
Will Cooper agree to help Anders sedate Williams?
This is the most important personality check in the episode. After handing the sedative to Anders, she reveals her plan to slip it to Williams so she can access his computer. Cooper's response depends entirely on the personality trait you've built for her across previous episodes.
- Playful (Rogue path): Cooper agrees to help. This is required to keep Williams alive.
- Professional (Medic path): Cooper refuses. Williams dies as a result.
Building the Playful trait means choosing Joke-type dialogue options throughout the game, especially in conversations with Anders. Picking mostly Joke responses is the key to reaching the Rogue outcome here.
The "Is This Decaf?" achievement (for sedating Williams successfully) also requires Stafford to either be dead or to trust Anders. That trust is set in Episode 2, when Mitchell has a conversation with Stafford and you choose the Trust option. If Stafford is alive and distrusts Anders, he intercepts her on the way to Williams' office and the sedation fails regardless of Cooper's personality.
How do you save both Anders and Mitchell in the lab explosion?
This is the episode's most consequential Turning Point. The alien specimen experiment goes wrong, causing a fuel line explosion. Anders is trapped in the freezing lab while Mitchell is caught in the flames at the fuel control area. Young arrives and has to choose who to save.
The outcome depends on both your in-the-moment choice and a decision from Episode 2: whether you kept the Fire Control System active or cut power to it.
The cleanest path to saving both: keep Fire Control active in Episode 2, reactivate it as Eisele when following Simms in that same episode, then choose to save Anders in Episode 5 and complete the Wedge tool sequence correctly. Mitchell is rescued automatically by the Fire Control system.
Completing this earns the "This Steak's Raw" achievement. For a full breakdown of how earlier decisions feed into this moment, the guide to saving every character in Directive 8020 maps out the decision chain across all 8 episodes.
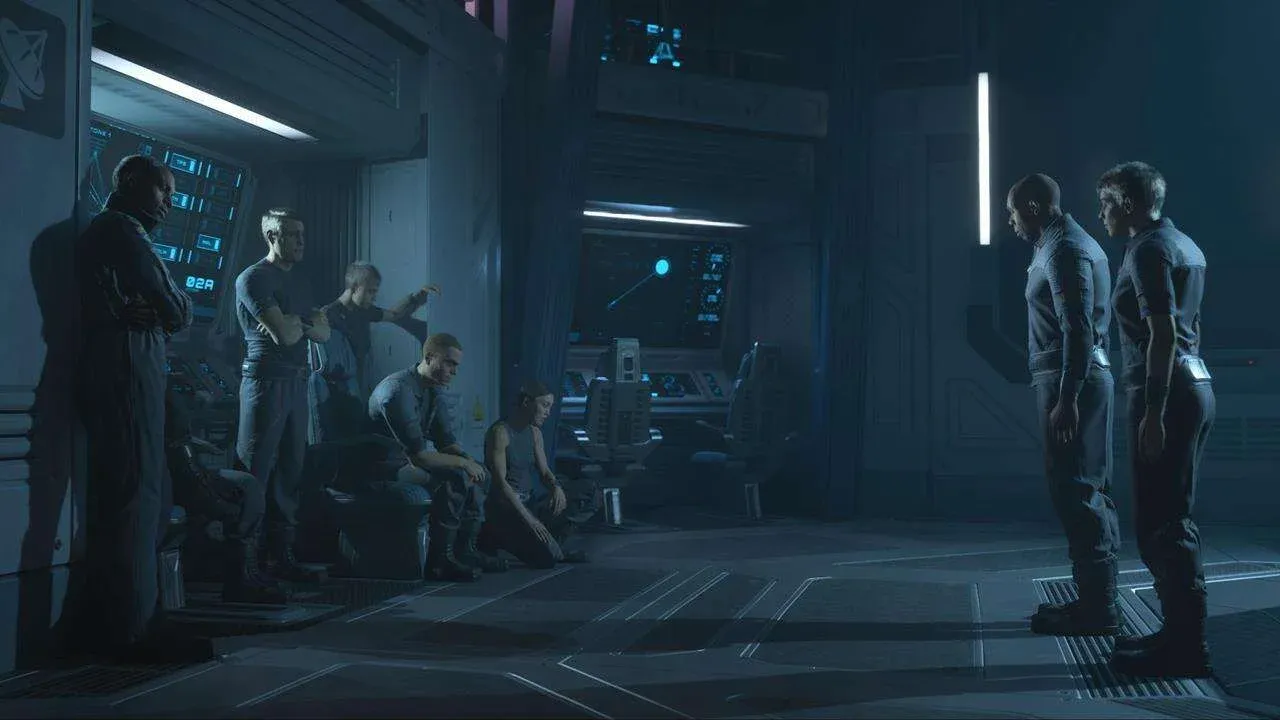
Save Anders to protect both crew
Cernan's exploration section: secrets and the anomaly code
After the lab sequence, you switch to Cernan searching for the rest of the crew. There are four secrets to collect before you follow Cooper into the Crew Lounge.
- Orbital Oddities (5/6): In Bridge Ops, head up the stairs toward the cockpit. Find the wall terminal displaying Orbital Scanner Data. The code to unlock it is 3-1-9-6, derived from the note "CAIF" found in the cockpit (C=3, A=1, I=9, F=6).
- To Do List (5/6): In Bridge Ops, go up the stairs and through the hallway to the cockpit. The tablet is on the right side.
- Hostile Fire (7/10): Near the Airlock, take the left path and climb over the box. Use the Scan ability on the electrical symbol on the wall and redirect power to the Storage door. The video screen is inside.
- Love Lost (4/5): After taking the elevator, go down the stairs to the right of the lounge door and follow the hall to the bench with a large screen behind it.
How do you get the Orbital Oddities secret code?
The four-digit code for the Orbital Scanner Data terminal is 3196. The hint is the note "CAIF" found in the cockpit near the terminal. Each letter maps to its position in the alphabet: C=3, A=1, I=9, F=6. Enter those digits in order.
Is Williams real or an impostor in the lounge?
When Cernan finds Williams waiting in the Crew Lounge, what happens next depends on whether he was sedated by Anders.
- Williams was sedated: He shows physical side effects from the injection, either a nosebleed or signs of brain trauma from his earlier seizure. This confirms he's the real Williams, because the real Williams reacts with visible distress in stressful situations (as established in Episode 3).
- Williams was not sedated: He stays quiet and calm, which is a red flag. The real Williams doesn't stay quiet under pressure.
Regardless of which version you see, the crew decides to lock Williams up, and the episode moves toward its final Turning Point.
Who should Eisele send to Hydroponics?
The episode ends with a threat detected in Hydroponics. If Stafford is alive, he volunteers to go. As Eisele, you then choose who accompanies him.
- Volunteer (Eisele goes): Keeps both Eisele and Cernan easier to protect in Episode 6.
- Suggest Cernan: Cernan heads down instead, which puts him in a more exposed position going forward.
Choosing Eisele to accompany Stafford if he's alive gives you more direct control over protecting both characters in the next episode. This decision is a Turning Point that ends the chapter.
For the full picture on how this choice connects to later outcomes, the Directive 8020 Turning Points and Story Tree guide covers every branch across all episodes.
Episode 5 achievements summary
All three achievements are interconnected. Getting Password1 requires completing Is This Decaf? first, and Anders needs to survive the lab explosion on top of that. Plan your Episode 2 choices before you reach this point.
For everything else the episode has to offer, including collectibles you may have missed in earlier chapters, the full Directive 8020 guides collection has you covered across all 8 episodes.