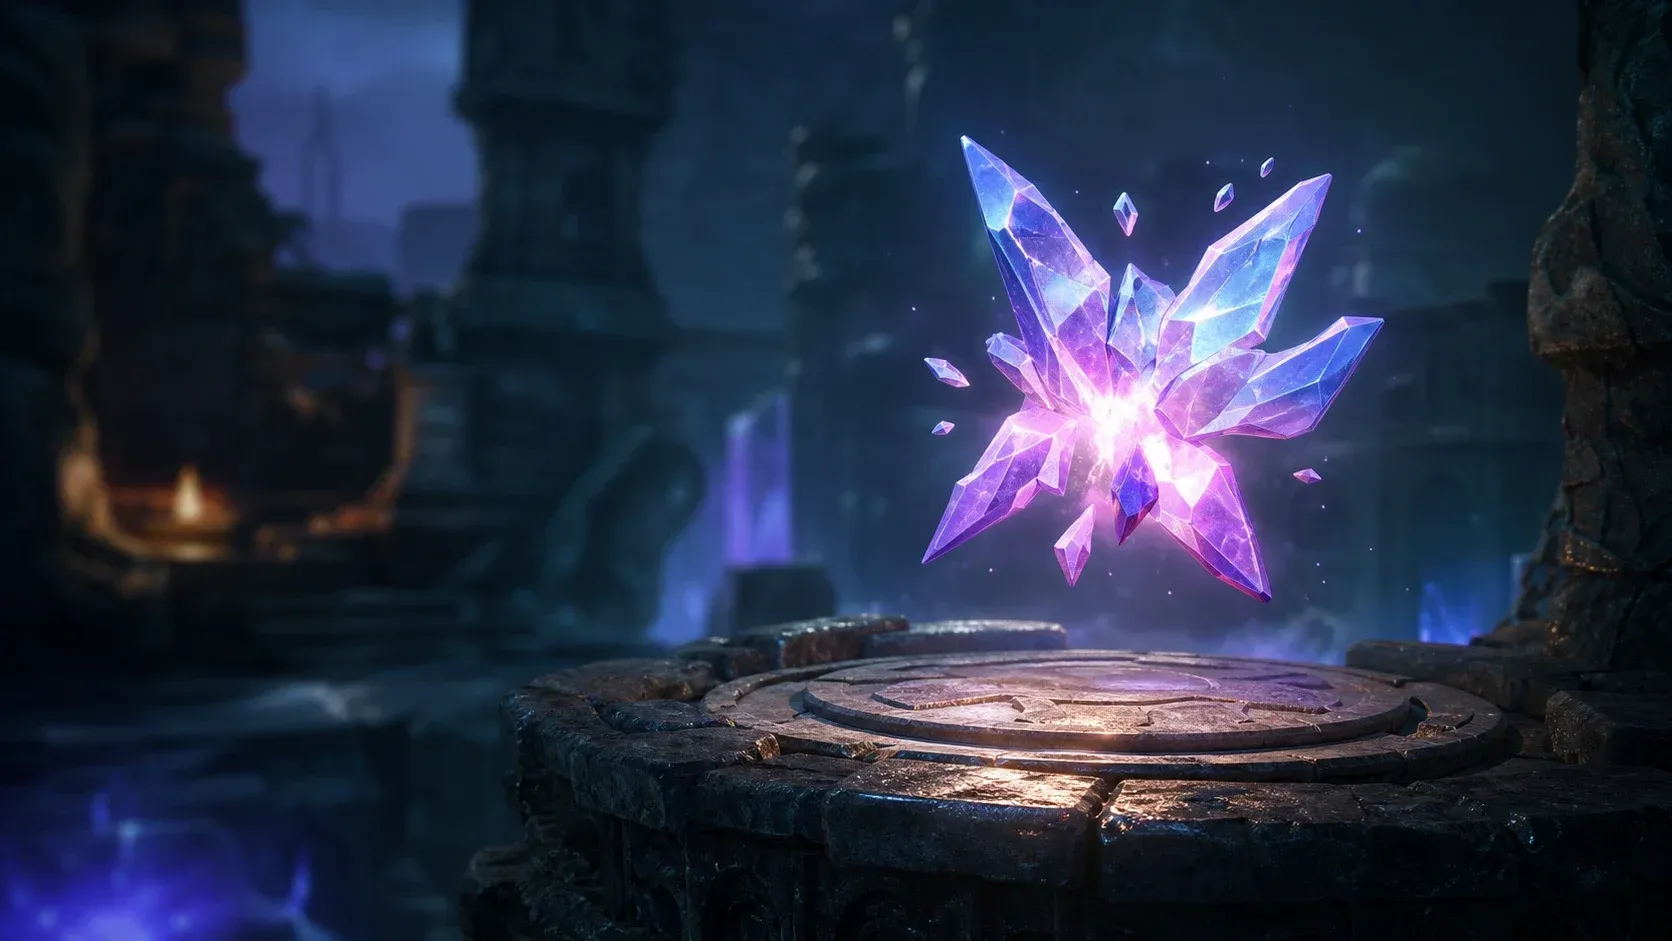
Statues of Organa are the closest thing DragonSword: Awakening has to a bonfire system. Find the missing pieces scattered around each statue, return them, and you unlock 6 healing charges that recharge over time. Every region in the open world hosts at least one, so tracking them all down is worth doing early rather than late. Some are straightforward scavenger hunts. Others drop a boss on you the moment you deliver the final piece. This guide covers all 13 locations with exact piece placements and the tricky bits most players miss.
What do Statues of Organa actually do?
Each restored Statue of Organa gives you 6 healing charges usable on yourself and allies. Those charges refill over time after you spend them, making each statue a permanent recovery point for that region. On top of that, every successful restoration rewards you with a Silver Key, which opens locked chests scattered near the statues. Those chests tend to contain high-level loot, so the keys are worth saving rather than spending carelessly.

Activating a Statue of Organa

All 13 statues at a glance
| Statue Location | Pieces Required | Boss Encounter | Notable Challenge |
|---|---|---|---|
| Shaded Tree Hill | 4 | No | Pieces spread across cliffs and bushes |
| Autumnleaf Zone | 3 | No | Lake piece requires pushing a tree |
| Worm's Valley | 2 | No | Easiest in a high-level zone |
| Ruined Temple | 4 | Level 60 nearby | Boss chamber piece requires fast movement |
| Dragon's Stonepeak | 3 | No | Enemy camp stealth approach |
| Skyfeather Ridge | 3 | No | Level 57 enemies near final piece |
| The Barren Old Trading Post | 3 | Level 60 troll | Enemies attack during collection |
| A Forgotten Haven | 3 | No | Piece hidden in water behind rocks |
| Two Lakes Hill | 2 | No | Simplest statue overall |
| Stronghold Ridge | 4 | No | Fourth piece near enemy campfire |
| Hill of Journey | 3 | No | Watch for bees near final piece |
| Seagull Village | 3 | Level 25 beast | Good early boss for leveled players |
| Echo Canyon | 3 | Boss triggered | Final piece on tall enemy cliff |
How to restore every Statue of Organa
Shaded Tree Hill
This statue's map location unlocks automatically once you activate Eona's Legacy for Meadow of Beginnings. Four pieces to collect:
- Piece 1: Directly behind the collapsed wall surrounding the statue.
- Piece 2: North of the statue near the water, hidden in bushes.
- Piece 3: East of the statue, near an enemy camp.
- Piece 4: Southeast of the statue, close to the cliffs.
Autumnleaf Zone
This statue sits in the middle of a lake, which creates one genuinely awkward retrieval:
- Piece 1: Just behind the stone railings around the statue base.
- Piece 2: On top of a rock southeast of the statue in the lake. Swim there directly and the piece sinks. Instead, find the tree at the lake's edge, interact with it, and hold forward to push it across the water as a bridge.
- Piece 3: On top of the stone pillar to the west. Mount your Familiar and climb up to grab it.
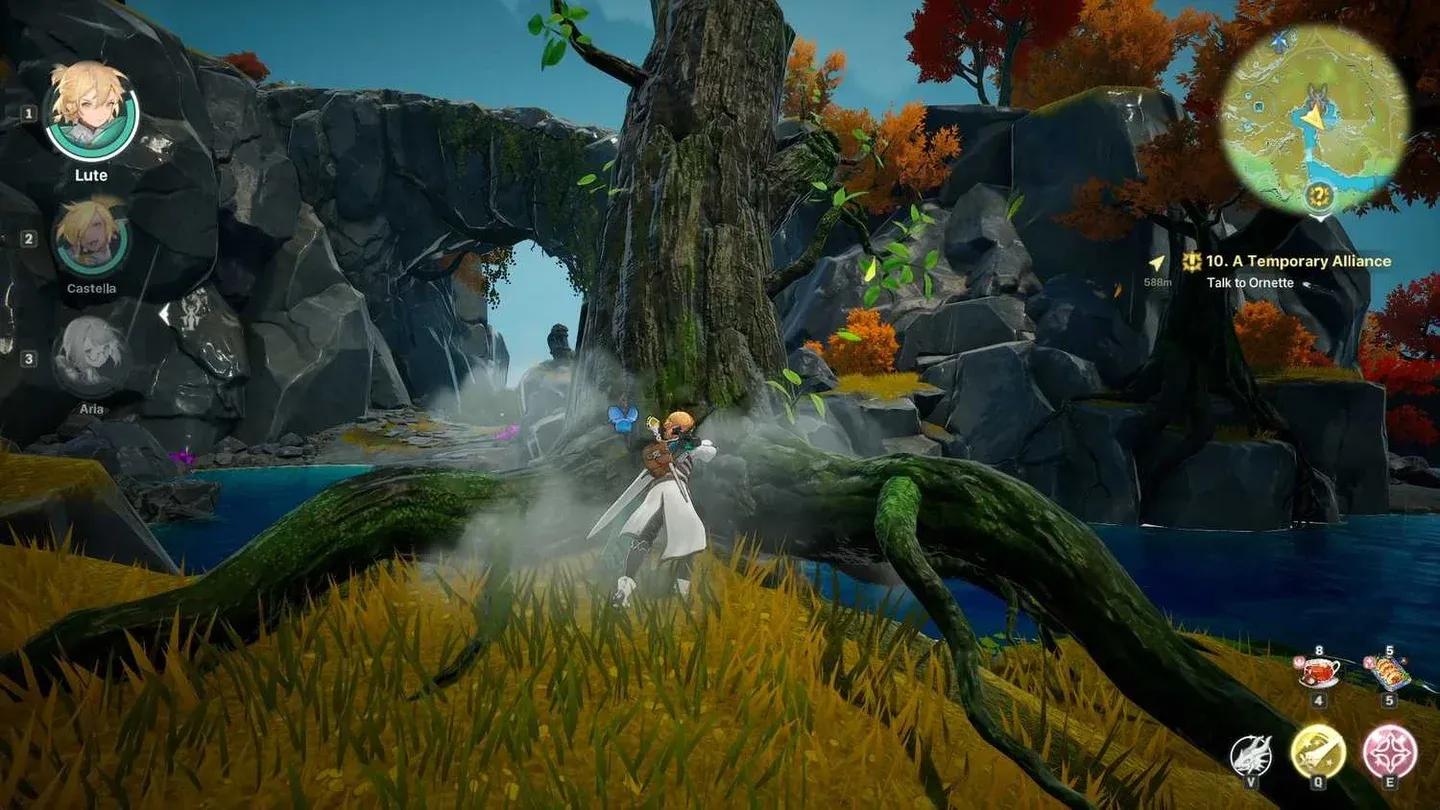
The tree bridge trick in Autumnleaf
Worm's Valley
Despite sitting in a high-level region with spiky cliff terrain, this one only needs two pieces and both are visible without much searching:
- Piece 1: Down the stairs directly behind the statue.
- Piece 2: Follow the path toward the cave entrance. The piece sits beside the narrow gate.
There is also a locked chest nearby. If you have been restoring statues in order, you should already have Silver Keys in your inventory to open it.
Ruined Temple
The statue sits at the top of a temple, and the path up can trigger a Level 60 boss encounter. You do not need to fight it. Fly away from the area to cancel the battle before interacting with the statue pieces.
- Piece 1: Behind the pillar at the back of the statue.
- Piece 2: At the far end of the path in front of the statue.
- Piece 3: Take the left staircase when moving away from the statue. Descend three times until you reach the boss chamber entrance. Do not go in. Check the narrow ledge beside the staircase you just came down. The piece is at the far end of that ledge.
- Piece 4: Enter the boss chamber. Immediately after the door, skip the stairs and jump off the ledge beside them. Head to the area behind the staircase structure. Grab the piece and run. Carrying it while moving keeps the boss from catching you.
Dragon's Stonepeak
Three pieces, all near an enemy camp. Approaching from behind keeps enemies from spotting you:
- Piece 1: Behind a tree south of the statue, near the cliff edge.
- Piece 2: Behind a large enemy hut northeast of the statue. Circle around from behind to avoid detection.
- Piece 3: Hidden in bushes beside the tree next to the staircase leading up to the statue.
Skyfeather Ridge
Two of the three pieces here are up in dried trees, which makes them easy to miss from ground level:
- Piece 1: South of the statue, inside a hole at the top of a tree. The glow is not visible from below. Climb the tree to spot it.
- Piece 2: Also south of the statue on another tree, slightly farther out. The glow is visible from the ground on this one.
- Piece 3: West of the statue. Drop down the cliff and push past the hostile creatures. These are Level 57 enemies, so do not stop to fight. Running while carrying the piece is faster than they are.
The Barren Old Trading Post
Skip this one entirely if you are below level 30. The statue sits inside a Level 55 enemy camp, and delivering all three pieces spawns a giant troll boss that must be defeated before the statue activates.
- Piece 1: On top of the pillar directly above the statue.
- Piece 2: East of the statue, next to a cluster of barrels.
- Piece 3: West of the statue, next to an enemy. Wait for the enemy to fire its first shot, dodge it, grab the piece, and sprint to the statue.
Once all three pieces are delivered, the troll rises from the ground. Defeat it to complete the restoration.

Troll boss at the Trading Post
A Forgotten Haven
A beachside statue with three pieces spread across the immediate area:
- Piece 1: On top of the pillar behind the statue. Use your Familiar to climb up.
- Piece 2: Inside the tree trunk near the statue staircase.
- Piece 3: Behind the rocks in the water, southeast of the statue.
Two Lakes Hill
The simplest restoration in the game. Two pieces, both on the arc-shaped stone platforms behind the statue:
- One platform curves above the statue.
- The other curves downward at the cliff edge.
Stronghold Ridge
Four pieces, with the last two conveniently visible from the same vantage point:
- Piece 1: On top of the arc-shaped pillars to the left of the statue. Use your Familiar to reach it.
- Piece 2: At the far end of the path in front of the statue.
- Piece 3: On the cliff edge overlooking a small lake, southeast of the statue.
- Piece 4: Visible from where you pick up Piece 3. It sits next to an enemy campfire near the lake, south of the statue.
Hill of Journey
Three pieces in a fairly compact area, though the last one has a hazard worth noting:
- Piece 1: On the staircase leading up to the statue. Hard to miss on the way in.
- Piece 2: Near the staircase, next to an enemy campfire.
- Piece 3: South of the statue, behind bushes. There are bees in this area, so move through quickly.
Seagull Village
Another statue that triggers a boss once all pieces are returned. This one spawns a Level 25 beast, so it is manageable if you have any meaningful campaign progress behind you:
- Piece 1: Behind the wall south of the statue.
- Pieces 2 and 3: Both on a straight path directly behind the statue, next to some bushes.
Deliver all three and the beast appears. Defeat it to restore the statue.
Echo Canyon
The final statue, and the most involved retrieval of the bunch:
- Piece 1: On top of a half-pillar near the statue entrance path. The pillar is covered in a spiky plant, so you cannot climb it directly. Climb the pillar on the opposite side instead, then fly with your Familiar to drop onto the target pillar.
- Piece 2: On the same entrance path, behind a stone half-wall. You will likely spot it while positioning for Piece 1.
- Piece 3: Northwest of the statue, on top of a tall cliff occupied by an enemy camp. Reaching it triggers a boss encounter. Do not fight. Sprint through the enemies, grab the piece, and run straight back to the statue.

Echo Canyon's distant final piece
How to use Silver Keys from statue restorations
Every restored Statue of Organa drops one Silver Key. These keys open locked chests that appear near several statues, including the one at Worm's Valley. Locked chests reliably contain high-level loot, so banking your keys until you are in a region-appropriate level range makes more sense than spending them on the first chest you find.
Restoring statues feeds directly into broader progression. If you are still building your roster, the hero upgrade systems guide covers everything from leveling and Breakthrough to Karma and Awakening, which matters a lot when you start hitting the Level 55 to 60 statue zones. For the boss encounters at Barren Old Trading Post and Ruined Temple, having a solid team comp ready is worth the prep time. Check the best builds and teams guide before heading into those areas underprepared.
If you are still getting your footing in the game, the DragonSword: Awakening beginner's guide covers the core progression systems that make statue farming considerably less painful. For everything else the game has to offer, the full DragonSword: Awakening strategy guides collection has you covered.