
To progress through FINAL FANTASY RESONANCE, follow the mandatory dungeon objectives, then return to the town named by your current task. Several chapters require a return visit before the next destination opens. Chapter 1, for example, sends you to Siren's Tower before you can sail out of Grandport. This spoiler-light walkthrough keeps those requirements in order, separates optional detours, and explains the switches, travel triggers, and scripted encounters most likely to interrupt your progress.
How to use this spoiler-light walkthrough
This route covers Final Fantasy Resonance's full release, launched October 22, 2026. The free Steam demo reaches Siren's Tower in Chapter 1; the full-release route continues with your return to Grandport.
Location names and required encounters appear below, but major plot revelations and final boss identities are omitted. Use your chapter heading to find the next required action rather than reading ahead.
- Follow the numbered steps for mandatory progression.
- Treat named sub quests, optional caves, and extra Esper recruitment as detours.
- Check the roadblock table near the end if your current objective is not advancing.

Opening chapters and mandatory objectives
Prologue: Follow the tutorial encounters
The prologue has no collectibles to search for. Continue through its battles; Dystopia ends the opening fight quickly, and the Iron Giant encounter allows Bahamut to be summoned on turn 3, with Megaflare finishing the battle.
Chapter 1: How do you leave Grandport?
You must complete Kolobos Ruins, visit Siren's Tower, and return to Grandport before speaking to the captain to leave. Reaching the harbor alone does not complete the chapter's travel requirement.
- Leave Grandshelt Castle and investigate Earth Shrine. Its boss, Belmodar, is weak to Fire.
- Travel to Mitra and investigate Rain's blue-roofed house. Continue through the scenes to receive Leah and Tronn, then complete the Vision equipment objective.
- Return to Grandshelt and complete the castle rescue. Charlotte joins as a guest during this section. The throne-room encounter ends in a scripted defeat.
- Follow the Felicitas objective. The intervening story tasks send you to Kol, where you must stay at the inn and rent a chocobo before continuing.
- Reach Felicitas, then enter Kolobos Ruins to look for Emma's mother. The Hunger is weak to Light, revives once, and summons allies.
- Return to Grandport Harbor and approach the ship on the pier. Follow the new objective to Siren's Tower.
- Defeat Siren, who is weak to Thunder, then return to Grandport. Complete the Awakening tutorial and speak to the captain at the dock when ready to sail.
At Siren's Tower, take the elevator east of the save point for Sakura-Fubuki before entering the green portal. The Citrine Pot elsewhere in the tower wants an Ether, which resolves its encounter and awards Mastery Points.
Chapter 2: Which shipyard lever advances the story?
Chapter 2 takes you through Dilmagia, Mt. Thunderclap, Dwarven Forge, Mobliz Shipyard, and Wind Shrine, followed by a return to Dilmagia.
- Head west to Dilmagia. Speak to the three marked NPCs, then continue north through the scenes that add Lid to your party.
- Enter Mt. Thunderclap, northeast of Dilmagia. The paid ladder is a shortcut, not the only route. Defeat Liquid Thunder with Earth attacks.
- Continue to Dwarven Forge and speak to Borin. Complete the Mom Bomb encounter, which ends its first phase by exploding and leaving four Great Bombs.
- Travel to Mobliz Shipyard. Activate the glowing switch for the central elevator and continue through the story events.
- During the escape, return along the route until Lid opens the southeast door. Pull Lever 16, then follow the return-to-entrance events.
- Defeat Adrastea, which is weak to Water and Lightning. Continue through the Dwarven Forge scenes, then head to Wind Shrine.
- Clear Wind Shrine and defeat Aether, which is weak to Ice. Return to Dilmagia for the chapter's closing events.
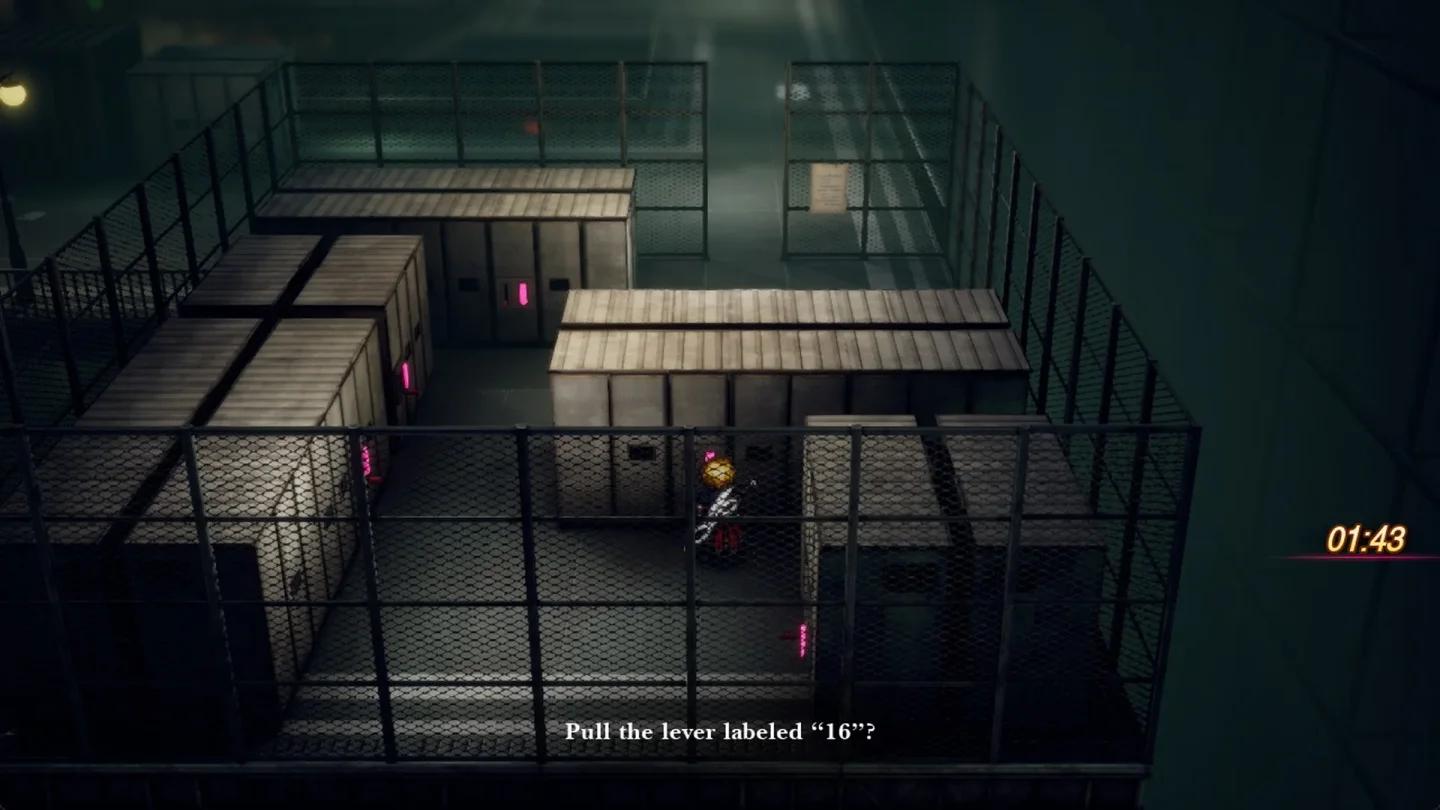
Choose the correct shipyard lever
Chapter 3: When should you return to Olderion?
Olderion is the chapter's recurring story destination. Return after rescuing the Water Maiden, after visiting Lake Dorr, and after clearing Water Shrine.
- Enter Olderion, gather information from the marked NPCs, and speak to the Warden of the Waters.
- Go to Cave of Waters to save the Water Maiden. Nichol joins during this dungeon. Use its glowing switches to reposition boats, defeat Wave Lopros, and return to Olderion.
- Visit the three marked water locations with Luka, then continue into Old Town. Lasswell and Nichol temporarily leave your available party during this section.
- Complete Old Town's battles, including Water Dragon. Return through Cave of Waters to reach Lake Dorr.
- Defeat Leviathan, return to Olderion, and stay at the inn.
- Travel west through Waterfall Way, complete the Altar events, and follow the Warden's Cape objective toward Amore.
- Continue to Water Shrine, solve its mechanisms, and defeat Alluvion.
- Return to Olderion, follow the objective involving Arsha, and depart for Zoldaad through the port.
These four mandatory bosses reward different preparations. Ice handles the first, while Thunder covers the remaining three.
| Boss | Location | Boss level | HP | Weakness |
|---|---|---|---|---|
| Wave Lopros | Cave of Waters | 20 | 21,000 | Ice |
| Water Dragon | Olderion, Old Town | 21 | 24,000 | Thunder |
| Leviathan | Lake Dorr | 23 | 40,000 | Thunder |
| Alluvion | Water Shrine | 26 | 48,000 | Thunder |
Against Leviathan, defeat the Orbs of Light to weaken it, then keep the fight moving because it becomes enraged if the battle lasts too long. Against Alluvion, watch the prism cores that strengthen its special skill, and avoid Water attacks entirely because it is immune.
How do you solve the Water Shrine switches?
The Water Shrine route depends on its lower floor. If the upper route stops, return to the entrance and take the southeast ladder down.
- Ride the opening boat and activate the first switch. The northern boat detour through the waterfall contains Scale Mail and a Magicite Shard.
- On the lower floor, head east to the crate room. Activate the switch, collect Lightning Scroll I ×3, and push the crate.
- Operate the switches in this order: left, right, left. Check the hidden chamber for R'lyeh Text.
- Continue west, then north into the next water-level room. Lower the water and ride the boat to the lone box.
- Push the box upward, return to the switch, and raise the water. This also opens the Calm Armlet detour.
- Ride the boat to the large central switch, activate it, and return to the central staircase. Save before continuing north to Alluvion.
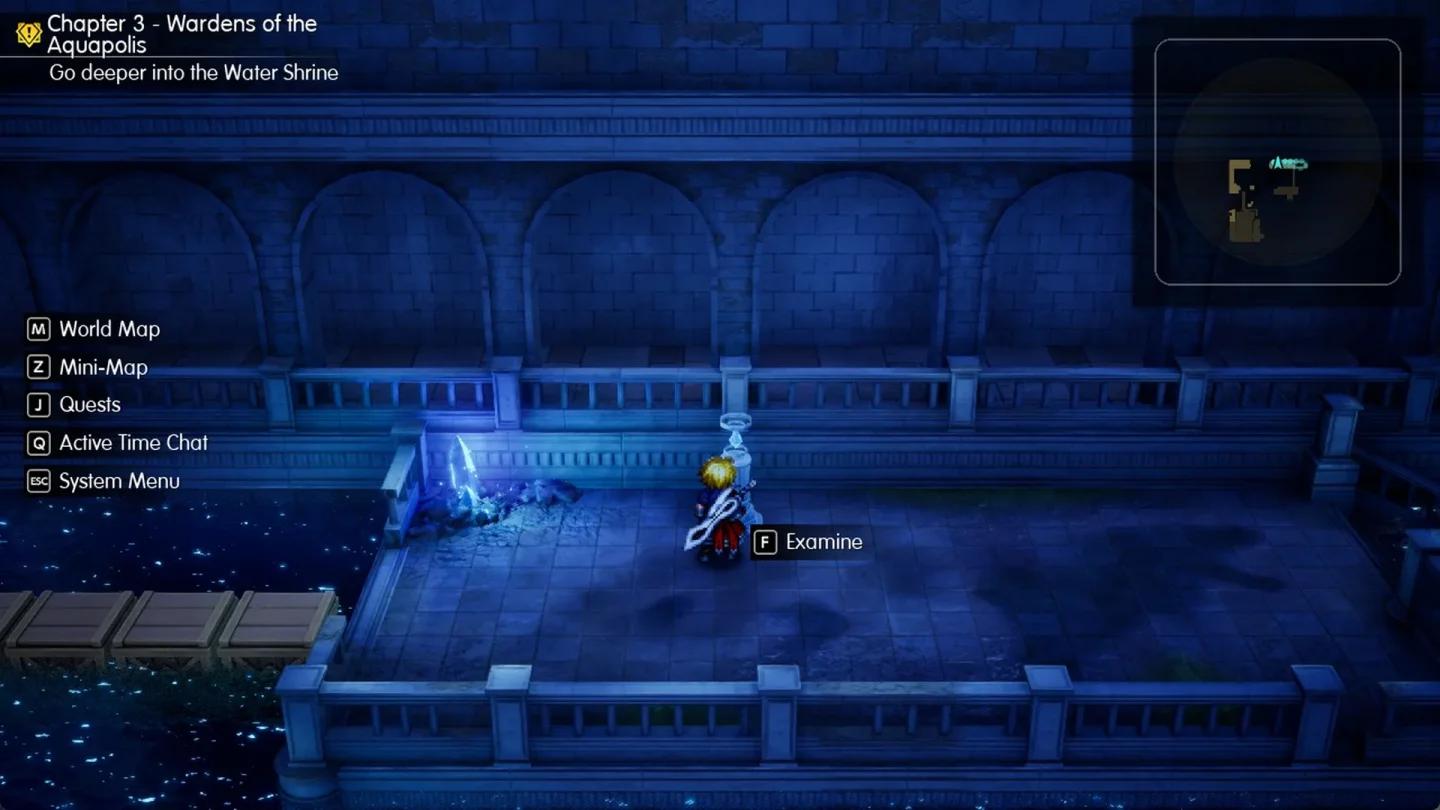
Move crates before raising water
If you want a break during Olderion's return visits, Medicinal Mission and The Tide from the Sky are optional diversions. Use the sub quest locations and rewards guide to handle those separately without losing your place in the mandatory route.
Middle chapters and progression requirements
Chapter 4: How do you reach the airship?
Start at Mozul Station and board the train. After the Timber Tracks events, continue toward Zoldaad, the Imperial Capital.
- Follow the capital's marked conversations through its districts, then meet your party in the Imperial Hotel alley.
- Pass through the Underground Tunnels to reach the Rebel Hideout. Complete the marked conversations and rest at the inn.
- Enter Weapons Factory. Follow its switches, ladders, and bridge mechanisms through the story encounters.
- After the factory's later Ignis fight, return to the Rebel Hideout and speak to Jake in his room.
- Continue through Zoldaad's tunnels into the Dungeon. Defeat the soldier to the northwest for the Dungeon Key.
- Advance into Zoldaad Castle. The captain in the upper-right room gives you the Throne Room Key through either conversation or combat.
- Complete the throne-room and rooftop sequence. After the closing events, leave the city to find your airship.
Once you have the airship, enter its interior for the required scenes. To begin Chapter 5, investigate the radar pulse in the ocean south and slightly east of Pharm.
Pharm itself is an optional early excursion at this point, with enemies in the mid-40s. If your goal is story progress, follow the ocean radar pulse rather than trying to clear that continent immediately.
Chapter 5: What is the mandatory Mysidia route?
In Mysidia, visit Sakura's house, see the potion factory events, and make the initial trip into Arcane Library. Continue to Sunioo, then follow the story through Nameless Ruins and back to Arcane Library.
On the library return visit, defeat the five Monster Tomes marked by main quest icons to open the blue warp. The later route alternates between Fina's Psyche and Tower of Mysidia, then returns to Sakura's house for the closing scenes.
Keep Mysidia's optional activities separate from that route. For additional help around this chapter, browse the Final Fantasy Resonance guide collection.
Late-game objectives
Chapter 6: What opens the rest of Gronoa?
Begin in Gaberada, reached through Gronoa's southern peninsula, and speak to the village elder in the northwest house. Your first major destination is Research Center Ruins.
- Collect the Level 1 Lab Key Card in the first room and explore the western route.
- Obtain the Level 2 Lab Key Card, then follow the eastern rooms and teleporters.
- Collect the Level 3 Lab Key Card and return to the northern room from the entrance to obtain the White Jade Stone.
- Return to Gaberada. During the story events, Fina learns Holy, allowing exploration of the rest of Gronoa.
The mandatory route then continues through Rugged Mountain Pass, Duggle, Granoa Shrine, and Sanctissimus Shrine. Lux in Rugged Mountain Pass is weak to Dark; Elfdrit in Granoa Shrine is weak to Light and Fire.
Sanctissimus Shrine is primarily a sequence of boss encounters. Watch Yakhanati's alternating resistance to physical and magical attacks, and defeat the two Arch Gargoyles together. Continue through the remaining story battles to finish the chapter.
Chapter 7: Where does the Pharm story begin?
Fly to the large tornado south of Pharm to begin the chapter's main sequence. Defeat Aether, which is weak to Ice, then head to Sian and speak to Ayaka.
- Travel through Mt. Reizan and collect the Resonance Stone along the route.
- Defeat Ignis with Water attacks, then Alluvion with Thunder attacks.
- Leave the mountain through the Lake Ryusei area and continue toward the main objective.
- Pass through Forest Path, including its Tellus encounter, which is weak to Wind.
- Continue into Wandering Lands and complete the required battles and scenes to close the chapter.
The Resonance Stone can also upgrade the airship radar when you speak to Lid. That upgrade supports additional exploration, while the main story continues toward Forest Path and Wandering Lands.
Final chapter preparation
What should you do before entering Crystal Tower?
Chapter 8's main destination is Crystal Tower. You can pursue optional challenges before the finale or return to them through a Clear Save after the credits.
| Preparation | Why it helps | Best for |
|---|---|---|
| Check the airship equipment shop | Its stock changes with chapter progression | Players whose equipment has fallen behind |
| Visit Aileen if her crafting is unlocked | Adamantite can be crafted into character-specific weapons | Players with unused Adamantite |
| Reserve Elixirs for the Pearly Pots | Both Crystal Tower pots request an Elixir | Players collecting Mastery Points |
| Train through Dragon's Maw | Its encounters support EXP, gil, and Vision mastery | Players preparing for optional endgame fights |
Dragon's Maw, at Pharm's southern tip, is optional. You cannot escape battles inside, so choose it for deliberate training rather than a quick look around.
How do you finish the Crystal Tower route?
Follow Crystal Tower's main path while collecting the Ancient Katana near a save point. During the Behemoth encounter, wait for your allies' support attacks before you can deal damage; its weaknesses are Light and Wind.
Continue through the upper platforms and bridges. The final Tablet Shard is reached by taking the western branch at a bridge fork after the third platform. Near the last save point, collect Faerie Bow and the Magicite Cryst before approaching the final teleport.
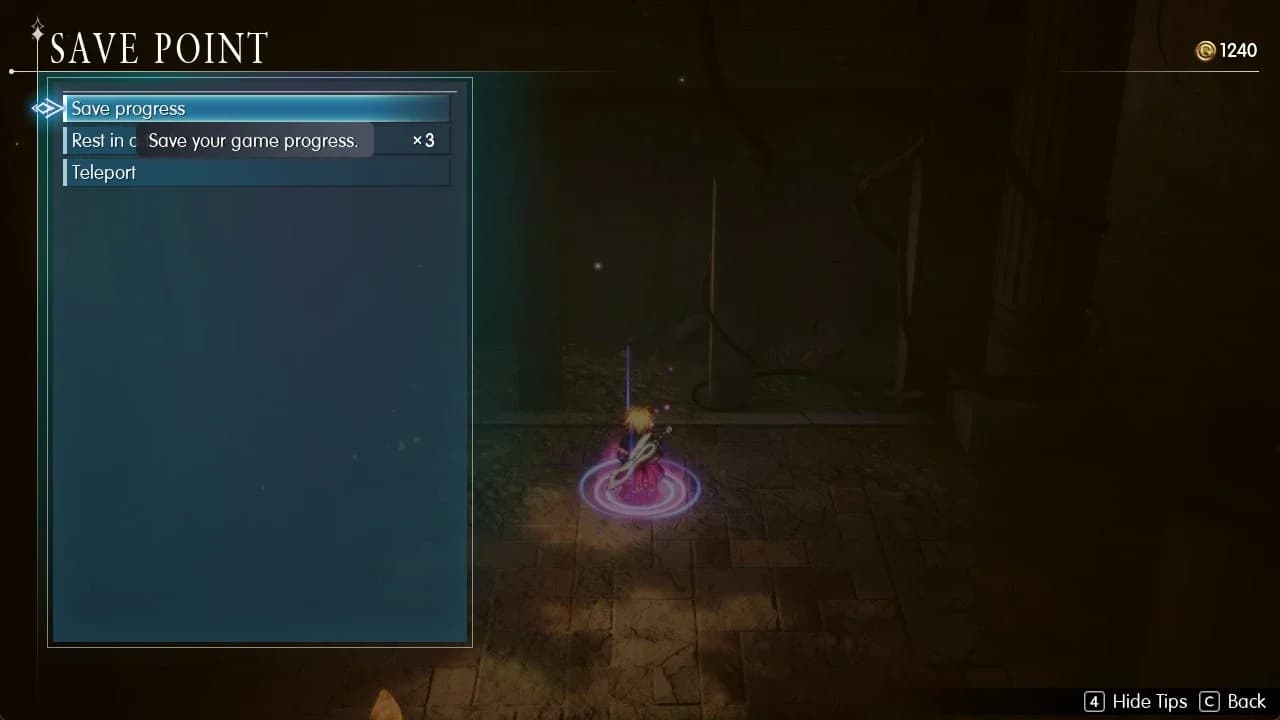
Save before the final teleport
Beyond that teleport, the next boss is weak to Dark. The final boss's first part is weak to Light, and its second part has multiple targets.
Where to go when story progress stalls
Which requirement have you missed?
Repeated town visits are part of Olderion's chapter, while Grandport and Mobliz Shipyard each have a specific progression trigger. Match your situation to the required action below.
| Where you are stuck | Required next action |
|---|---|
| Mitra's Vision objective | Continue Rain's house events, receive Leah and Tronn, and equip a Vision |
| Heading toward Felicitas early in Chapter 1 | Complete Kol's inn and chocobo rental tasks |
| Grandport will not let you leave | Finish Siren's Tower, return for the Awakening tutorial, and speak to the captain |
| Mobliz Shipyard escape | Wait for Lid to open the southeast door, then pull Lever 16 |
| Olderion after the Water Maiden rescue | Return to the city and follow Luka's water-purification objectives |
| Water Shrine's upper route stops | Take the southeast ladder down and complete the crate and water-level mechanisms |
| Unsure where to go after unlocking the airship | Investigate the ocean radar pulse south and slightly east of Pharm |
| Arcane Library's blue warp is unavailable | Defeat the five marked Monster Tomes |
| Gronoa exploration remains restricted | Finish Research Center Ruins and return to Gaberada for Fina's Holy event |
| Chapter 7 has not properly started | Fly to the large tornado south of Pharm |
Common mistakes
- Trying to win scripted defeats. The Chapter 1 throne-room battle and Weapons Factory's opening Ignis fight end through story events.
- Using later recruits as early solutions. For Chapter 3 Thunder access, Tronn and Noctis are earlier options than Shantotto or Sakura, who arrive in later chapters.
- Inspecting the desert whirlpool too early. Doing so on foot starts the optional level 20 Antlion fight. Cross it on your chocobo during the early trip.
- Spending every restorative before meeting a pot.Citrine Pots request Ethers, while Viridian Pots request Mist Ethers. Supplying the requested item resolves these encounters for Mastery Points.
Pro tips
- Read the Timeline before choosing your action. It runs left to right, with blue allies and red enemies. A staggered enemy cannot act on its turn, which makes turn order worth checking.
- Keep a Vision equipped during battles. Fighting with one equipped grants Mastery Points, which can raise its Mastery Rank. This is useful throughout the mandatory route.
- Awaken Zidane for equipment hunting. The Zidane Vision, found in a Sanctum of Light during Chapter 2, teaches Steal. This is best for players taking optional equipment detours between story objectives.
FAQ
Can you return to the world after the final boss?
Yes. Loading a Clear Save places you back in the world before the final boss, allowing you to continue optional activities. It also opens the postgame Ultima Weapon encounter on the southeast island.
Do you need all 99 Tablet Shards for every achievement?
No. You do not need all 99 Tablet Shards for every achievement. Collecting the full set is a separate completion goal, with shards exchanged for rewards at Oblivion Palace.
Does defeating Leviathan in Chapter 3 unlock its summon?
No. The Chapter 3 Lake Dorr battle and the summon unlock happen at different stages. Leviathan becomes available as an Esper through Nichol's Duty after you obtain the airship. For that quest route and other optional summons, use the Esper locations and unlock steps guide.