
Solve the Crystal-Tree Grotto light puzzle by powering the pedestal, adding a Refraction Mechanism, and returning the beam to the original device. This hidden puzzle in Genshin Impact opens a chamber containing a Precious Chest, with a separate route to a Cryoculus nearby. The part that can stop your progress is the final reflection: the new mechanism does not aim straight at the last obstruction. You need to send its light through another reflective crystal first, then adjust the original mechanism to finish the route.
Where to find the Crystal-Tree Grotto light puzzle
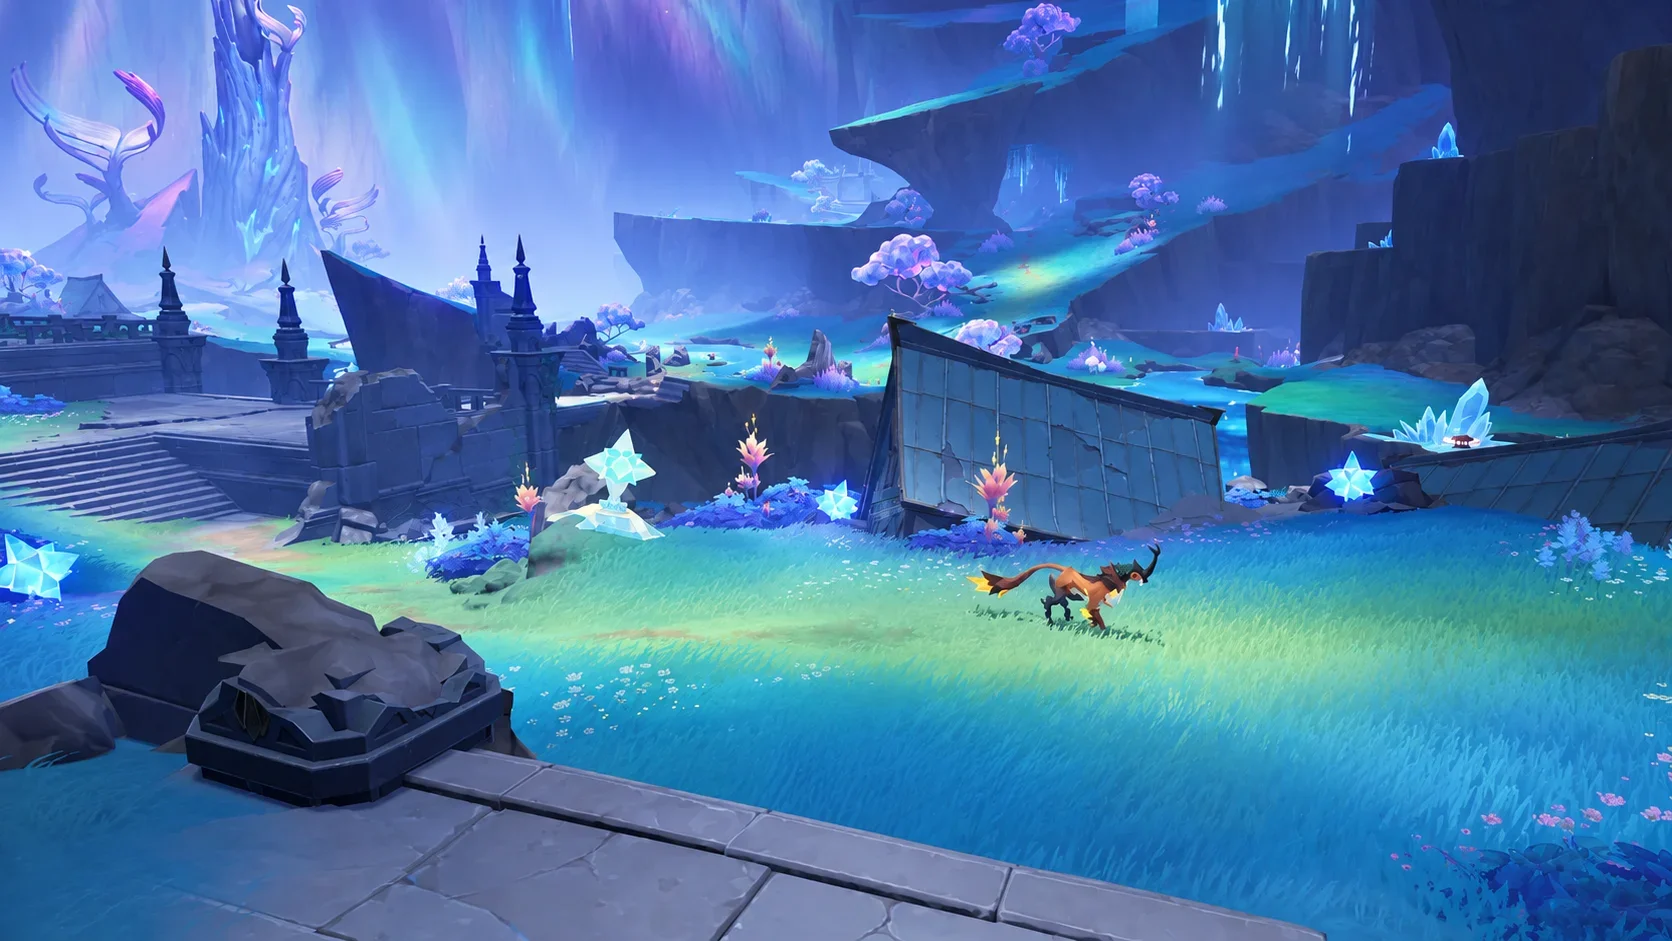
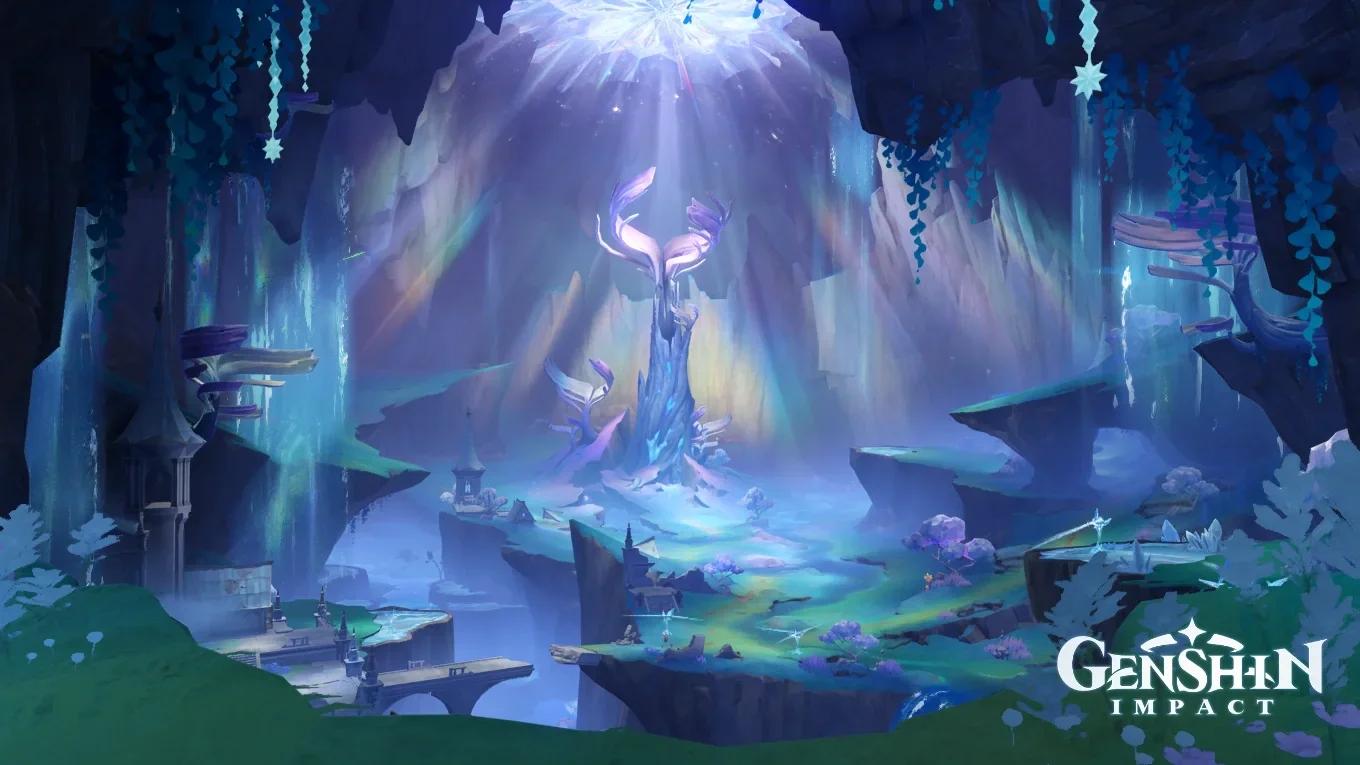
Progress through the Novokitezhgrad World Quests until you can explore the deeper underground ruins. The puzzle sits in the lower part of Crystal-Tree Grotto, around a damaged structure surrounded by cracked crystals.
Look for an inactive Refraction Mechanism beside the ruins. Paimon comments on the concentration of damaged crystals as you approach. From that starting device, look toward the raised stone platform on the upper-right side to find the Light-Focusing Pedestal.
Several nearby challenges use similar light devices. Check your surroundings before following a route:
| Puzzle | Identifying landmarks | Objective |
|---|---|---|
| Crystal-Tree Grotto hidden puzzle | Lower underground ruins, a damaged house, and an elevated pedestal | Open a hidden chamber containing a Precious Chest |
| The Shadow Lurking in the Tower | Sacred Plain near Winged Peak, with Koshkin above the starting area | Destroy a massive Blightkristall core |
If your surroundings match the Sacred Plain, follow the Genshin Impact tower light puzzle solution for that quest's beam route. The steps below cover the hidden grotto chamber.

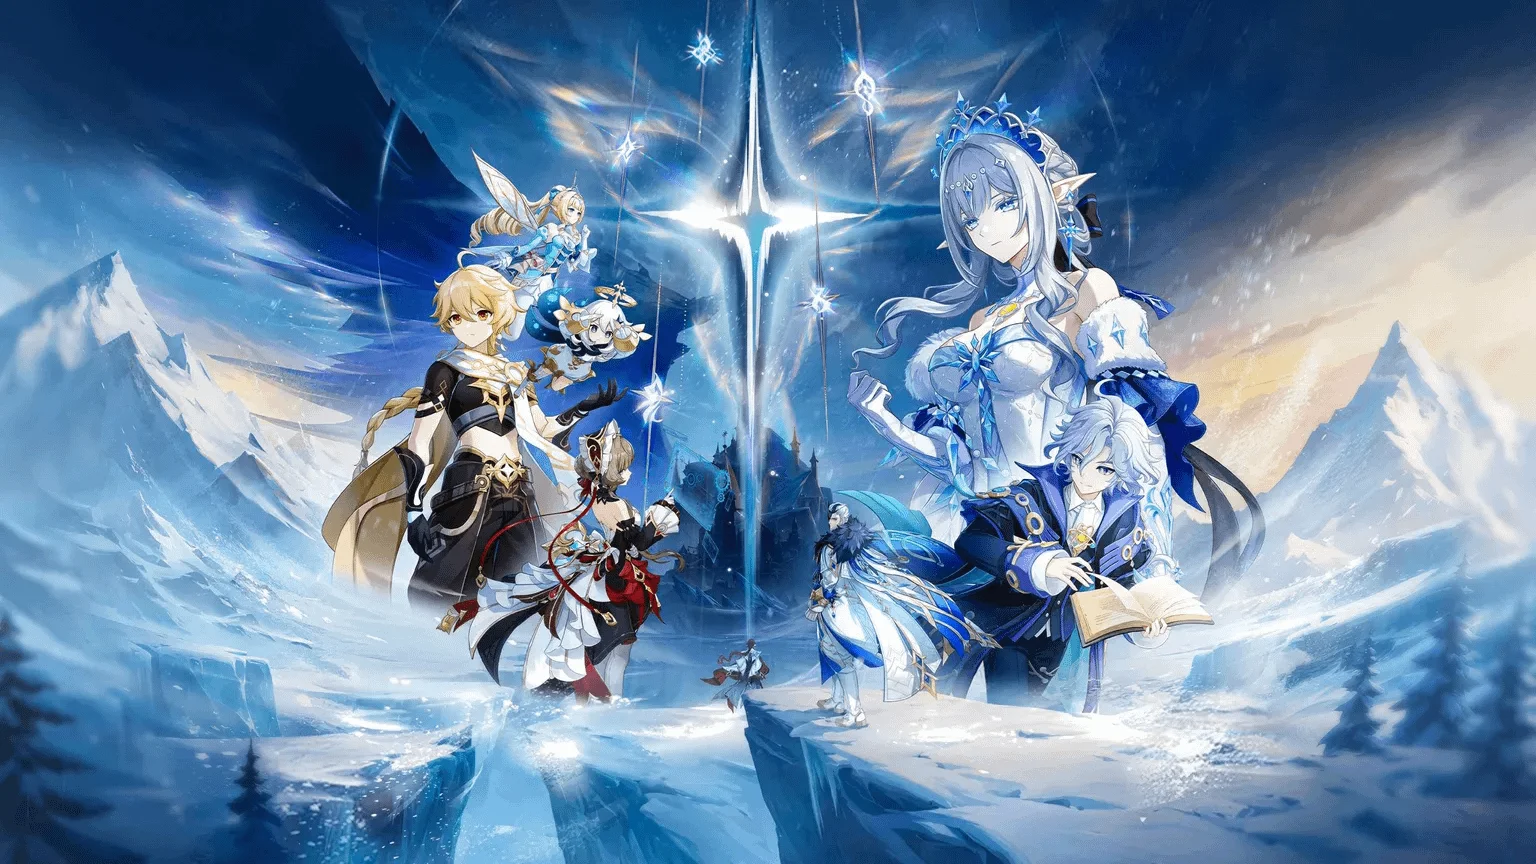
How to solve the Crystal-Tree Grotto light puzzle
Step one: Power the elevated pedestal
Climb onto the stone platform and create a Luminous Lamp Crystal using your Prime Ice construction ability. Carry the crystal to the Light-Focusing Pedestal and select Install the lamp crystal to power the light source.
Select Use on the pedestal to adjust its direction. Aim the focused beam at the nearest reflective crystal. The reflection should strike the first Blightkristall obstruction and destroy it, opening another section of the ruins.
Follow the newly opened route before trying to reach the final barrier. The next item you need is behind this first obstruction.
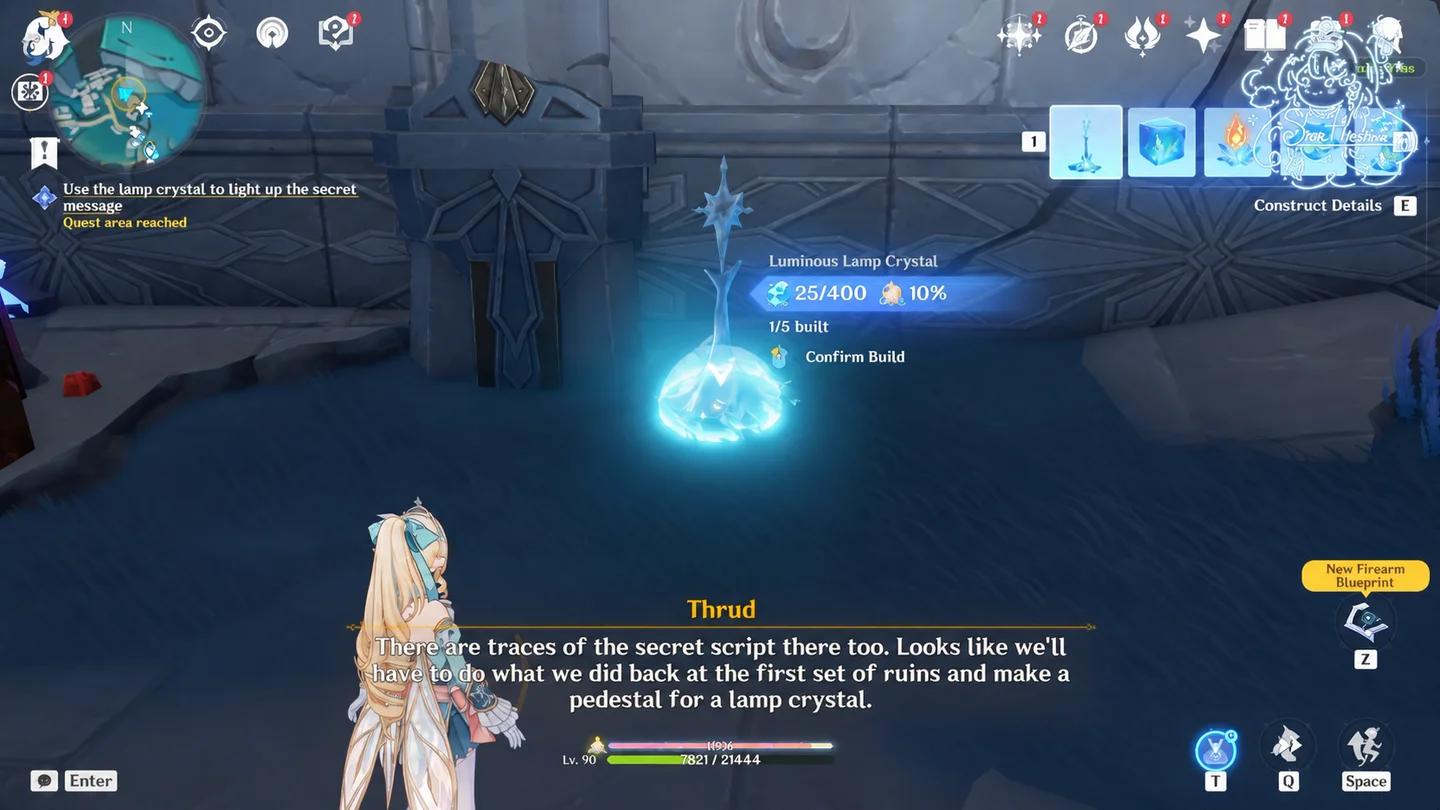
Power the elevated light source
Step two: Place the additional Refraction Mechanism
Inspect the area revealed by the destroyed obstruction and collect the temporary Refraction Mechanism blueprint. Open the construction interface and select that blueprint.
Place the device near the ruined house's roof, between the active light source and the remaining reflective crystals. Its receiving point needs to intersect the existing beam. Use the light's visible path to judge the position, not just the shape of the roof.
Check the connection before rotating the new device:
- Confirm that the incoming beam reaches the placed mechanism.
- If it misses, adjust the mechanism's position or the preceding reflector's direction.
- Once the device receives light, interact with it and turn its outgoing beam toward the next reflective crystal.
Placement and rotation solve different problems. Moving the mechanism brings it into the incoming beam; rotating it controls where that light travels next.
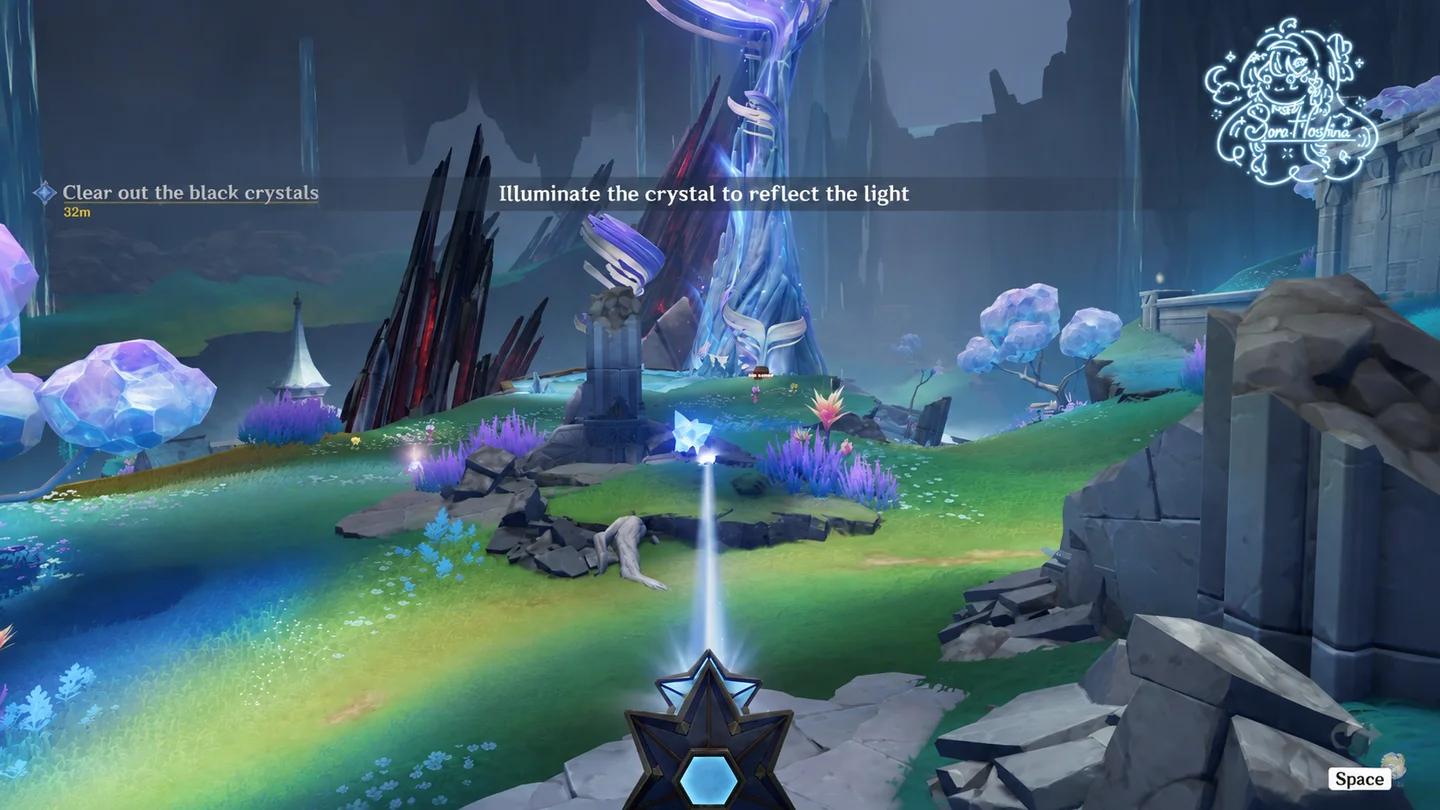
Bridge the beam above the ruins
Step three: Return the light to the original mechanism
Follow the beam from the newly placed device through the next reflective crystal. This part of the route sends the light back toward the original Refraction Mechanism near the starting area.
Return to that original device once the incoming light reaches it. Adjust its direction again, this time aiming at the remaining Blightkristall obstruction. The returning beam is what lets this mechanism reach the final target.
When the obstruction shatters, a passage into the hidden chamber opens. You can stop adjusting the light devices and move into the cleared ruins.
What to check if the final crystal stays intact
Trace the route from the elevated light source toward the obstruction, checking each connection in order. A downstream mechanism cannot pass light onward if the previous reflection misses its receiving point.
Use the first failed connection to choose your correction:
| What you see | What to adjust |
|---|---|
| The added mechanism sits beside the beam without receiving it | Reposition the device near the roof or correct the preceding reflection |
| The added mechanism receives light, but the next reflective crystal remains unlit | Rotate the added mechanism toward that crystal |
| Light reaches the next crystal but does not return to the original device | Check the reflection between that crystal and the original mechanism |
| The original device receives returning light, but the final barrier remains | Adjust the original device's outgoing direction toward the obstruction |
Correct one connection, then follow the beam forward again. Changing several devices at once makes it harder to see which adjustment broke or restored the route.
If your tower quest has not started
The Sacred Plain puzzle has its own quest progression. Complete the preceding objective in the Genshin Impact Blizzards Raged in Days Gone By walkthrough, then speak with Charodeeva. The domovoi use the Kresnik Torch to disperse the gorge's fog and open the area for exploration.
That route also requires clearing two rock barriers with the blue pickaxe before you can reach a fixed Refraction Mechanism. Those obstacles are part of the tower quest, not the grotto chest route.
Collect the Precious Chest and hidden Cryoculus
Open the chamber's chest
Enter the passage revealed by the final obstruction and open the Precious Chest inside. Its rewards include Primogems, Cryo Sigils, and other exploration items.
The chest completes the main hidden puzzle, but the adjacent ruins contain another collectible and an exit worth opening before you leave.
Break the side wall and climb upstairs
Inspect the wall to the left of the newly opened passage. Break the Everfrost wall blocking the side route, then follow the path upstairs.
A Cryoculus waits on the second floor. Collect it for the Statue of the Seven in Snezhnaya, then continue through the upper ruins to the large door.
Open the large door to create an additional exit from Crystal-Tree Grotto. You can use that connection for future travel between the underground area and the surrounding ruins.