Make a skin in Minecraft by painting a character texture in a skin editor, saving it as a PNG, and uploading it through your edition’s skin menu.
A 3D editor lets you see how the flat texture wraps around your character while you work. Start with a default template to focus on clothes and hair, or use a blank canvas to draw everything yourself. Check your platform’s import support first, then choose an arm model before painting details.
Check your platform and choose an arm model
This workflow creates a classic PNG skin. It does not create the separate clothing items used by Bedrock’s Character Creator.
| Edition and platform | Where to apply your custom skin |
|---|---|
| Java Edition on a computer | The Minecraft Launcher’s Skins tab or your Minecraft profile’s skin page |
| Bedrock Edition on Windows | The classic skins section of Dressing Room |
| Bedrock Edition on Android or iOS | The classic skins section of Dressing Room |

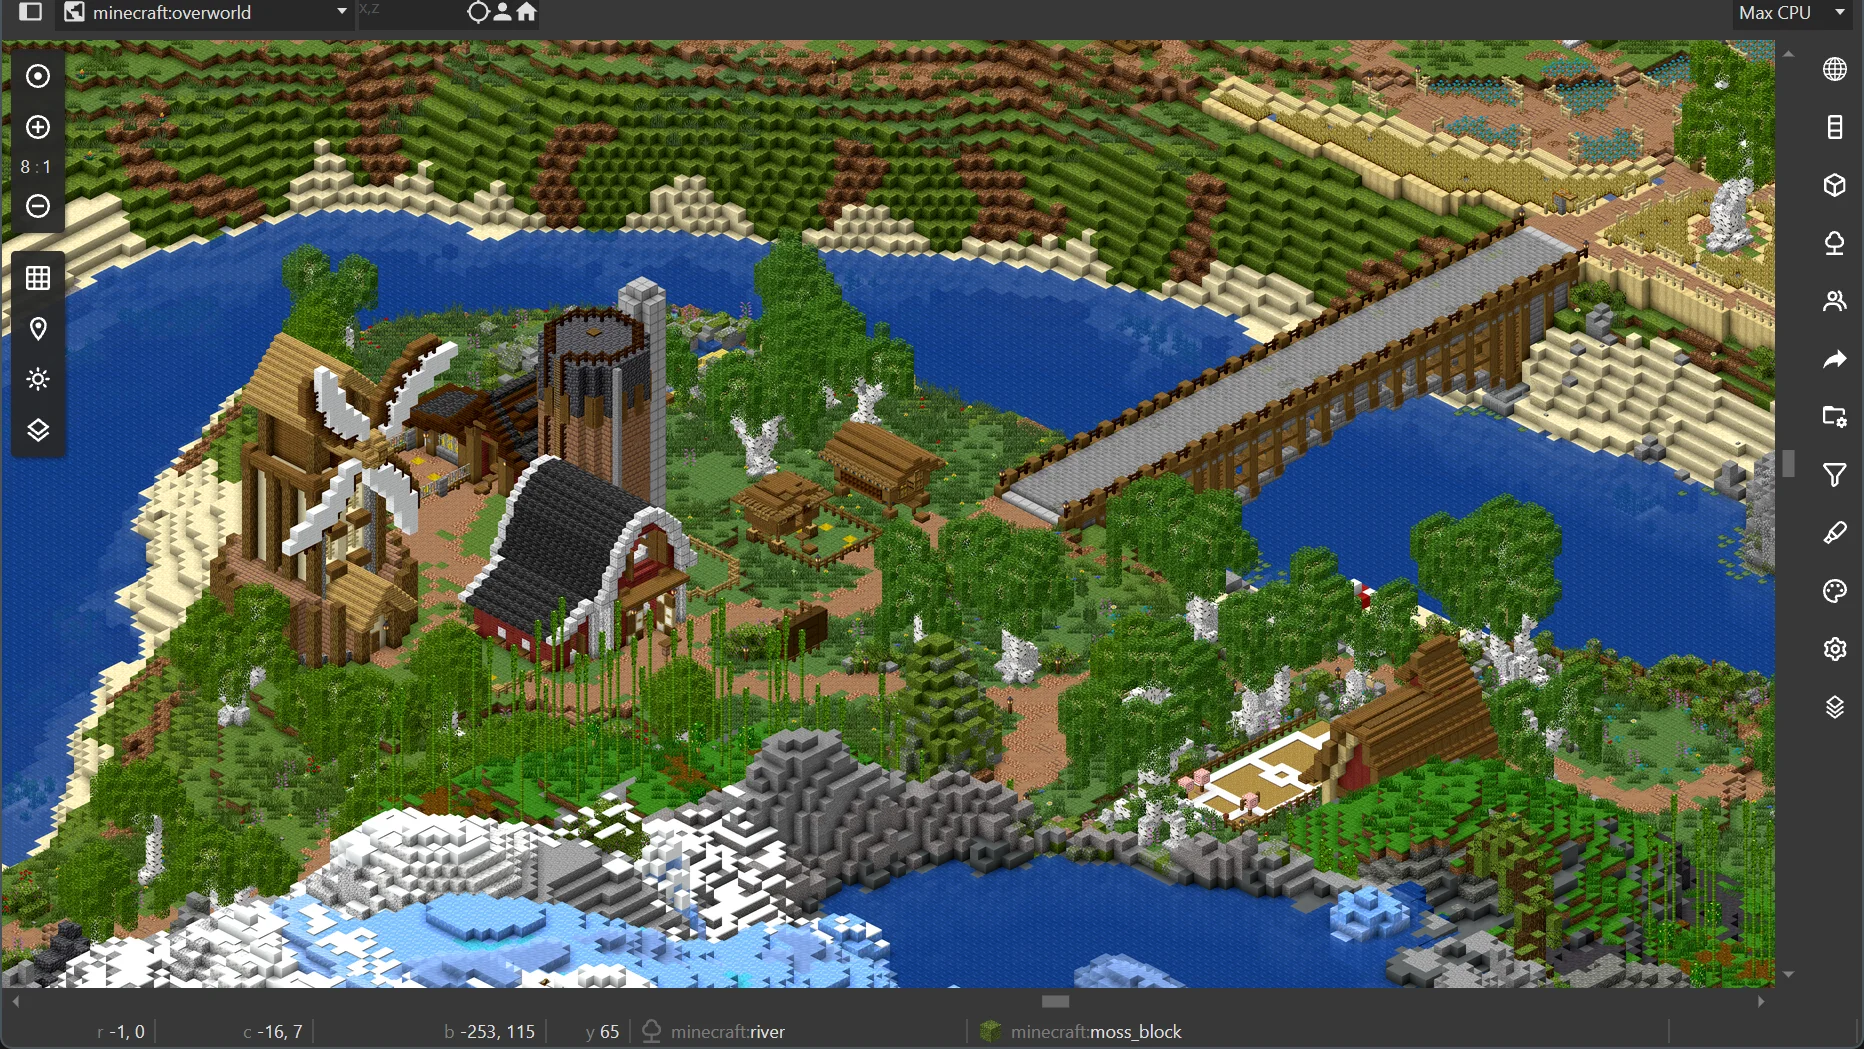
Choose Classic or Slim before drawing
The two models use different arm widths. Neither offers more texture resolution; both use the same standard 64×64 image size.
| Model | Arm width | Familiar reference | Java Launcher label |
|---|---|---|---|
| Classic | 4 pixels | Steve | Wide |
| Slim | 3 pixels | Alex | Slim |
Choose the shape you want in the editor before painting the arms. A sleeve stripe placed for Classic arms may not line up correctly when the texture is read as Slim.
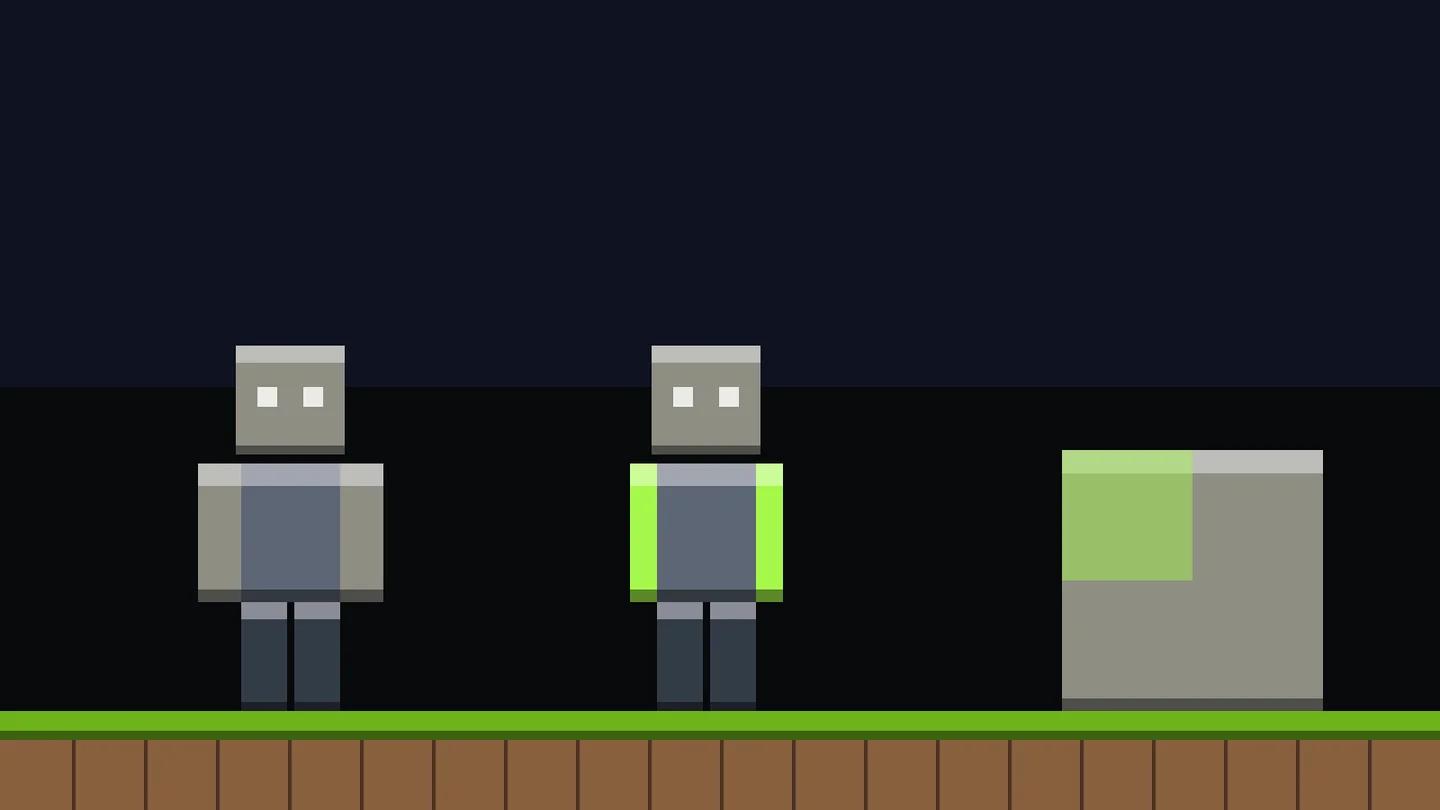
Choose the correct arm width
Draw the base skin in an editor
Use a skin editor with a rotatable 3D preview, a 2D texture view, a model selector, and PNG export. A normal paint program can edit the file too, but the unfolded texture is harder to read without a model beside it.
Start with a template or an existing PNG
Choose a blank skin, load a default template such as Steve or Alex, or import a skin PNG you already have. A template helps you keep track of the face, hands, and clothing boundaries while learning the layout.
Each body part unfolds into six faces on the texture sheet: front, back, left, right, top, and bottom. Painting only the front leaves the rest of the character unfinished, even if the initial preview looks good.
Before adding small details:
- Select the arm model you chose earlier.
- Select the Base skin layer.
- Pick a main color for each material, such as skin, hair, fabric, and shoes.
- Fill the large areas, then use the brush to define their boundaries.
- Rotate the model and complete the sides, back, tops, and bottoms.
Colors come from the editor’s palette. You do not need in-game items such as Minecraft white dye to paint white clothing onto the texture.
Block out shapes before shading
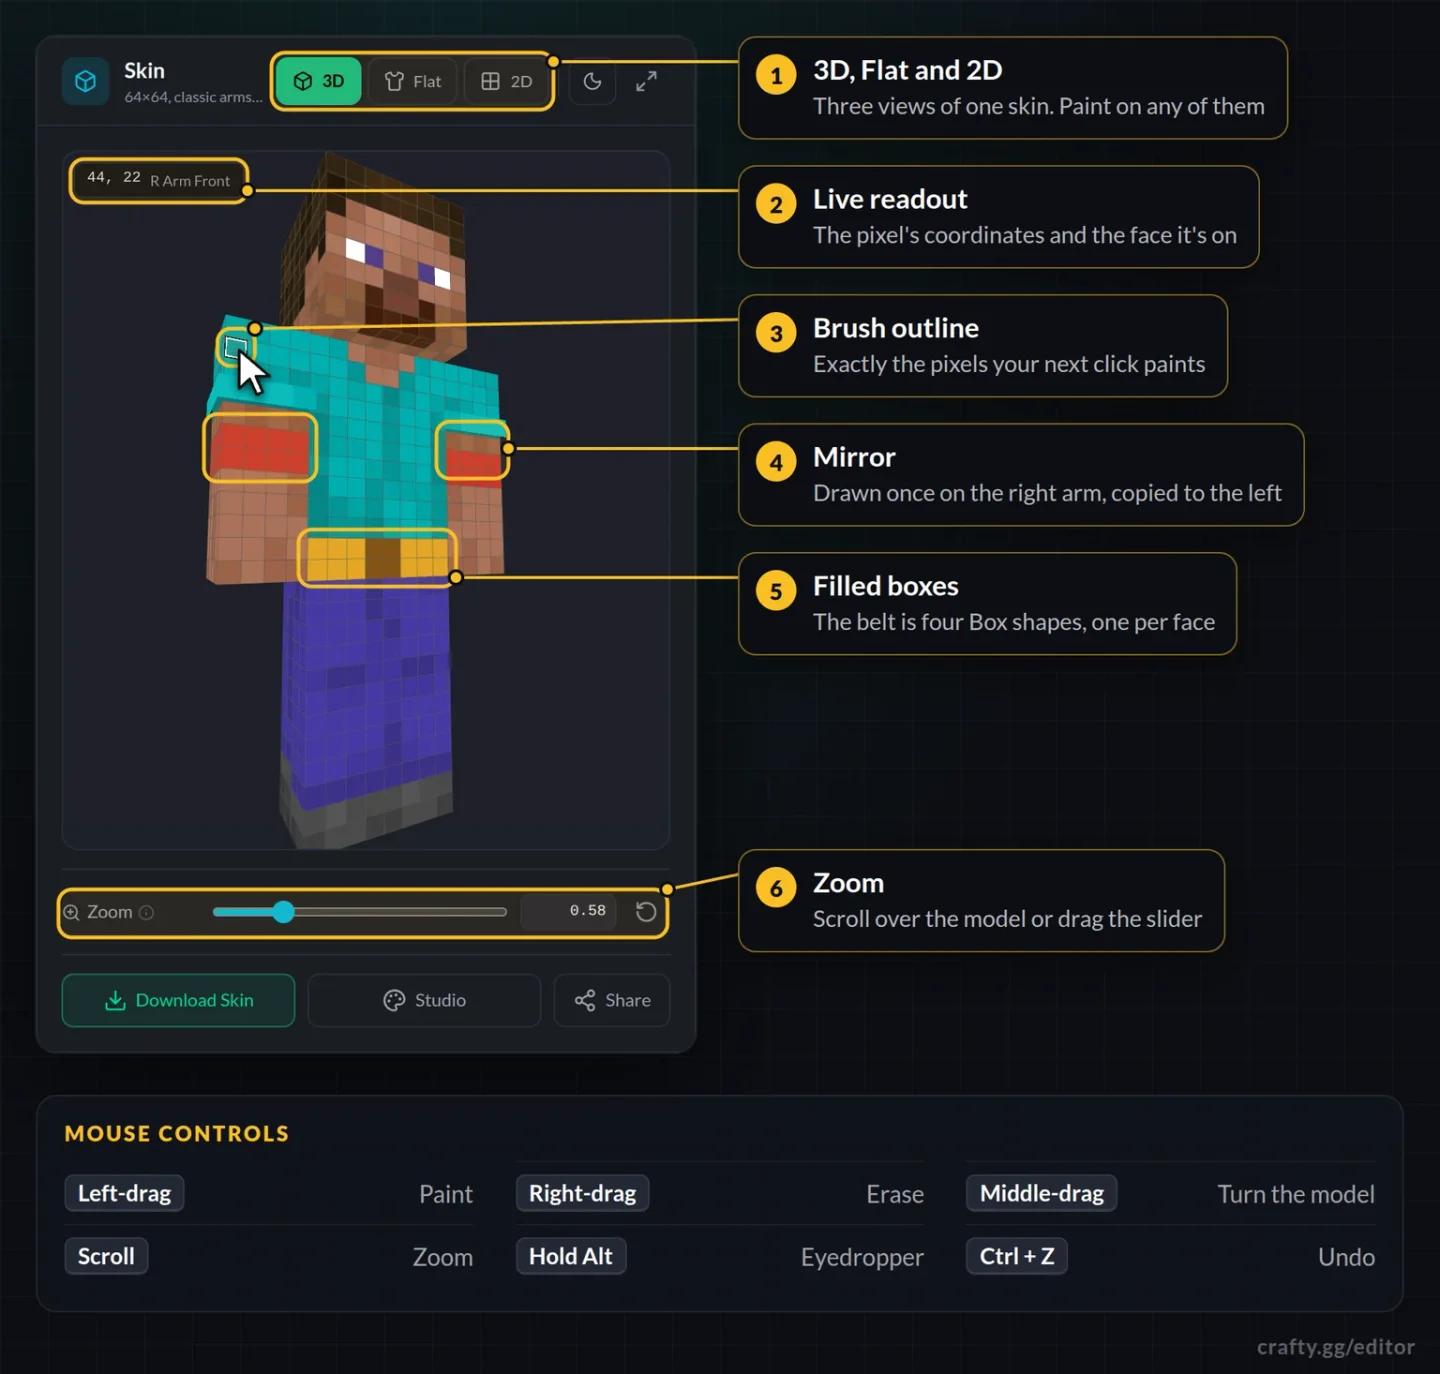
Keep the first pass unshaded. For a simple original design, try a teal shirt, dark trousers, brown hair, and a contrasting belt. Establish where each area begins and ends before adding highlights or fabric texture.
Use the fill tool for large areas and a small brush for eyes, hems, and hair edges. Line or rectangle tools help with straight details such as belts and sleeve stripes. Check the fill tool’s scope before using it: some editors can fill one face, a whole body part, or every matching color.
Enable mirroring for matching sleeves or shoes. Turn it off before adding an asymmetric detail, such as a badge on one side of the shirt. Otherwise, the editor may copy that detail to the opposite side too.
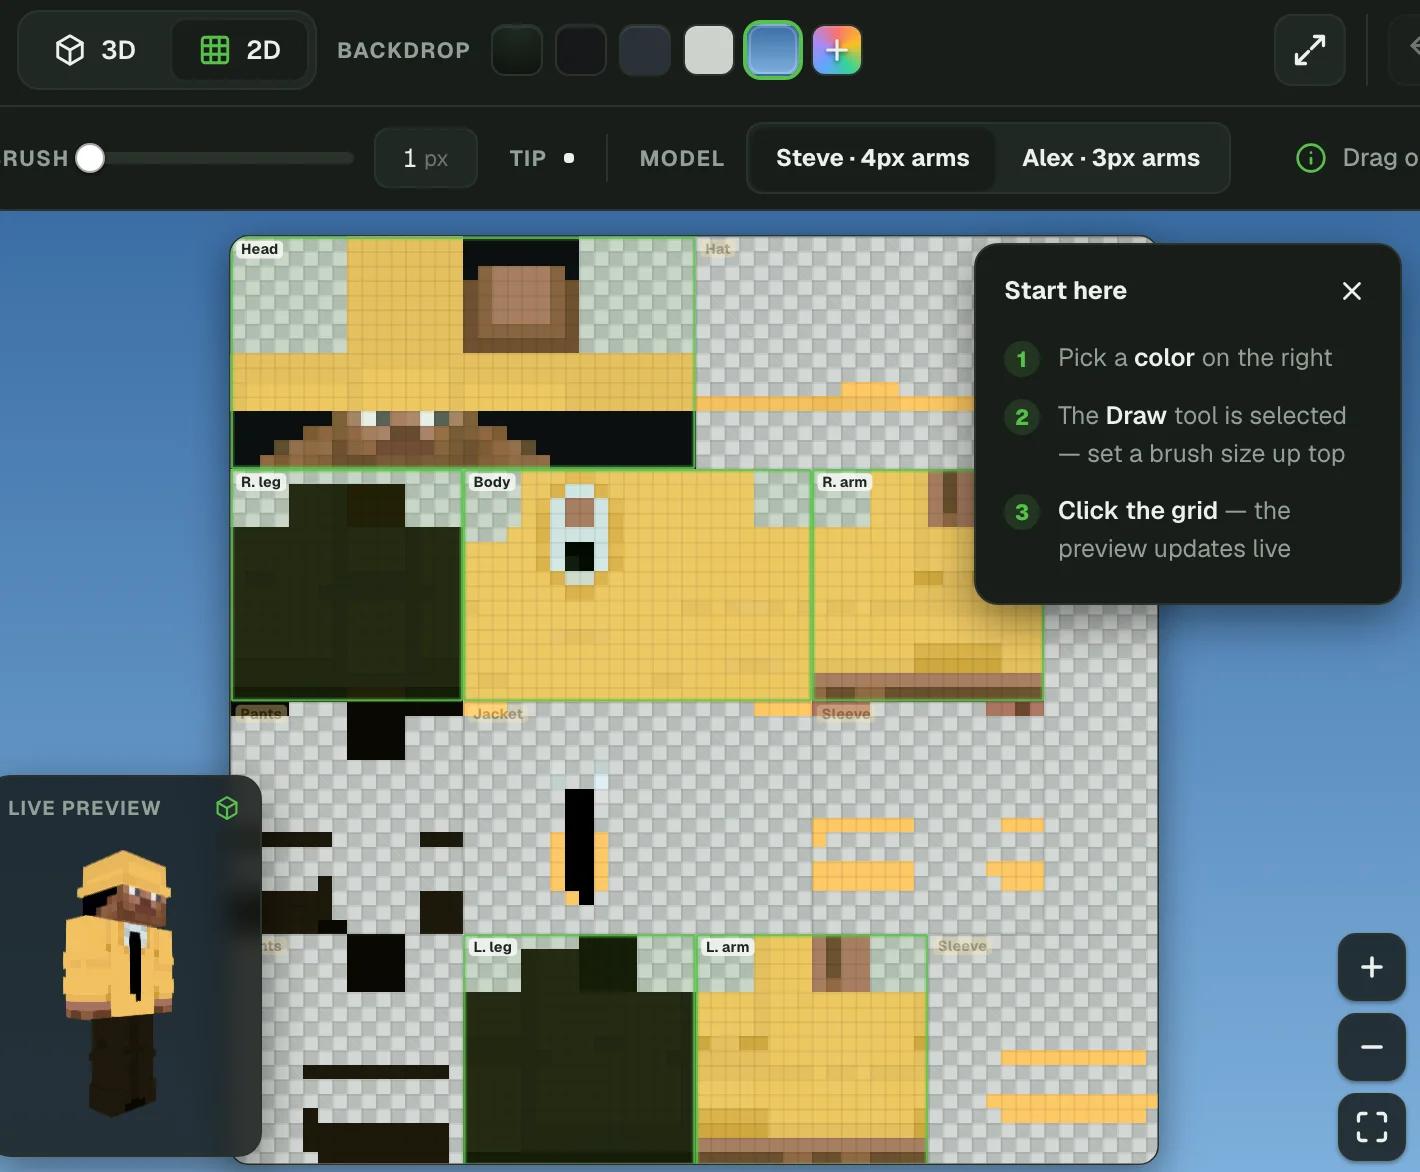
Paint every side of the skin
Use the 2D view to clean up seams
Rotate the 3D model to judge the design, then switch to the flat texture for exact pixel placement. A stripe that looks continuous from the front can still stop at the edge of the torso.
Inspect adjoining faces together when drawing a belt, collar, or sleeve band. Continue the same color around each face, and check its height on the model after every change.
If the editor offers face labels or a reference texture, use them to identify awkward areas. The top of the head, inner legs, and soles are easy to miss.
Add shading and outer-layer details
Shading changes the colors within a surface. The skin’s outer layer adds a second surface just outside the body. Use both, but give each a clear job.
Shade one material at a time
Start with your existing base color and choose nearby lighter and darker shades. Keep the colors related so the shirt still reads as one material instead of a patchwork of unrelated pixels.
For a simple top-lit design:
- Add darker pixels beneath the hair and chin.
- Darken the lower shirt edge and the ends of sleeves and trouser legs.
- Add lighter pixels across the tops of the shoulders and head.
- Use vertical groups of shades to suggest strands of hair.
Random-tone tools can add texture to fabric or hair. Keep the effect restrained on smooth clothing so the shading does not bury the outline you already drew.
Put raised details on the overlay
The overlay holds the hat, jacket, sleeves, and outer trouser-leg surfaces. It sits slightly outside the base, making it useful for a fringe, hood edge, collar, cuffs, or belt buckle.
Leave unused overlay pixels transparent. Keep the base filled: Java renders base pixels opaque, so transparent holes there can appear black or discolored in the game.
An editor’s drawing-layer stack is separate from the skin’s base and overlay. Drawing layers let you hide or revise parts of the artwork while editing; exporting merges that stack into the finished texture. Selecting a drawing layer does not automatically change which skin surface you are painting.
Add depth with outer details
Export the correct skin file
Download the finished texture as a 64×64 PNG using the editor’s skin export option. Do not save the 3D preview as a screenshot and try to upload that image.
Keep the original resolution. Vanilla Java does not support HD skin textures, so enlarging the image will not add usable detail.
Before leaving the editor, check that:
- The front, back, sides, head top, and soles are finished.
- The base has no unintended transparent patches.
- Overlay details sit on the intended body parts.
- You know whether the design uses Classic or Slim arms.
- A copy of the exported PNG is saved on your device.
Keep that local copy even if the editor saves work in your browser. Clearing browser data can remove browser-stored projects.
Upload your skin in Java Edition
Java offers two upload routes. The launcher also keeps skins in a library, making it convenient if you plan to switch between several designs.
Apply it through the Minecraft Launcher
- Open the Minecraft Launcher.
- Select Minecraft: Java Edition.
- Open the Skins tab.
- Select New Skin.
- Give the skin a name.
- Choose Wide for a Classic design or Slim for a Slim design.
- Select Browse and choose your exported PNG.
- Select Save & Use.
Upload it through your Minecraft profile
Sign in to your Minecraft profile and open Change Your Skin. Choose Classic or Slim, scroll to Upload Custom Skin, and select Select File. Choose the PNG, then select Upload.
Equip a cape separately
Java capes are selected in the launcher, not painted onto the skin texture. To pair your design with an unlocked cape, such as the Minecraft Moonlight Trail Cape, open the Java Skins tab and duplicate a saved skin. Open the duplicate’s ... menu, select Edit, choose your cape, and select Save & Use.
Import your skin in Bedrock Edition
Use the classic skins section, not the Character Creator clothing controls.
- Open Bedrock Edition on a supported device.
- Open Dressing Room.
- Go to the classic skins section and choose the import option.
- Select your downloaded PNG and use it as your classic skin.
Check the imported preview before leaving the Dressing Room. Inspect the arms and outer details first, since those are the easiest places to spot a model or layer problem.
Fix common skin problems
If you’re struggling with the result, identify whether the problem affects the model, a skin layer, or the exported file before repainting anything.
| Problem | What to check or change |
|---|---|
| Arms look stretched or have an incorrect strip | Change the selected arm model to match the design, then apply the skin again. |
| Black or oddly colored patches appear on the body | Reopen the base texture and fill erased pixels with the intended colors. |
| The brush hits a sleeve instead of the arm | Switch the editor’s painting surface from Overlay to Base. |
| A Java hat, jacket, sleeve, or trouser overlay is missing | Open Options → Skin Customization and enable the relevant part. |
| A brush stroke does nothing | Check that the intended drawing layer is selected and visible. |
| The back or soles are unfinished | Use the editor’s back view or labeled 2D texture to complete those faces. |
After correcting the file, export it again and replace the previous version through the same upload route. Keep the finished PNG as your backup and as the starting point for your next design.