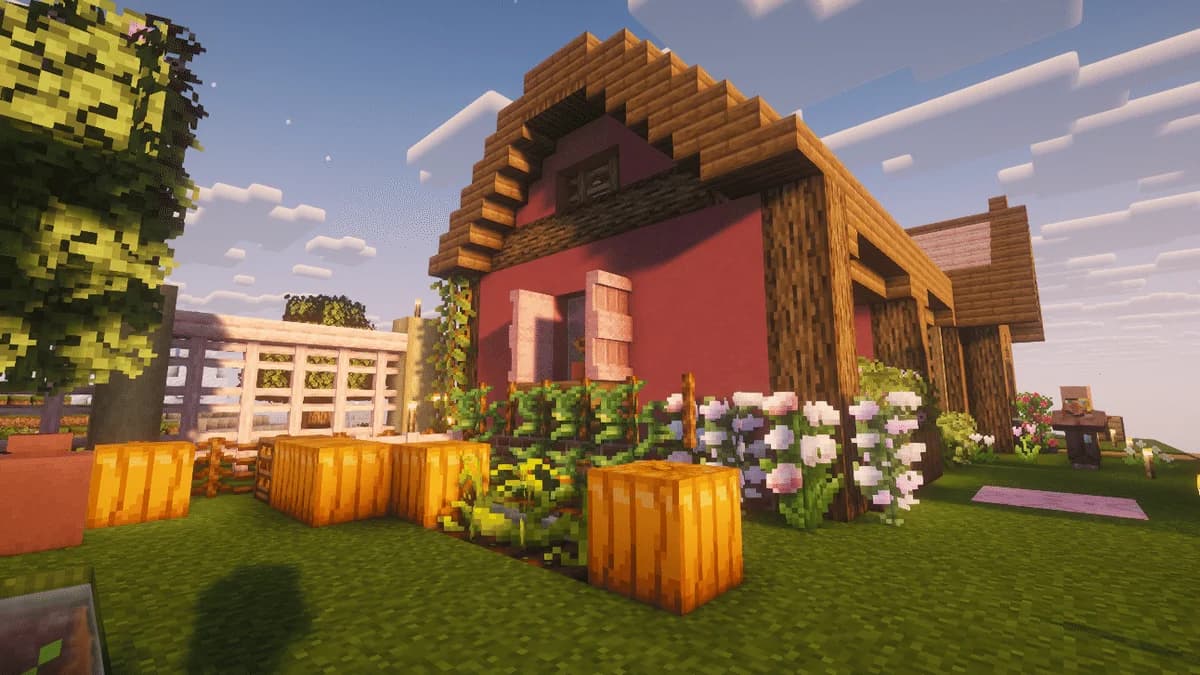

IMAGE_QUALITY_GUIDELINES: Use default Minecraft textures and clear daylight lighting. The cover should show the completed birch-plank cottage with dark oak log corners, a dark oak stair roof, stone bricks, and glass windows. Body screenshots should separately show the foundation measurements, window placement, roof stair orientation, interior furnishings, and expansion layout. Keep the crosshair and hotbar visible in placement screenshots. Use simple measurement annotations where needed. No characters, weapons, combat abilities, or mod-specific interfaces are required.
CONTENT: Start your Minecraft build with a compact cottage: mark the floor, raise the walls, add a pitched roof, and furnish the interior.
A small house lets you practice proportions without committing to a mansion. The suggested plan below uses birch walls, dark oak framing, and a stone brick floor, with exact structural block counts and a roof you can build one row at a time. Finish the house first, then choose additions that serve your base, such as a storage basement, vegetable patch, or covered crafting area.
Choose a Minecraft build you can finish
For a first guided project, choose a design under 1,000 blocks. Check its dimensions and material list before gathering supplies. A narrow tower can require considerable height, while a low house may need more ground space.
Choose your building method around the shape. Step-by-step construction suits structures with separate floors, walls, and roofs. Layer-by-layer construction suits shapes where each horizontal slice changes.
| Build idea | What to plan first | Recommended method | Main challenge |
|---|---|---|---|
| Small cottage | Floor space, doorway, and storage | Finish each structural part | Keeping furniture clear of the entrance |
| A-frame cabin | Roof width and usable interior | Build matching roof sections | Sloping sides reduce room near the edges |
| Watchtower | Height and access between floors | Repeat a floor-and-wall section | Reaching upper sections while building |
| Market stall | Counter and canopy | Build the counter, supports, then roof | Fitting details into a small footprint |
| Statue or pixel art | Outline and block positions | Complete one horizontal layer at a time | Counting offsets accurately |
| Large survival house | Room functions and connections | Finish one wing or floor at a time | Gathering materials before construction stalls |

Prepare the cottage materials and plot
Gather the structural blocks
This cottage plan uses a 7 × 9 wall footprint, four-block-high walls, and a 5 × 7 interior. Reserve a 9 × 11 area because the roof extends one block beyond every wall.
The quantities below cover the finished structure. Furnishings, decorations, ladders, and temporary access blocks are separate.
| Material | Quantity | Use |
|---|---|---|
| Stone bricks | 63 | Full floor and foundation |
| Dark oak logs | 16 | Four corner pillars |
| Birch planks | 90 | Walls and front and rear gables |
| Dark oak stairs | 88 | Both roof slopes |
| Dark oak planks | 11 | Roof ridge |
| Glass blocks | 22 | Windows |
| Wooden door | 1 | Entrance |
For the interior, set aside a bed, a crafting table, a furnace, two chests, and lighting. Keep decorations out of your working Inventory until the shell is complete so you can find the current stage's blocks quickly.
Set your orientation before placing blocks
Choose one seven-block edge as the front. The house runs nine blocks from front to back. All position numbers below include the corner blocks and start at one.
Treat the stone brick floor as layer 0. Wall layers 1 through 4 sit directly above it. Keep this counting system throughout construction, especially when you reach the roof.
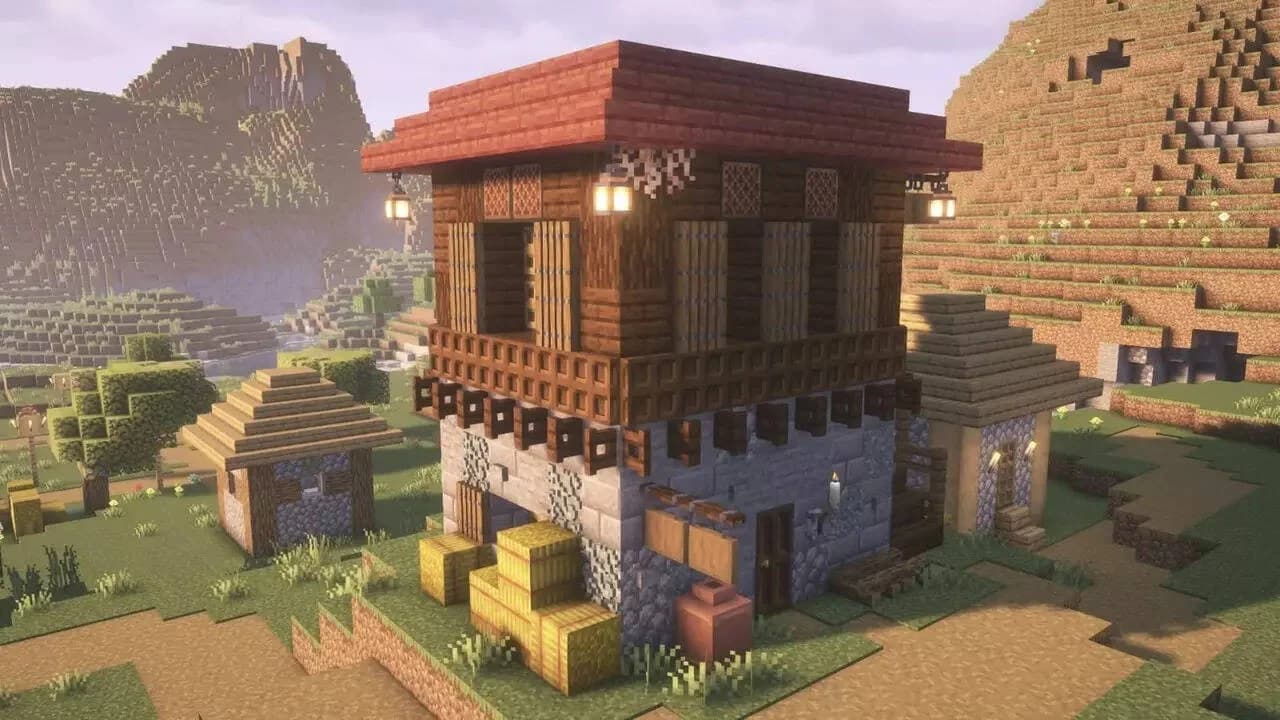
Attach Minecraft ladders to solid blocks beside one wall for temporary roof access. Leave room outside the wall for the overhang instead of building against another structure.
Reserve space for the eaves
Build the floor, frame, and walls
Place the foundation and corner pillars
- Clear and level the reserved plot.
- Place a solid rectangle of stone bricks, seven blocks wide and nine blocks deep.
- Put a dark oak log on each corner of the floor.
- Extend each corner pillar until it stands four logs above the floor.
- Stand at the front and check that both front pillars line up with the rear pair.
The foundation is a complete floor, not a hollow border. You can place furniture anywhere inside without filling extra gaps later.
Fill the walls around the openings
Build birch-plank walls between the pillars, stopping at layer 4. Leave the doorway and windows empty using the layout below.
For front and rear walls, count positions across the seven-block width. For side walls, count along the nine-block depth from front to back.
| Wall | Horizontal position | Layers left open | Fill with |
|---|---|---|---|
| Front doorway | Position 4 | Layers 1 and 2 | Wooden door |
| Front left window | Position 2 | Layers 2 and 3 | Glass blocks |
| Front right window | Position 6 | Layers 2 and 3 | Glass blocks |
| Rear window | Positions 3 through 5 | Layers 2 and 3 | Glass blocks |
| Left side window | Positions 4 through 6 | Layers 2 and 3 | Glass blocks |
| Right side window | Positions 4 through 6 | Layers 2 and 3 | Glass blocks |
Fill every other wall position with birch planks. The doorway needs a plank above it at layer 3, while each window keeps a solid wall strip beneath and above its glass.
Install the door and glass before starting the roof. Walk through the entrance and inspect both side walls from inside, where an uneven window is easier to spot.
Build the pitched roof step by step
Close the front and rear gables
The gables are the triangular wall sections beneath the roof ends. Build one above the front wall and another above the rear wall.
On each end:
- Place five centered birch planks at layer 5, covering positions 2 through 6.
- Place three centered birch planks at layer 6, covering positions 3 through 5.
- Place one birch plank at layer 7, covering position 4.
Do not extend these triangles along the side walls. The long sides receive sloping roof rows instead.
Place straight stair rows from the outside inward
Every roof row runs front to back and is 11 blocks long. Start one block in front of the front wall and finish one block behind the rear wall.
Build a matching row on each side before moving upward. Each stair's higher half faces the center ridge.
| Roof section | Layer | Position across the house | Blocks to place |
|---|---|---|---|
| Outer eaves | 4 | One block outside each side wall | 11 stairs per side |
| Lower slope | 5 | Directly above each side wall | 11 stairs per side |
| Middle slope | 6 | One block inward from the previous row | 11 stairs per side |
| Upper slope | 7 | One more block inward | 11 stairs per side |
| Center ridge | 8 | Directly over the house's centerline | 11 dark oak planks |
The outer eaves share a layer with the top wall blocks, but sit outside them. Starting those eaves one layer too high changes the roof's fit against the walls.
Keep the front and rear ends of every row aligned. Do not wrap stairs around the gable ends for this version, because the material count covers straight runs only.
Check the roof before decorating
Stand in front of the doorway and compare the two slopes. The ridge should sit over the entrance, with equal overhangs on the left and right.
If one side looks taller, check the layer of its outer eaves first. If the roof looks twisted from above, check that every row begins and ends at the same front-to-back positions. Correct those rows before adding trim.
Furnish the cottage without blocking movement
Place the largest objects first. Put the bed against a side wall, the crafting table and furnace together on the opposite side, and the chests toward the rear.
Leave a clear route from the door to the back of the room. Open the chests and use the crafting table before adding decorative furniture, so you can catch awkward placements while the room is still easy to rearrange.
Add lighting inside and near the entrance. Trapdoor shutters, potted plants, and small window planters can finish the exterior without changing the house's footprint. Use those details around openings instead of covering every wall with decoration.
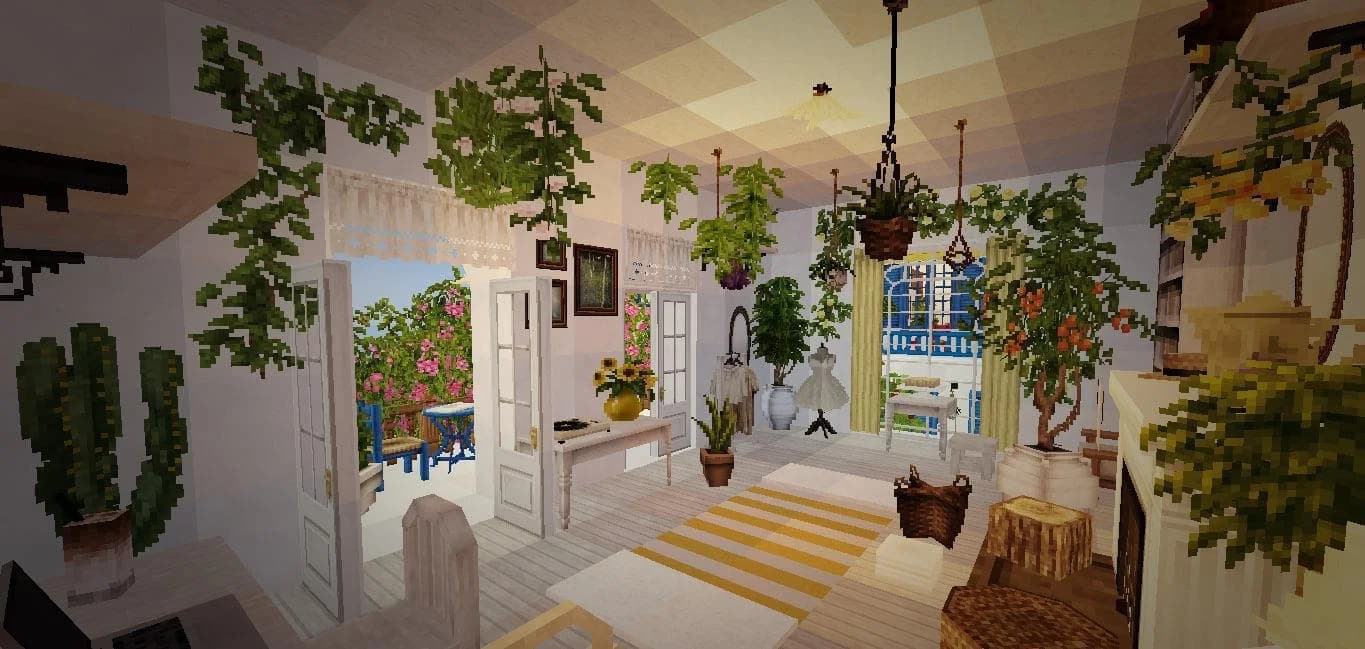
Leave a clear central walkway
Expand the cottage around a specific need
Add food production or storage
A vegetable patch beside the house creates a farmhouse layout without another large building. Choose among these Minecraft food farm setups before sizing the garden, especially if you want to move beyond a small manual field.
A basement suits extra chest storage when you want to preserve the cottage's exterior. Plan its entrance before filling the room with furniture, and keep the access point out of the main walkway.
A covered crafting area works beside the house or behind it. Move workstations there if you want more indoor space, then connect the shelter to the cottage with the same dark oak supports and roof material.
Change the style without rebuilding everything
For a woodland cottage, add window boxes, vines, and a porch. For a more modern version, use a simpler exterior with larger areas of glass and fewer small decorations. Change one feature at a time so you can judge it against the existing walls.
Keep larger additions visually connected by repeating the original corner framing or roof material. A storage wing does not need the same dimensions as the cottage, but matching its window heights helps the two sections line up.
A music room can give Minecraft Note Blocks space for playable instruments and automated songs. Reserve room for the redstone layout before enclosing it with decorative walls.
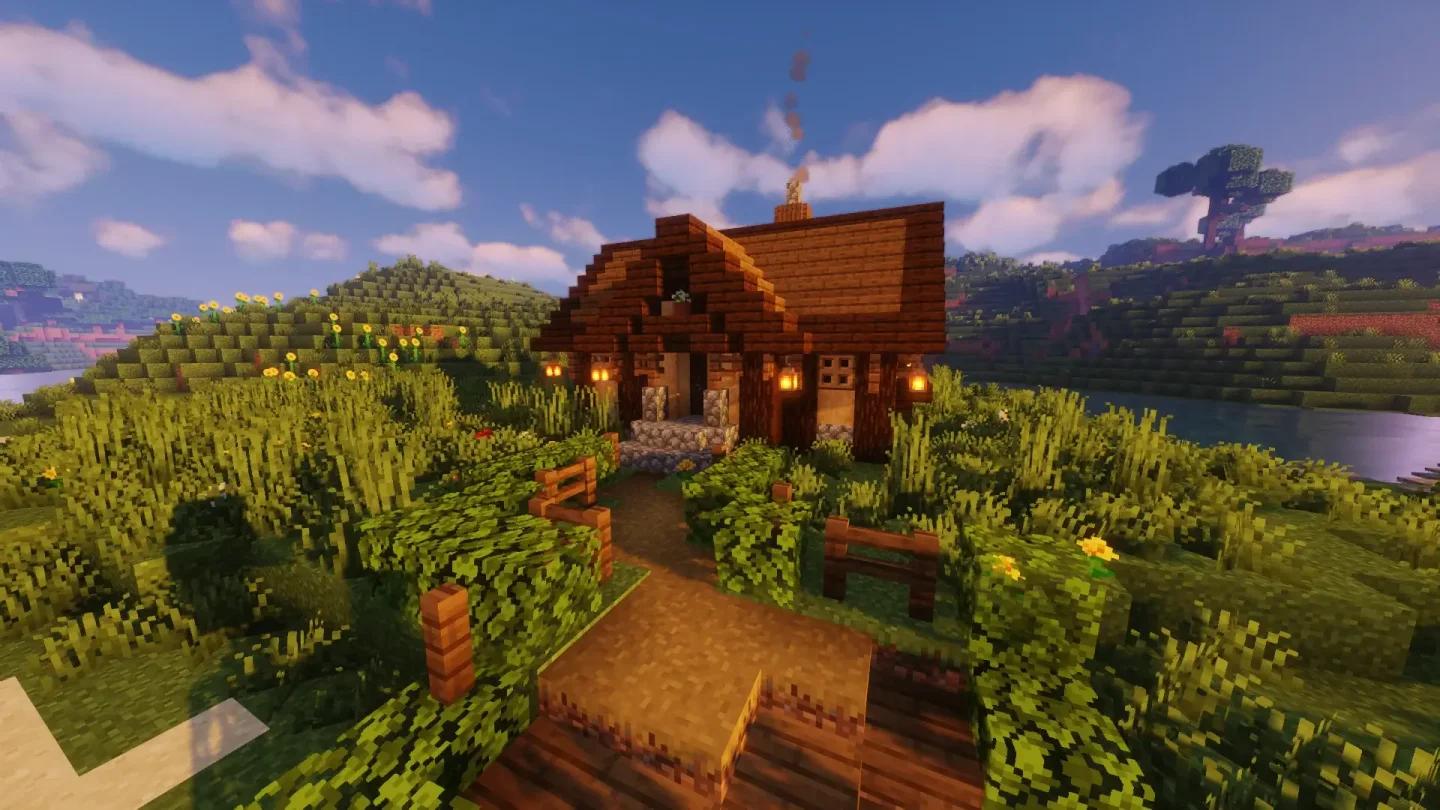
Expand around the original room
Walk the finished build from the entrance to every workstation, then inspect it from all four sides. Fix blocked access, uneven openings, and roof offsets before gathering blocks for the next extension.