
Realms in Minecraft are paid, private multiplayer servers hosted by Mojang that invited friends can join even when the owner is offline.
Your subscription determines player capacity, storage, and included content. The first decision is your edition: Bedrock and Java use separate Realms services, so buying a subscription for one does not connect players from the other. Choose the service your group uses, pick a suitable plan, and then create a world or upload an existing save.
What features do Minecraft Realms include?

Private hosting without running a server yourself
Mojang handles the server hosting. You control membership and world settings through the Realms controls, without maintaining a separate server computer.
Only the owner needs a Realms subscription. Invited members can join without buying their own subscription, but they still need Minecraft in a compatible edition. A Realm is invitation-only, so strangers cannot join simply by finding it in a public server list.
Realms also saves your world automatically. Java Realms includes free backups, giving you another way to protect a long-running build.
Multiplayer stays within your edition
Bedrock Realms supports players across compatible consoles, mobile devices, and Windows computers. Java Realms connects Java Edition players on Windows, macOS, and Linux.
A Java player cannot join a Bedrock Realm through cross-play. Check the edition each friend actually launches before purchasing, especially on Windows, where players can have both editions installed.
Which Minecraft Realms plan should you choose?
Bedrock offers Core, Plus, and Pro. Java Edition has its own Realms subscription, with a different content catalogue.
| Plan | Edition | Player capacity | Storage and main extras |
|---|---|---|---|
| Realms Core | Bedrock | 2 players | 5 GB of storage |
| Realms Plus | Bedrock | 10 players | 10 GB of storage and Marketplace Pass content |
| Realms Pro | Bedrock | Up to 50 players | 25 GB of storage, Marketplace Pass content, and expanded server controls |
| Java Realms | Java | Owner plus 10 players simultaneously | Community maps, minigames, adventure maps, and custom builds |
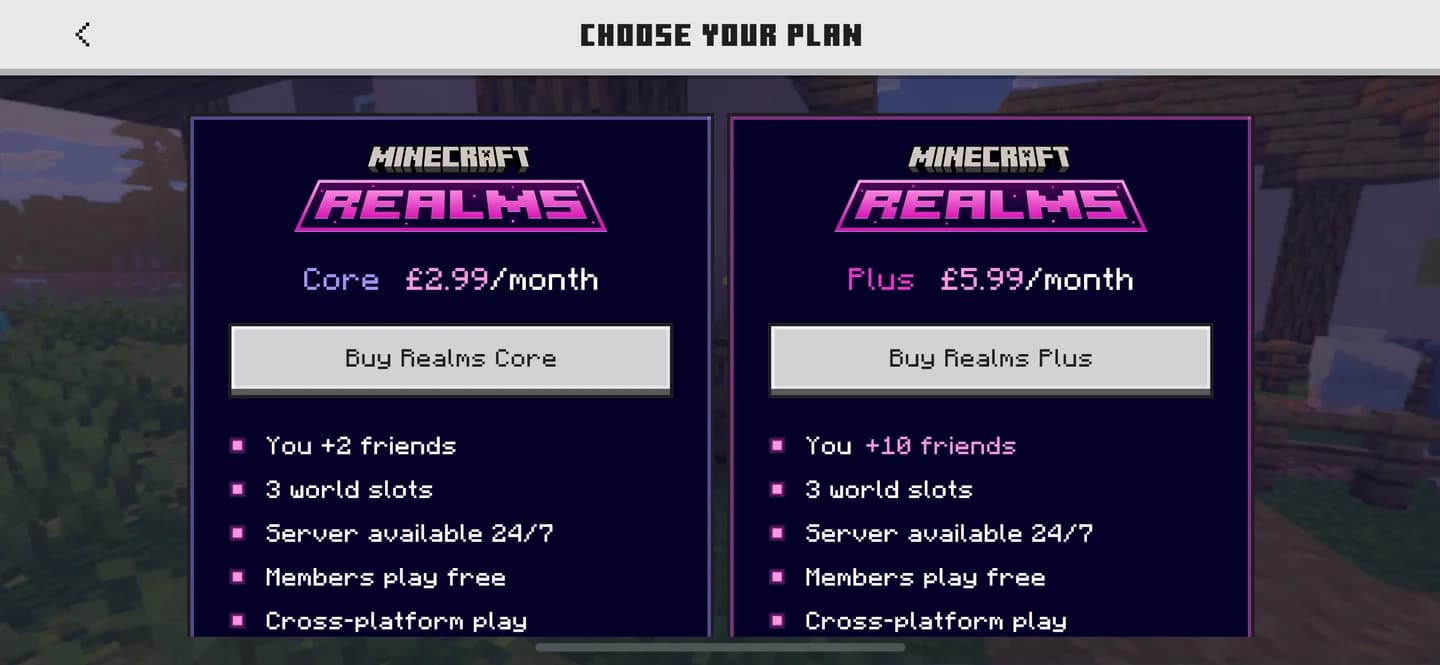
Compare Bedrock Realm plans
Choose capacity before extra content
Core is the starting option for a small Bedrock group. Plus increases capacity and includes the curated Marketplace Pass catalogue, which receives monthly content updates. Marketplace Pass on its own is a content subscription, not a private server.
Pro adds tools for larger groups and collaborative building. Its server resources include 4 CPU cores, 16 GB of RAM, and non-shared cloud resources. Owners can view CPU use, RAM use, and tick time, adjust render distance up to 96 chunks, and adjust simulation distance up to 12 chunks.
Pro also supports real-time, multi-user work in Minecraft Editor. Members can keep playing while editors make changes, without a separate export and upload step.
Java Realms does not include the Minecraft Marketplace or Marketplace Pass. Its included community catalogue is the relevant option if your group wants ready-made maps and minigames on Java Edition.
How to set up a Minecraft Realm
Check your account and edition first
Sign in with the Microsoft account that will own the Realm. A Microsoft account is free, but the Realm subscription is a separate purchase.
Install game updates before starting. If you intend to move an existing world between devices, update Minecraft on both devices and keep a backup of the original save.
Set up a Bedrock Realm
For Core or Plus, start the purchase inside Bedrock Edition:
- Launch Minecraft and sign in with the intended owner's Microsoft account.
- Open the world-creation options and select Create on Realms.
- Choose the subscription that fits your group.
- Review the monthly price and automatic-renewal terms shown before purchase.
- Complete the subscription purchase through your device's store.
- Finish the world setup, then open your Realm's controls to manage its world and members.
The displayed checkout price is the one to check before subscribing. For Pro, use the Realms Pro purchase option on the official Minecraft website.
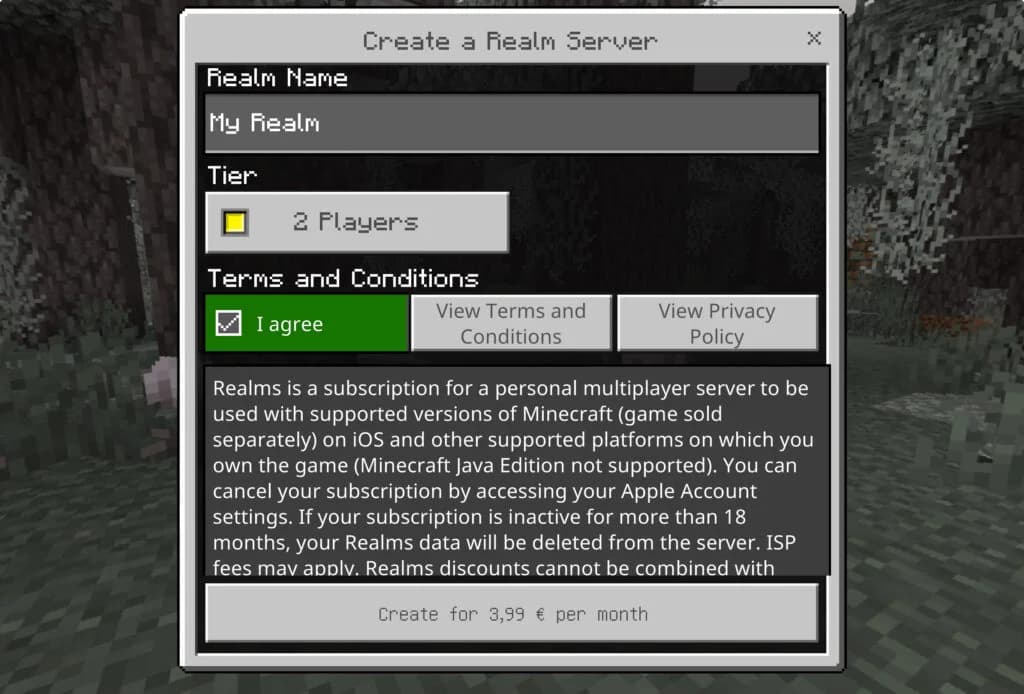
Start your Bedrock Realm setup
Set up a Java Realm
Java Realms uses the website subscription route:
- Open the official Minecraft website and sign in with the Microsoft account that will own the Realm.
- Choose Java Realms and complete the subscription purchase.
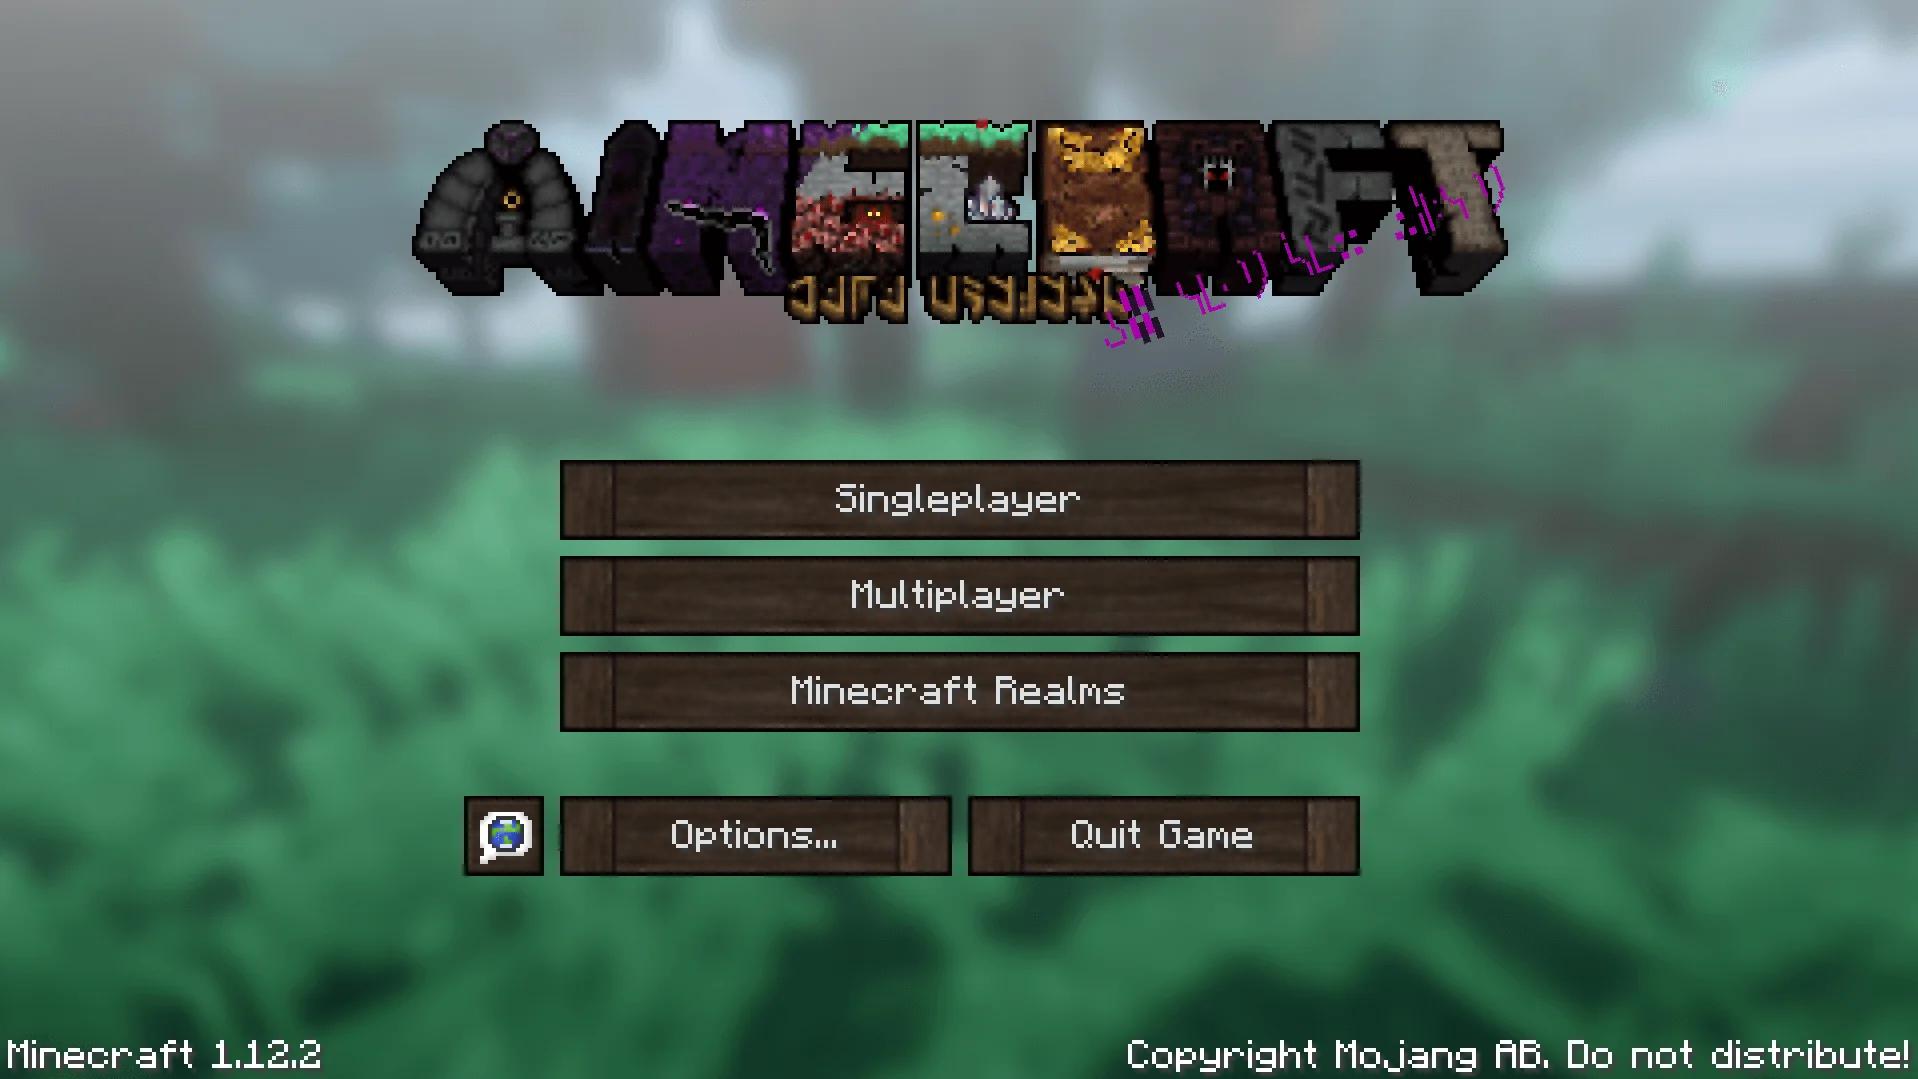
- Launch Java Edition and open Minecraft Realms from the main menu.
- Follow the Realm setup prompts to choose your world, then use its invitation controls to add players.
Start a fresh world if everyone wants to begin together. A Minecraft first-night Survival plan gives your group clear opening tasks: gather wood, craft tools, and build shelter. Upload an existing save if you want to continue a project instead.
How to invite friends to your Realm
Invite Bedrock players by gamertag or link
Bedrock supports direct invitations by gamertag and invitations through share links. For a direct invitation:
- Open your Realm's Realms Hub.
- Go to the Members screen.
- Find the player using their gamertag and send the invitation.
- Ask them to accept the invitation and join your Realm.
Bedrock 26.60 added invitations from the Members screen without requiring you to add the player as an Xbox friend first. An invite link is another option when you want to share access with friends outside your existing friends list.
Match invitations to your group plan
Your membership list and simultaneous player capacity are different limits. Inviting more friends does not increase the number who can play together, so choose your subscription around your busiest expected session.
Give the group a practical first project, such as a shared base supported by Minecraft food farms. Bedrock's Realms Stories feed lets members coordinate plans and share progress between sessions.
How to upload and manage an existing world
Upload a Bedrock save
You do not need to abandon a local world to use Realms. Sign in on the device holding that save with the account that owns the Realm, then follow these steps:
- Open Play, select Realms, and open your Realm's Realms Hub.
- Open the Worlds tab and select a world slot.
- Choose Edit World and scroll to the bottom.
- Select Upload World for an empty slot.
- Choose the local world and wait for the upload to finish.
Labels and menu positions can differ between versions and platforms. Look for the matching world-slot and editing controls on your device.
Keep separate projects in world slots
A Realm can store up to three worlds, but only one world is playable at a time. Activating another slot changes which world your members enter; it does not create another server they can access alongside the first.
Keep your main shared save in one slot and use another for a separate project. For an exploration-focused world, Minecraft Explorer Maps can give the group specific structures to work toward.
The Bedrock Realms Hub's world tab also lists the packs applied to each world. Check that list when switching between saves with different content.
Download a world to another Bedrock device
Realms can move a Bedrock world between devices, including consoles. On the destination device, sign in with the same owner account and open the Realm's Worlds tab. Select the slot, choose Edit World, and then select Download World.
The downloaded save appears in the local Worlds list, not the Realms list. Signing into a Microsoft account alone does not transfer locally saved worlds, so complete the download before treating the move as finished.
What happens when your Realms subscription expires?
Your worlds remain yours. You have 18 months after the subscription expires to download them to your device. Resubscribing within that period restores access to the Realm as you left it.
Download a local copy before letting the subscription lapse if you want to keep playing without hosted multiplayer. If you subscribed only to transfer a world, check that the downloaded copy opens on the destination device before cancelling.
If a Realm or transferred world does not appear where expected, check these items first:
- Account: Use the Microsoft account that owns the Realm.
- Subscription: Check that it is active when uploading or transferring a world.
- Edition: Confirm that you launched the matching Bedrock or Java service.
- Version: Install game updates on the devices involved.
- Save location: Look under local Worlds for a downloaded Bedrock copy.