
This Minecraft Dungeons artifacts tier list names Golem Kit the best choice for the Cloudy Climb Tower. Love Medallion is the next top pick for controlling groups of eligible enemies.
This Minecraft Dungeons artifacts tier list ranks five choices for the 30-floor Cloudy Climb Tower. It weighs both COMBAT FLOOR and BOSS FLOOR encounters, so the priorities include protection, crowd control, and ways to handle tougher targets.
How the artifacts rank
An artifact earns a higher position when it solves a dangerous situation without needing another reward to become useful. The rankings use four criteria:
- Survival: Can it keep enemies occupied or reduce the pressure on your hero?
- Enemy coverage: Does it help against ordinary mobs, bosses, or both?
- Setup: Does it work immediately, or does it need allies or a particular bow interaction?
- Reuse: How much does its cooldown limit its contribution across a fight?
S tier is the strongest first pick. A tier provides powerful control with target restrictions. B tier answers a particular problem or needs another part of your loadout. C tier means replaceable, not useless, within this five-artifact shortlist.

Cloudy Climb Tower tier list
| Tier | Artifact | Reason |
|---|---|---|
| S | Golem Kit | The most dependable first pick for protection across mixed encounters. |
| A | Love Medallion | The strongest crowd-control option when eligible mobs are the main threat. |
| B | Enchanter's Tome | A valuable support pick once you have allies to strengthen. |
| B | Gong of Weakening | A focused answer to troublesome bosses and minibosses. |
| C | Firework Arrow | Useful early damage, but a lower priority when stronger options appear. |
Best artifacts for surviving crowded fights
S tier: Golem Kit
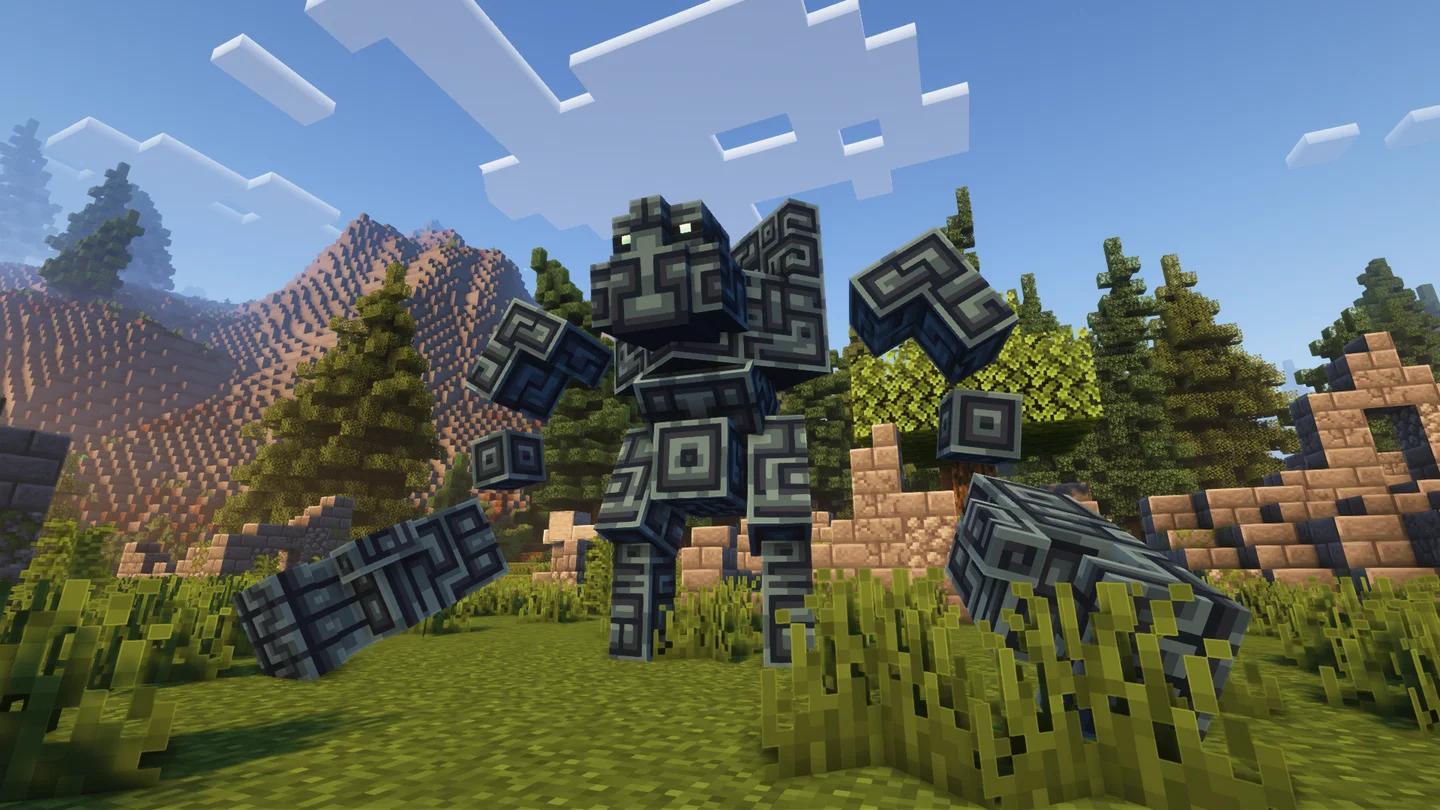
Golem Kit summons an iron golem that fights until it dies. The golem throws mobs, takes creeper explosions, and can occupy a boss while you attack with your bow. You can summon another when the artifact is off cooldown.
Choose it when enemies are forcing you to retreat instead of attack. A companion gives those enemies another target, and the kit does not need a second artifact or a specific weapon interaction to start helping.
Its broad usefulness puts it above the more conditional picks below. You can build around the golem later, but you do not need to wait for that supporting reward before it contributes.
Put a golem on the front line
A tier: Love Medallion
Love Medallion turns up to 3 nearby eligible mobs into allies for 10 seconds. Those mobs gain increased damage while charmed and die when the effect ends. Their damage bonus scales with the artifact's power level.
Use it near dangerous eligible enemies, such as guards, while other mobs remain for them to attack. You temporarily remove attackers from the enemy group and turn their damage against the rest of the pack.
Target selection is the limitation. The medallion does not affect every mob, so activate it where you can reach enemies it can charm instead of treating it as a universal escape button.
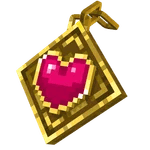
Turn a crowded fight around
Best conditional picks for support and bosses
B tier: Enchanter's Tome
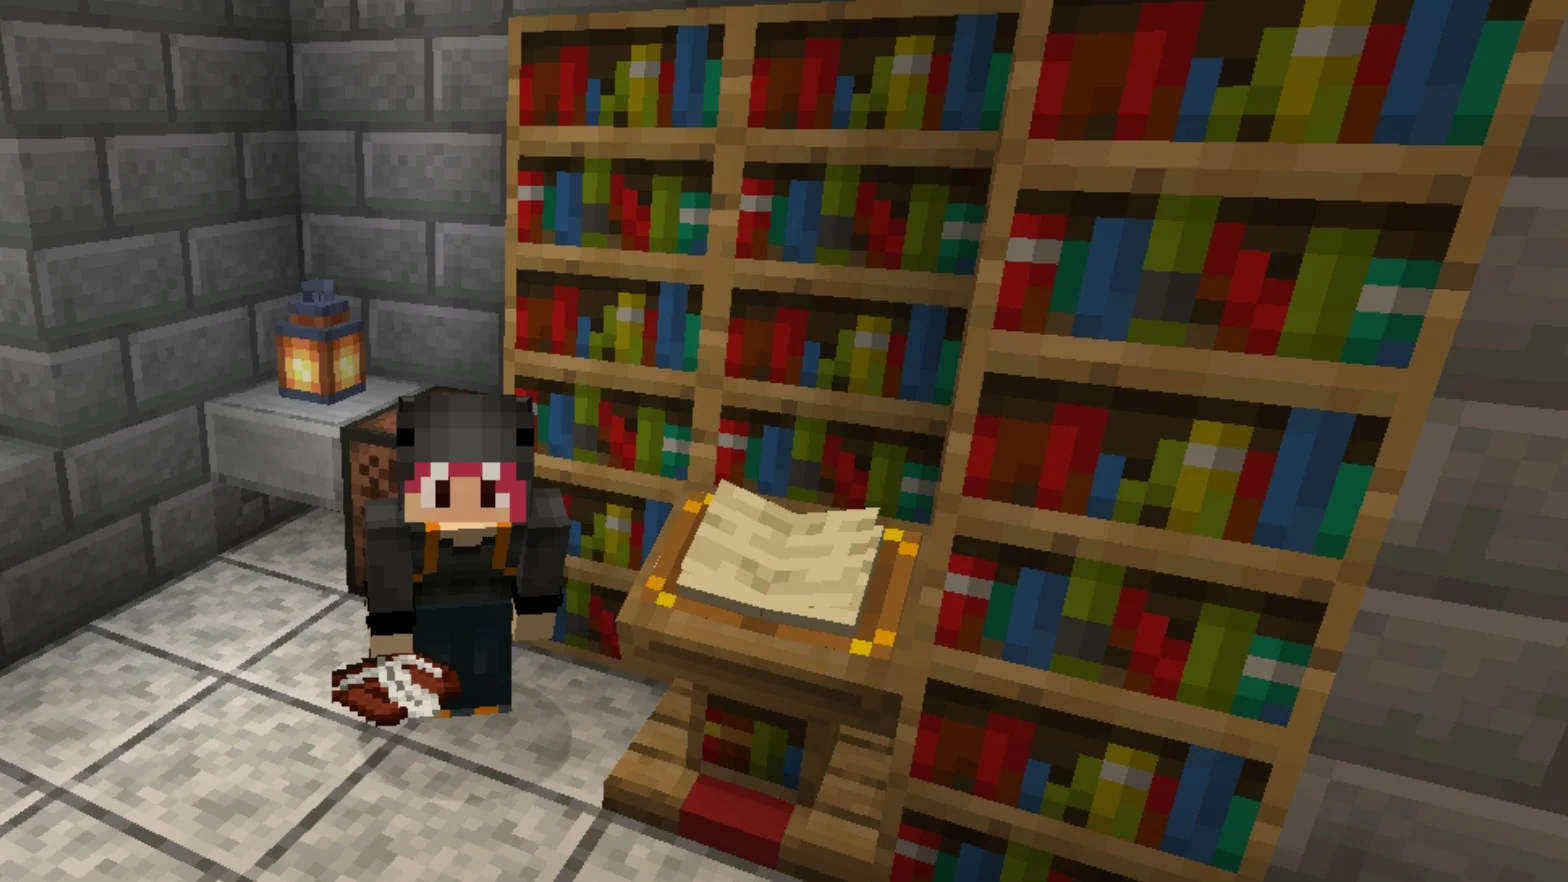
Enchanter's Tome applies random buffs to nearby allies, including double damage, fast attack, and quickness. You must stand close to your allies when you activate it for the enchantments to work.
The Tome becomes a much stronger choice after you have a companion. Golem Kit supplies a dependable ally, while Love Medallion can provide temporary allies during crowded encounters. Without something to enchant, the Tome cannot supply the frontline help you may be missing.
Pick the ally before the ally buff when choosing between them. Once that foundation exists, the Tome gives you a way to improve the fighting force already on your side.
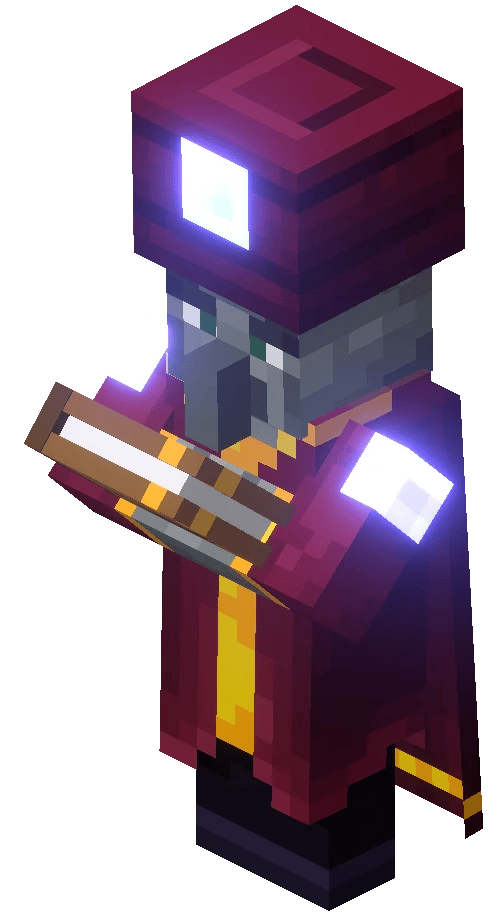
Keep allies within buffing reach
B tier: Gong of Weakening
Gong of Weakening affects enemies within a 7-block radius around your hero, making them take more damage and deal less damage. Activate it close enough to catch the target, then concentrate your attacks on that weakened enemy.
Bosses and minibosses are its best use cases. Their tougher encounters give the debuff more work to do than a pack of ordinary mobs that your weapons already defeat quickly.
Choose the Gong when a hard target is stopping your progress. If you are struggling with crowded combat floors instead, an artifact that adds an ally or turns enemies against one another addresses that problem more directly.
When Firework Arrow is worth keeping
C tier: Firework Arrow
Firework Arrow supplies one arrow that explodes on impact and has a base cooldown of 30 seconds. Its explosion works against groups and bosses, making it a useful early choice when you have an open artifact slot.
A bow with Multishot improves its value because each arrow fired becomes a firework arrow. Cooldown-reducing enchantments also help address the wait between activations.
The drawback is the gap between bursts. Firework Arrow can solve an immediate damage problem, but it does not provide the continuing protection of a companion or the temporary control of charmed enemies. Keep it while it fills an empty slot, then consider replacing it when a reward addresses a more urgent weakness.
How to build around your strongest picks
A companion-focused artifact setup
Golem Kit, Love Medallion, and Enchanter's Tome make a useful companion-focused combination. Each selection has a different job: establish an ally, recruit temporary help, and strengthen nearby allies.
Use that setup in this order:
- Summon the iron golem so you have an ally available before using the Tome.
- Activate Love Medallion near eligible mobs when a crowded fight develops.
- Move close to your allies, then use Enchanter's Tome to buff them.
Do not choose the Tome first just because it belongs in this combination. At each reward choice, fill the missing function in your current loadout before improving a function you do not yet have.