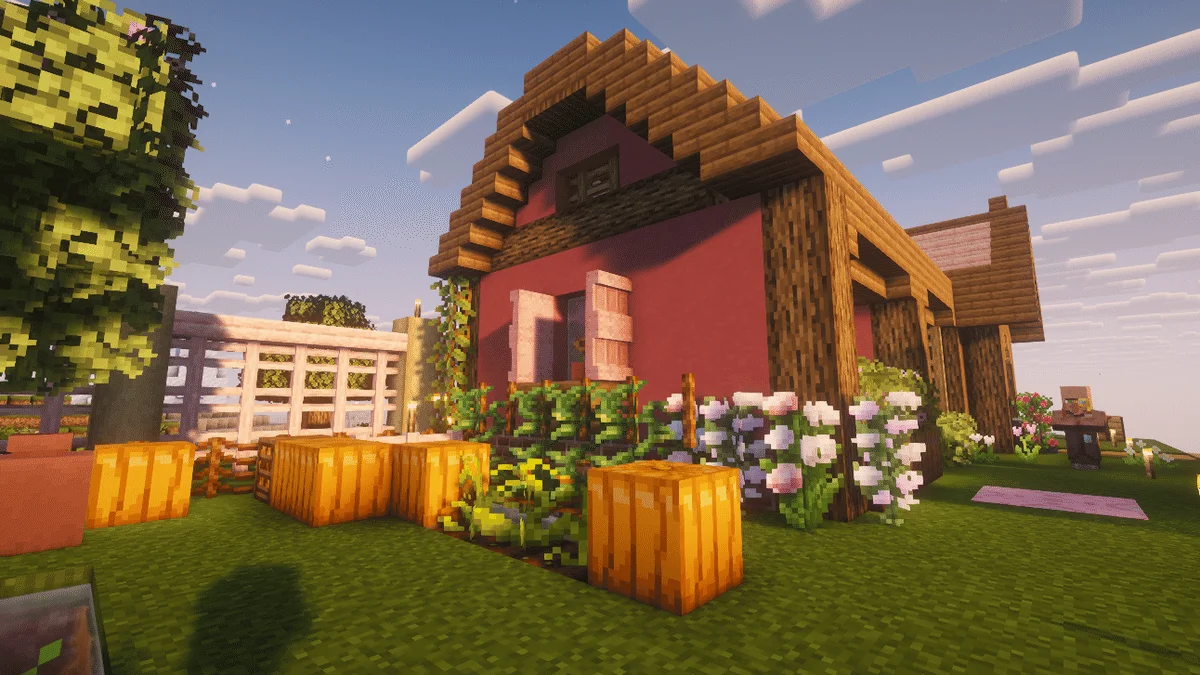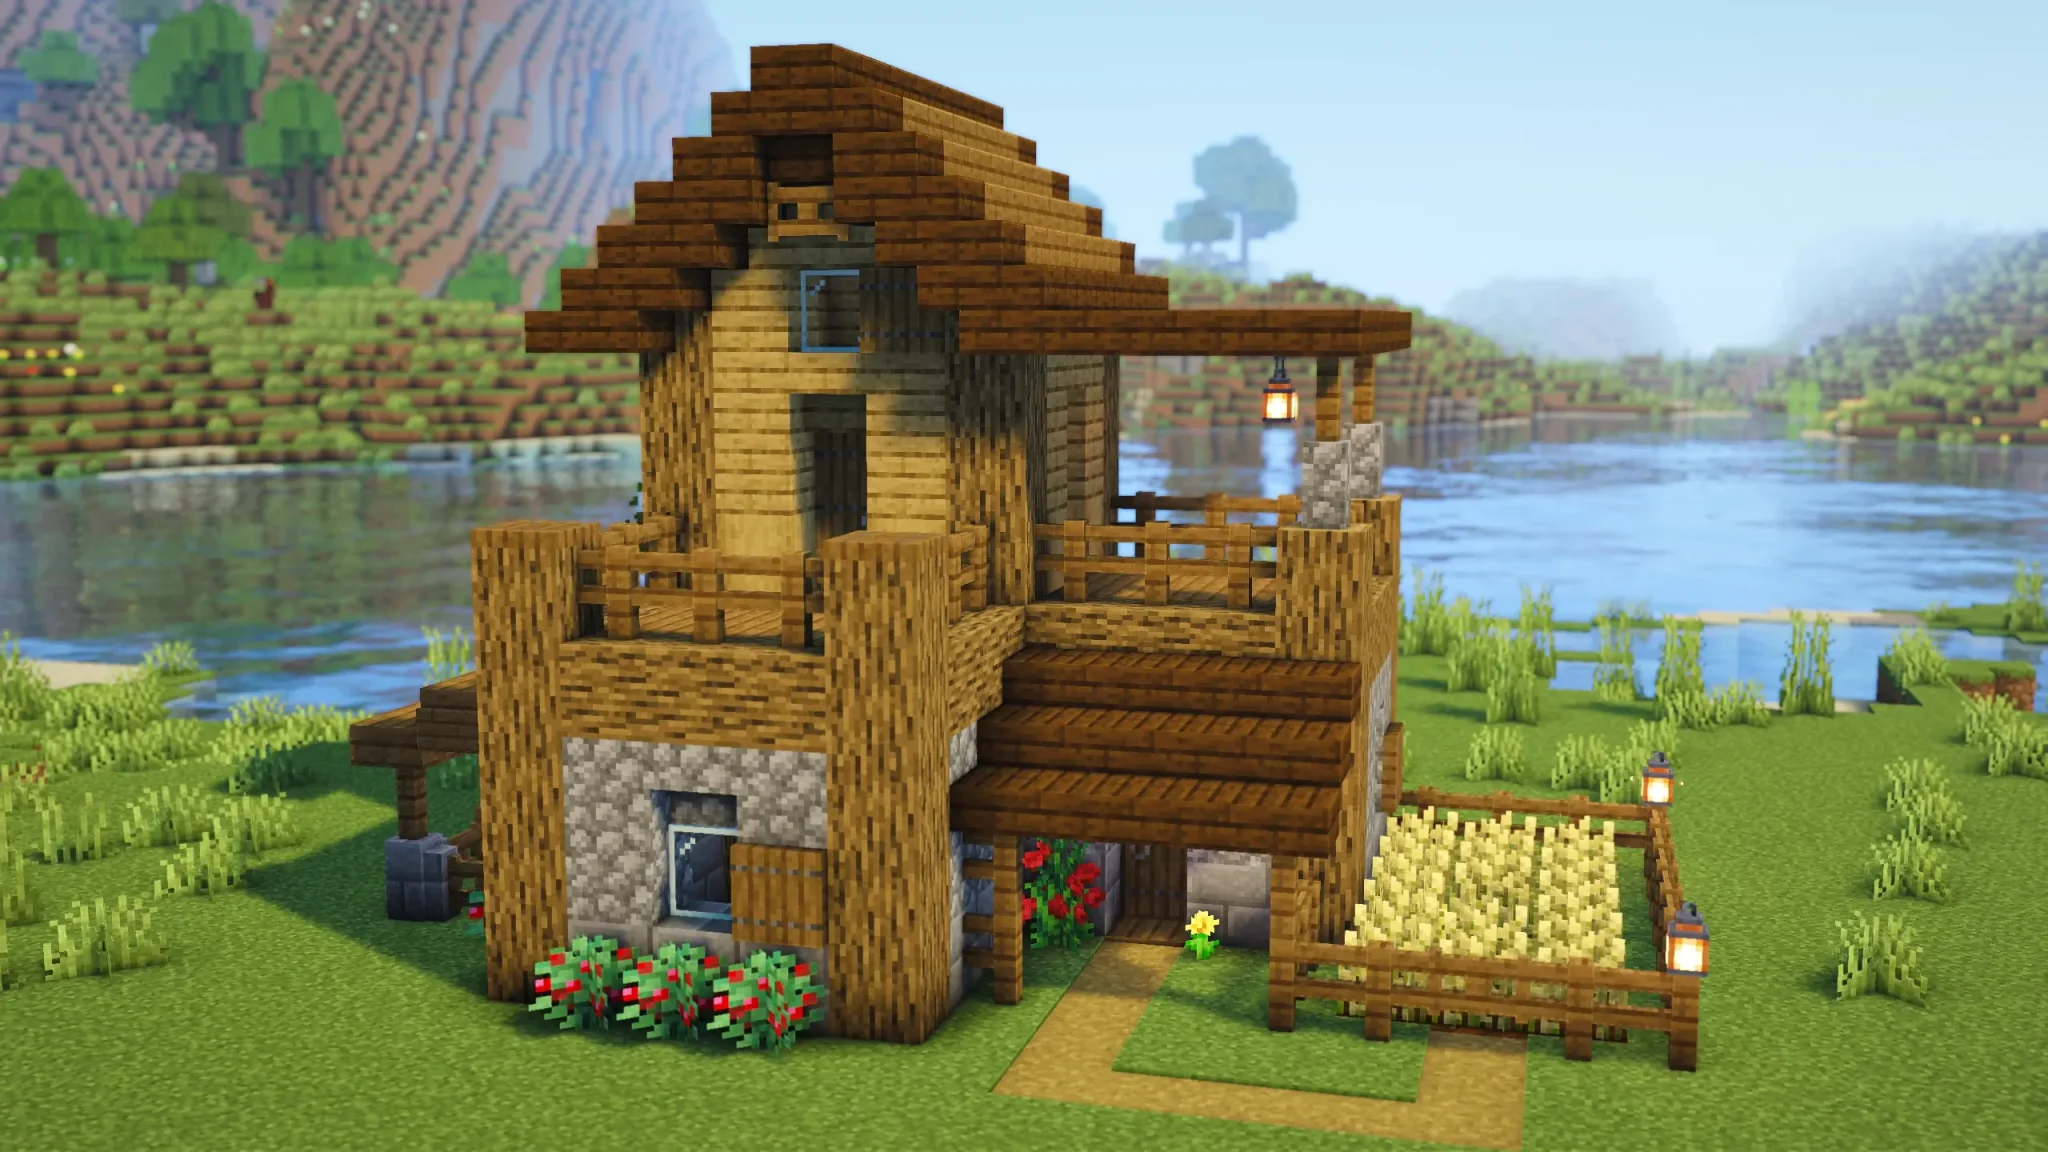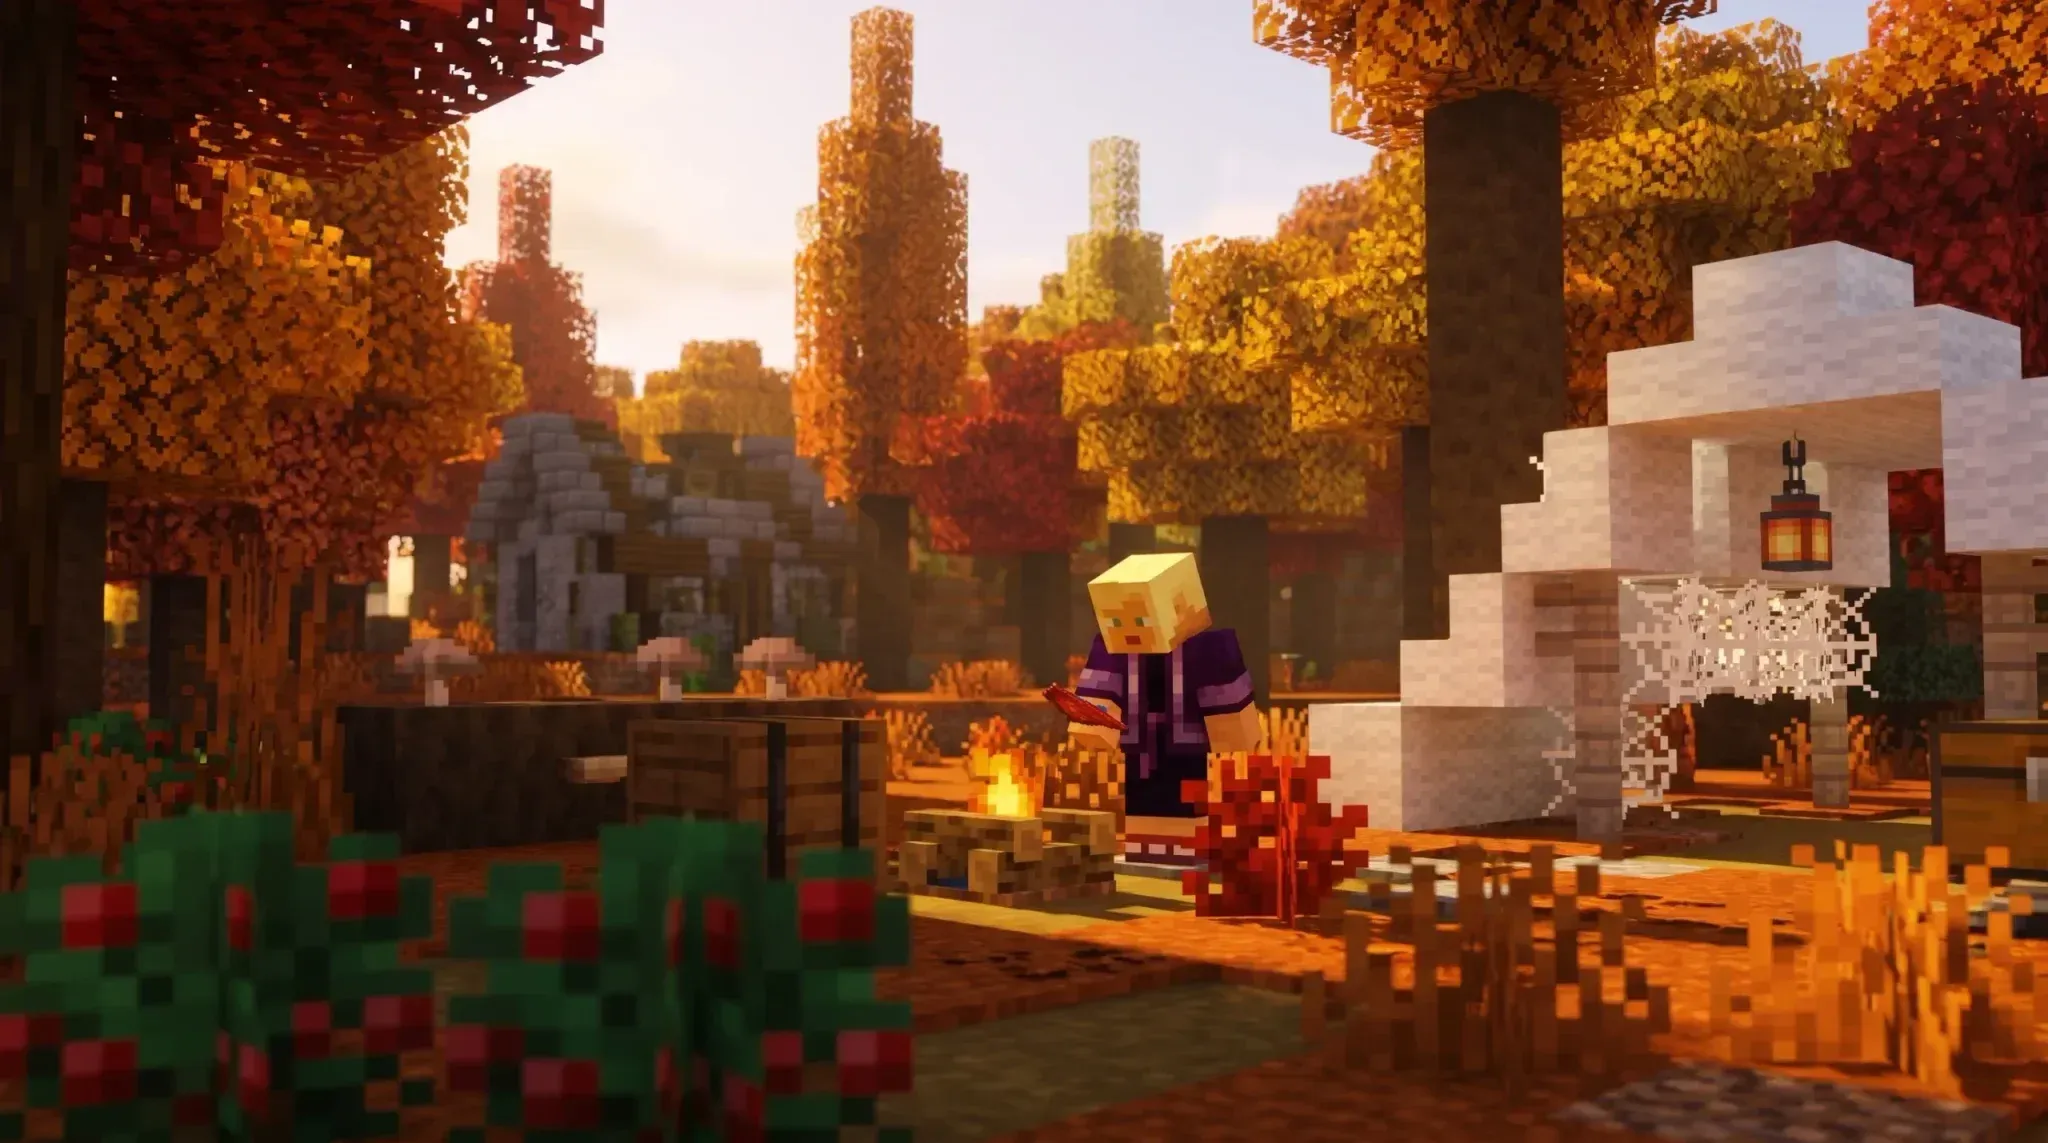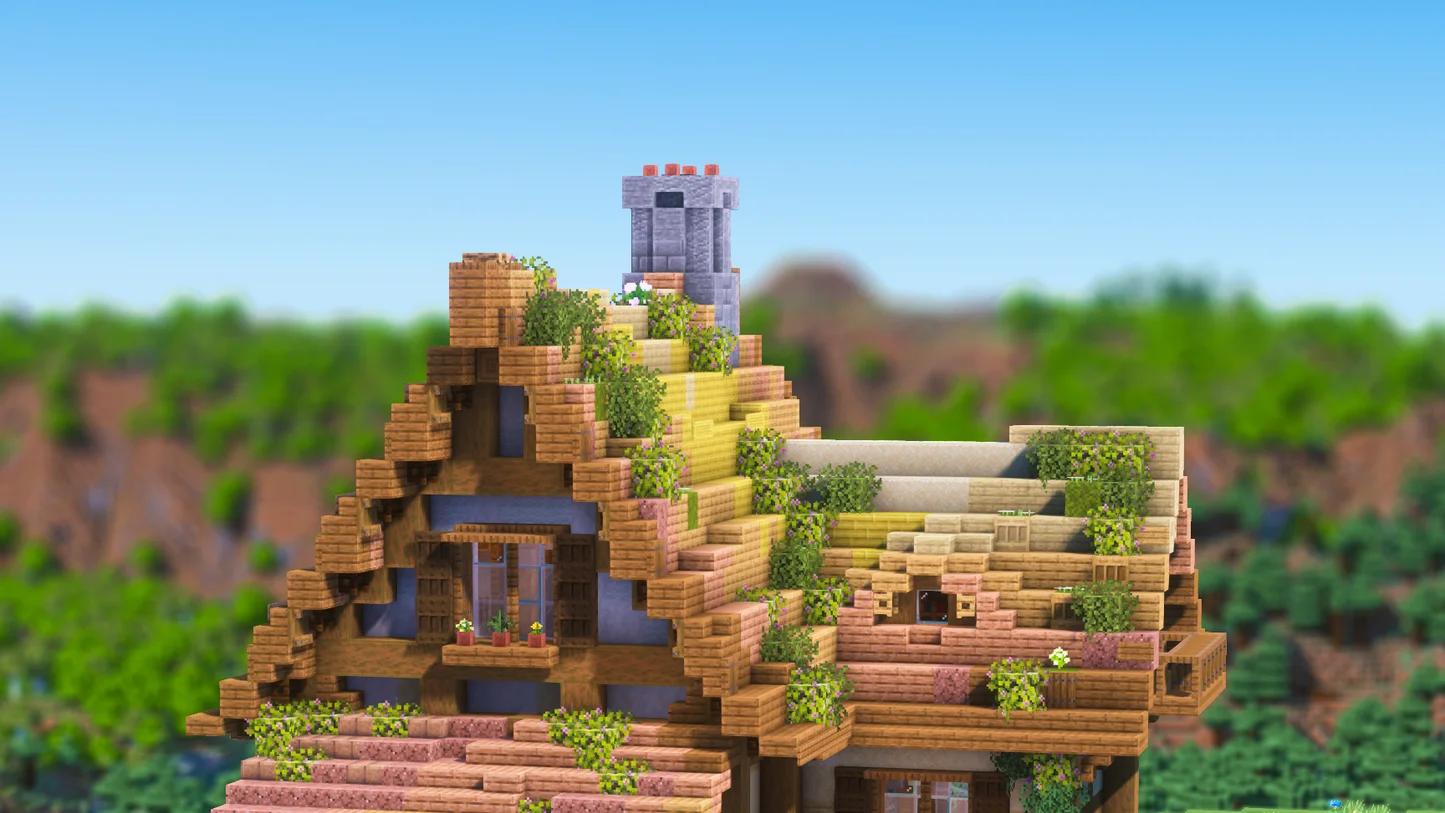

Build a compact starter cottage in Minecraft if you want a manageable idea with crafting space, storage, and room to expand.
A cottage lets you practise foundations, wall depth, roof shapes, and interior planning without committing to a castle-sized resource pile. The plan below uses wood, cobblestone, and glass, with a small storage loft beneath a pitched roof. You can build it as a practical Survival home or use Creative mode to experiment with its proportions. If a house does not fill a gap in your world, compare the alternatives first.
Choose a Minecraft build idea with a clear purpose
Start with something your world needs: shelter, food production, storage, a crossing, or a landmark. A purpose helps you decide where the entrance belongs, how much interior space to reserve, and which surrounding paths the structure should connect to.
Keep the first version small enough to finish. A castle can begin with a gatehouse, while a future village can begin with one farmhouse and its fields.
| Build idea | Choose it for | Suggested materials | Main planning challenge |
|---|---|---|---|
| Starter cottage | A compact Survival home | Oak planks, spruce logs, cobblestone, glass panes | Fitting useful stations around a clear walking route |
| Farmhouse | Connecting your home to crops and animal pens | Oak logs, stripped spruce, stone, fences | Reserving space for fields and paths |
| Treehouse | An elevated forest shelter | Logs, planks, fences, trapdoors | Connecting platforms and planning access |
| Mountain base | Rooms built into existing terrain | Stone, deepslate, spruce, glass | Making entrances and balconies safe to reach |
| Modern house | Clean shapes and broad windows | White concrete, glass, dark oak | Balancing separate building sections and heights |
| Bridge | Improving an existing travel route | Wood or stone, stairs, slabs, fences | Connecting the banks without awkward approaches |
| Medieval castle | A large construction project | Stone bricks, cobblestone, deepslate, spruce | Planning walls, towers, and the courtyard together |
Choose the farmhouse if you want crops close to your door. Plan the growing area before adding decorative fences; these Minecraft food farm layouts can help you choose the working farm that your house will sit beside.


Turn inspiration into a short build brief
Write down the structure's purpose, its approximate size, its palette, and what counts as finished. For the cottage, the finish line is a roofed home with working stations, a usable loft, lighting, and a connected entrance path.
Add one constraint if you keep changing direction. A fixed footprint or a limited palette gives you a decision to work around. Avoid combining several restrictions before you have placed the foundation.
Prepare the cottage palette and site
Choose blocks by their role
Use oak planks for the main surfaces, spruce for the darker frame and roof, and cobblestone beneath them. Glass panes provide windows without introducing another large area of colour.
| Component | Suggested blocks or items | Design role |
|---|---|---|
| Foundation | Cobblestone | Separates the wooden house from the ground |
| Floor and walls | Oak planks | Keeps the largest surfaces consistent |
| Corner posts | Spruce logs | Frames the walls with a darker material |
| Roof | Spruce stairs and slabs | Creates slopes, eaves, and a narrow ridge |
| Windows and trim | Glass panes, trapdoors, fences | Adds openings and depth |
| Ground-floor essentials | Bed, crafting table, furnace, chests | Makes the cottage usable |
| Loft access | Ladders and solid supporting blocks | Connects the two levels |
| Lighting | Torches or lanterns | Illuminates rooms and the approach |
Gather structural materials before optional decoration. In Survival, put a supply chest near the site so adjustments do not require a trip back to your main storage. Arrange your hotbar around the current stage, such as foundation blocks first, then wall blocks, then roofing pieces.
Find space for the house and its approach
Look for a relatively flat clearing near useful resources. Leave room outside the walls for an entrance path, a small garden, and a possible extension.
Read the terrain before clearing it. A nearby hill could become part of a later expansion, while an existing river crossing might determine which direction the front door should face. In Creative, block out the house's shape with temporary materials before committing to the final palette.
Build the starter cottage in six stages
1. Mark the foundation and entrance
Make a rectangular foundation seven blocks wide and nine blocks long, measured along its outside edges. With walls one block thick, this leaves a five-by-seven-block interior. These are suggested dimensions, so adjust the footprint now if your planned furniture needs more room.
Use cobblestone around the perimeter and oak planks for the interior floor. Mark the centre of a short side as the entrance, then walk around the outline. Check that the doorway faces a useful route and that the surrounding ground can accommodate steps or a porch.
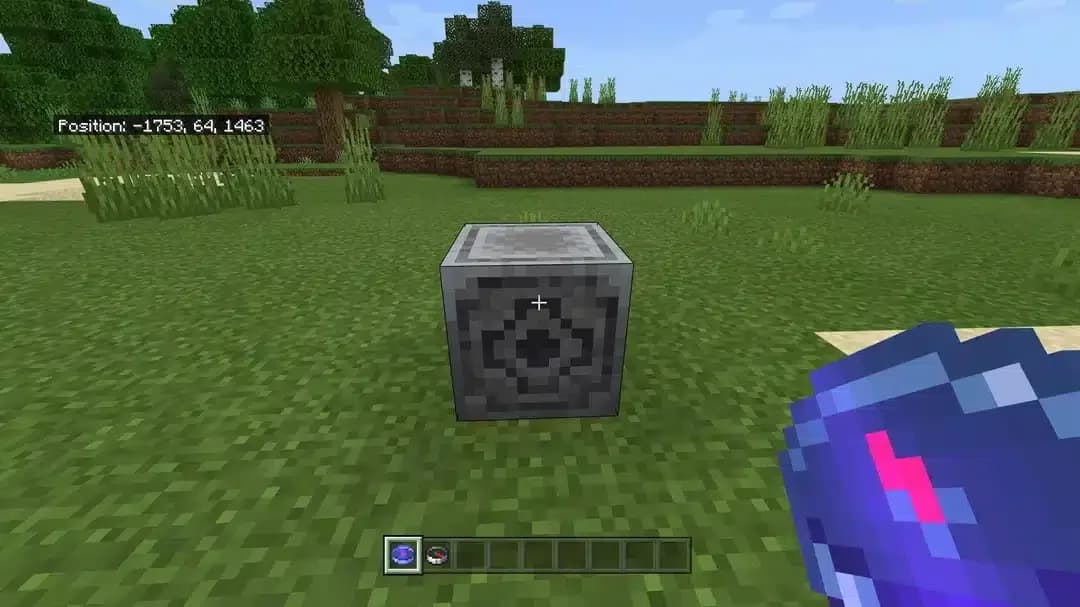
Set the footprint before building
2. Raise the frame and leave window openings
For this layout, raise spruce-log corner posts four blocks above the floor. Fill between them with oak planks, leaving a two-block-high front doorway for a wooden door.
Place window openings in the side walls and fit them with glass panes. Keep a solid section of the rear wall for the loft ladder. Stand inside before finishing every wall: the bed, workstation area, and route from the entrance should fit without needing to squeeze past furniture.
3. Build one roof profile, then repeat it
Run the roof ridge along the cottage's long axis. Start with a front-facing gable profile made from spruce stairs, with eaves extending one block beyond the side walls. Step each slope inward and upward toward the centre, then use spruce slabs for the ridge.
Check that both slopes match before extending the pattern along the house. Carry the roof one block beyond the front and rear walls, then fill the triangular gable openings beneath it with oak planks.
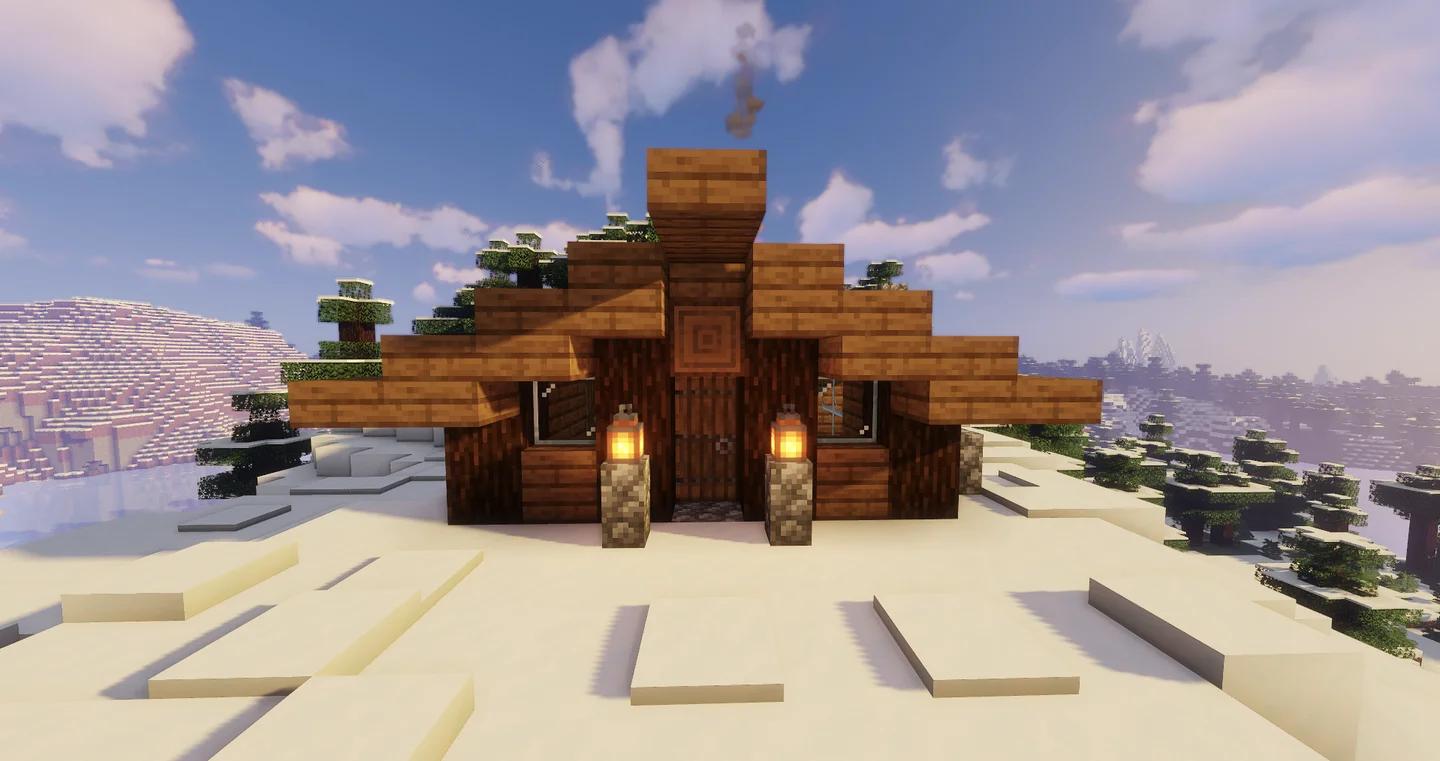
Build one roof profile first
The roof determines much of the cottage's silhouette. Inspect it from the front and side before adding shutters or plants. If its proportions feel wrong, changing the profile now involves fewer blocks than changing a fully decorated roof.
4. Fit the essential interior
Group the crafting table, furnace, and frequently used storage along one side of the room. Put the bed on the opposite side and keep the route between the entrance and rear wall open.
Add lighting before decorative furniture. Walk through the room and interact with each station and chest. Move anything that blocks the route or makes a frequently used station awkward to reach. Shelves, carpets, paintings, and flowerpots can fill spare space afterward.
5. Add the rear storage loft
Build a small oak-plank platform above the rear portion of the room, leaving the front portion open to the roof. As a starting layout, align the platform with the top of the wall posts, then check the space beneath the roof before extending it.
Leave an opening beside the rear wall for access. Follow the Minecraft ladder crafting and placement steps to attach the climb to solid supporting blocks, then test the exit before placing loft storage.
Keep chests away from the access opening and use fences along the exposed platform edge. If the loft feels cramped, shorten the platform instead of filling every part of the roof space.
6. Connect the exterior to your world
Build a path from the door to the route you actually use. Add a small porch or steps where the foundation sits above the surrounding ground, then light the entrance so it is easy to find after dark.
Choose a few exterior details with distinct jobs:
- Trapdoor shutters frame the windows.
- Slab ledges make narrow windowsills.
- Fence supports give a porch more depth.
- A small garden softens the foundation edge.
Leave enough open ground to approach the door without weaving around decorations. A cottage can look busy long before it becomes large.
Fix proportions before adding more detail
Inspect the house from the front, both sides, and the path leading toward it. Work on the largest visible problem first. Extra flowers will not change a roof that looks too heavy for its walls.
| Problem | First adjustment to try |
|---|---|
| A wall looks flat | Add a support, a framed window, or a shallow ledge |
| The palette looks noisy | Remove an accent material that repeats no clear role |
| The roof dominates the house | Adjust its height or try a different material |
| The interior feels crowded | Remove optional furniture or move storage upstairs |
| The house looks disconnected | Add a path and a small planted area around the entrance |
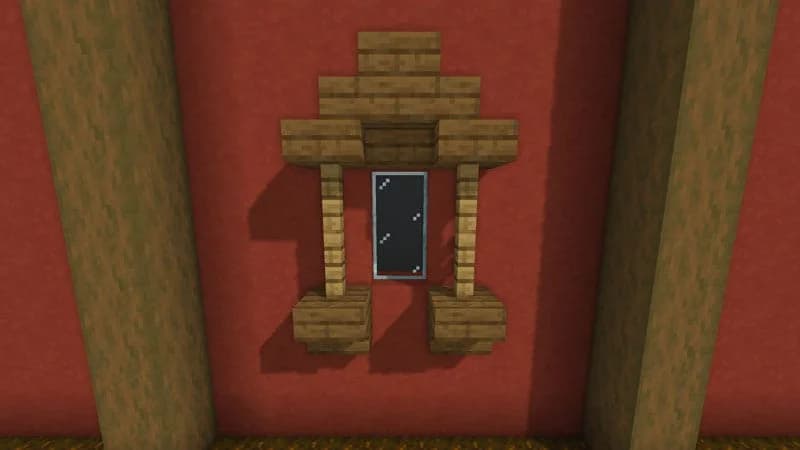
Give flat walls a little depth
Repeat details where they reinforce the structure. Matching shutters can tie the windows together, while using a different block on every ledge can make a small house harder to read. Keep the main walls recognisable between the accents.
Choose the next useful extension
Expand the function you have outgrown
Add a storage wing if the loft fills up, a greenhouse if farming becomes your main project, or a separate workshop if crafting stations crowd the entrance. Choose the extension after using the cottage, so its purpose comes from an actual inconvenience.
A basement is another storage option, but excavation needs its own preparation.
Add an interactive garden detail
A small music corner gives the garden something to do beyond framing the house. Reserve a pad beside the porch for Minecraft Note Blocks, where you can develop the decoration into a playable musical feature.
Keep a clear standing area beside the new feature and preserve the path to the front door. Each addition should fit the routes you already use, so a short trip from the garden to storage stays short.