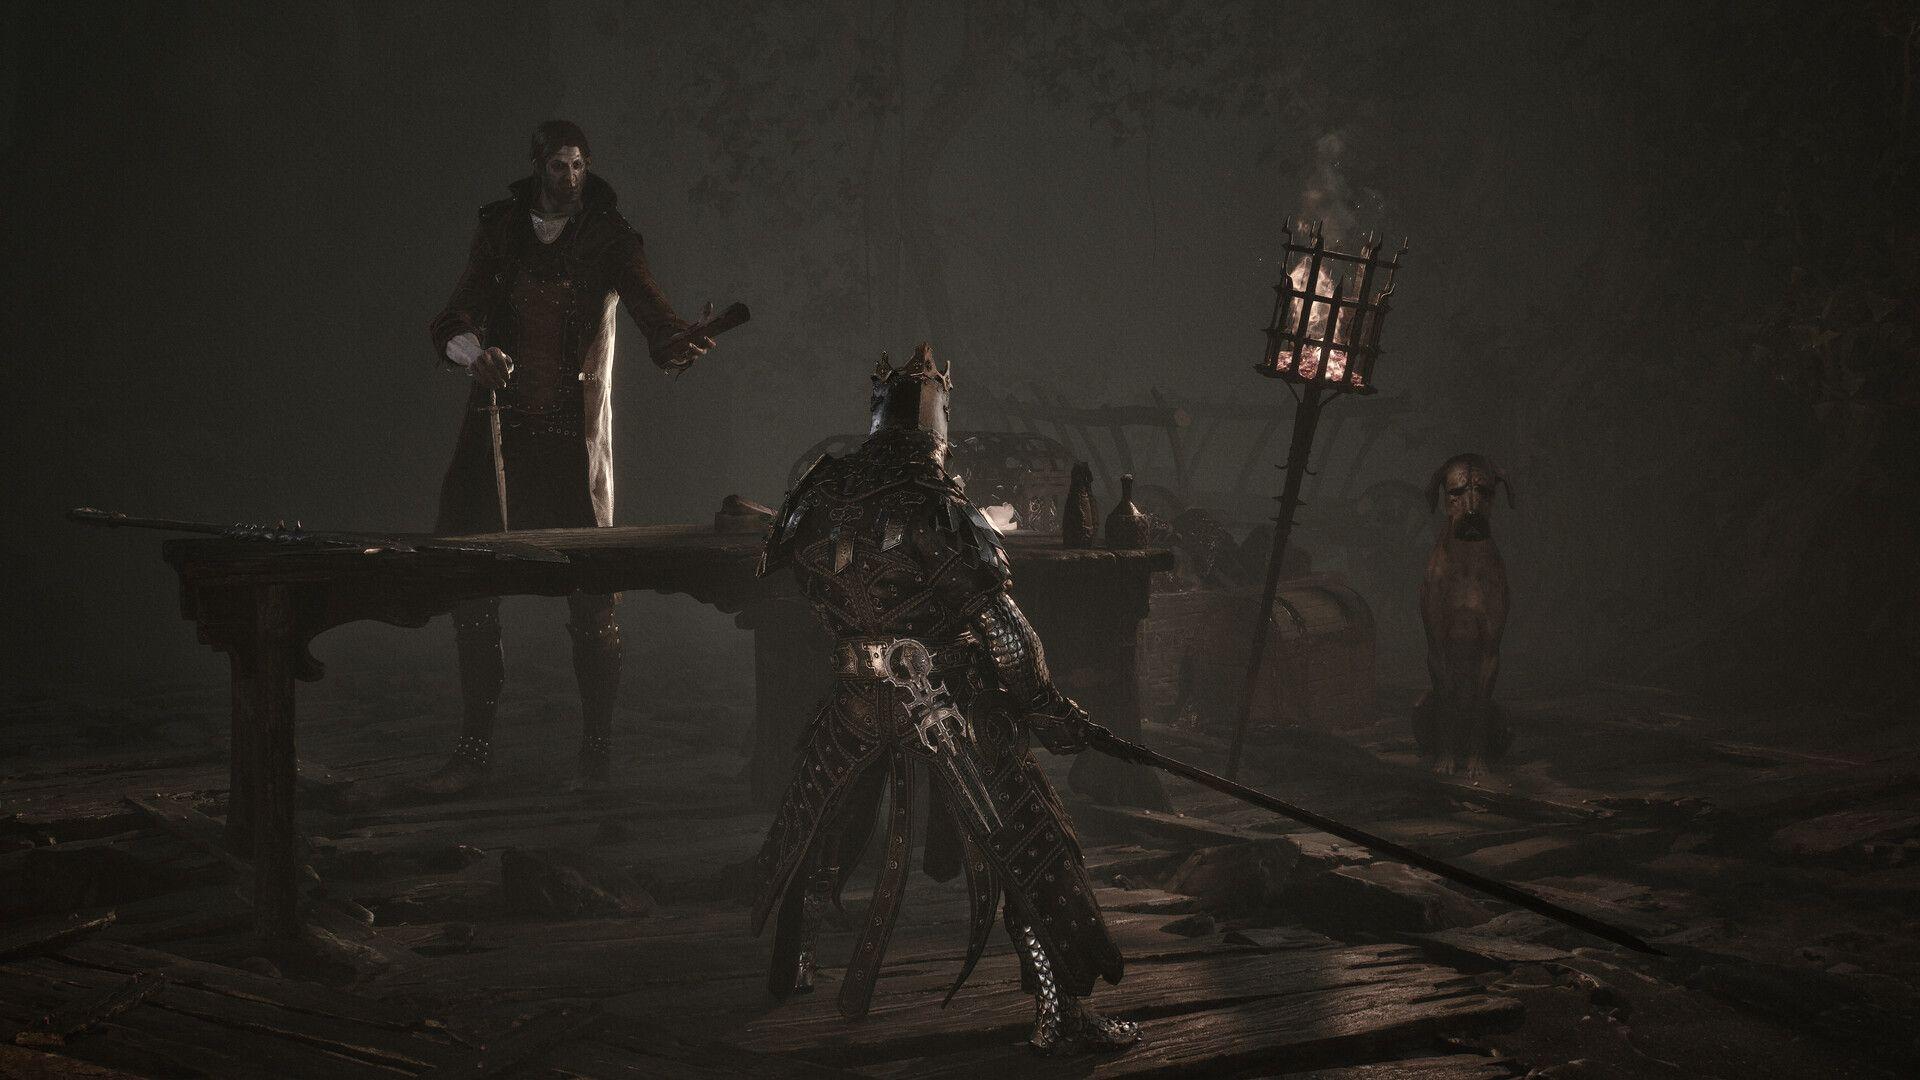


Mortal Shell II does not hand you a straightforward damage number and call it a day. The game runs a full status effect system where ailments stack, interact with your Shell and Tarstones, and can completely flip a fight in your favor or against you. Knowing what each effect actually does, and how to apply or resist them, separates players who feel like they are constantly behind from those who tear through bosses with deliberate builds.
How does the stack system work?
Every single status effect in Mortal Shell 2 runs on a stack system. Applying an ailment to a target does not just flip a switch. Each additional application adds a stack, and depending on the effect, more stacks either extend the duration, intensify the damage or slow, or push the effect toward a threshold that triggers something bigger.
Lightning is a clear example of threshold behavior: stacks deal damage over time until you hit enough of them, at which point the target explodes. Bloodcurse works similarly, dealing massive damage once stacks reach a critical level. Other effects like Stasis simply worsen movement penalties with each stack added.
Because each ailment interacts with its stacks differently, the in-game descriptions are worth reading carefully. There is no universal rule for how many stacks trigger what, so checking each effect individually saves a lot of guesswork.
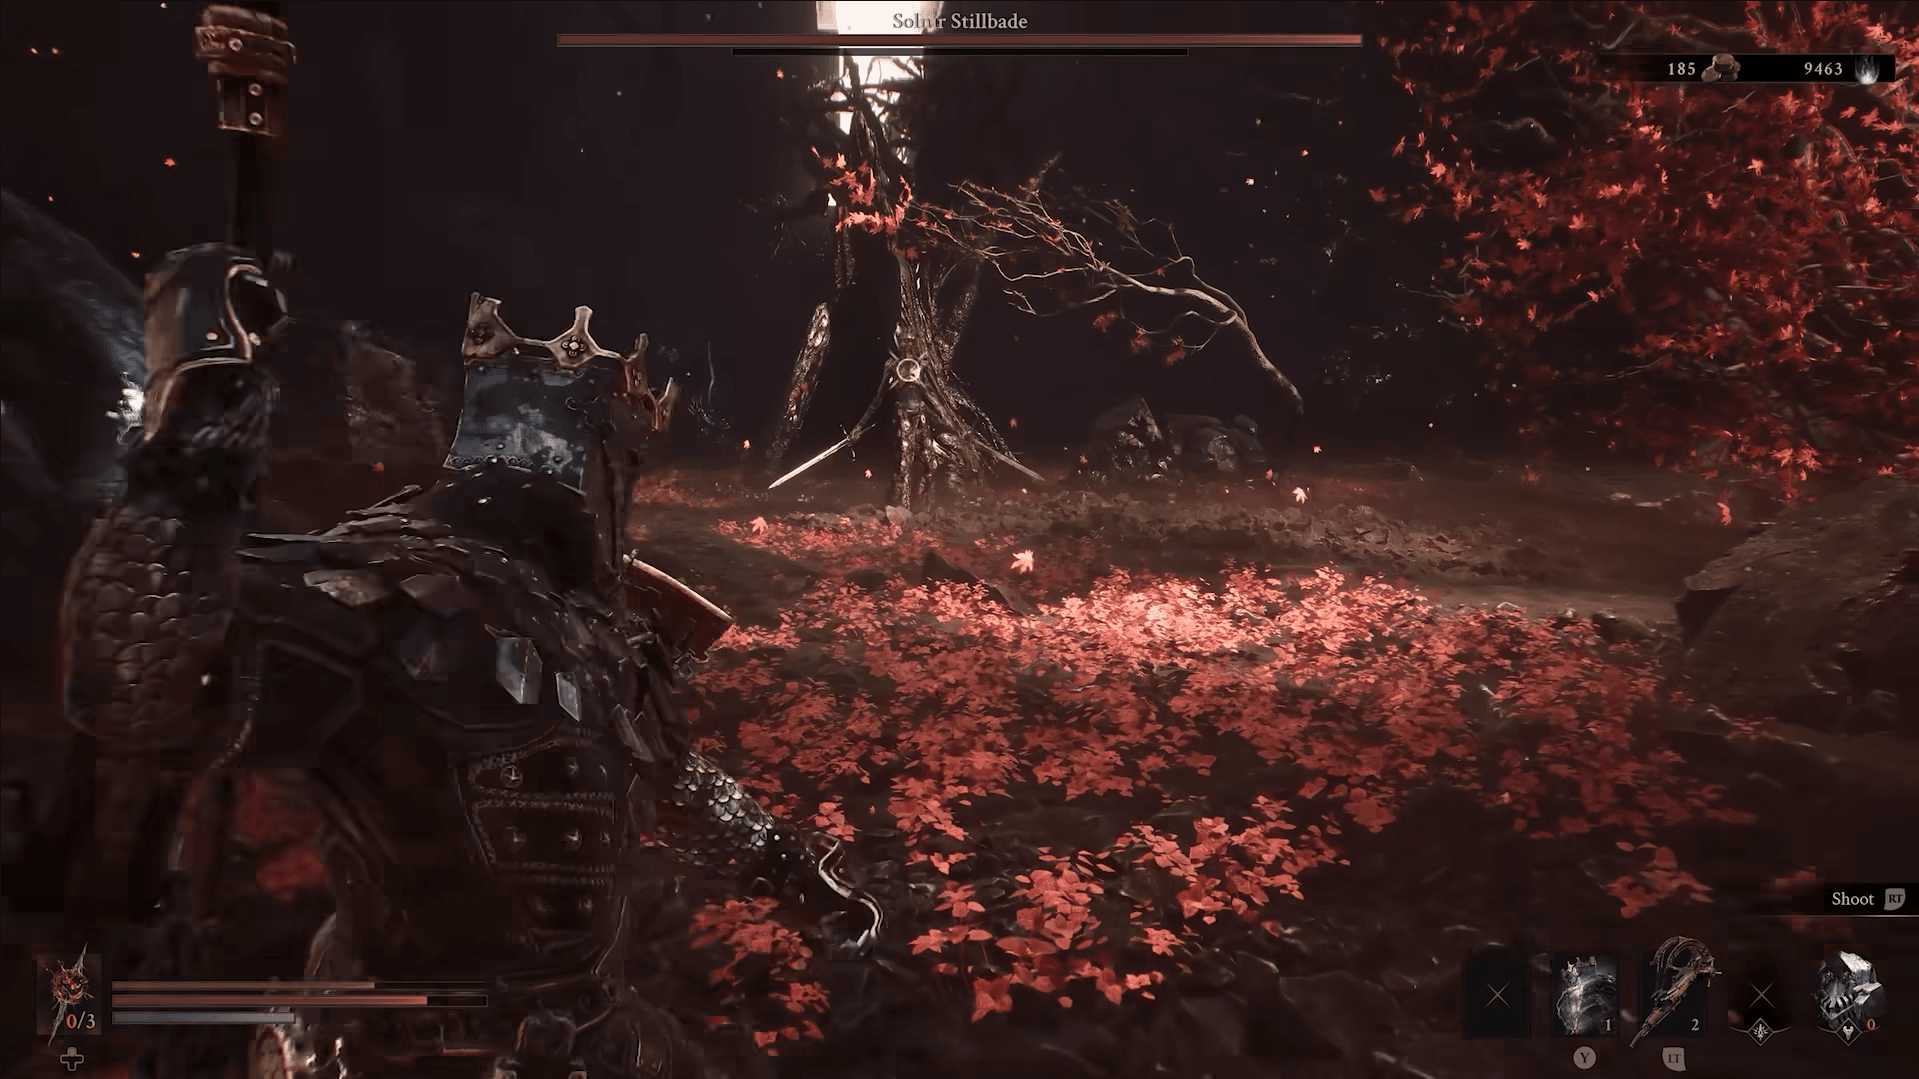
Mortal Shell 2 Guide: All Ailments & Their Effects
All Ailment and status effect
All ailments and effects confirmed in Mortal Shell 2 are listed below.
Beyond these, there are straightforward passive buffs such as increased attack damage, damage reduction, and poison immunity that do not require stack management.
Where do ailments come from?
The two main sources of ailments are Shell abilities and Tarstones. Some Tarstones apply their effects automatically and passively. The Wounding Stone, for instance, inflicts Perforation without any extra setup. Other Tarstones, like the Arbiter's Prize which inflicts Bloodcurse, need to be applied to weapons through the Infusion system before they do anything.
Bosses can also apply several of these effects to you directly, so the system cuts both ways. Regular enemies generally do not inflict ailments, but do not assume you are safe from debuffs just because you are not fighting a named boss.

For players still figuring out which Shells pair best with specific ailment builds, the Mortal Shell 2 best Shells tier list breaks down every Shell by damage output, survivability, and how their abilities interact with status effects.
How do Permanent Pickups affect ailments?
Mortal Shell 2 replaces traditional consumable stacks with Permanent Pickups, items that replenish over time and offer either active effects or passive bonuses. Two of these, Tarspores and Burnt Effigies, are specifically useful for countering harmful ailments applied to the player. If Burn or Poison is giving you problems, slotting the right Permanent Pickup is a faster solution than trying to dodge every application.
Shell-specific resistances are the other option. Tiel, for example, can reach full Poison immunity by investing enough Shell Points into his progression. That kind of built-in resistance frees up your Permanent Pickup slot for something offensive instead.
What are the best offensive ailments to build around?
After testing ailment combinations across multiple Shells, a few effects stand out for offensive builds:
- Fragile + primary weapon focus: Applying Fragile before unloading your primary weapon is one of the most reliable ways to spike damage without needing a specific Shell.
- Perforation + Sidearm builds: Perforation pairs directly with Sidearm damage, making it the obvious pick for any Shell that leans on ranged attacks.
- Bloodcurse via Infusion: High-risk, high-reward. Reaching the stack threshold deals massive burst damage, but you need consistent hit access to build stacks fast enough.
- Confusion on grouped enemies: In multi-enemy encounters, landing Confusion turns the fight into chaos. Enemies attacking each other frees you to focus on the most dangerous target.
- Frost for control: Freezing a target completely stops it, which is particularly useful for bosses with aggressive attack patterns where you need a window to heal or reposition.
For players building around Sidearm damage and Perforation, pairing that with the right weapon is half the equation. The Mortal Shell 2 weapon tier list covers every weapon's damage output and which picks synergize best with ailment-focused setups.
Defensive ailments worth understanding
Not every effect on the list is about dealing damage. Several have purely defensive or utility applications:
- Shadow grants temporary invisibility, useful for repositioning or escaping a bad situation.
- Curse reflects an incoming melee attack back to the attacker after nullifying it. Landing this at the right moment against a boss can punish aggressive patterns significantly.
- Faith accelerates Resolve generation, which matters for Shells that rely on Resolve-based abilities to function.
- Chaos is the wildcard. The random condition it applies makes it unreliable for planned builds, but it can produce surprising results in longer fights.
Building your ailment setup from scratch
The most effective approach is to pick your Shell first, identify which ailments its abilities naturally apply, and then build Tarstone and Permanent Pickup choices around reinforcing those effects. Trying to apply five different ailments simultaneously dilutes every stack count and reduces the payoff on all of them.
If you are still working out Shell fundamentals, the Mortal Shell 2 beginner's guide covers hardening, Gloom management, and the early-game systems that feed directly into how ailment builds develop.
For everything else, from Seals to Gloom farming to unlocking every Shell, the full Mortal Shell II guide collection has you covered.