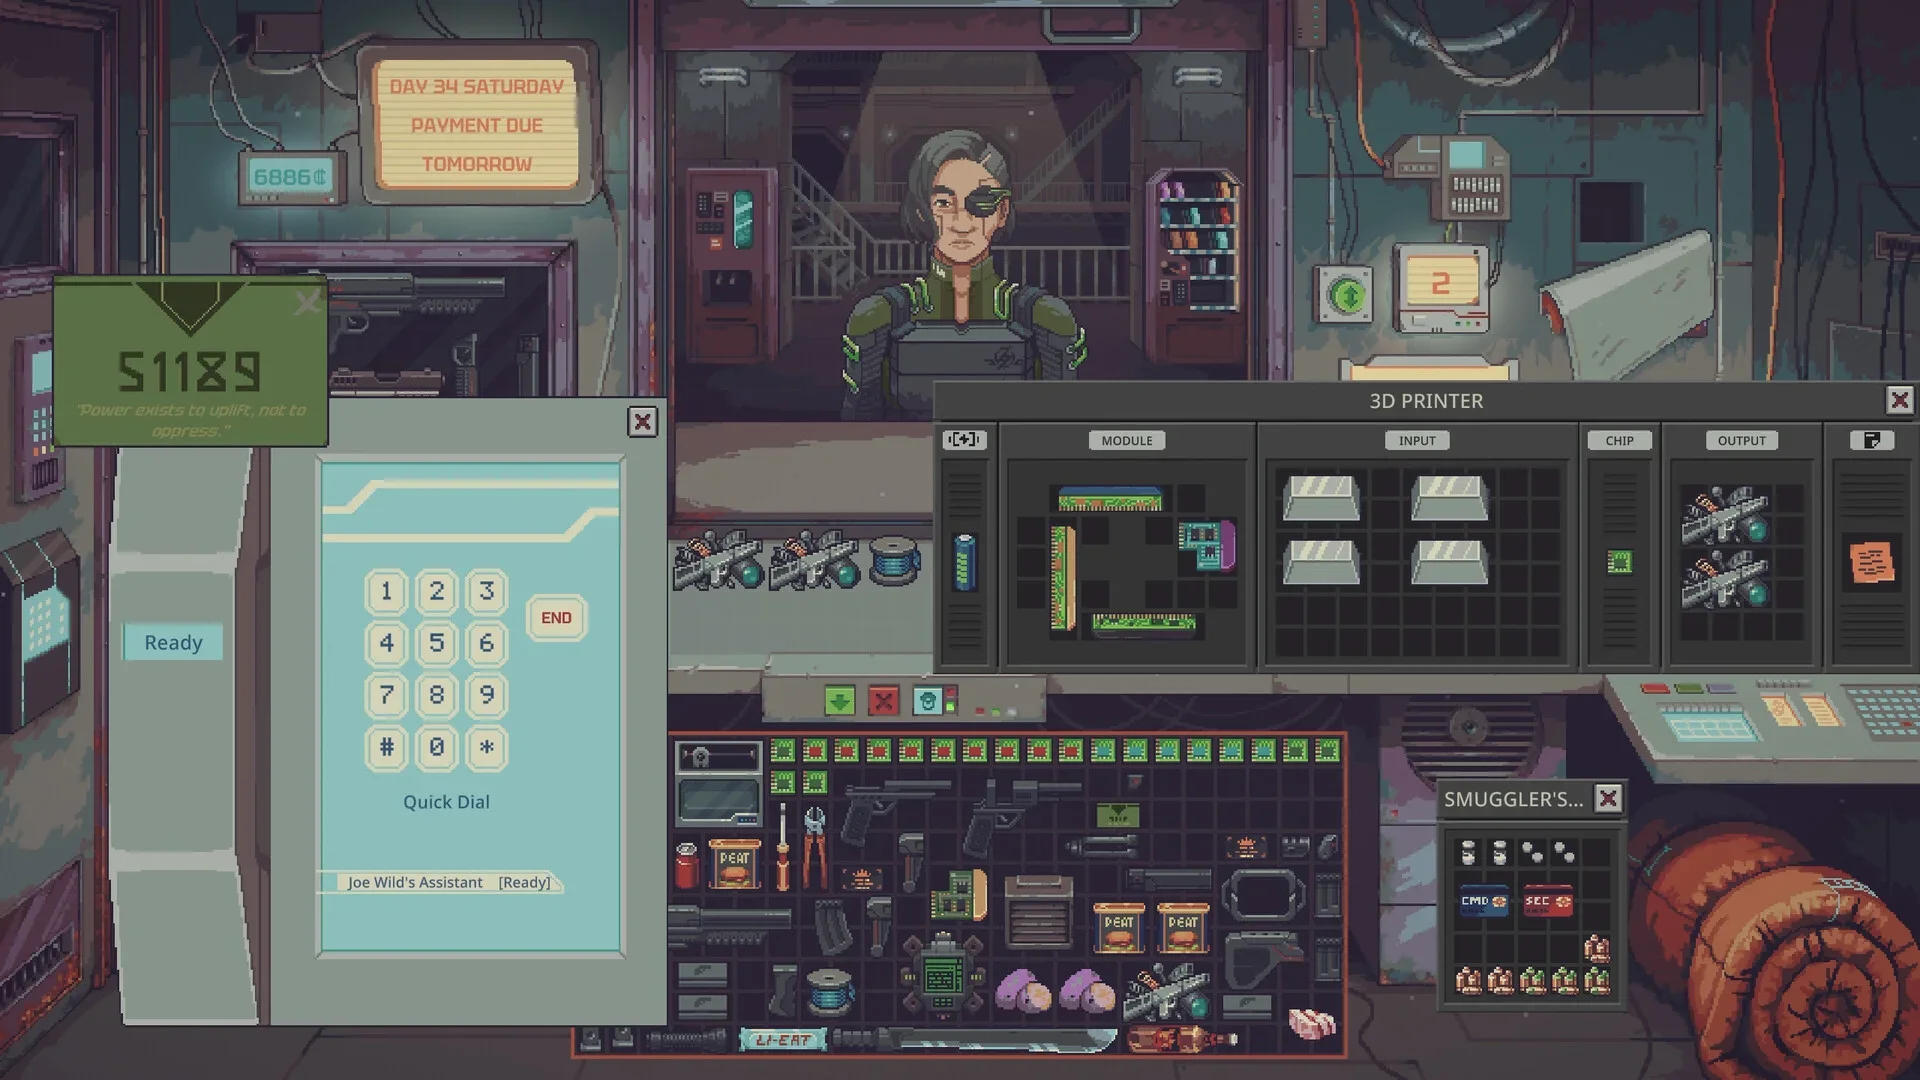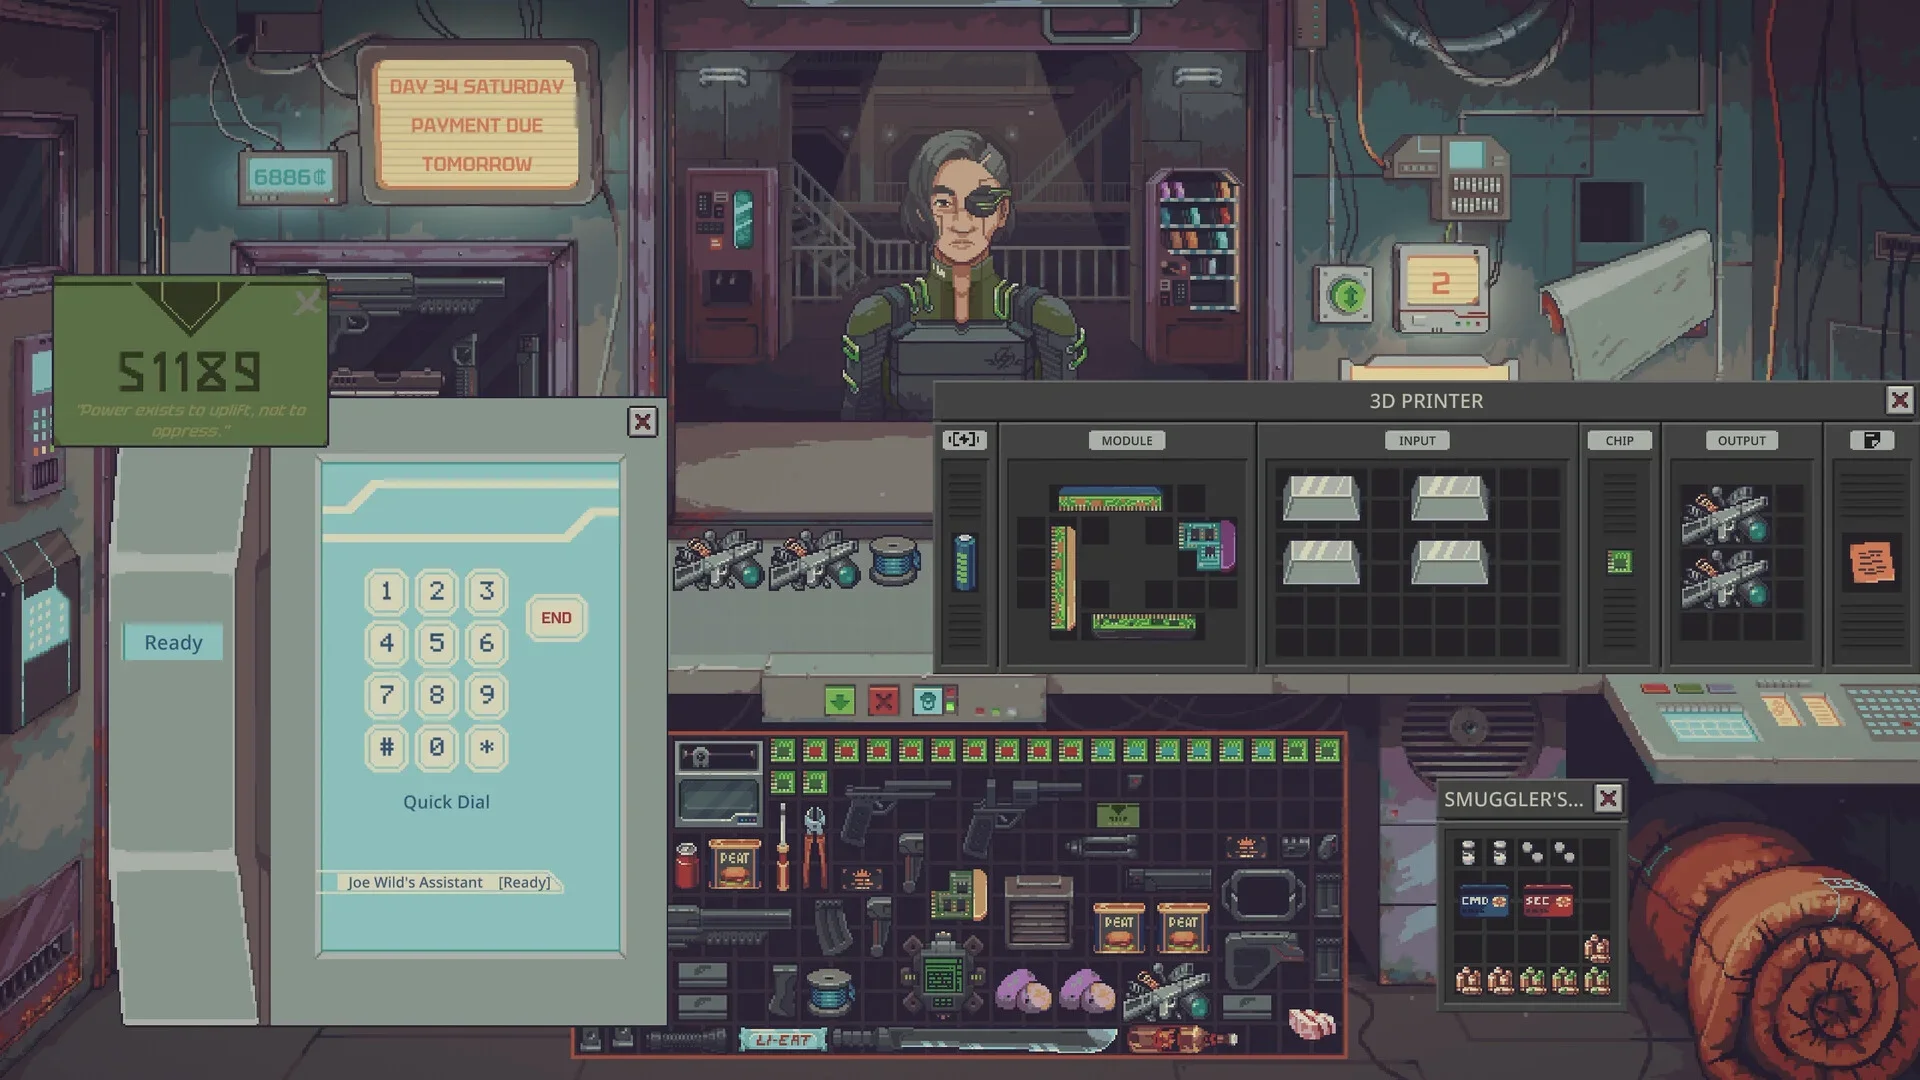

To start chemistry in Probably Stolen - Cyberpunk Shopkeeper Sim, unlock the Retired Chemist, prepare an extract, and dry it before finishing.
Dream Dust provides a practical route through the system because its production uses the Blender, Heating Plate, Evaporator, and Chem Finisher. Each machine handles a different stage, and successful extraction does not mean the mixture is ready for packaging. Follow the process below to manage solvent, temperature, drying, and recipe selection, then use the product table to check the other finishing requirements.
How to unlock chemistry equipment
Buy the Retired Chemist upgrade in Wild's Network for 1,000 base Favor. You receive a Chemist Starter Kit immediately. The Retired Chemist visits the next day, then returns weekly to sell chemistry equipment and supplies.
The starter kit contains the equipment needed for the Dream Dust production chain, along with instructions and a purity-checking tool:
| Starter kit item | Purpose |
|---|---|
| Blender | Turns Dream Caps into mush |
| Heating Plate | Heats the mush and solvent for extraction |
| Evaporator | Removes water and alcohol |
| Chem Finisher | Packages prepared chemicals into finished products |
| Chemistry Manual | Explains chemistry procedures |
| Composition Spectrometer | Checks chemical purity |
Open a machine by finding it in the inventory grid beneath the counter, then double-clicking it or right-clicking and selecting Open. With its interface open, Ctrl + click moves an inventory item into a matching slot. Drag items from the counter into the appropriate slot manually.
Keep money available for ingredients, Energy Cells, and nightly shop expenses. Receiving the equipment does not cover the supplies needed to run it, and overnight drying can leave a batch unfinished while rent and fees still need paying.
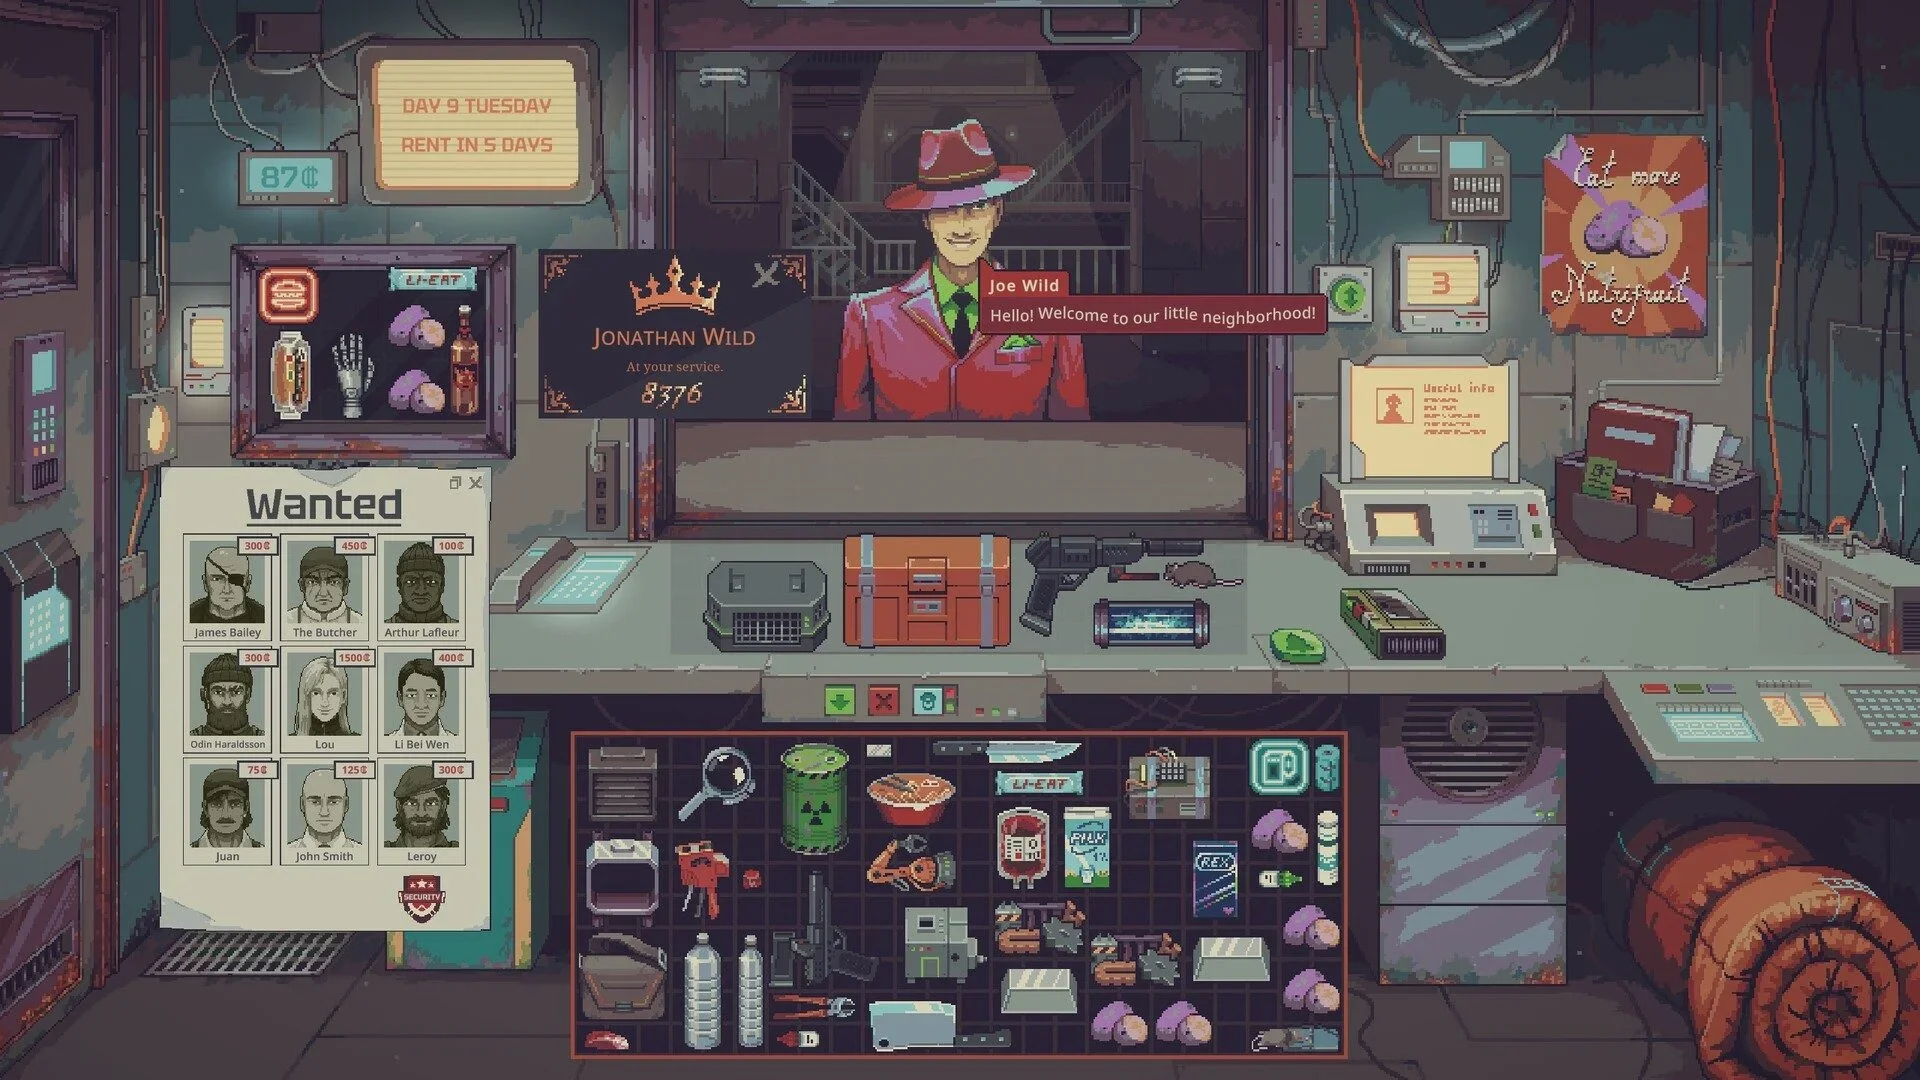
Blender container and input slots

How to make Dream Dust
Dream Dust production moves through immediate blending, controlled heating, overnight evaporation, and finishing. Gather Dream Caps, a liquid container, usable alcohol, and power before starting. Kotton Fabric is optional for filtering.
Blend Dream Caps into mush
Open the Blender and place a liquid container, such as a Water Pitcher, into CONTAINER. Add Dream Caps to INPUT, then press Start. Blending happens immediately and leaves Dream Cap Mush in the container.
Use the mush's volume to plan the solvent addition in the next stage. The alcohol requirement depends on that volume, so a larger quantity of mushrooms also needs more solvent and subsequent evaporation.
Add usable alcohol and control the heat
Add liquid alcohol at roughly three to six times the mush's volume. Mini Alcohol Bottles, Nudka, and wine are usable sources. Rubbing Alcohol does not work because the item has no usable liquid content.
Mini Alcohol Bottles hold 175 ml each. Nudka contains 750 ml at 45%, while wine contains 750 ml at 20%. Check the liquid contents when choosing supplies, not simply whether an item's name includes alcohol.
Move the mixture to the Heating Plate and maintain a temperature between 40°C and 60°C to produce Dream Cap Extract. Monitor the temperature reading throughout this stage.
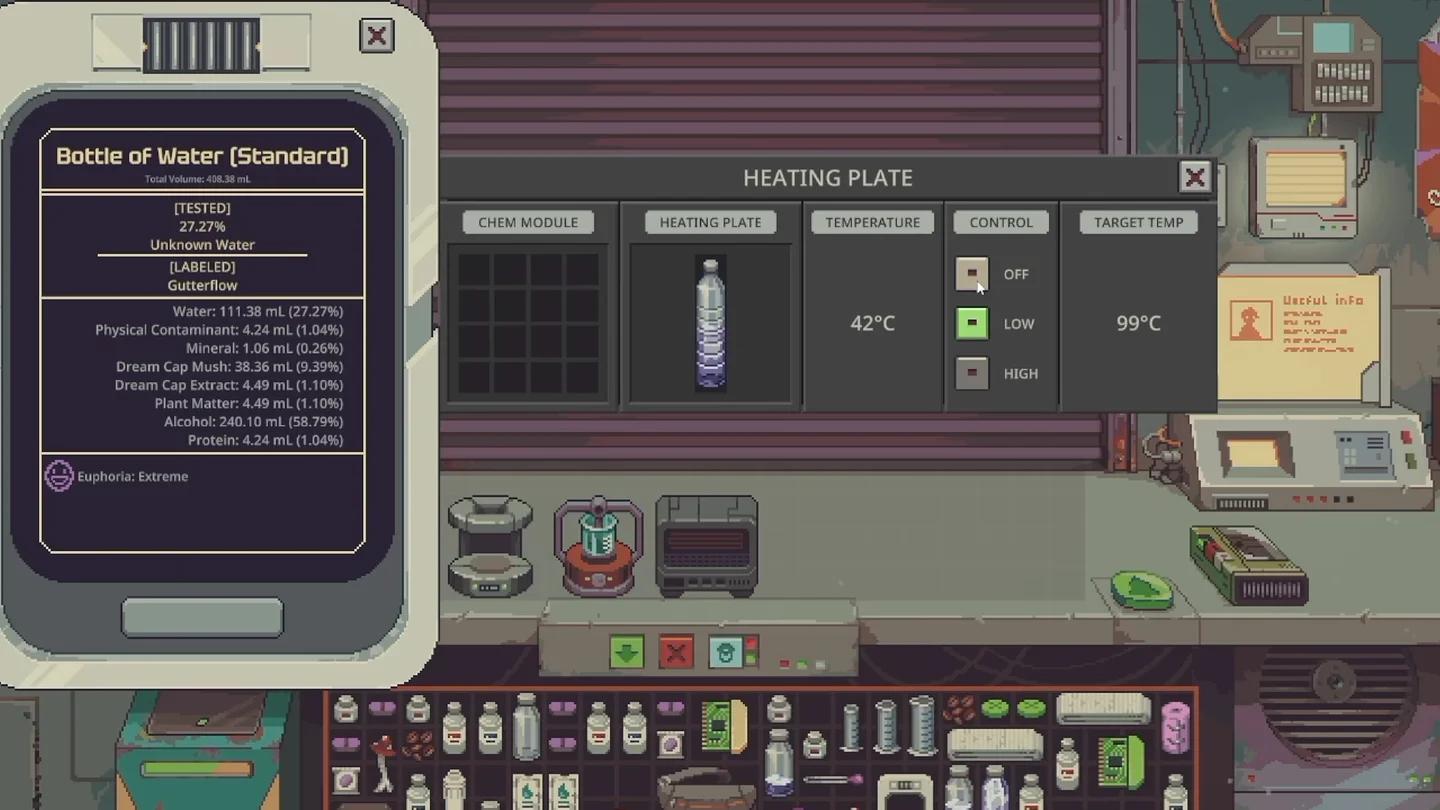
Heating Plate temperature controls
Filter and dry the extract
Filtering Dream Cap Extract with Kotton Fabric is optional. After filtering, or directly after extraction if you skip it, place the container into a powered Evaporator and leave it overnight.
The Evaporator requires 6 Energy per day. A batch can need several nights, so inspect the contents after each overnight cycle instead of assuming one night completes the process.
Continue until all water and alcohol have evaporated. A dry container still holds the chemical residue; it does not need to be empty. Remaining solvent prevents the Chem Finisher from accepting the preparation.
How to use the Chem Finisher
The Chem Finisher has seven recipes. Open its control panel and select Configure to choose a product. Until a recipe is selected, the display reads Status: No Recipe Selected.
For the Dream Dust preparation above, load the container of dry Dream Cap Extract, choose the Dream Dust recipe, and use the output control to collect the finished vial. Check the required volume before attempting to produce another item.
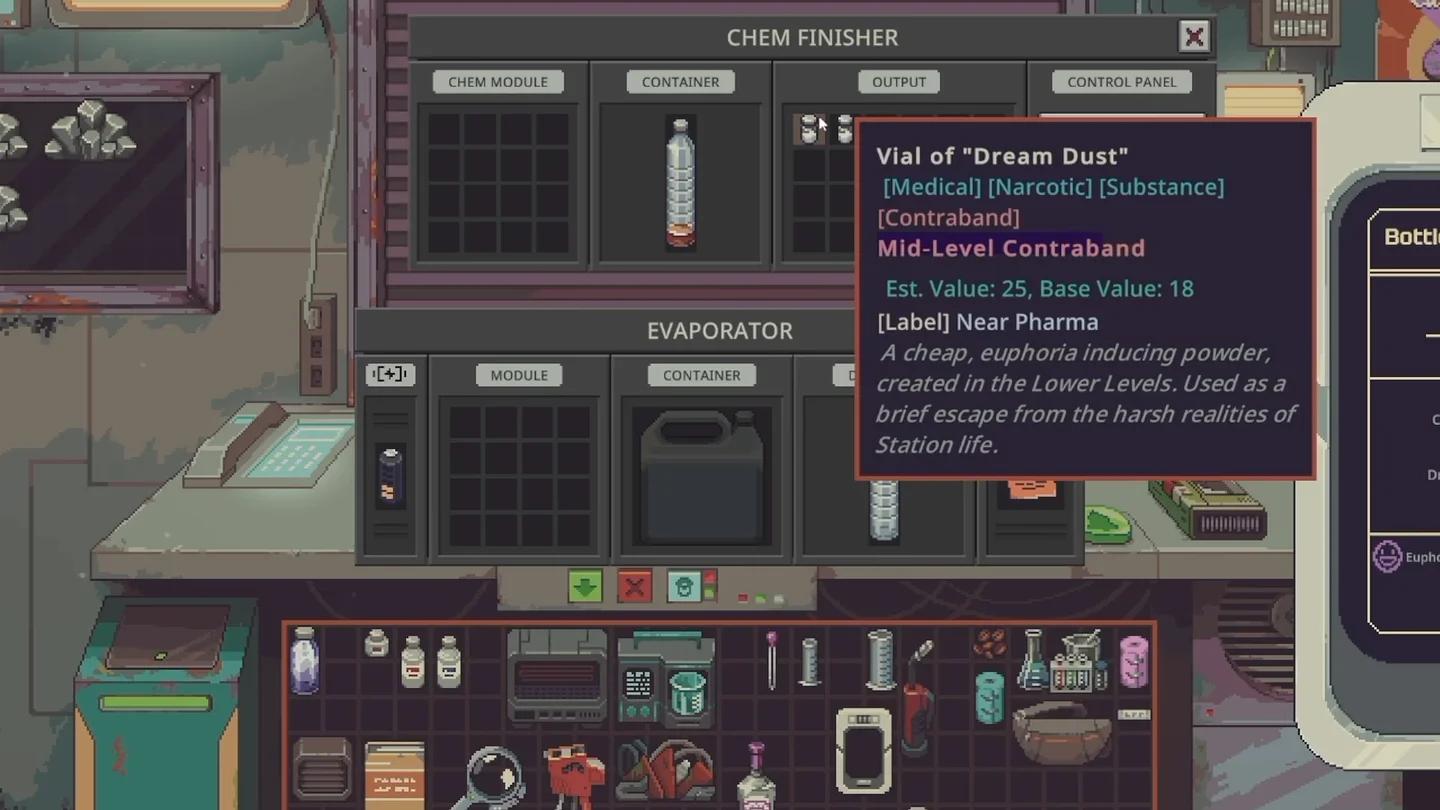
Chem Finisher product configuration
Chemical and volume requirements
Each product needs a specific chemical. A different finished chemical cannot substitute for the one selected in Configure, even when the container holds enough material.
| Finished product | Required chemical | Volume per product |
|---|---|---|
| Vial of Dream Dust | Dream Cap Extract | 2 ml |
| Vial of Nightmare Dust | Nightmare Extract | 4 ml |
| Caffeine Pill | Caffeine | 5 ml |
| Zyanide Pill | Zyanide | 0.6 ml |
| Birth Control Pill | Contraceptive | 0.1 ml |
| Phanta Pill | Phanta | 0.5 ml |
| Nomore Injector | Nomore | 4 ml |
Use the Composition Spectrometer to check purity. Collecting a finished product shows that it met the finishing requirements, but it does not replace a purity check.
How to identify bottled chemistry supplies
Read each bottle's full item name when sorting reagents. Several chemical bottles share the Food and Drink category and the same inventory dimensions, so those details cannot reliably distinguish them.
| Item | Category | Inventory footprint |
|---|---|---|
| Bottle of Reducing Agent | Food and Drink | 1 × 2 |
| Bottle of Acidic Solution | Food and Drink | 1 × 2 |
| Bottle of Basic Solution | Food and Drink | 1 × 2 |
| Bottle of N-Methylol Base | Food and Drink | 1 × 2 |
| Bottle of Lipobond Agent | Food and Drink | 1 × 1 |
Keep similarly sized bottles organized by label. Their shared category is an inventory classification, not evidence that they perform the same job in a chemical process.
Which chemistry upgrades should you choose?
The Chem Finisher uses the Chemical Equipment Module. Check compatibility before buying upgrades: the Module Bay Expansion Kit does not work with Chemical or other special machines.
Upgrade effects also depend on the machine. For the Evaporator, the three stats address different production needs:
| Evaporator stat | Effect | When to prioritize it |
|---|---|---|
| Efficiency | Reduces power consumption | Repeated drying cycles are using too much energy |
| Performance | Increases the volume evaporated per night | Liquid removal is slowing production |
| Quality | Increases the volume of vapor captured | Vapor capture is your priority |
Performance is the relevant choice for increasing overnight evaporation volume. Quality affects vapor capture on this machine, so its name should not be treated as a promise of faster drying or purer residue.
How to judge a chemistry batch's return
A finished product's base value is not a guaranteed selling price. Compare the actual sale offer with ingredient and power costs before treating the batch's revenue as profit.
Retail Markup changes with difficulty:
| Difficulty | Retail Markup |
|---|---|
| Price Gouge | +20% |
| Mark Up | +15% |
| Thin Margins | 0% |
| Red Ink | 0% |
Market events can also raise or lower prices. Check the current offer before buying supplies for a larger batch, and keep your rent budget separate from money committed to chemicals that are still processing.