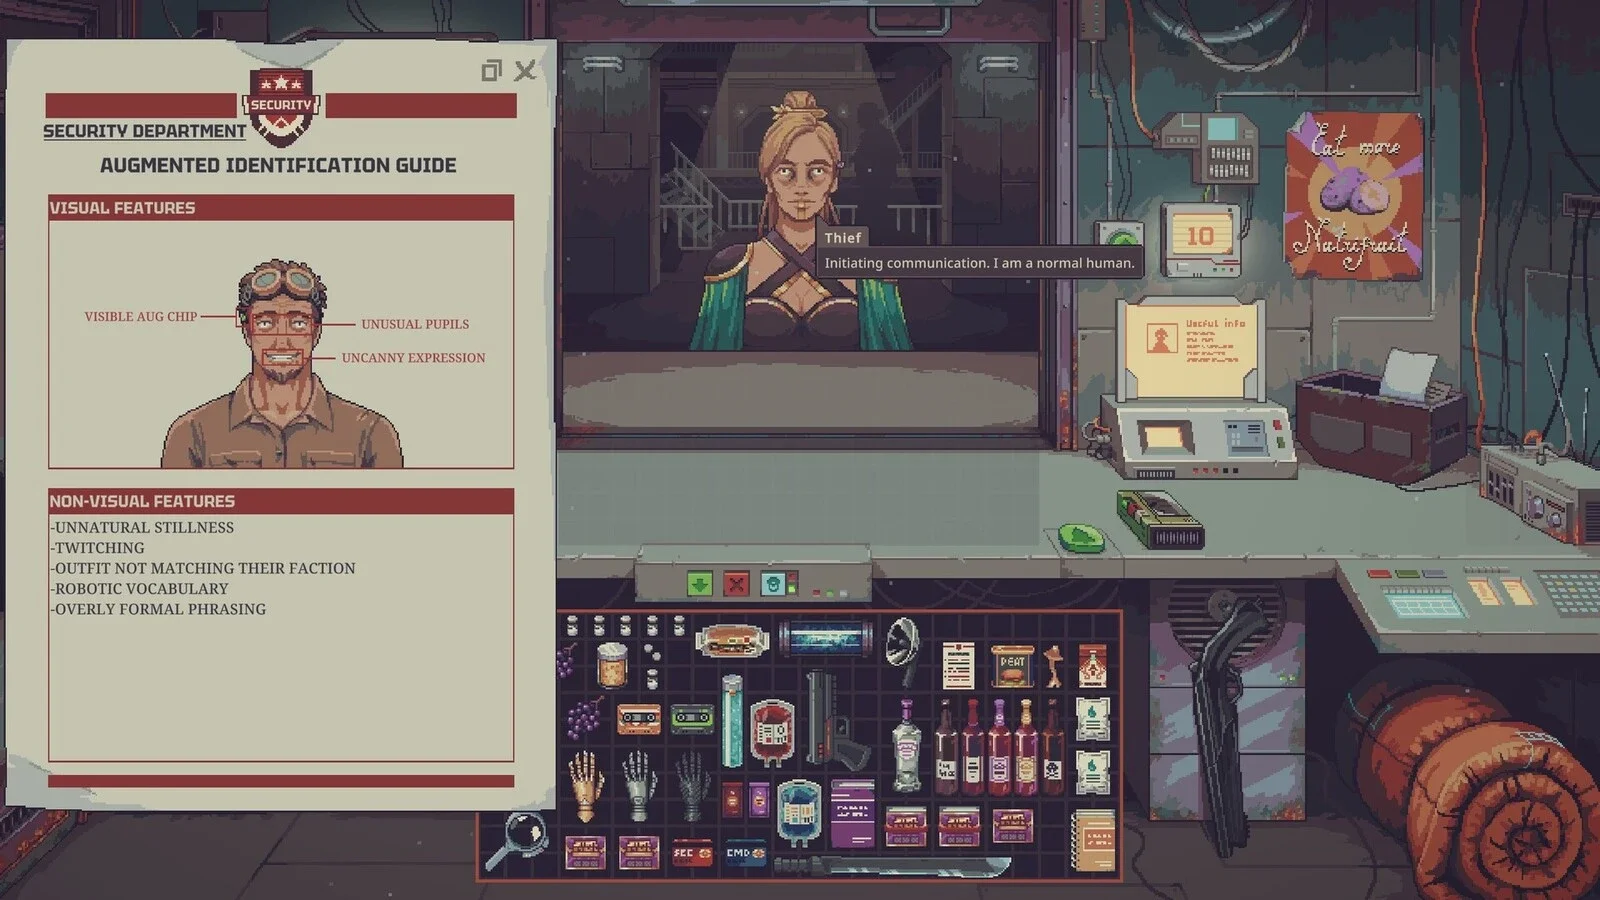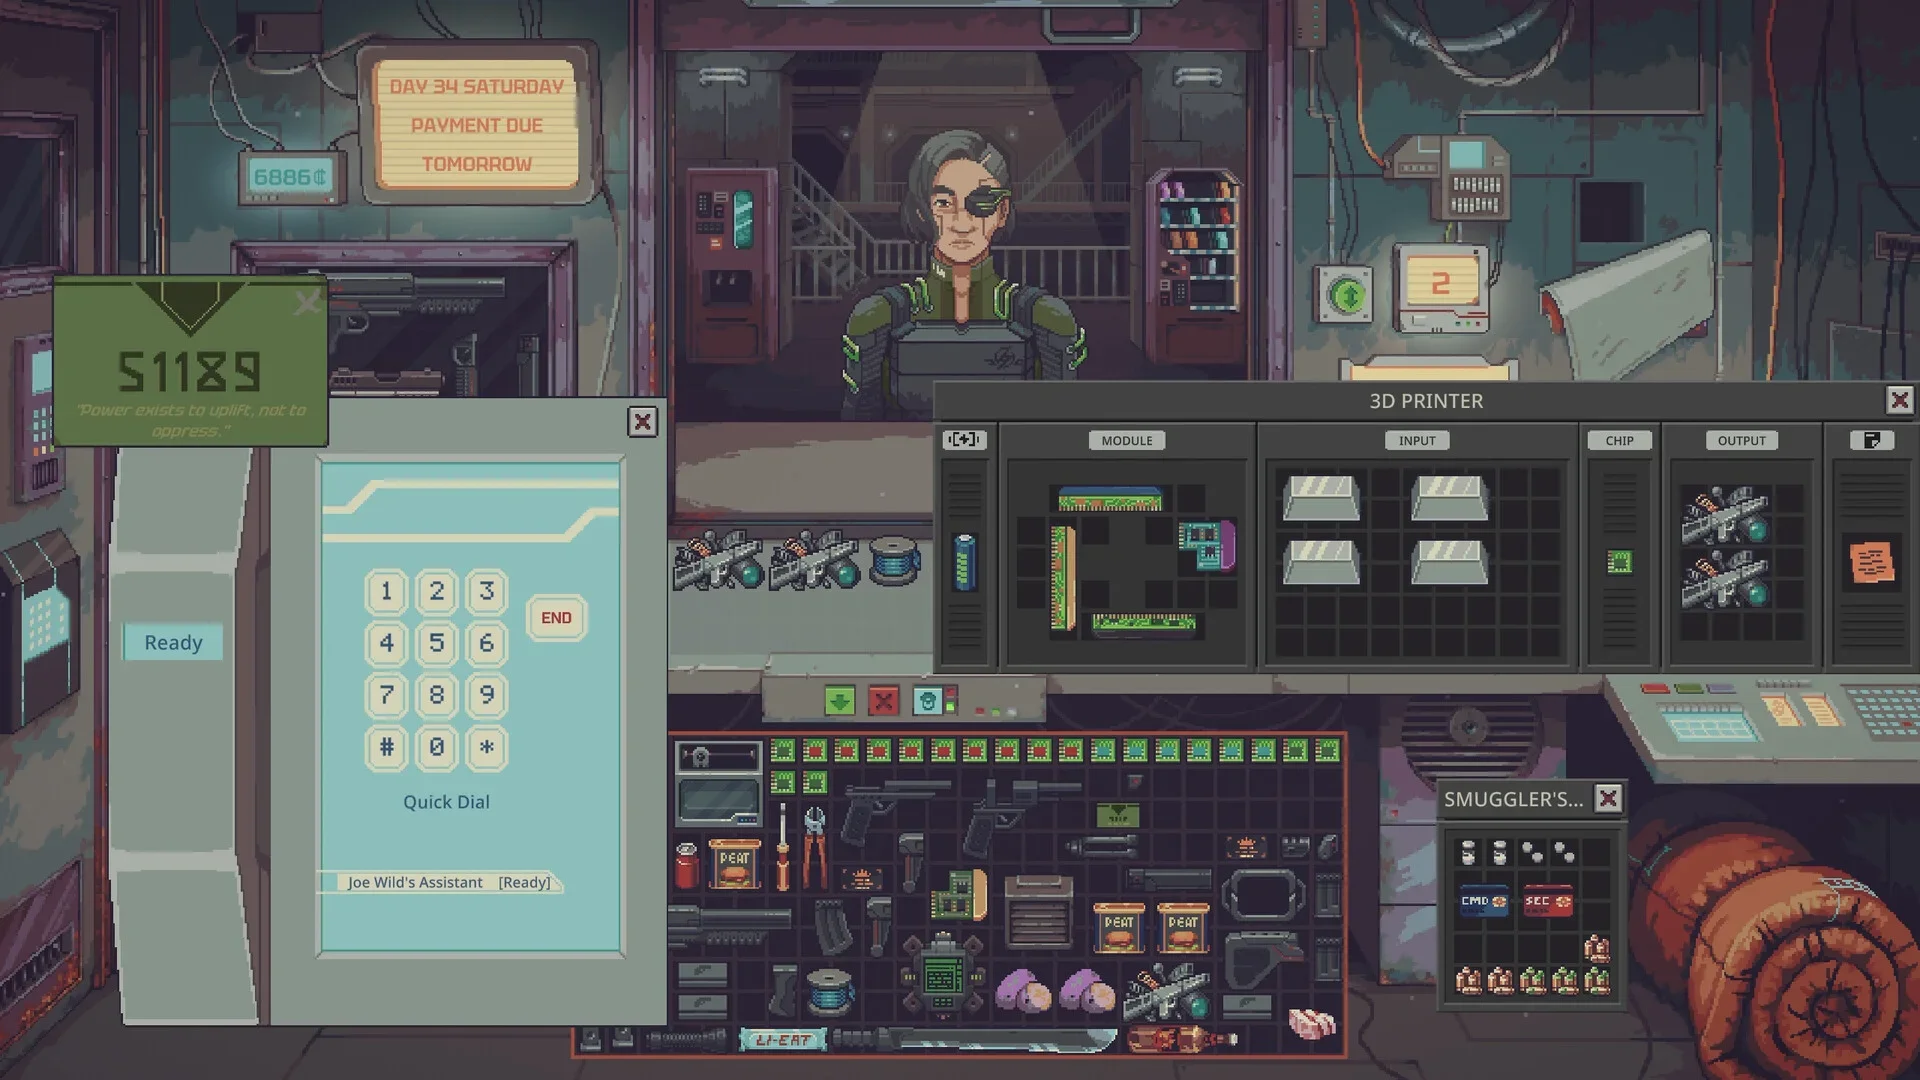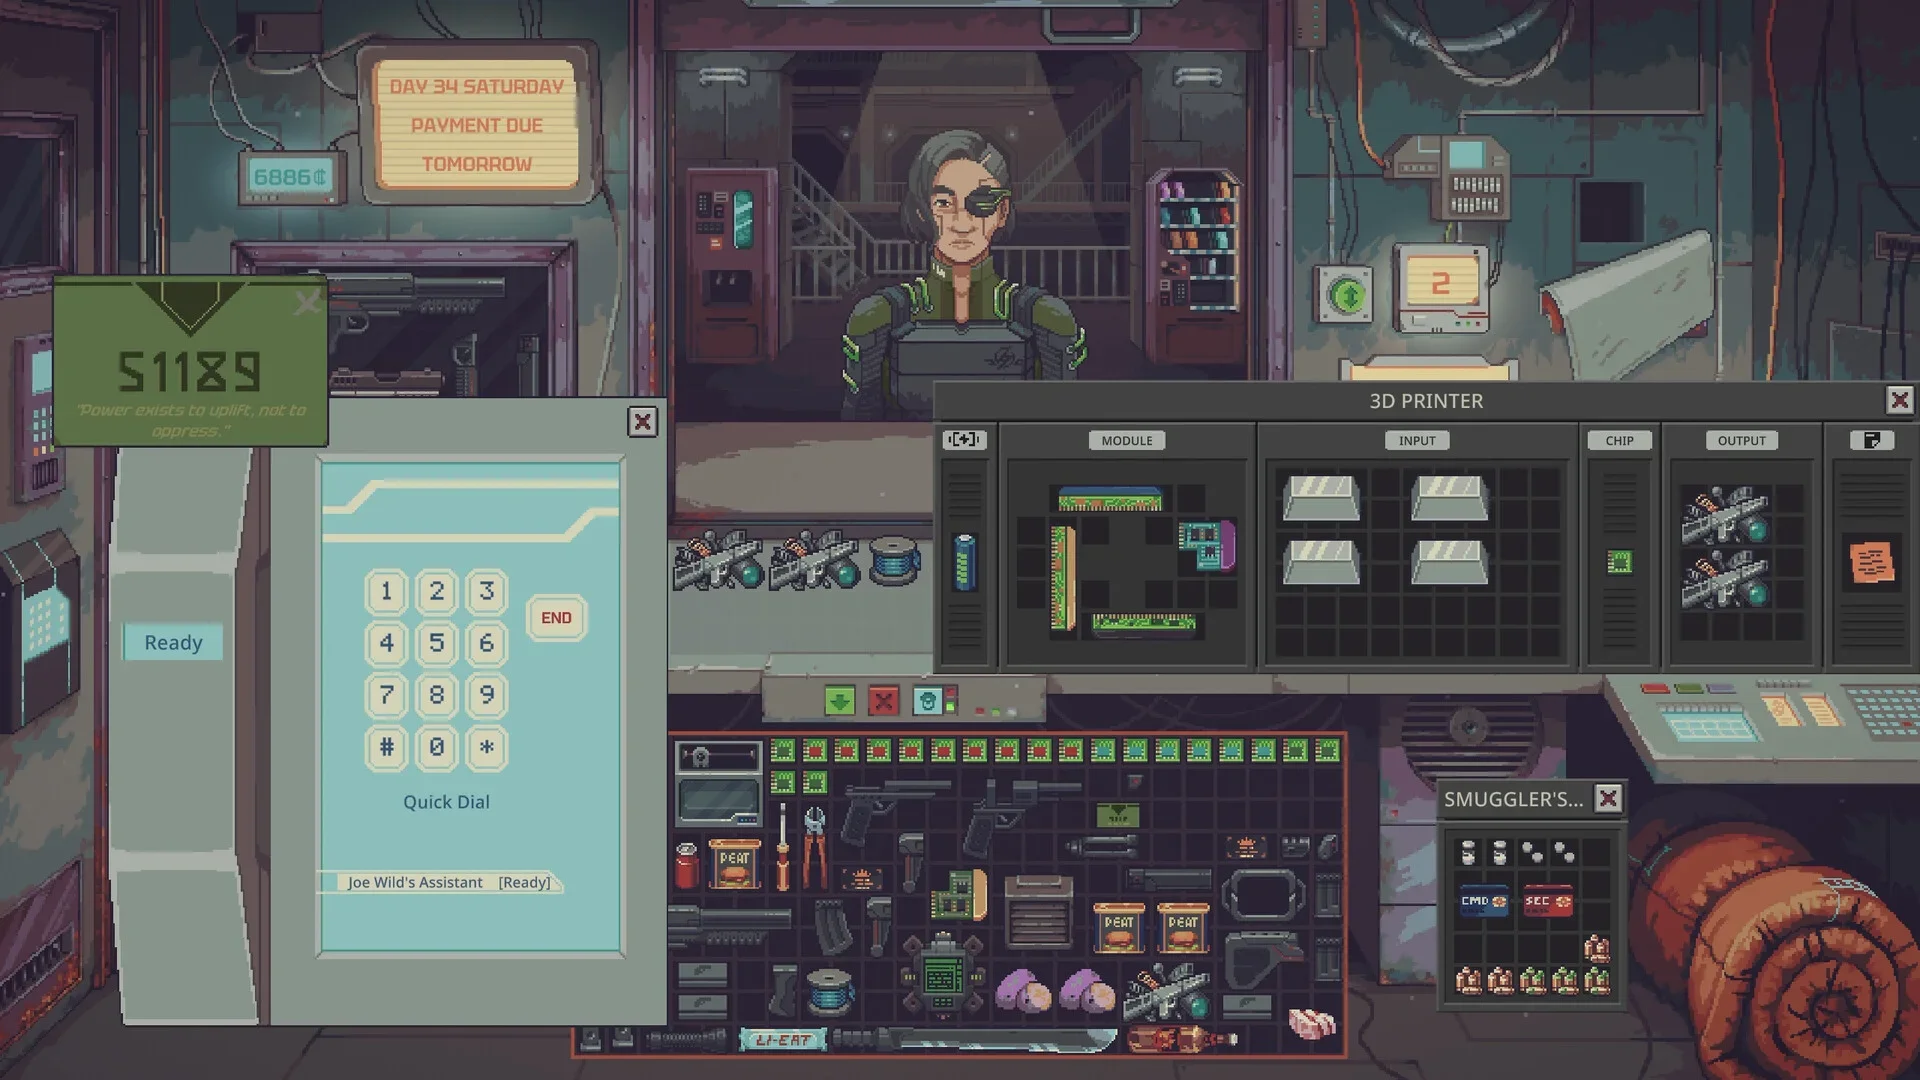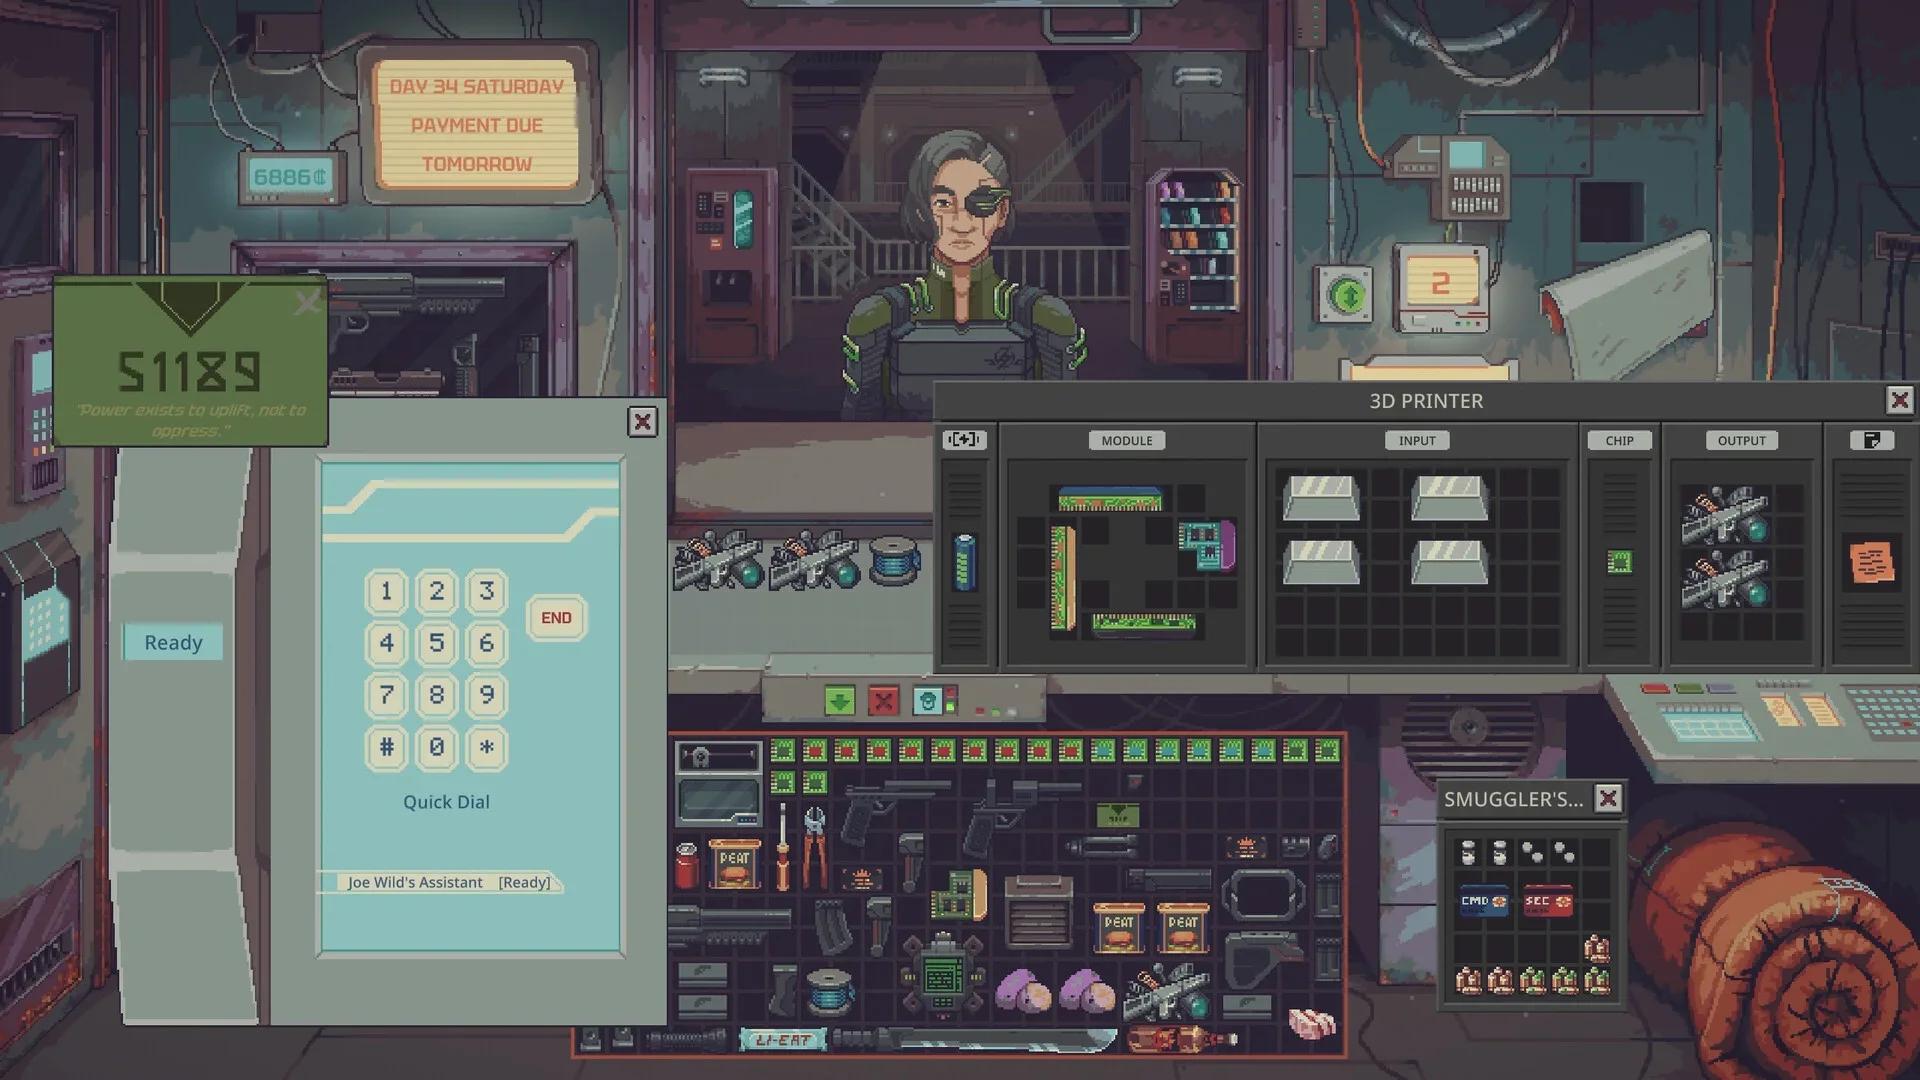

Probably Stolen has low minimum PC requirements, so most performance problems should start with a settings check before a hardware check. Work in a set order. Confirm your PC meets the minimum, set the display for clear text, reduce the heaviest graphics options in small steps, then test the result during a busy period in the shop. Changing one option at a time shows which change helped and which change only made the image worse.
Check system requirements before changing settings
Start with the minimum requirements. They set the floor for running the game, and they explain why settings advice differs between PCs. A PC close to the minimum has less room for high resolution and high graphics options than a PC well above it.
| Component | Minimum requirement |
|---|---|
| CPU | Intel Core i3 or equivalent |
| RAM | 8 GB |
| Video card | GTX 650ti equivalent or higher |
| Dedicated video RAM | 1024 MB |
| OS | Win 10, x64 |
| Shader model version | 5.0 |
| Free disk space | 1 GB |
Check the video card and dedicated video RAM with care. The requirement asks for a GTX 650ti equivalent or higher and 1024 MB of dedicated video RAM. A PC that falls below that level may still need lower resolution and lower graphics options to keep shop scenes moving smoothly.
Check free disk space before you change anything else. The game needs 1 GB of free space, and a nearly full drive can create problems outside the graphics menu. Clear space first, then move to display settings. You get a cleaner test because one outside factor is already removed.
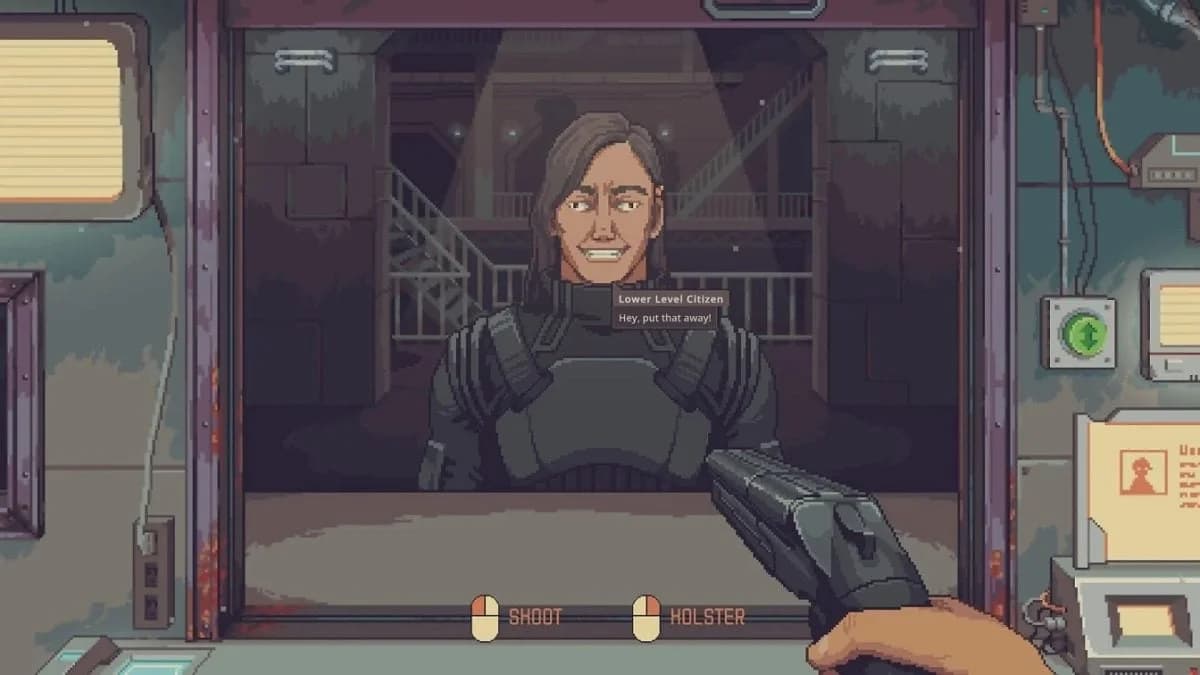
Shop settings menu options
Keep your Windows and graphics driver state simple during testing. Close extra programs that use the video card, such as capture tools or browser windows playing video. Those programs can change frame rate while you test, which makes a good setting look bad or a weak setting look better than it is.

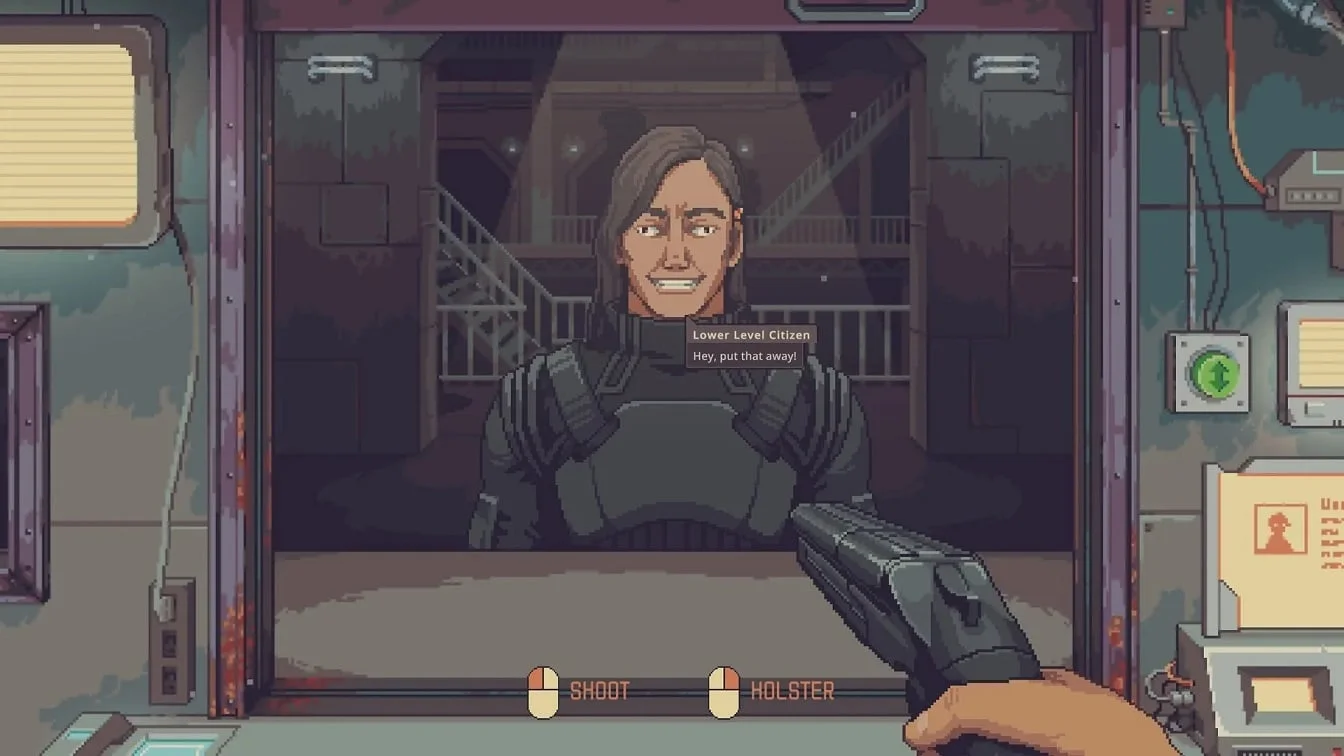
Graphics options to adjust first
Open Settings and look for the graphics or display section. Change options in order of likely cost. Resolution usually comes first, followed by options that add detail to lighting, shadows, textures and effects when those options appear in the menu. Text clarity should stay protected while you work through that order.
Use this sequence for your first pass:
- Set Resolution to your monitor's native resolution.
- Set the display mode that gives you the steadiest image on your monitor.
- Lower shadow, lighting and effect detail one step at a time if the menu lists them.
- Lower texture detail after the options above if performance still drops.
- Turn off extra visual effects last if you still need more performance.
Change one option, play for a short stretch, then decide. A single change makes the result readable. If you lower five options at once and performance improves, you still do not know which option caused the gain, and you may have lost image quality you could have kept.
Keep a short note for each test. Write the option name, the old value, the new value and the result in the shop. Notes sound slow, but they save time after three or four changes because you can return to the best mix without guessing.
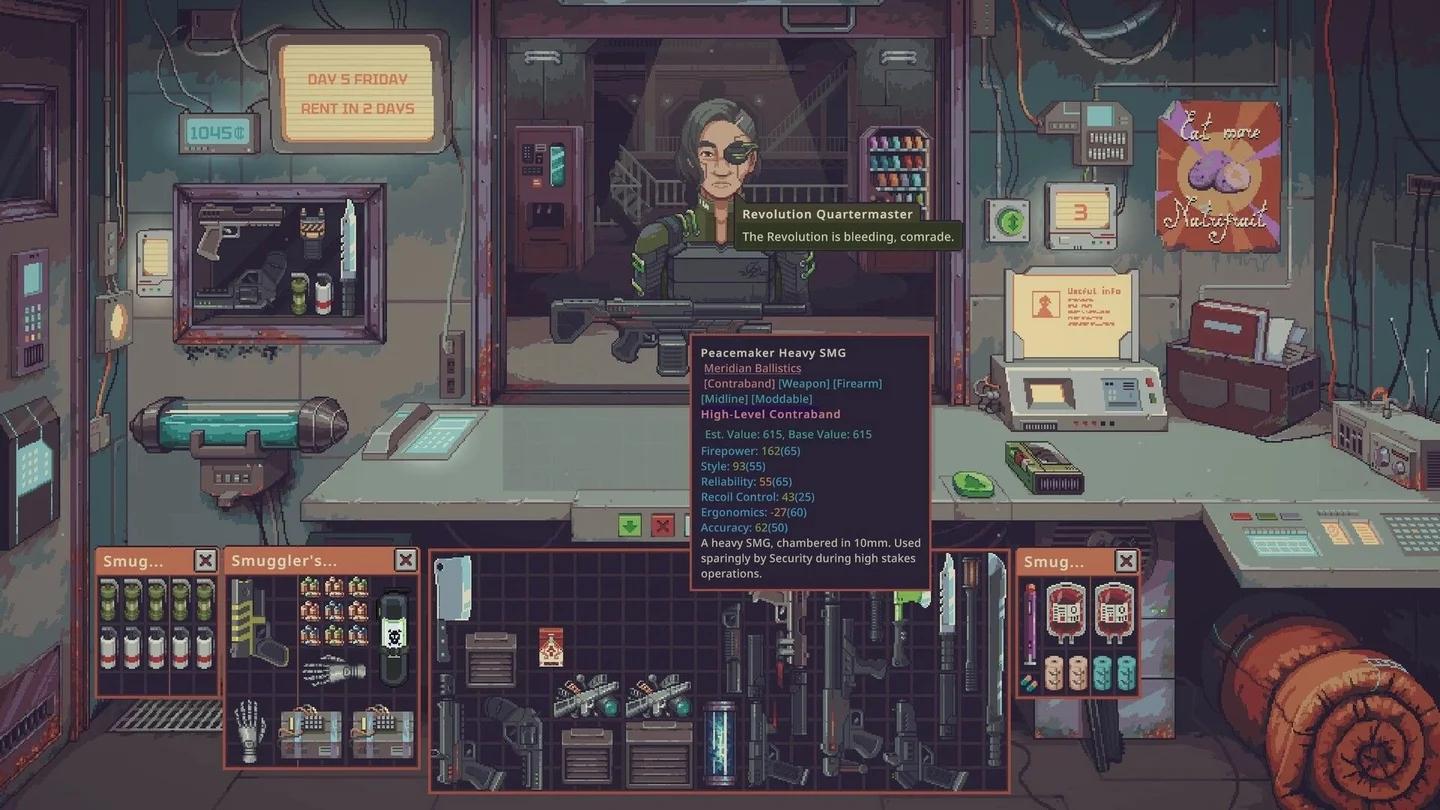
Graphics options in detail
Settings that protect visibility
Some options affect how easy the shop is to read. Resolution, UI scale and brightness sit in that group when they appear in the menu. Treat them as visibility settings first and performance settings second.
Lower detail options before you lower resolution. Detail options can reduce the load on the video card while keeping item names, prices and menu text at the native pixel count. Resolution cuts tend to soften the whole image, including the text you need to read while buying and selling.
Balance resolution and performance
Native resolution gives the sharpest text because the game draws one game pixel for one screen pixel. That match helps small labels and numbers stay clear. It also asks the video card to draw more pixels than a lower resolution, so a PC near the minimum may need help from lower detail settings first.
Lower resolution only after detail options stop giving you enough performance. Drop one step at a time. A small drop can improve frame rate with a modest loss in sharpness, while a large drop can make shop text hard to read and force you to lean on UI scaling to fix a problem you created.
| Choice | Performance effect | Visibility effect | Best use |
|---|---|---|---|
| Native resolution with lower detail | Moderate gain from detail cuts | Text stays sharp | First choice for most PCs |
| One resolution step below native | Larger gain | Slightly softer text | PC close to the minimum |
| Well below native resolution | Largest gain from this group | Blurred labels and prices | Last resort for smooth play |
| Native resolution with high detail | No gain | Sharpest image | PC well above the minimum |
If the menu offers a render scale or resolution scale option, test it after the main resolution setting. Keep the display resolution at native for text and menus, then lower the render scale in small steps to reduce the 3D rendering load. Watch item labels after each step because some scaling setups soften more than the frame rate gain is worth.
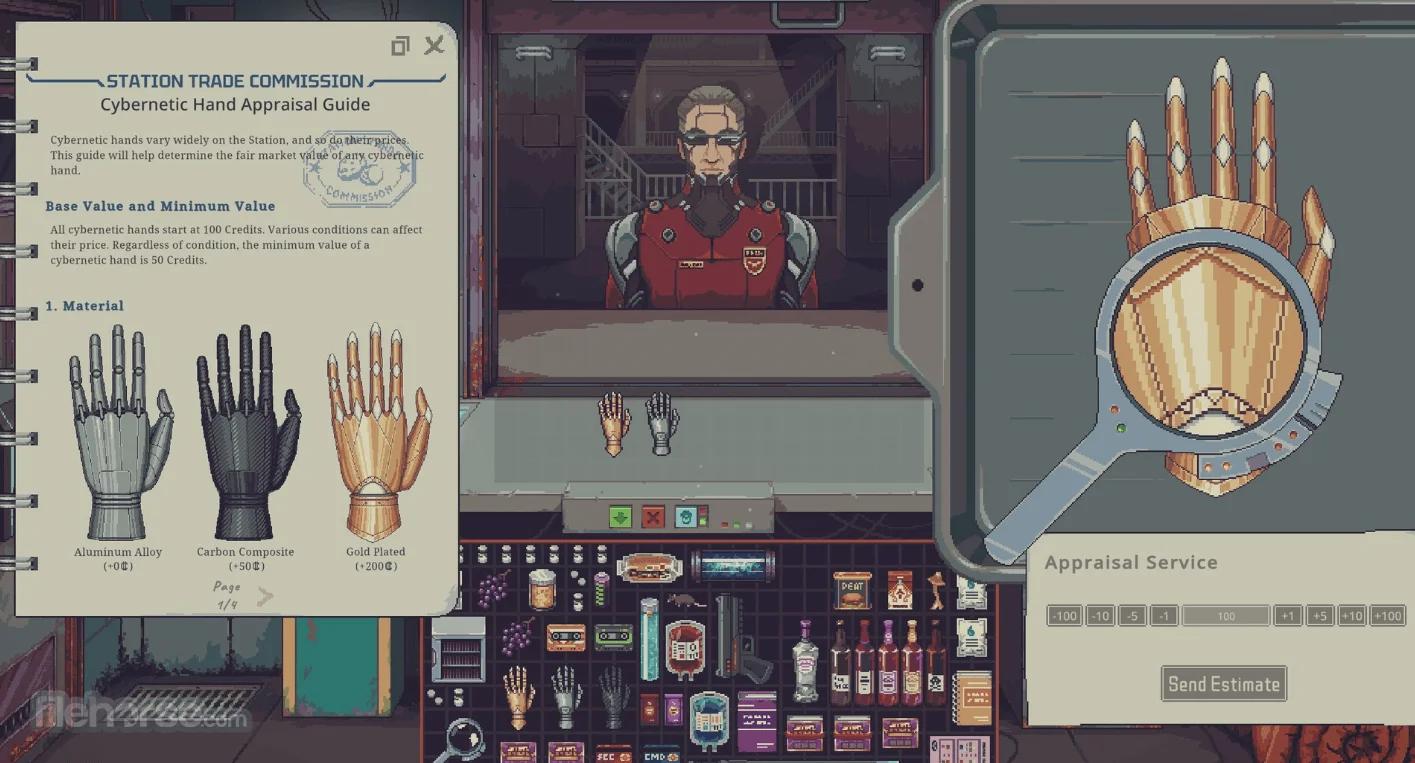
Resolution and display choices
Frame rate stability matters more than a high peak. A shop scene that holds a steady rate feels smoother than a scene that jumps up and down between high and low points. Pick the mix that stays steady when customers, stock and interface elements fill the screen at the same time.
Improve visibility and text readability
Set brightness so dark parts of the shop stay readable without washing out bright signs and labels. Raise brightness in small steps and stop when shadowed items separate from the background. Push it too far and pale text can lose contrast against bright surfaces.
Use UI scale before you accept blurry text. If the menu lists a UI or interface scale option, raise it one step when names and prices feel small at native resolution. A larger interface can cost a little screen space, but it keeps the information you act on clear during fast buying and selling decisions.
Clear item labels also help when you use the Probably Stolen best items to sell profit guide to compare stock before spending money. Readable prices and names reduce mistakes at the counter, where a misread number can turn a good trade into a loss.
Check text at your normal viewing distance. Sit where you play, open a shop screen with several items and prices, and read the smallest text you use often. Menu text that looks fine in a settings preview can still strain your eyes during a long session at the counter.
Avoid stacking fixes. Do not raise brightness, raise UI scale and lower resolution in the same test. Each change hides the effect of the others. Set resolution first, set UI scale second, then set brightness with the final image in front of you.
Quick visibility check
Run this check after every major change:
- Read three item names without leaning forward.
- Read three prices and confirm each digit is clear.
- Check a dark corner of the shop for items that blend into the background.
- Check a bright sign or label for washed out text.
- Open and close the main shop menus and confirm the text stays sharp.
Fail one part of the check and fix that part only. Blurry digits point to resolution or scaling. Washed out labels point to brightness. Small but sharp text points to UI scale. The symptom tells you which setting to touch next.
Test performance during busy shop sessions
Test in the shop conditions that push your PC hardest. A quiet moment with few items on screen can hide drops that appear when the shop fills up. Use a busy stretch with customers, stock and menus in play, then repeat the same kind of stretch after each settings change.
Keep each test short and repeatable. Play the same type of busy period for a few minutes, note how the image moves when you turn, open menus and handle items, then change one setting and repeat. Repeatable tests beat long random sessions because you compare the same load each time.
A stable frame rate makes it easier to keep serving customers while you follow the Probably Stolen shop economy guide for rent and stock costs. Smooth menu movement and clear prices support the money side of the shop because you spend less time fighting the interface.
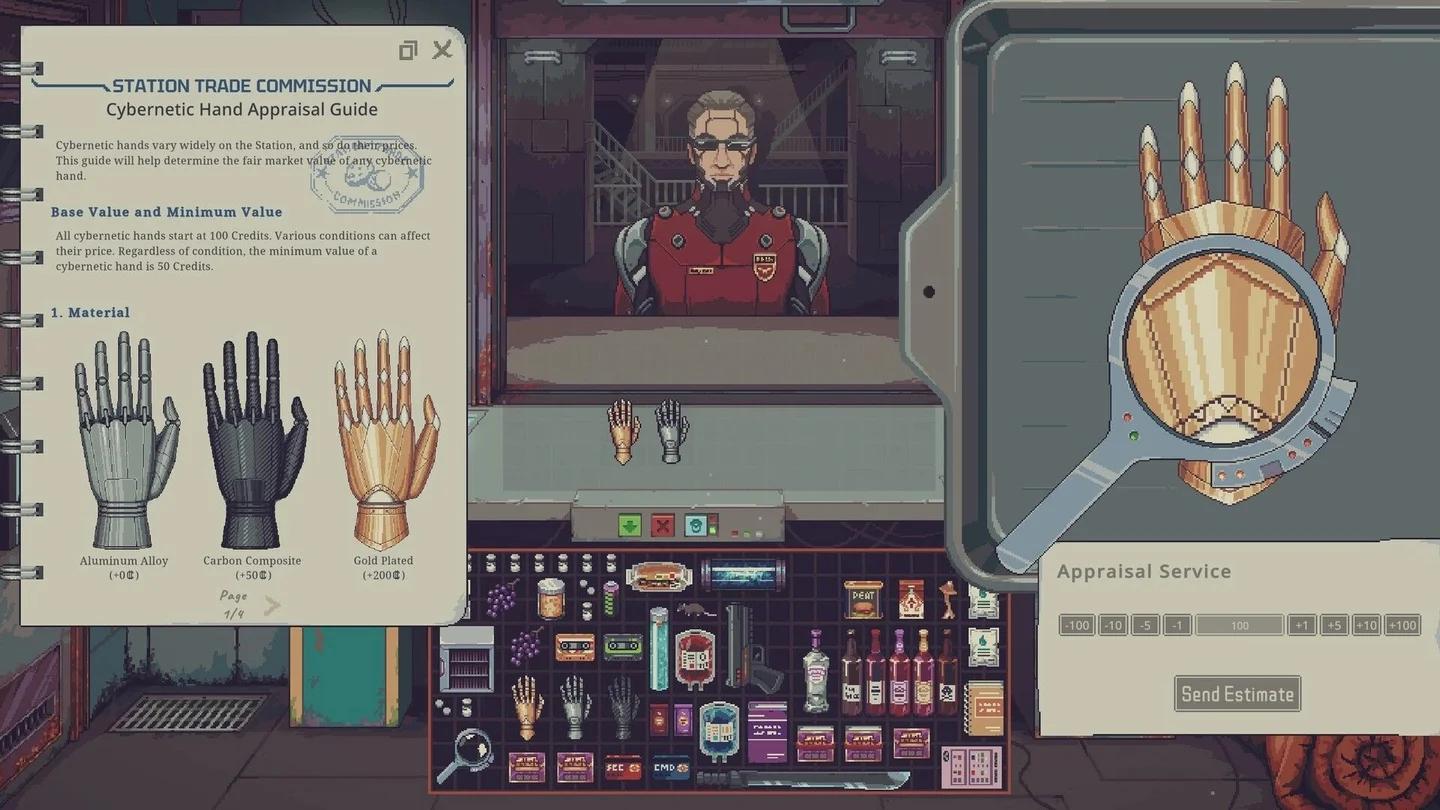
Busy shop performance test
Watch for three warning signs during the test. Menu movement that stutters points to a general performance limit. Text that blurs during movement points to resolution or scaling choices. Input that feels late after you click or press a key points to a frame rate that drops under load. Each sign leads to a different fix, so name the sign before you change a setting.
Stop lowering settings when busy scenes stay steady and the visibility check passes. Extra cuts past that point trade image quality for performance you may not need. Save or note your final values for resolution, detail levels, UI scale and brightness so you can restore them after a driver update or a settings reset.
Once display performance is stable, the Probably Stolen modules guide explains which machine modules to get next. Set the image first and the shop upgrades second. A clear, steady shop makes every later decision easier to judge on price, stock and timing.