Silent Hill: Townfall hides 85 Documents and Clues across its six parts, and the game locks you out of areas as you progress. Miss one and you may need a full replay to get it. These collectibles split into two types: Clues that feed directly into puzzle solutions, and Documents that flesh out the story of St. Amelia in 1996. Both count toward your Discoveries total, which affects your ending. Collecting at least half unlocks the Observation trophy, while grabbing all 85 earns Thorough Inspection.
warning
Silent Hill: Townfall locks you out of areas permanently as the story advances. Work through each part completely before moving on, or you will miss collectibles with no way to return without starting a new run.
What are Documents and Clues?
Documents are optional lore items: notices on clinic walls, emails on office computers, letters left on kitchen tables. They build the picture of what happened to the town. Clues are functionally different, they contain specific information you need to solve puzzles, like keypad codes, locker combinations, or disk reader instructions. Both show up in your Discoveries count at the end of a run, and that count influences which of the five endings you receive.
Part 1 has the highest concentration of Documents in the game. Most are in Shorefront South, with a cluster inside Zoe's house and the Shorefront Family Clinic.
Silent Hill: Townfall Guide: All Documents & Clues Locations
Shorefront South (early)
Boat Tour Cancelled Notice — On the door of the small building to the right of the St. Amelia sign, just after the opening cutscene at the pier.
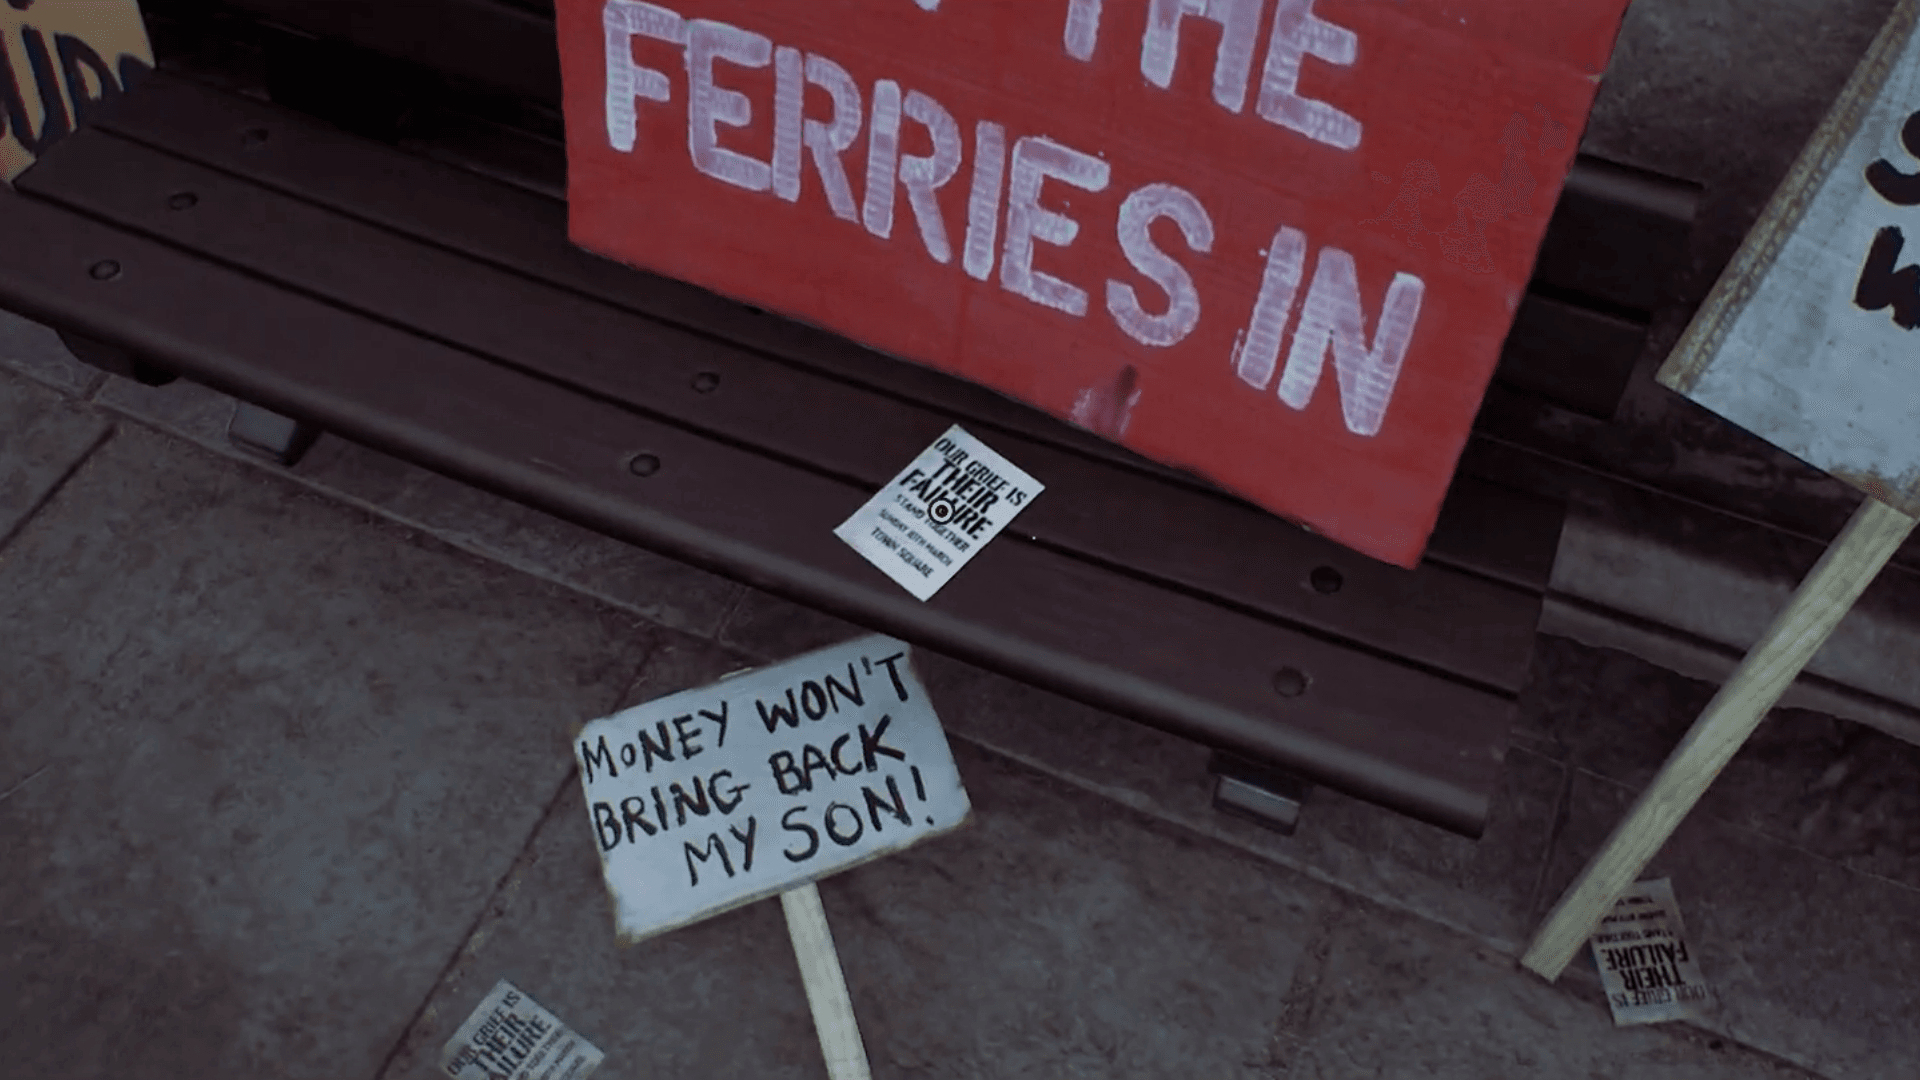
Vigil and Protest Flyer — Town Square, on a bench in front of the red "Let The Ferries In" placard.
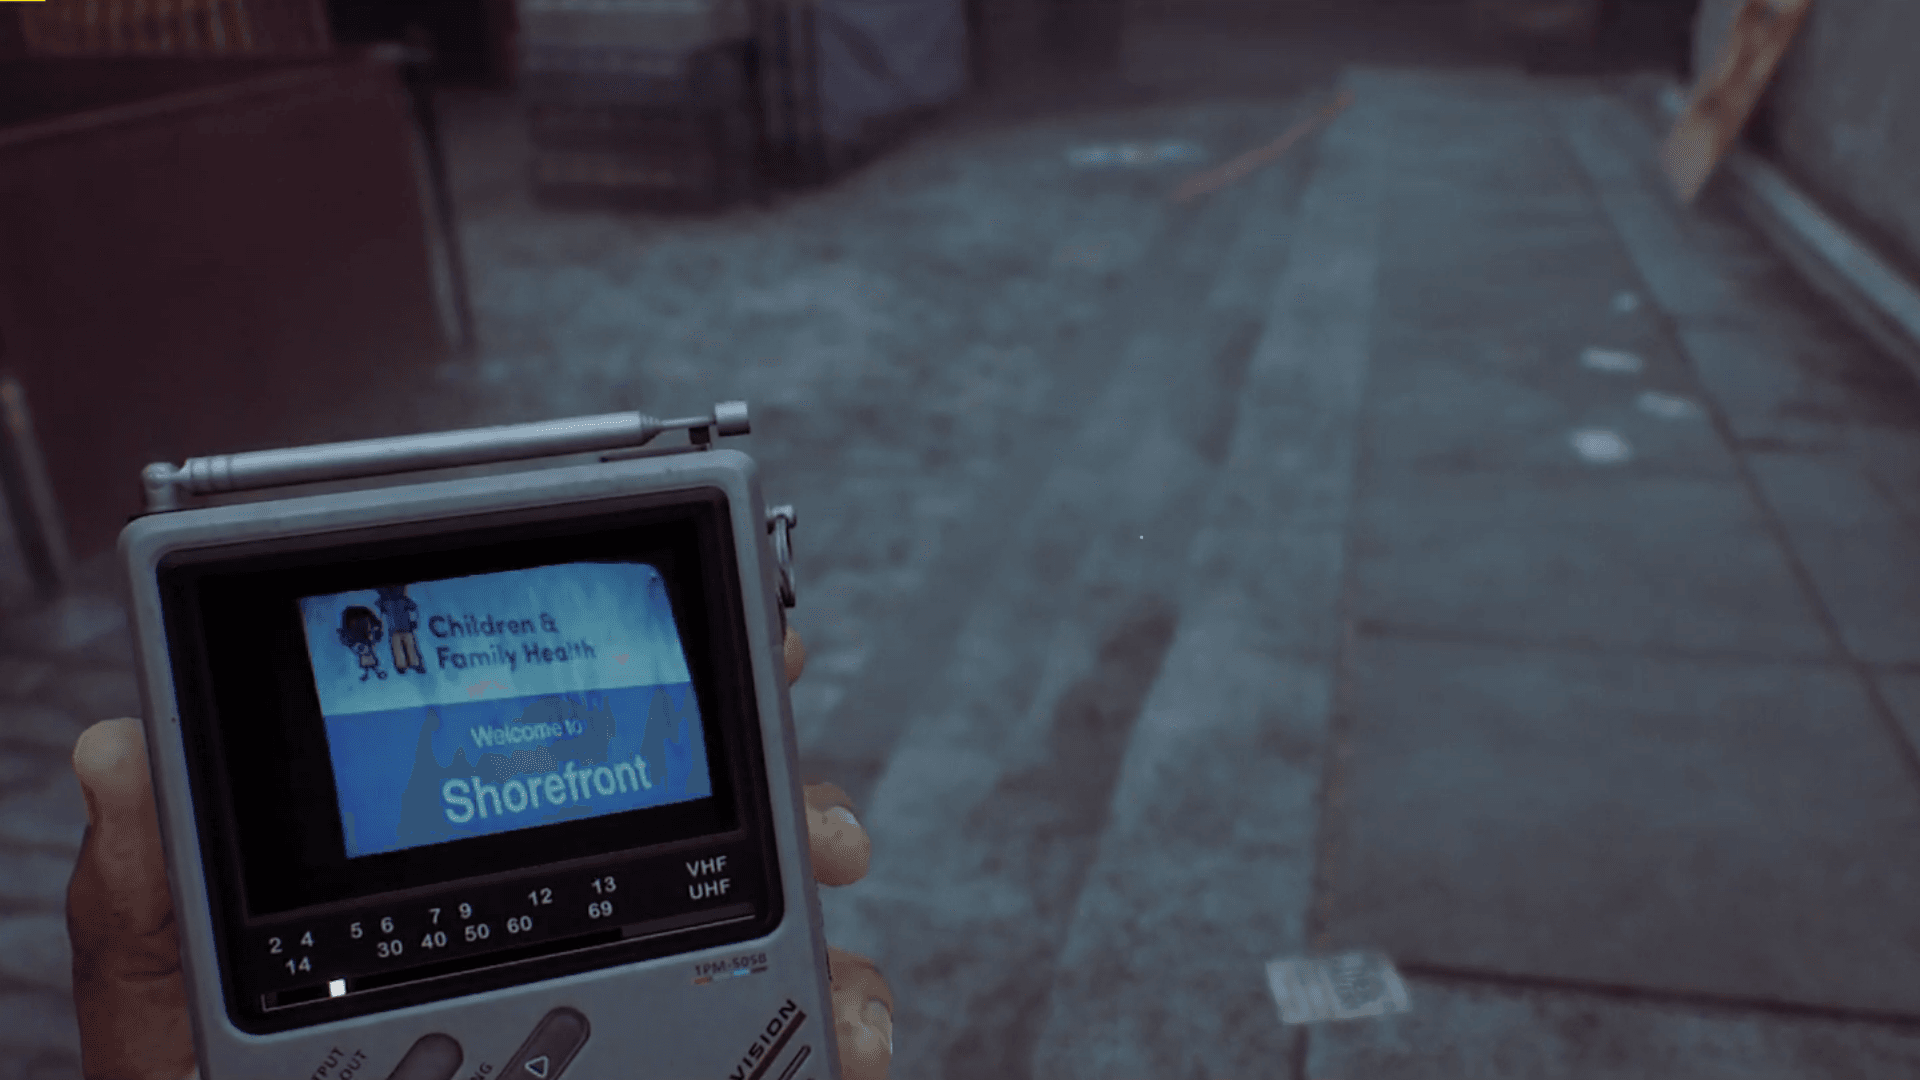
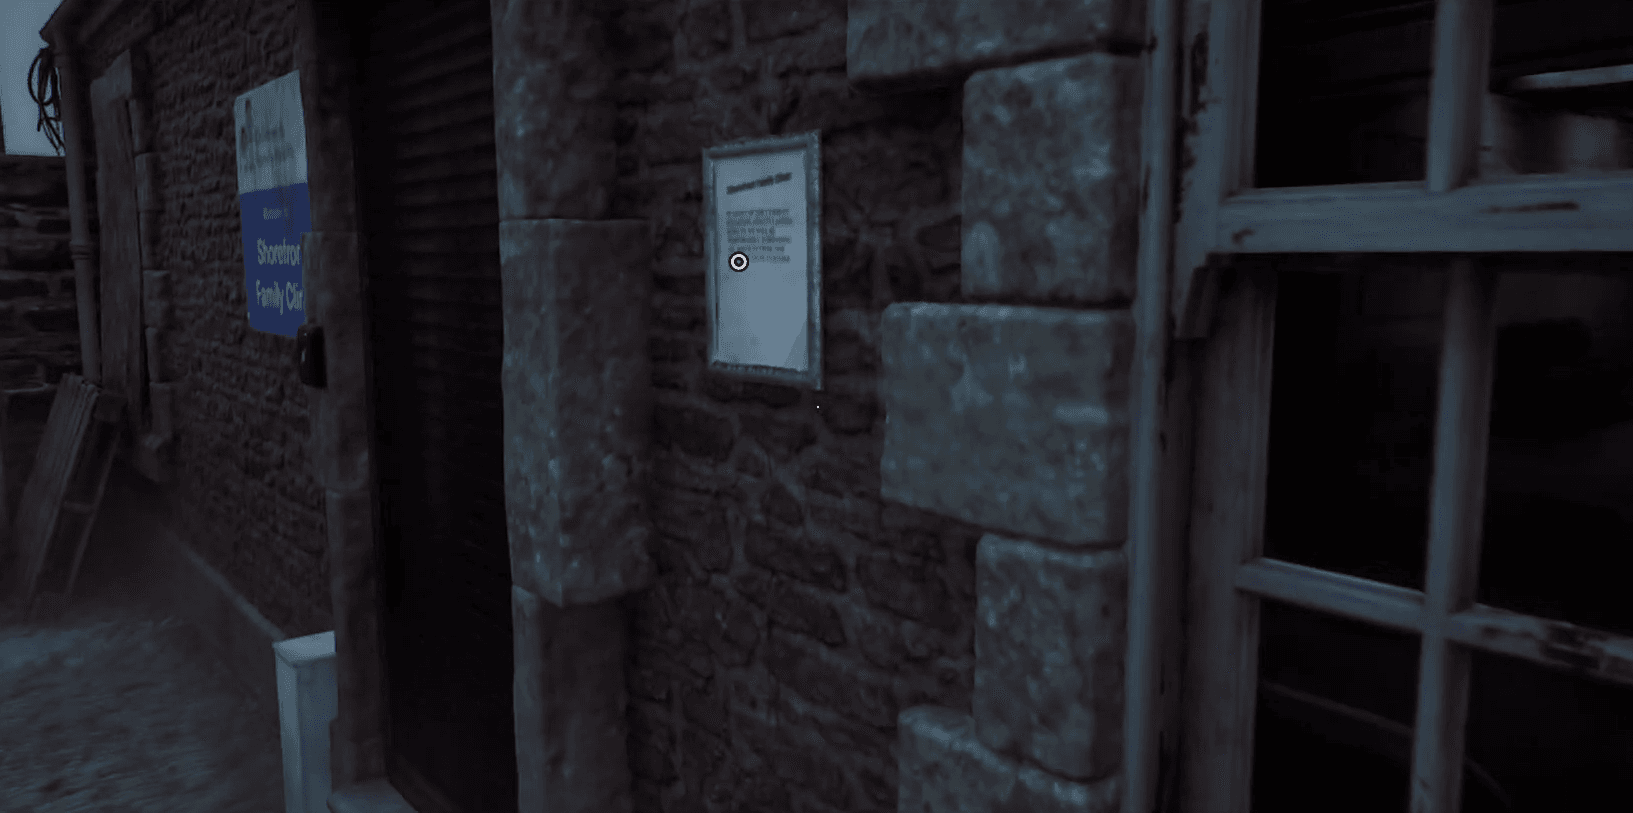
Shorefront Family Clinic Notice — On the wall beside the clinic entrance, northeast of Town Square.
Haldane Hotel (A Different Place)
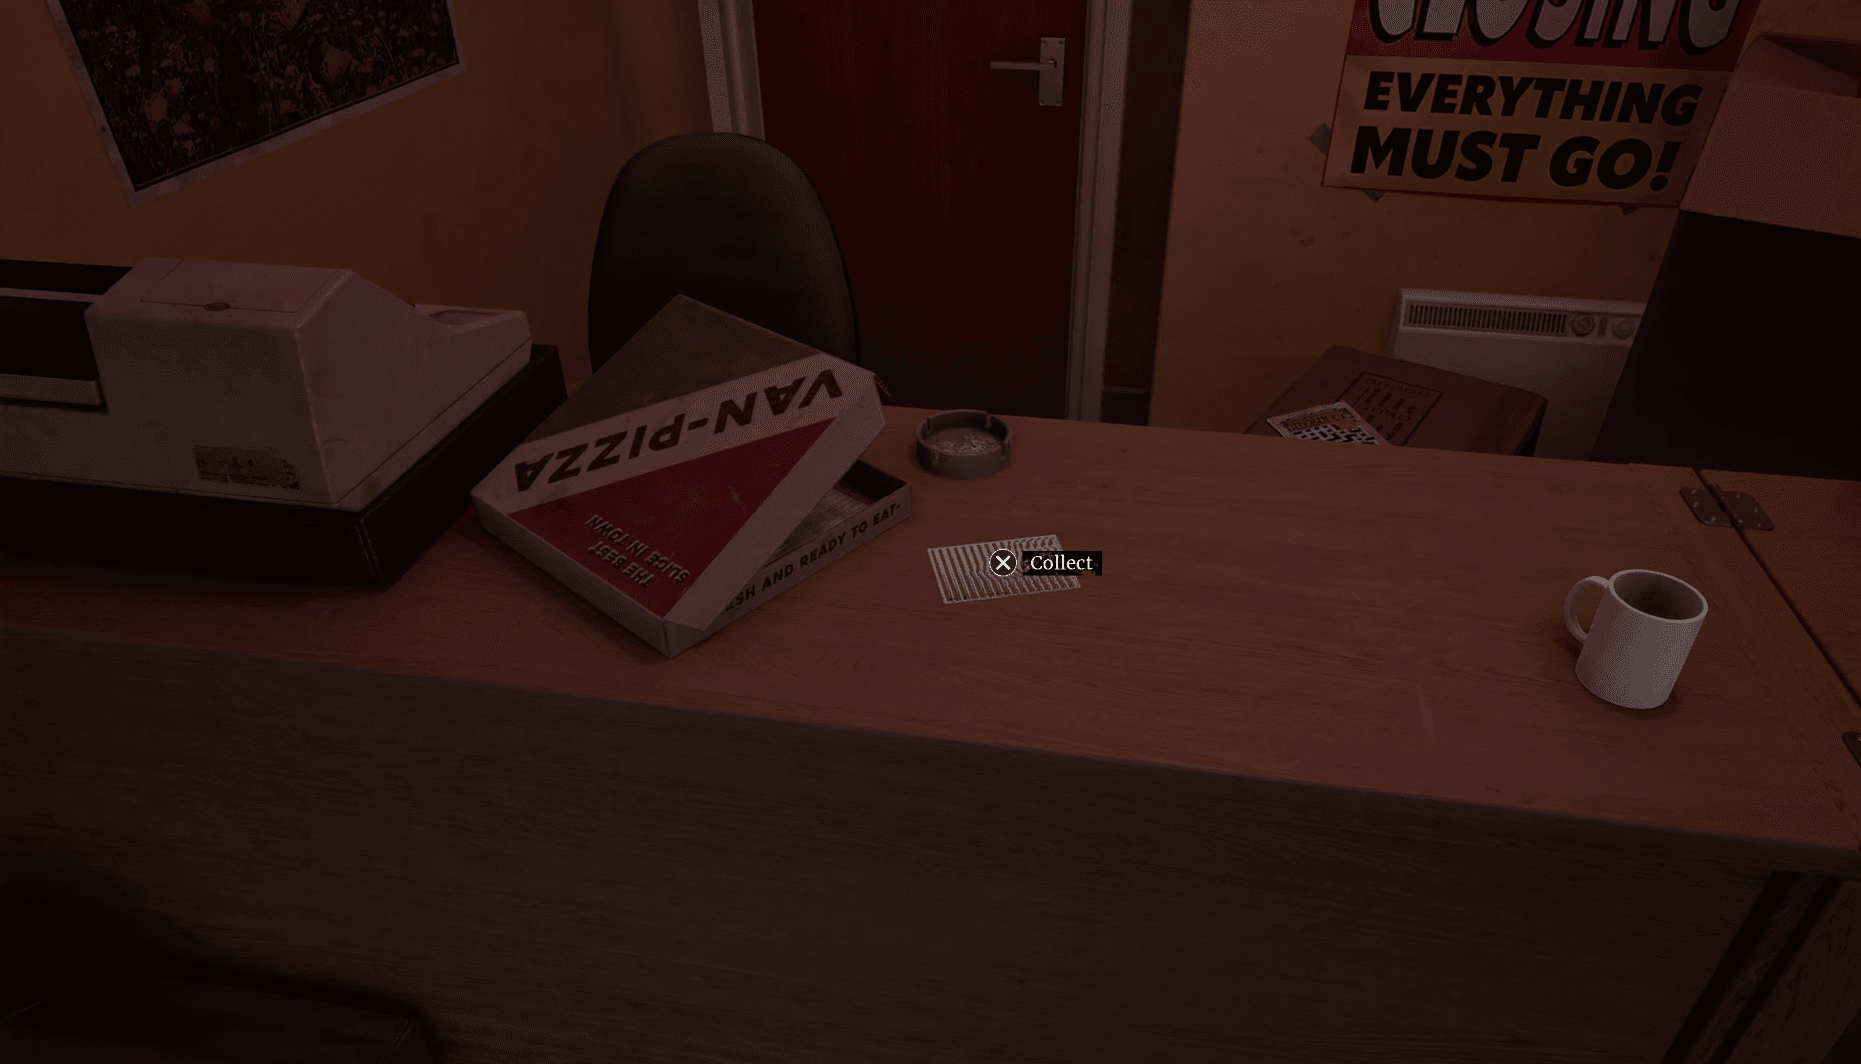
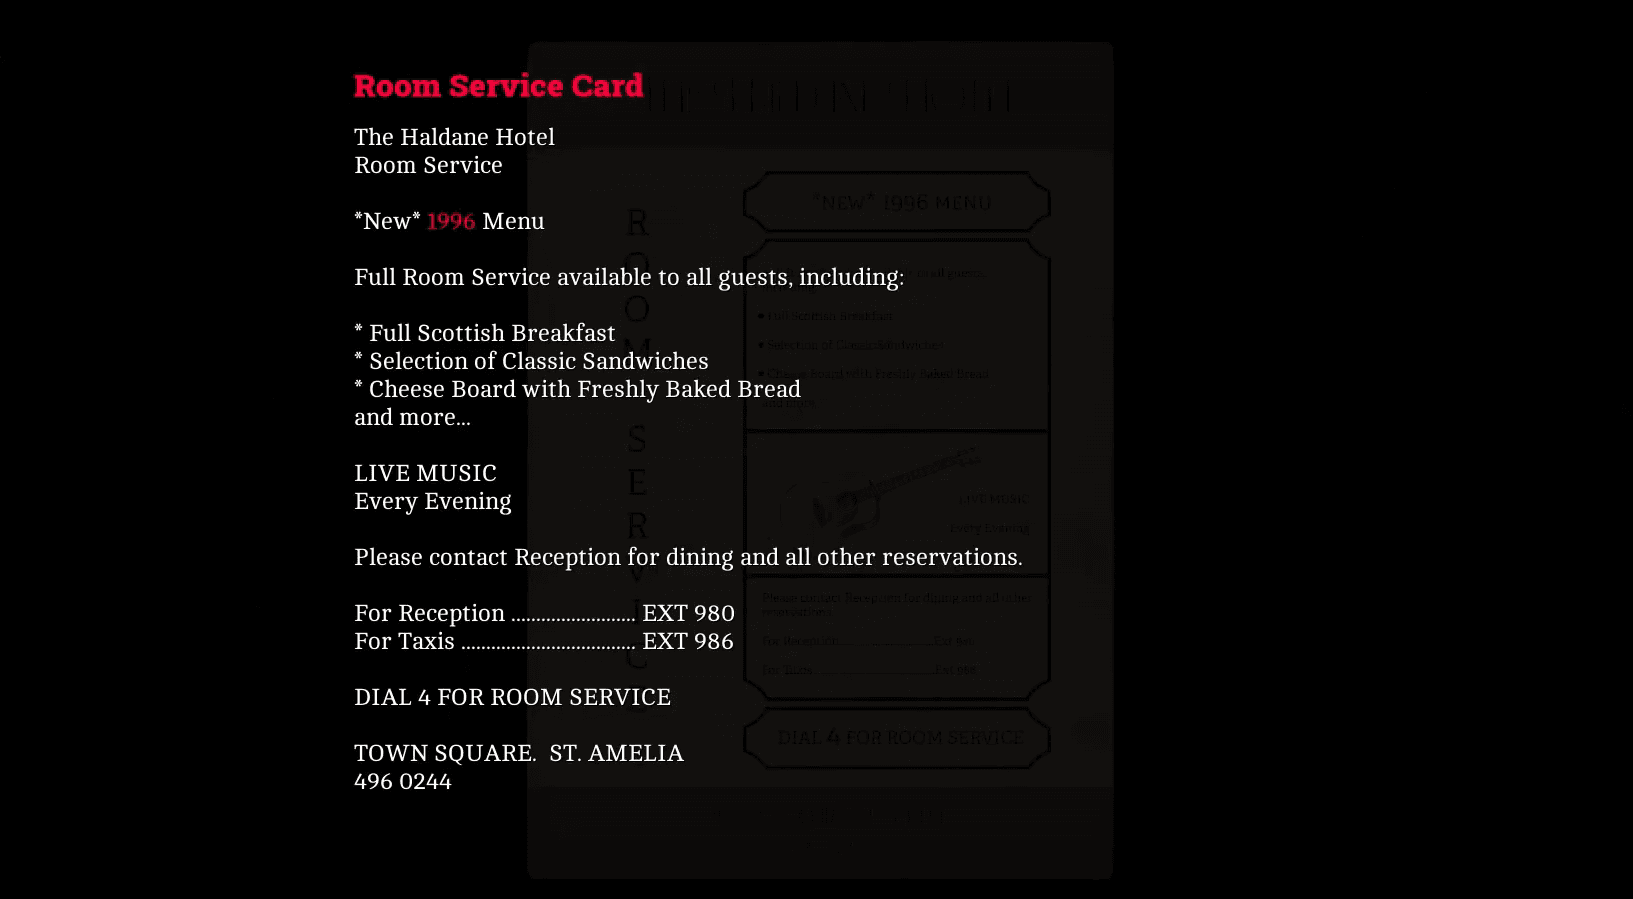
Room Service Card (Clue) — On the desk in Room 204, right after the phone sequence.
Hotel Room Note — In the bathroom of Room 204, picked up after solving the door puzzle.
Hotel Reception Notice — Behind the front desk in the Haldane Hotel lobby, immediately after the elevator.
Silent Hill: Townfall Guide: All Documents & Clues Locations
Zoe's House
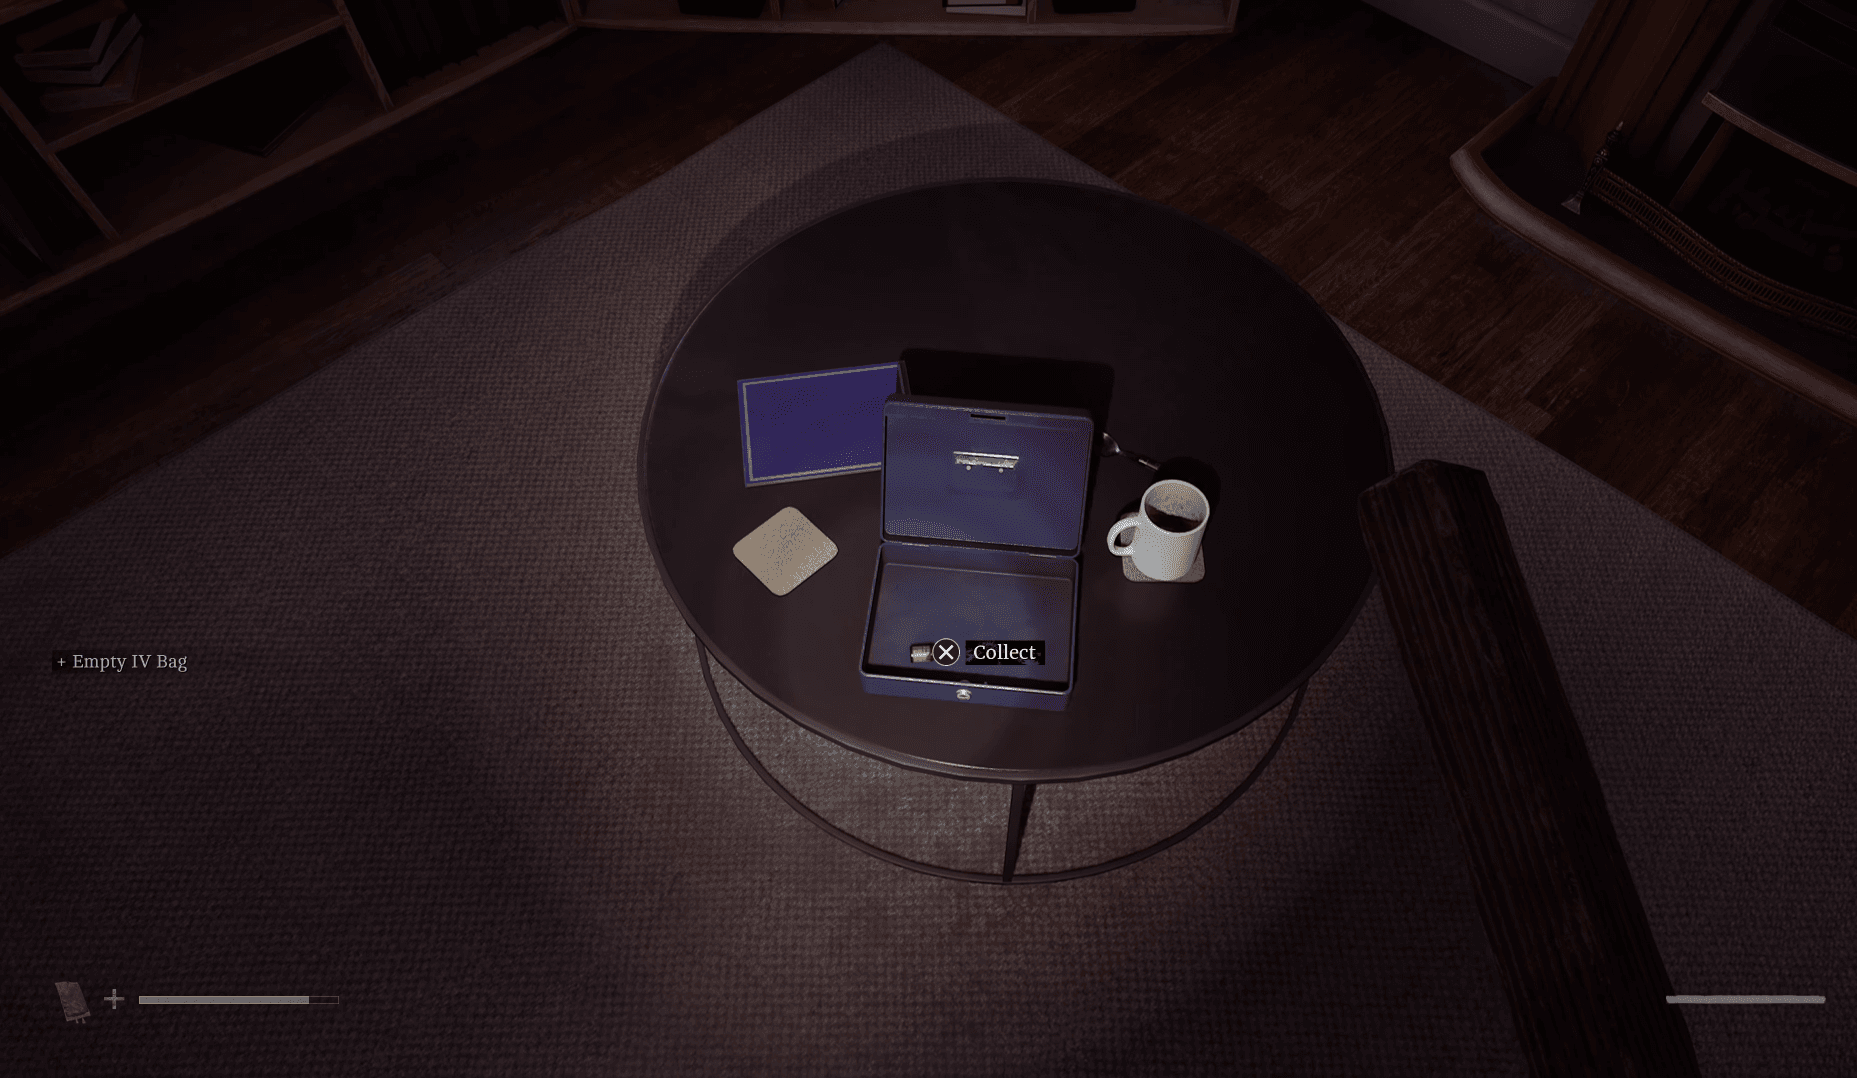
Hand Delivered Letter — On the living room table.
Organ Transplant Card (Clue) — On the bathroom floor upstairs.
Electricard Note (Clue) — In the crawlspace under the stairs. Crouch to enter.
Zoe's Email: Please Report In — On Zoe's computer after turning the power on. Read all three emails.
Zoe's Email: Your Letter — Same computer, second email.
Zoe's Email: For Attending (Clue) — Same computer, third email.
Newsagents Notes — On the counter inside the newsagents shop, accessed from the back.
Shorefront Family Clinic
Note on Patient Records — In Dr. Stevenson's office, top drawer of the desk.
Resignation Letter (Clue) — In Zoe's office, beside the Scales puzzle.
Clinic Email: Where Are You? (Clue) — Zoe's computer in the clinic. First email.
Clinic Email: Answer Phone Message (Clue) — Same computer, second email. The code for the reception door (2896) is on a post-it on the same screen.
Nurses Rounds Form — On the counter in the clinic reception room, opened with code 2896.
Restock Issues — On the counter inside the Pharmacy. You need the Scalpel from Zoe's desk to get through the door.
Farrow Street area
Feeling Sick Note — Upstairs in the apartment building south of Jess's house, bedroom dresser in apartment 1/2.
Note on Jess's Door (Clue) — Taped to the back door of Jess's house.
Task Assignment — On the kitchen counter inside Jess's house.
Jess Legal Advice — On the living room table inside Jess's house.
tip
Read all three emails on Zoe's home computer before leaving — they are easy to skip and all three count separately toward your 85 total.
Part 2: Zoe
Zoe's House (revisited)
Water Warning — On the living room table.
Zoe's Email: Coming Back — On Zoe's computer in the living room.
Shorefront South and North
Jane Chalmers Obituary — Inside Jane's shed in the community garden. The padlock code is 1993.
St. Amelia Standard — On the table in Mr. Stewart's living room, Shorefront North.
Medical Security Note (Clue) — On the glass of the security booth outside the Medical Centre.
Community Help Needed — On the first table to the right after entering the Medical Centre parking area.
Exhausted Supplies — On a bed in the back-left tent in the triage area outside the Medical Centre.
Otherworld Shorefront (Station Road building)
Scaffold Notice — On the locked door at the back of the ground floor.
Handwritten Note — On the table in the living room of flat 1/1, second floor.
Press Photos Note.txt — On the computer in flat 2/2, third floor. Accessed by cutting the door with a Scalpel.
Photo1.jpg — Print from the same computer after turning on the printer in the kitchen.
Photo2.jpg — Print the second photo from the same computer.
important
Turn the printer on in the kitchen before interacting with the computer in flat 2/2. If the printer is off, the photos will not print and you will miss two Documents.
Part 3: The Patient
Medical Centre Ward
Supply Situation Update — On the computer in Consult Room B, Victoria Ward ground floor. First email.
RE: Supply Situation Update — Same computer, second email.
Unrealistic Expectations (number 1098512) — Computer behind the desk in Chapman Ward, first floor. First email.
Dailies - Infusion Status (Clue) — Same computer, second email.
Dailies - Records Room Code (Clue) — On the board beside the computer in the northern office of Chapman Ward, opposite Bay 6.
Equipment Cleanup Notice — On a bed in the basement hallway near the morgue.
Medical Centre - Different
Zoe's Patient List (Clue) — Head east past the Blood Transfusion Machine, through the last door before the D.P. Door. Crouch through the vent in the corner. The note is on the table beside the tape player.
Part 4: Clara Woods
Part 4 is the longest section and contains the most missable items. The Harbour Notice is the easiest to lose permanently.
Clara Woods exterior
Harbour Notice — At the start of Part 4, head left toward the pier before reaching the St. Amelia sign. The document is on the railing beside the elevated boat ramp. Walk right past the sign and the game pushes you forward, locking this out.
Store Staff Notice — Behind the counter in the Locals store, left fork before Atlas Square.
Clara Woods Estate
Atlas Square Apartment Note — In flat 1A, ground floor of the corner apartment building northeast of Atlas Square. On the counter left of the TV.
Lost and Found (Clue) — CEG Employee Lockers building, west of Clara Woods. First email on the computer behind the desk.
CEG Employee Locker List (Clue) — Same computer, second email.
CEG Lockers Manager's Note — In the back office of the CEG Lockers building, top desk drawer.
Gaming Magazine (Clue) — In 5 South Brae, first bedroom on the left at the top of the stairs. On the bed.
Reciprocating Compressor (Clue) — In 5 South Brae, complete the Floppy Disk puzzle and collect the printout from the printer.
Lamenting Poem (Clue) — In 6 North Brae, second bedroom at the top of the stairs. On a chair.
5 Upper Brae (tape puzzle)
This house requires manipulating three different tapes to unlock four separate Documents. The order matters.
Tape State
What to Collect
Tape: Today (default)
The Code Today — upstairs bedroom table
Tape: Yesterday
The Code Before — kitchen table downstairs
Tape: Tomorrow
The Code After — living room downstairs
Tape: Yesterday (again)
Current Count — insert Ammonite Disk into computer
The Code Today (Clue) — Upstairs bedroom, table by the file.
The Code Before (Clue) — Switch to Yesterday tape; kitchen table downstairs.
The Code After (Clue) — Switch to Tomorrow tape; living room downstairs on a pillow.
Current Count (Clue) — Switch back to Yesterday tape; use the Ammonite Disk in the computer reader.
CEG Tower (Part 4)
Inquiry Preparation Notice — On the reception desk by the printer.
Box IDs and Names (Clue) — On the podium in the main hall with the chairs and black boxes.
Grid of Codes 1 (Clue) — In the Maintenance room bin, northwest corner of the ground floor.
Grid of Codes 2 (Clue) — In the Security room bin. Code from Maintenance gets you in.
Complete Grid of Codes (Clue) — Combine both Grid of Codes items in your inventory.
Out of Hours Access — On the Security room computer. First email.
Urgent Message — Same computer, second email.
Employee File Cover Note (Clue) — Open Richard's black box (#36) using the code 486, derived from the Complete Grid of Codes.
For other collectibles hidden in Clara Woods and beyond, the all Strange Postcards locations guide covers the 15 postcards spread across Parts 1 through 4 and Part 6.
Part 5: Richard
CEG Facilities exterior
Construction Halted Notice — In the first building on the left after entering as Richard. Second room, back corner table.
CEG Kiosk Note — In the second building on the left, through the garage door. Table immediately to the right.
CEG Memo — Upstairs in the same building, Manager's Office. On the desk.
Facilities: Works Halted — Back in the first building after powering the generator. Computer in the right room. First email.
DONTREAD.doc (Clue) — Same computer, second email.
CEG Tower floors 3 and 4
Meeting Minutes — Meeting room on the east side of floor 3. On the table.
Engineer Public Statement — Computer in the northwest PR room, floor 3. First email.
Evening News — Same computer, second email.
PR Meeting Note — In the small southern PR room, filing cabinet.
Richard's Note (Clue) — Southeast PR room on the floor beside a body.
CEG Checkout Sheet (Clue) — Floor 4 storeroom, inside the General Storage cabinet.
CEG Tower floor 10
He's Done — Use the CEO Access Card to reach floor 10. Read the email on the computer outside the meeting room before going inside.
Part 6: Simon
CEG Tower (Different)
Ordell File — On the desk as soon as you take control of Simon.
whatdidyoudo? — Computer outside the boardroom. Single email.
Reference Sheet (Clue) — On the table to the right of the console panel in the main room.
SWDP - Different
RE: Ordell Site Visit — Computer in the northeast room on the top floor of SWDP. Take the elevator up.
RCU Refit Note — In Joe's room, squeeze through the gap in the wall. On the bed.
Photo of Joe McKenzie — In Joe's room, tucked into the door frame as you leave.
Remote Systems Control (Clue) — In the control room, to the right of the main console panel.
Auxiliary Lines (Clue) — In the AUX room, insert the AUX Disk into the computer and read the file.
Clamp Release Procedure (Clue) — After completing the Aux Line B section, return to the control room. The procedure prints automatically. Collect it from the printer on the left.
Shorefront finale
Crew Patch — At the very end of the game, back on the shorefront. Walk past the stairs toward the stack of boxes and interact with the overalls on the ground.
tip
Do not go up the stairs at the finale before collecting the Crew Patch. It is the final Document in the game and easy to walk past.
How many Documents do you need for each trophy?
Trophy
Requirement
Observation
Collect any 43 of the 85 Documents and Clues
Thorough Inspection
Collect all 85 Documents and Clues
Both trophies are stackable in a single run if you follow this guide from the start. The Discoveries count also feeds into the ending calculation, so a full collection run gives you the best shot at the true ending on your first playthrough.
For a full breakdown of every trophy including the five endings and the platinum roadmap, the Silent Hill: Townfall trophy list guide has everything mapped out. If you are planning a completionist run, the full Silent Hill: Townfall guide collection covers Resource Containers, phone numbers, NG+ exclusives, and every other collectible type in the game.