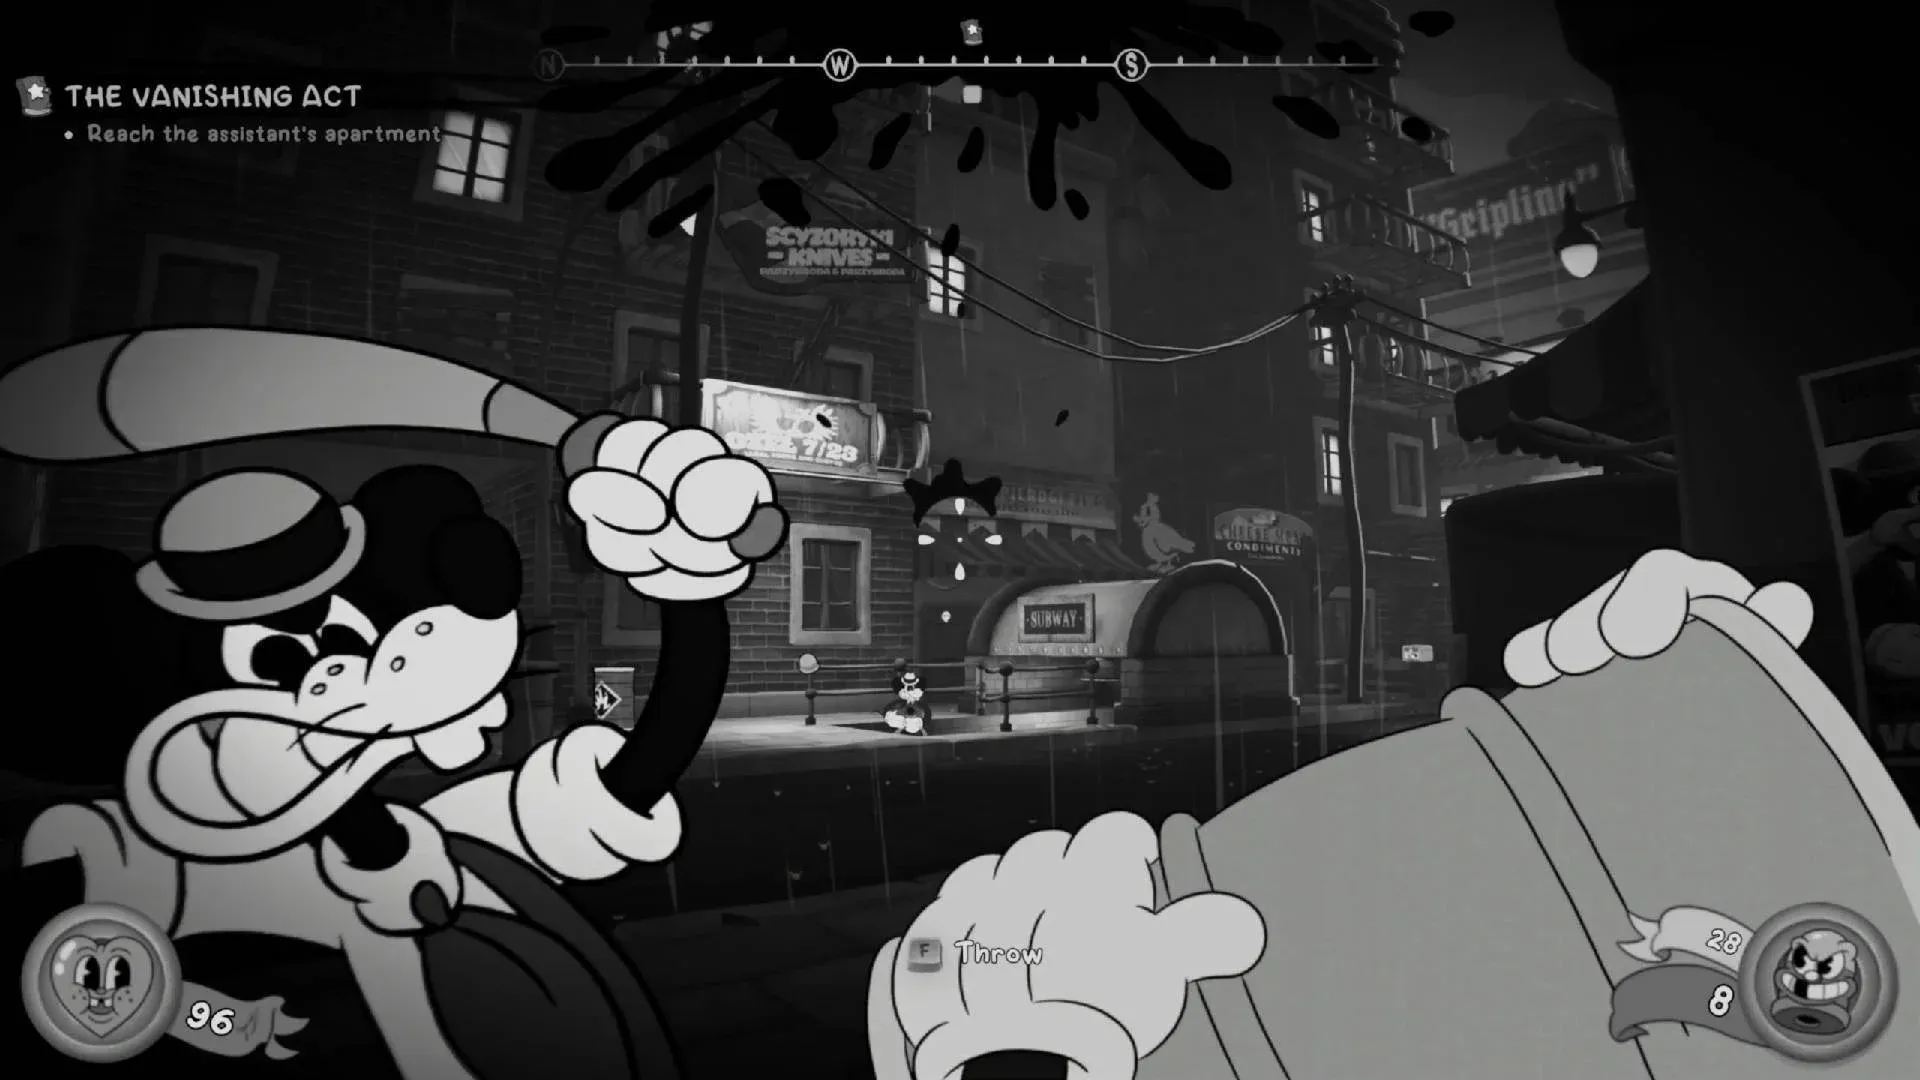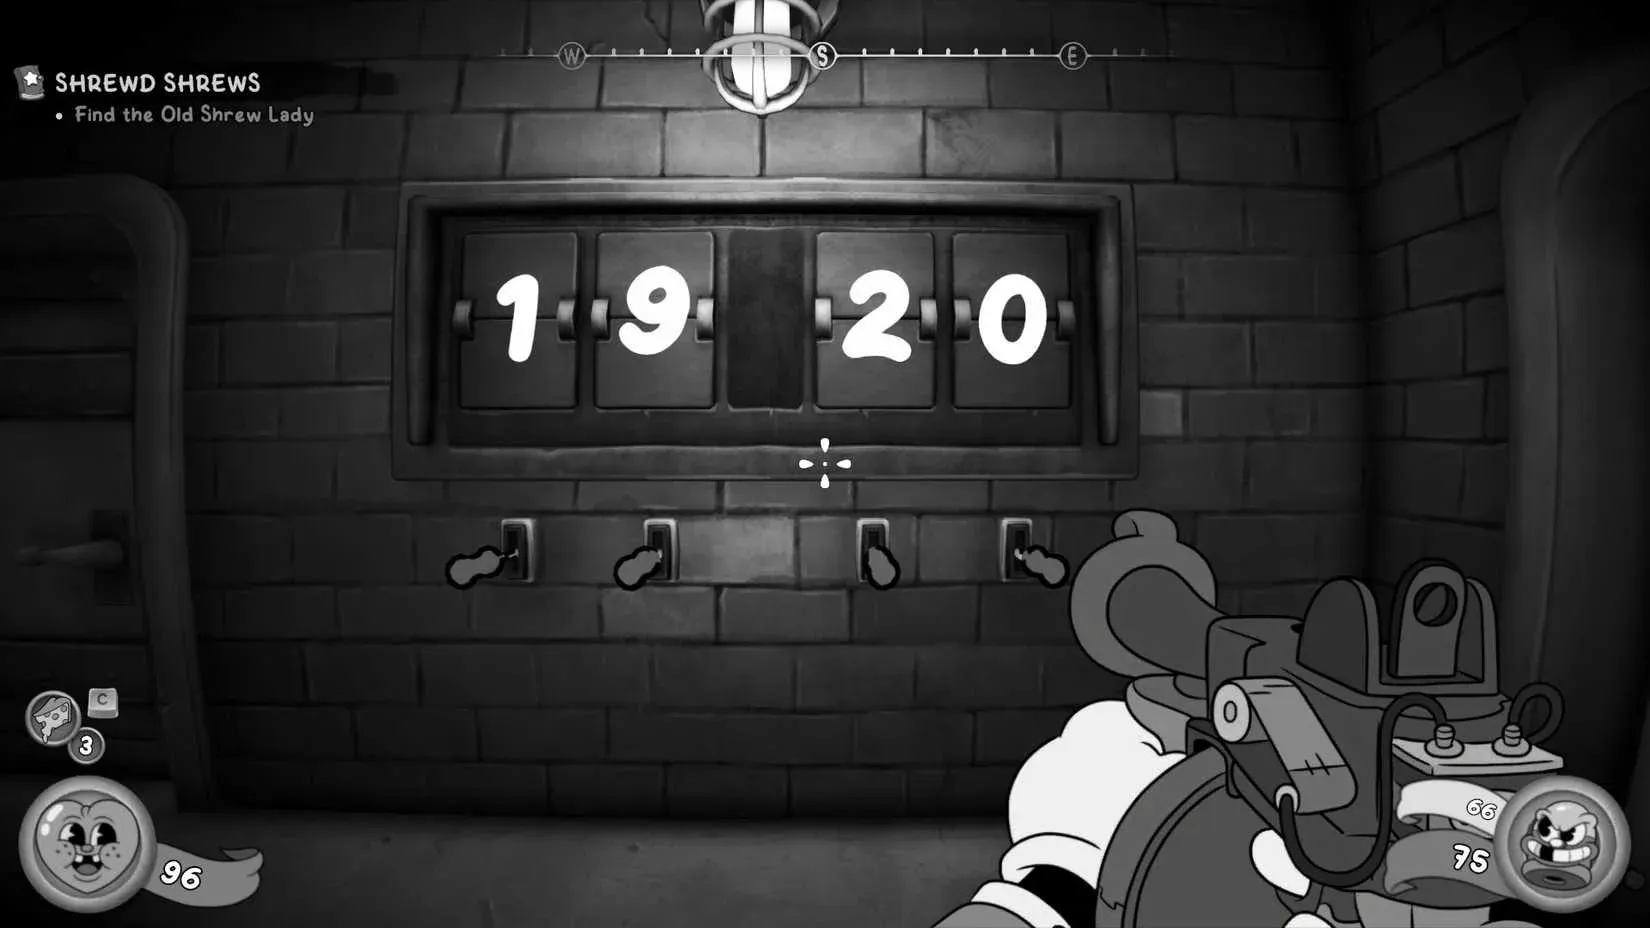

The Blue Betty case takes a sharp turn in Mouse: P.I. For Hire once Miles Curd turns up dead. It All Points Here, Right? sends Jack to the Mangia & Mangia Secret Show, a circus front hiding caged shrews, a corrupt elephant, and a hitman who really does not want you asking questions. This walkthrough covers every objective, secret room, collectible, and boss tip so nothing slips past you.
How do you start It All Points Here, Right?
After the events of White Lies and Dark Secrets, Cameron Bozo is waiting outside the Little and Big Bar near your office. Talk to him about cults and he points you toward the Mangia & Mangia Secret Show as the site of Curd's murder. Before heading to your car, swing left and speak with Millie Curd on the street. She asks you to bring back balloon packs from wherever you're going, which opens the Oh Yes... They Float side job. Keep an eye out for the balloon stand inside the show.
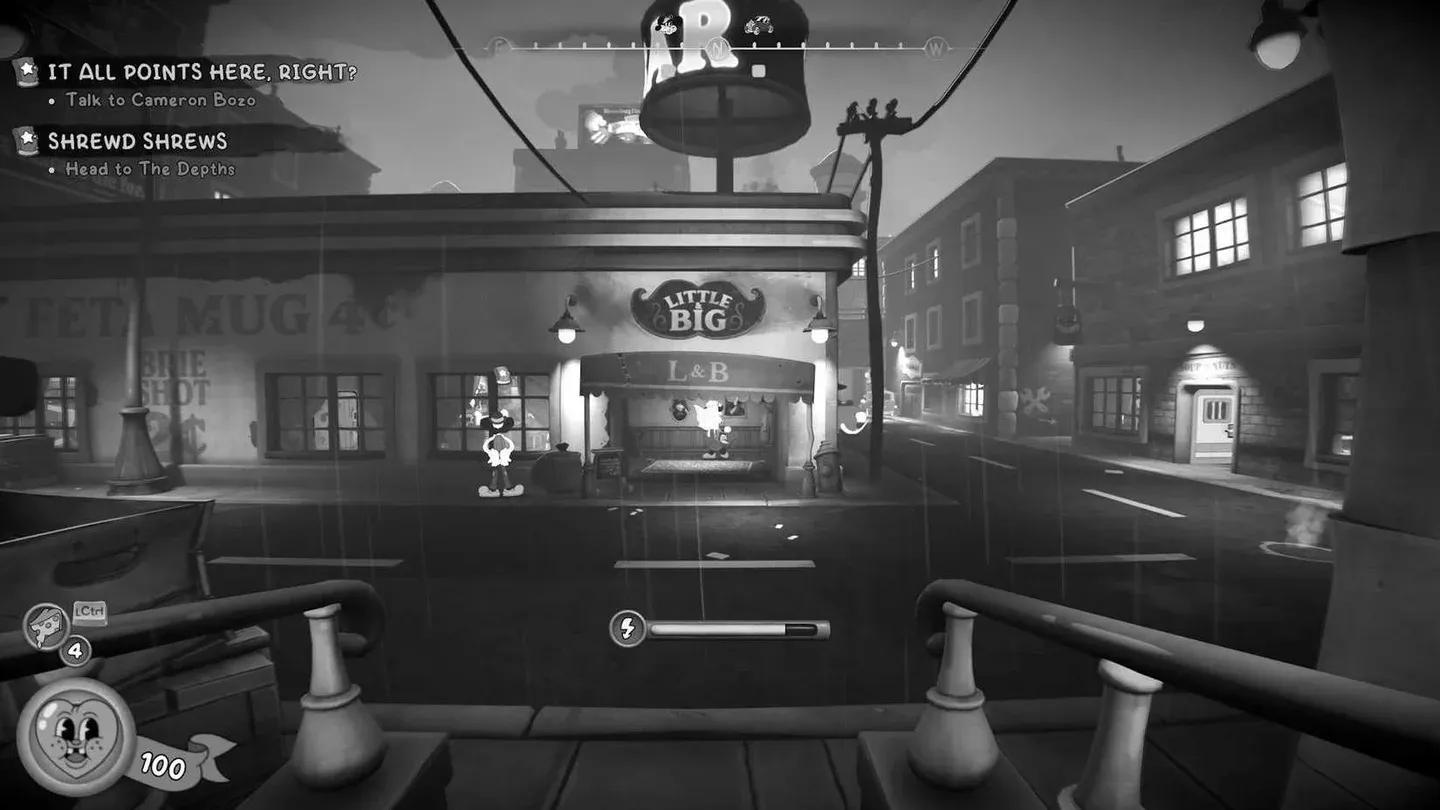
Talk to Bozo to start the lead

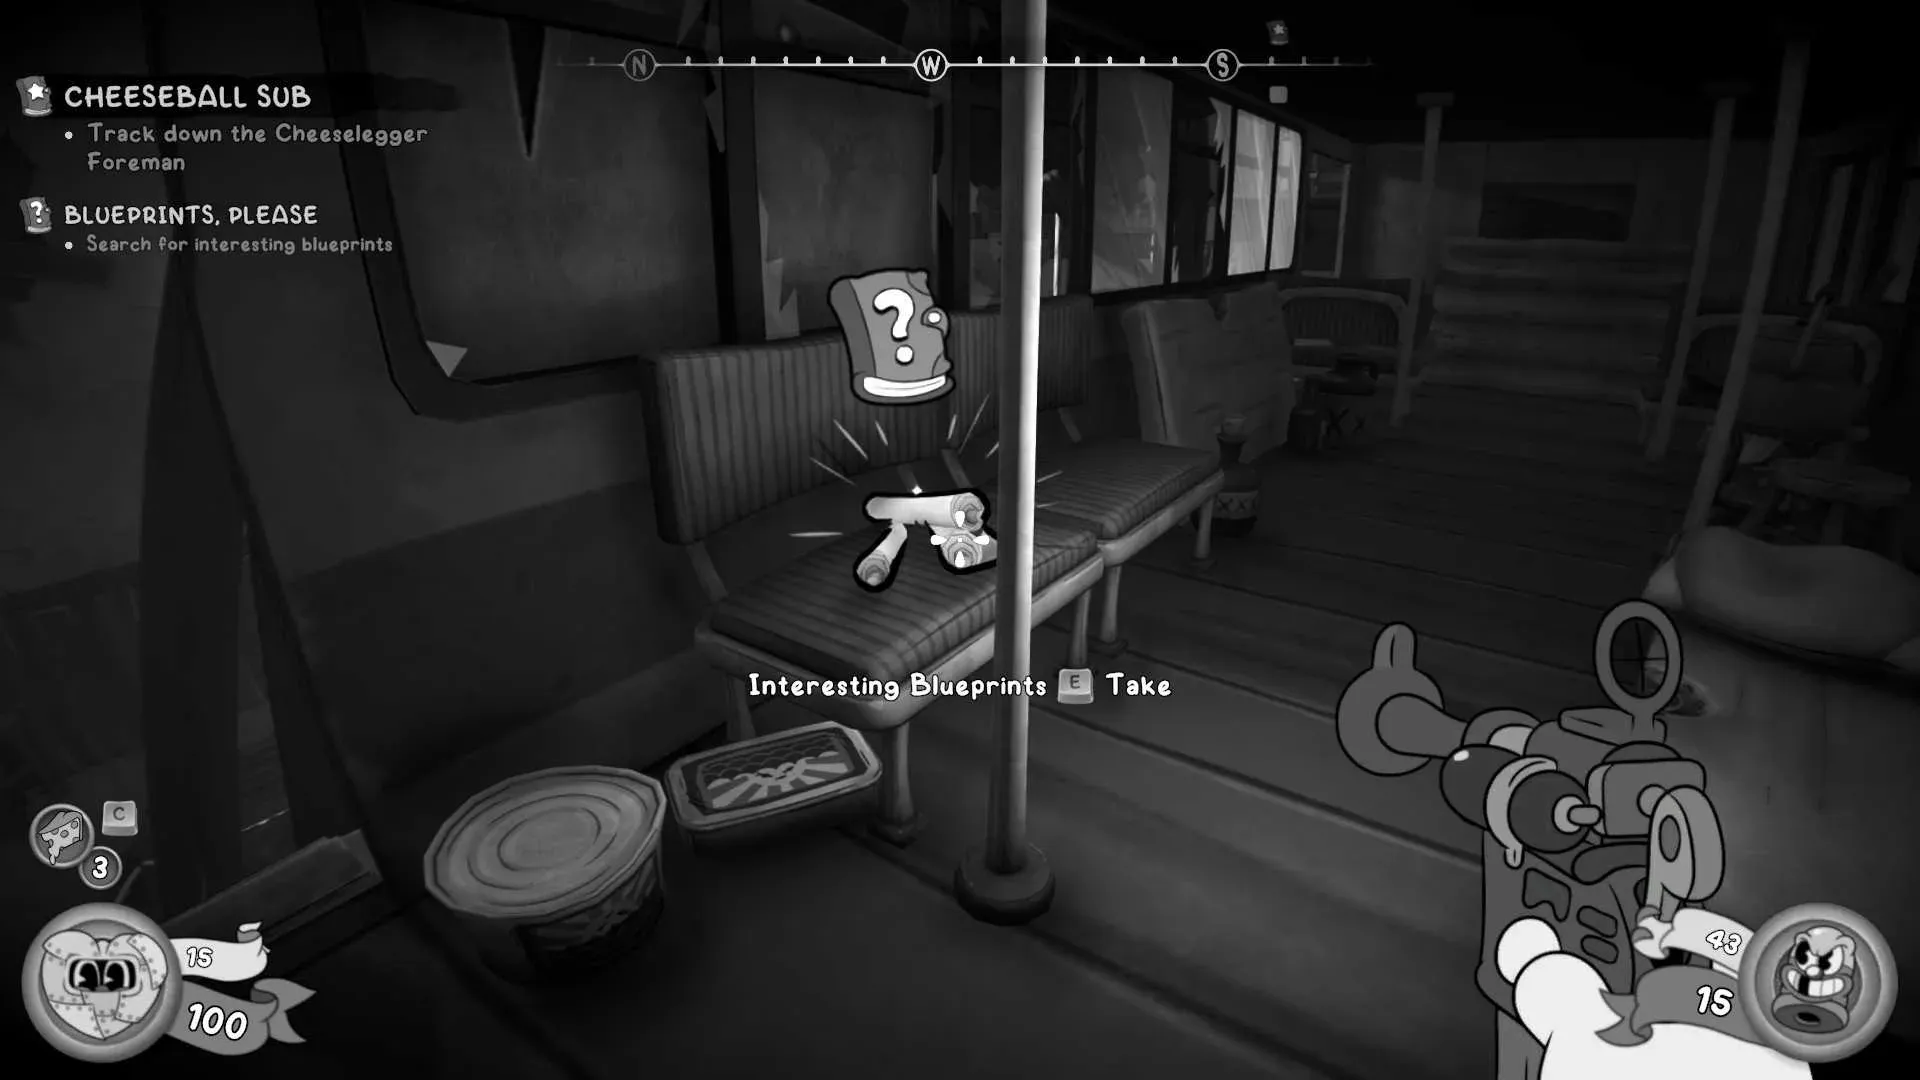
Getting into the Mangia & Mangia Secret Show
Drive to the circus tent on the left side of the map. Head down the ramp and right, then crawl under two stacks of boxes. You'll come face to face with police blocking the big top entrance.
Do you actually need to sneak past the cops?
No stealth required. You can walk past every officer and head straight for the ramp leading up to the hook. Once on the other side of the fence, clear the enemies that rush you.
The area has a Totally Normal Wall and a locked door that needs the Backstage Key. Blow the wall open with D-namyte or the Loose Cannon to push forward.
After clearing the dogs, look for a vent in the center of the right wall. It opens once the room is clear. Crawl through to reach a room that was previously an exit-only area from the first fighting arena. Grab the key, save at the typewriter, then check the other vent in the same room before leaving. That second vent leads to Comic: 16.
Pull the switch on the far side to return to the fence area, then use the Backstage Key on the locked door. A fight starts in the lobby. Once it ends, a ticket slides under the curtain next to the ticket machine. Feed it into the machine and the curtains open.
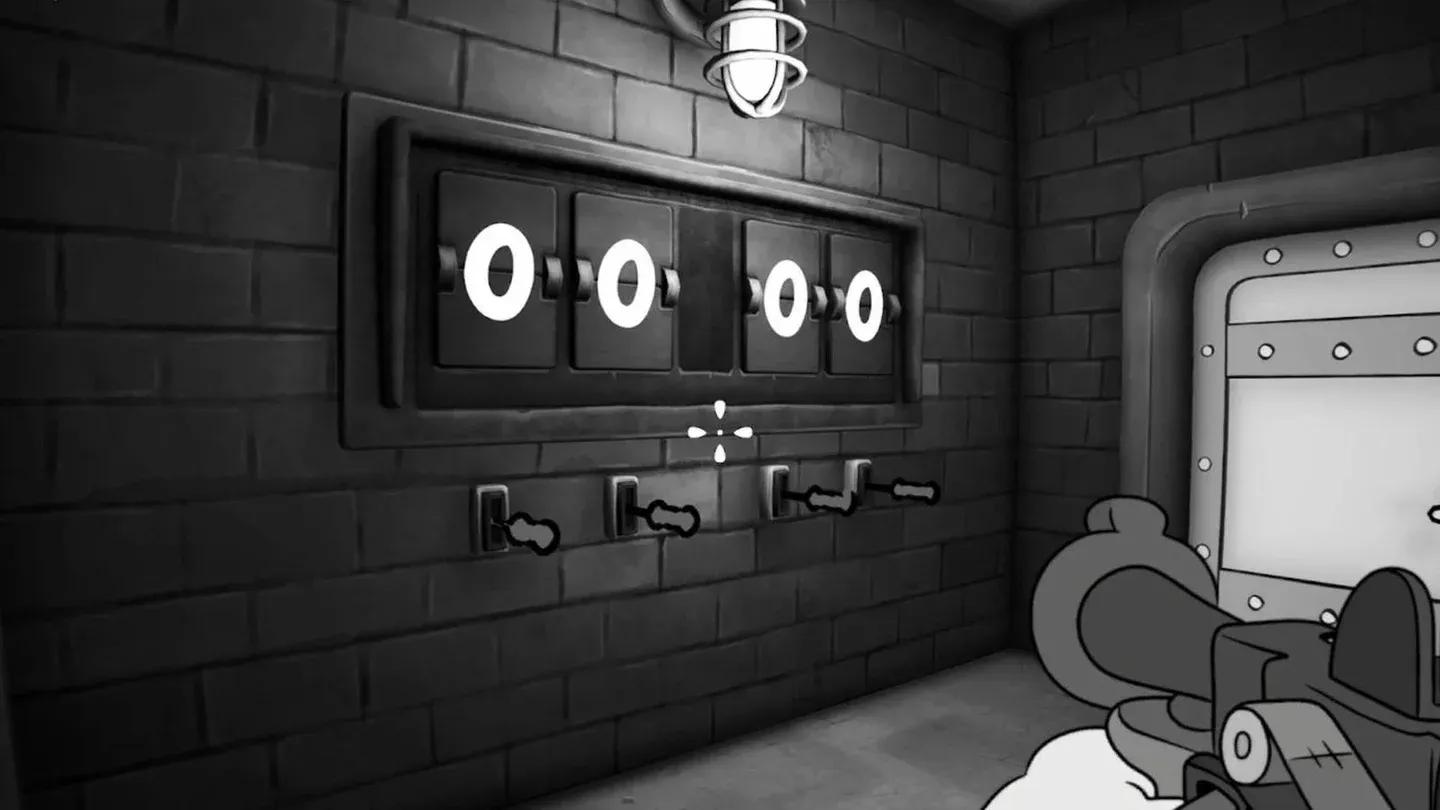
Backstage Key opens this door
Investigating Curd's murder scene
Walk into the show area and head to the floor-level stage. Photograph the scene for your first clue: Murder Scene.
A circus worker nearby starts sweeping and mutters about never financially recovering. Talk to him. He's Elefanto's tamer and confirms that Francesco the Elefanto crushed Mr. Curd by falling off the high wire.
Talking to Francesco the Elefanto
Head to the large cage on the south wall and speak with the circus janitor there. He gives Jack the Wall Jump ability. Before going through the gate to test it, go up the other set of stairs to the north. There's a ticket machine here that kicks off the Play the Secret Show Games to Get Tickets objective.
How do you complete the Secret Show games?
There are two games available on the upper level's south wall before unlocking the third.
| Game | Location | Strategy | Reward |
|---|---|---|---|
| Buffalo Brie's Shooting Range | South wall, upper level | Clear flying enemies first, then ground enemies in the hay maze | Secret Show Ticket |
| The Floor is Lava | Opposite end of show room | Use trampolines, firing hoops, and side platforms to reach enemies | Secret Show Ticket |
| High Noon Theme Park | Next to The Floor is Lava | Unlocks after collecting enough tickets | Ticket + progression |
For Buffalo Brie's Shooting Range, grab the ammo and armor around the room before hitting the center button. Jack drinks a coffee and gets his finger gun back. Prioritize airborne enemies.
For The Floor is Lava, pick up the Pepper-D from the dispenser before pressing the button. The floor actually turns to lava, so use the trampolines and elevated platforms to stay mobile.
The balloon stand for Millie's side job is located to the left of the T.N.T. Watch It Explode booth. Balloons cost $25.
Getting proof on Francesco
Once you have tickets, go through the gate behind the circus janitor. Use the Wall Jump on the white painted walls to reach Francesco's area. Jump across the painted sections on the right wall, then to the platform on the left, and one more wall jump gets you to Francesco. He claims he has no idea why he fell.
Use the wall jump on the wall directly across from Francesco to reach the area above him. Up here you'll find Newspaper 25 (about Big Mouse Party member Jacob Bunz) and a bucket you can photograph for the Bucket of Blue clue. The bucket is full of blue cheese.
Confront Francesco with the photo. He admits the cheese tasted different that night: fishy, with a strong perfume scent. Grab the ticket next to him and head back toward the murder scene.
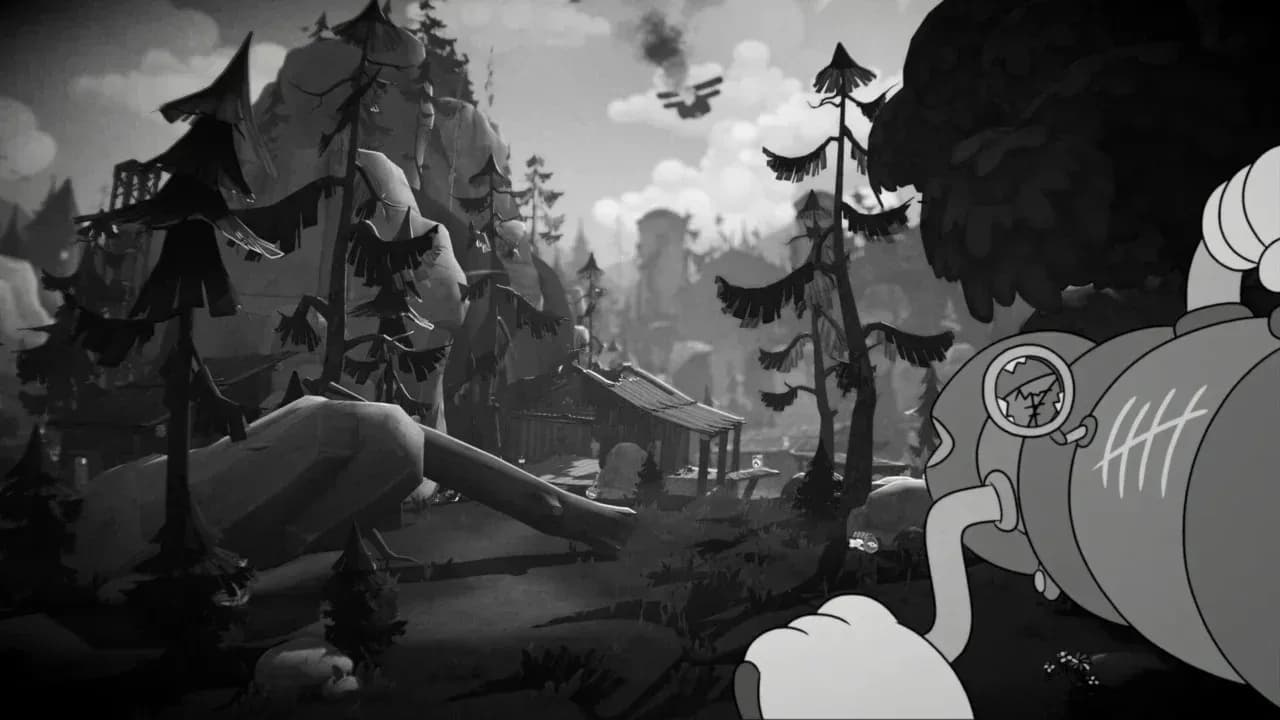
Wall jump to reach the evidence
Checking the balcony and finding the dressing room
The gate back to the murder scene is now closed. Witnesses mention a "dame" at the show, which becomes the Dame at the Show? clue.
Return to the jump walls and look for a hook that has dropped to give you access to an upper level. Clear the enemies after jumping up.
Halfway through the room on the left is a locked door you can tailpick. It's timed and has spikes. Inside is a safe (no movement restrictions, no timer, no spikes) containing cash, plus shrew-sized cages that Jack notes were clearly used.
Find the vent on the far left side and crawl through. In the next room, grab the Dressing Room key from the windowsill behind the janitor. Further in, a bag holds a Ticket with a Note from Niccolo Mangia (Managing Director) about Francesco's cheese problem and an exclusive invite-only event.
What's in the dressing room?
The locked dressing room is right across from the door in the upstairs lobby. Open it with your key. On the right is a vanity with cash and Secret Collectible 6.
Behind the dressing room door is a warp-pipe. Take it and you'll end up on top of the tent next to a safe (timed, movement-restricted, and spiked) containing a schematic. Return through the warp-pipe when done.
Just outside the previously locked door, the left side has a missing section of banister and an open window. Double jump and helicopter tail through it to collect cash in that room.
Reaching the meeting spot and the boss fight
Return all your tickets to the station by the High Noon door to unlock it. Clear the enemies that appear. Inside, the Pay 'n' Spray game has you shooting bottles off a shelf for a ticket. Check the left side of the game stand for a schematic pinned to the wall.
The T.N.T. Watch It Explode booth requires you to throw D-namyte through three windows: one that moves up and down, one with windmill blades, and one standard window in the middle.
Feed your new tickets into the machine across from the booth to open the next door. Save at the typewriter inside, then tailpick the door before grabbing the Pepper-D. The lock is timed and spiked, and the safe inside also has spikes and a timer but holds cash. Grab the Pepper-D from the dispenser and the curtain behind it opens.
Push through to the back and you'll find the captain and a professor surrounded by caged shrews. Mid-conversation, a D-namyte drops from above and wipes them both out. The Hitman steps out.
How do you defeat the Hitman boss?
Hitman moves constantly, jumping between the swings at the top of the room, the center stage, and the four corner stands. The Devarnisher is the most effective weapon here because its damage continues even after he repositions. Getting multiple clean shots is difficult given how fast he moves, so the Devarnisher's lingering damage does the work for you.
When his health gets low, he pauses the fight and tells you he has to return to his bookkeeper. He escapes, leaving behind the Dirty Bookkeeper clue.
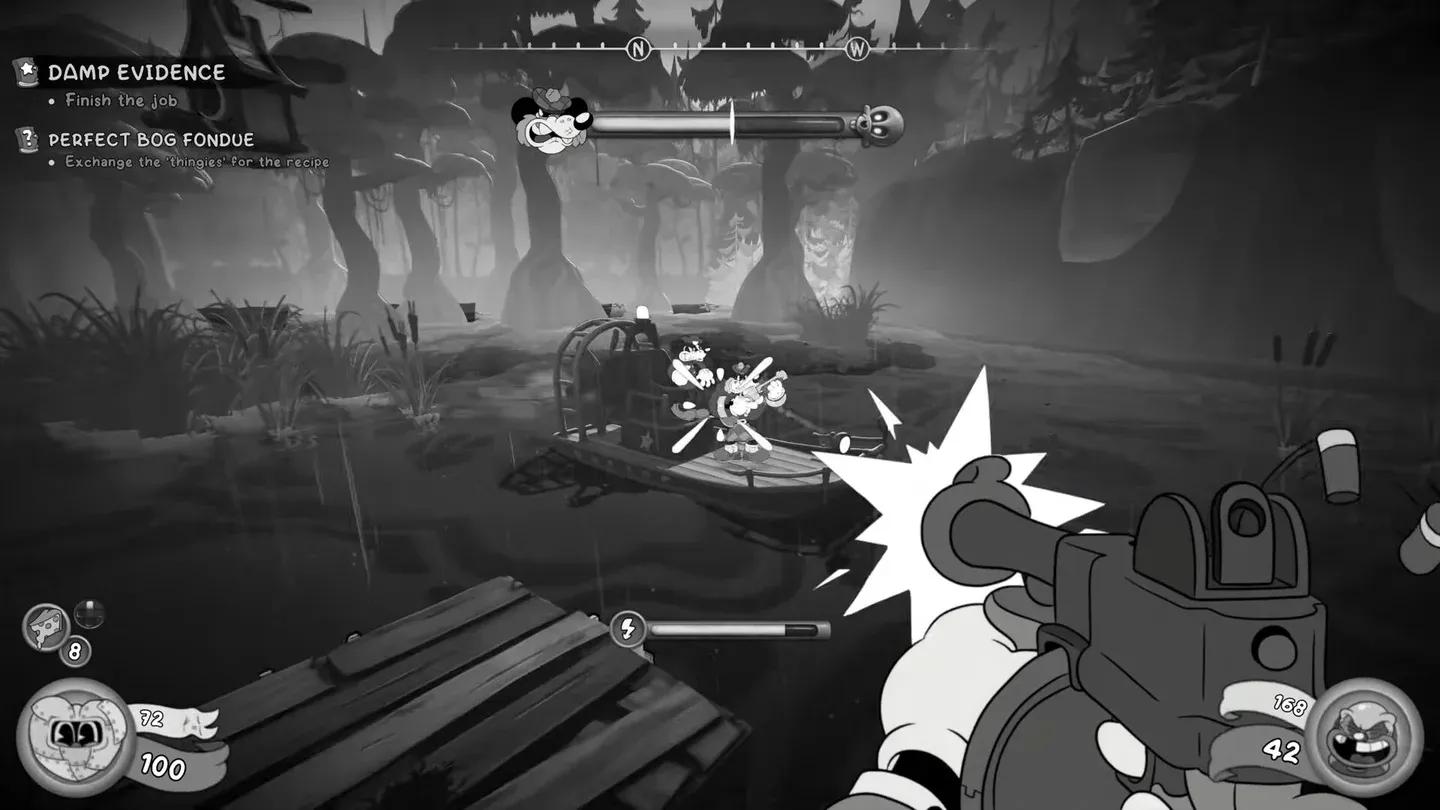
Devarnisher works best here
Scour the aftermath and wrap up
After Hitman leaves, grab the Strange Keycard clue from the center of the ashes. Talk to the freed shrews on the right side of the stage and they hand you a Steamboat Ticket clue.
Use the Quit-o-Phone at the back of the stage to return to the office.
Give Millie her balloons to receive a Jeremiah Curd Baseball Card. Talk to her again and Jack covers for her father's absence, handing her money for a soda. Check in with Tammy before pinning clues and she reacts to the keycard in a way that gives Jack an idea.
The ammo shop also has Newspaper 26 (about squirrels) for $50, plus Jenny Jody Gain and Brandon "Binger" Ortiz Baseball Cards for $100 each.
All clues and what they unlock
There are 6 clues to pin from this mission:
- Strange Keycard (from the ashes after the boss fight)
- Steamboat Ticket (from the shrews after the boss fight)
- Dirty Bookkeeper (Hitman's parting words)
- Dame at the Show? (witness dialogue near the closed gate)
- Bucket of Blue (photograph of Francesco's cheese bucket)
- Murder Scene (photograph at the crime scene)
The Dirty Bookkeeper clue is the key one here. Hitman mentioned his bookkeeper operates out of Tinsel Ave., which lets you Resolve Lead and opens the path to the Western Backlot.
What are your next steps after this mission?
Three paths open up:
- Head to the Quagmire and start Swamp Oddity to follow the shrew trail
- Show Stilton the steamboat ticket to get dirt on Mr. Simms in To Catch a Mockingmouse
- Go to Tinsel Ave. for "The Bookkeeper" by Tinsel Bros to track down who Hitman answers to
For more help across the full game, check out the all Jack Pepper figurine locations guide and the cell block lever puzzle solution if you hit walls elsewhere. If you want to track down every collectible across every mission, the full Mouse: P.I. For Hire guide collection has you covered.